- Установка сервера 7 Days to Die на Linux
- Содержание
- Первичная настройка Linux
- Установка сервера 7 Days to Die
- Настройка сервера 7 Days to Die
- Лог консоли сервера
- Проверка обновлений и автоматический перезапуск игрового сервера после падения или перезапуска VDS
- Важные файлы сервера
- Deploying a 7 Days to Die Server on Linux
- Before You Begin
- Deploy a Game Server Using LinuxGSM
- 7dtd dedicated server linux
Установка сервера 7 Days to Die на Linux

В данной инструкции мы расскажем как установить сервер игры 7 Days to Die на ОС Linux Debian 10
Минимальная характеристика сервера для игры 7 Days to Die до 8 игроков.
- Тариф: Medium
- Процессор: от 2.6 GHz
- Количество потоков: 2
- Оперативная память: 8 Gb
- Сервер занимает: 12 Gb
Содержание
Первичная настройка Linux
Вы заказали на сайте MyArena виртуальный сервер, выбрали и установили операционную систему, что же делать дальше? Прежде чем перейти к установке сервера игры, нам потребуется провести предварительную настройку Linux.
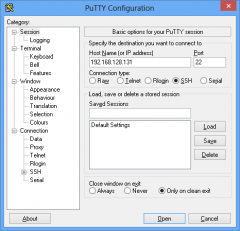
1. Скачиваем и устанавливаем программу PuTTY себе на компьютер, что бы подключиться к серверу.
- Запускаем программу, открываем вкладку Window, переходим в Translation и в меню Remote character set выбираем UTF-8.
- Возвращаемся во вкладку Session.
- В Host Name указываем IP адрес вашего сервера, порт 22, ниже в Saved Sessions придумайте имя для подключения и нажмите на кнопку Save.
- Выделяем название сервер и нажимаем на кнопку Open.
- У вас откроется черное окно терминала в котором вам потребуется указать логин и пароль от вашего сервера.
2. Установка дополнительных библиотек, при использование 64 битной операционной системы
3. Установка дополнительных программ.
4. Устанавливаем редактор Nano для пользователя root по умолчанию.
Установка сервера 7 Days to Die
1. Создаем нового пользователя с паролем, например gameserver.
Все последующие шаги выполняются под созданным пользователем. Выйти из него можно командой ‘exit’.
2. Переключаемся на пользователя gameserver.
3. Устанавливаем редактор Nano для пользователя gameserver по умолчанию.
4. Создаем и переходим в папку, куда будем загружать steamcmd.
5. Скачиваем архив steamcmd и разархивируем его.
6. Запускаем steamcmd.sh. Важно: нужно находиться в папке steamcmd.
7. Загрузка и установка сервера
8. Запуск сервера. После загрузки сервера выходим из steamcmd введя команду ‘quit’
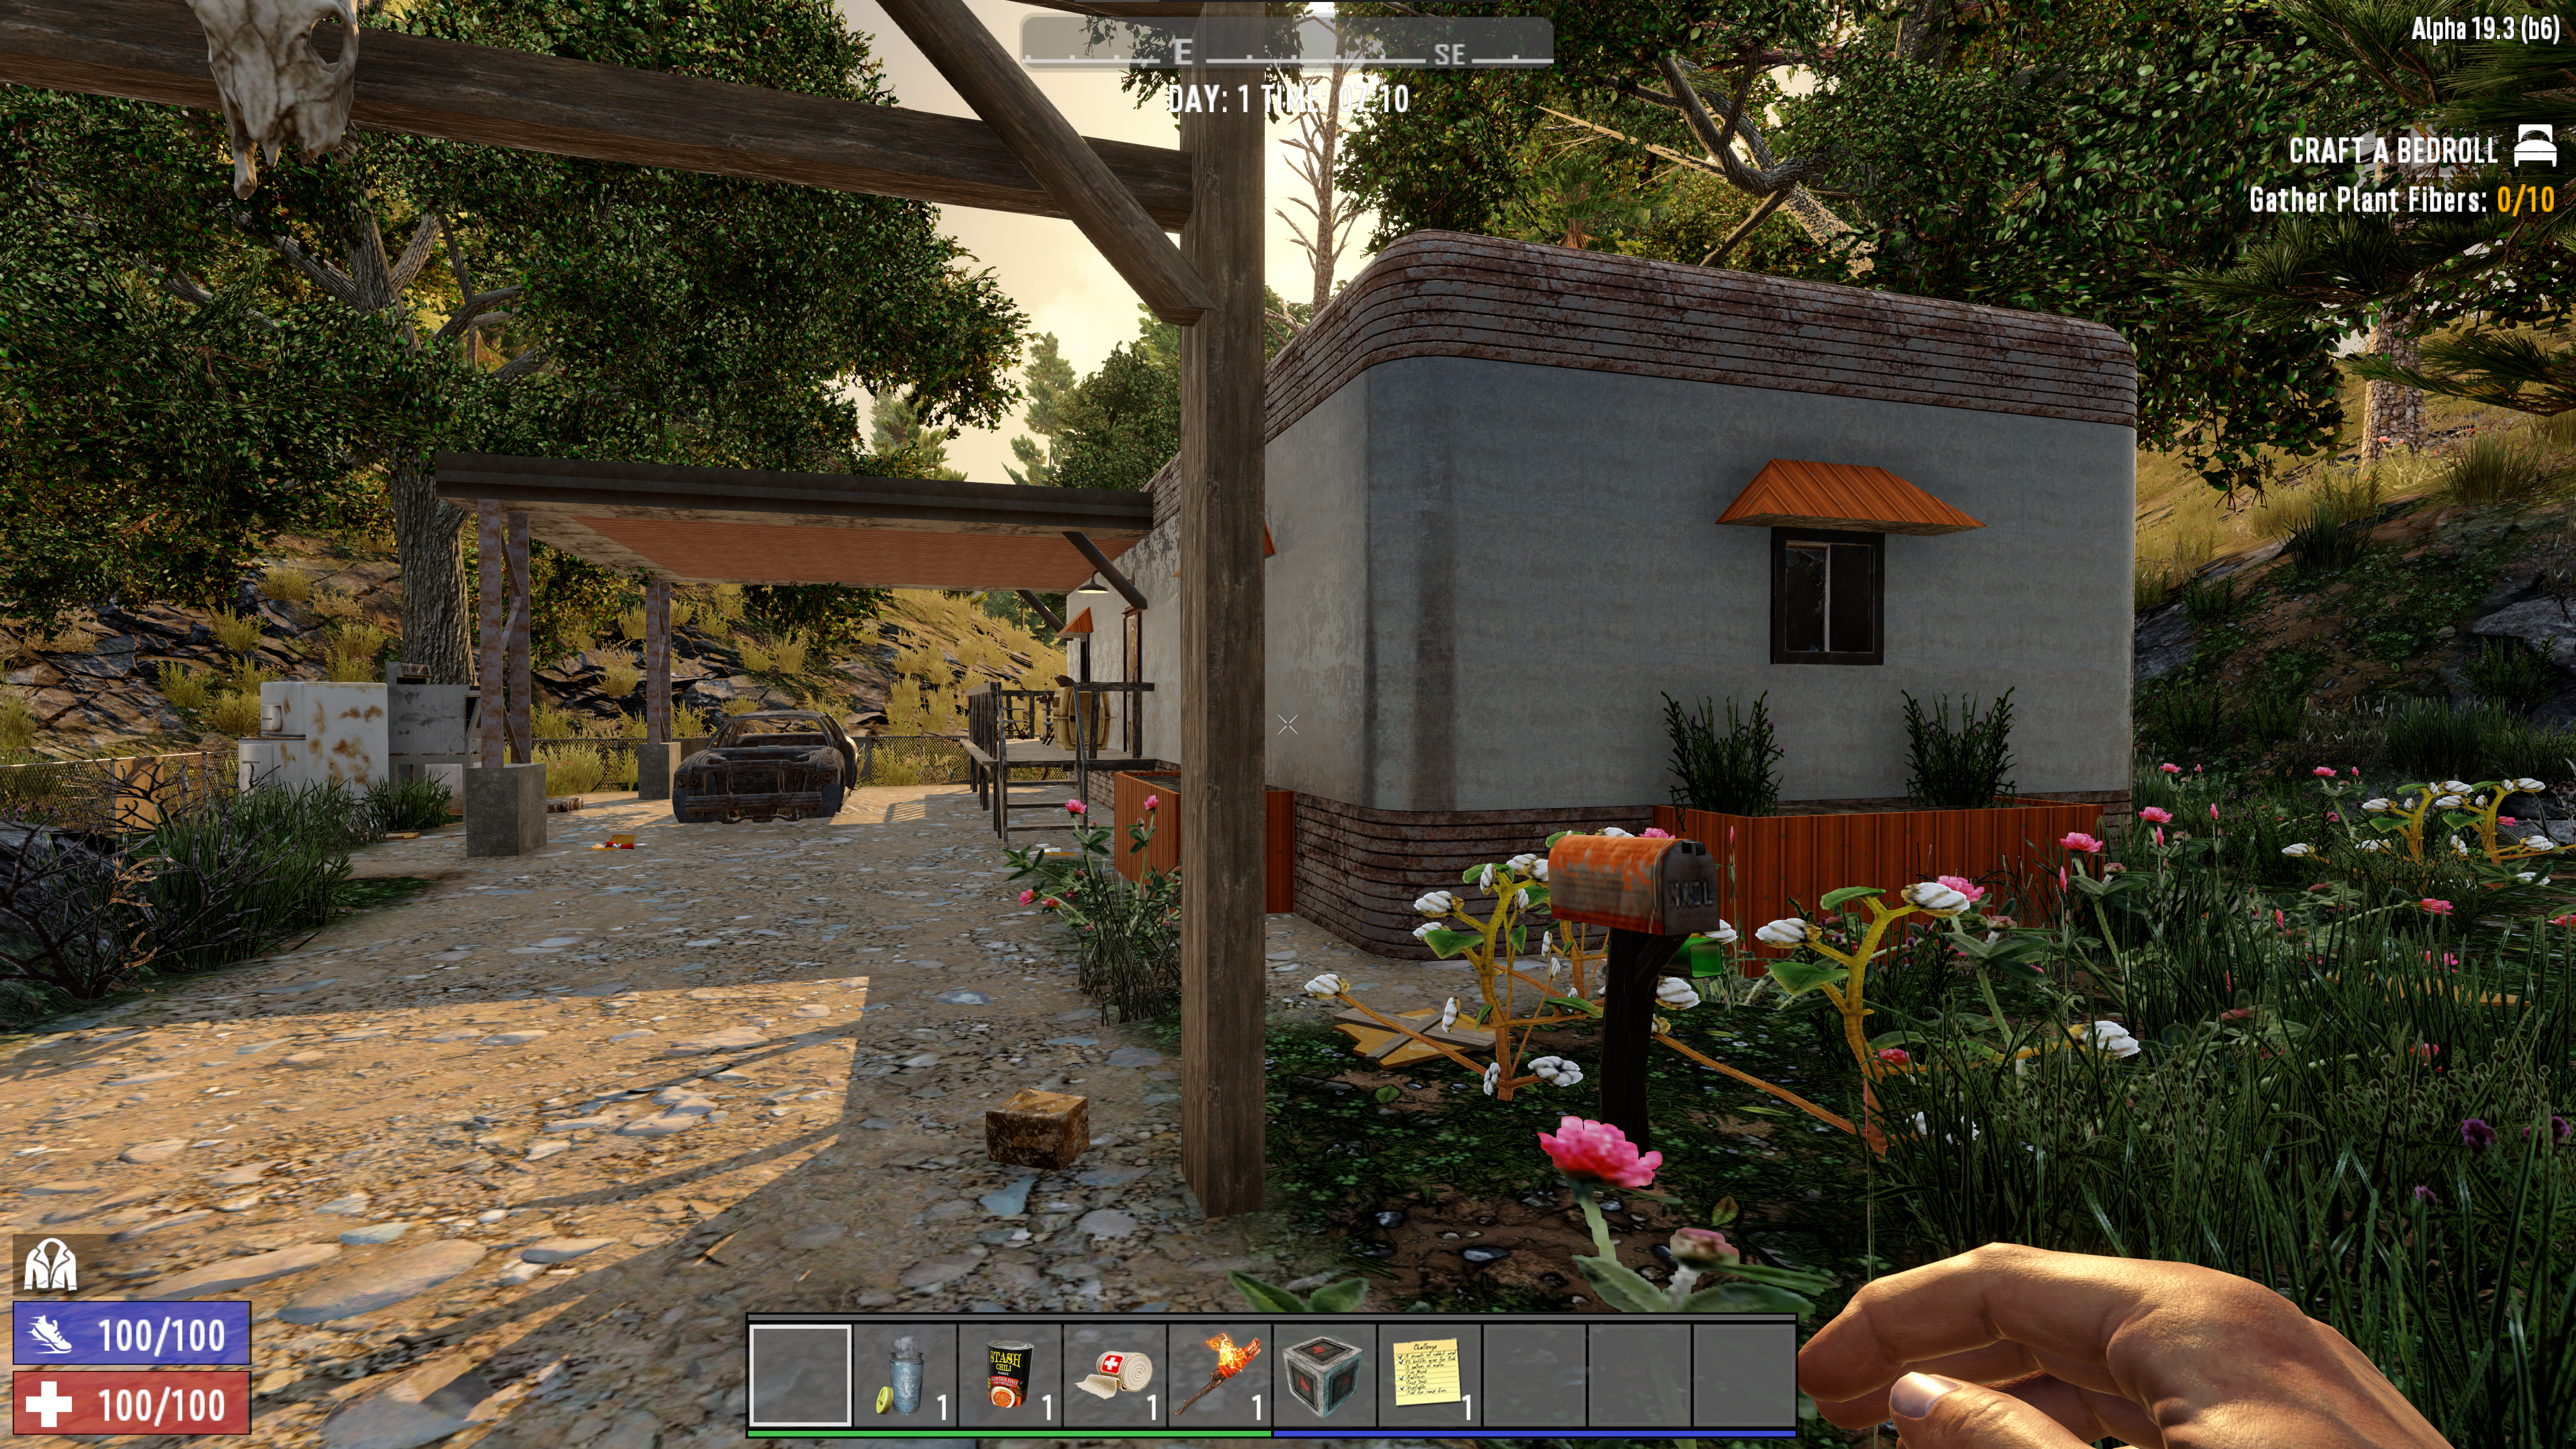
Теперь проверим, запускаем сервер, для этого пропишите в консоли команду
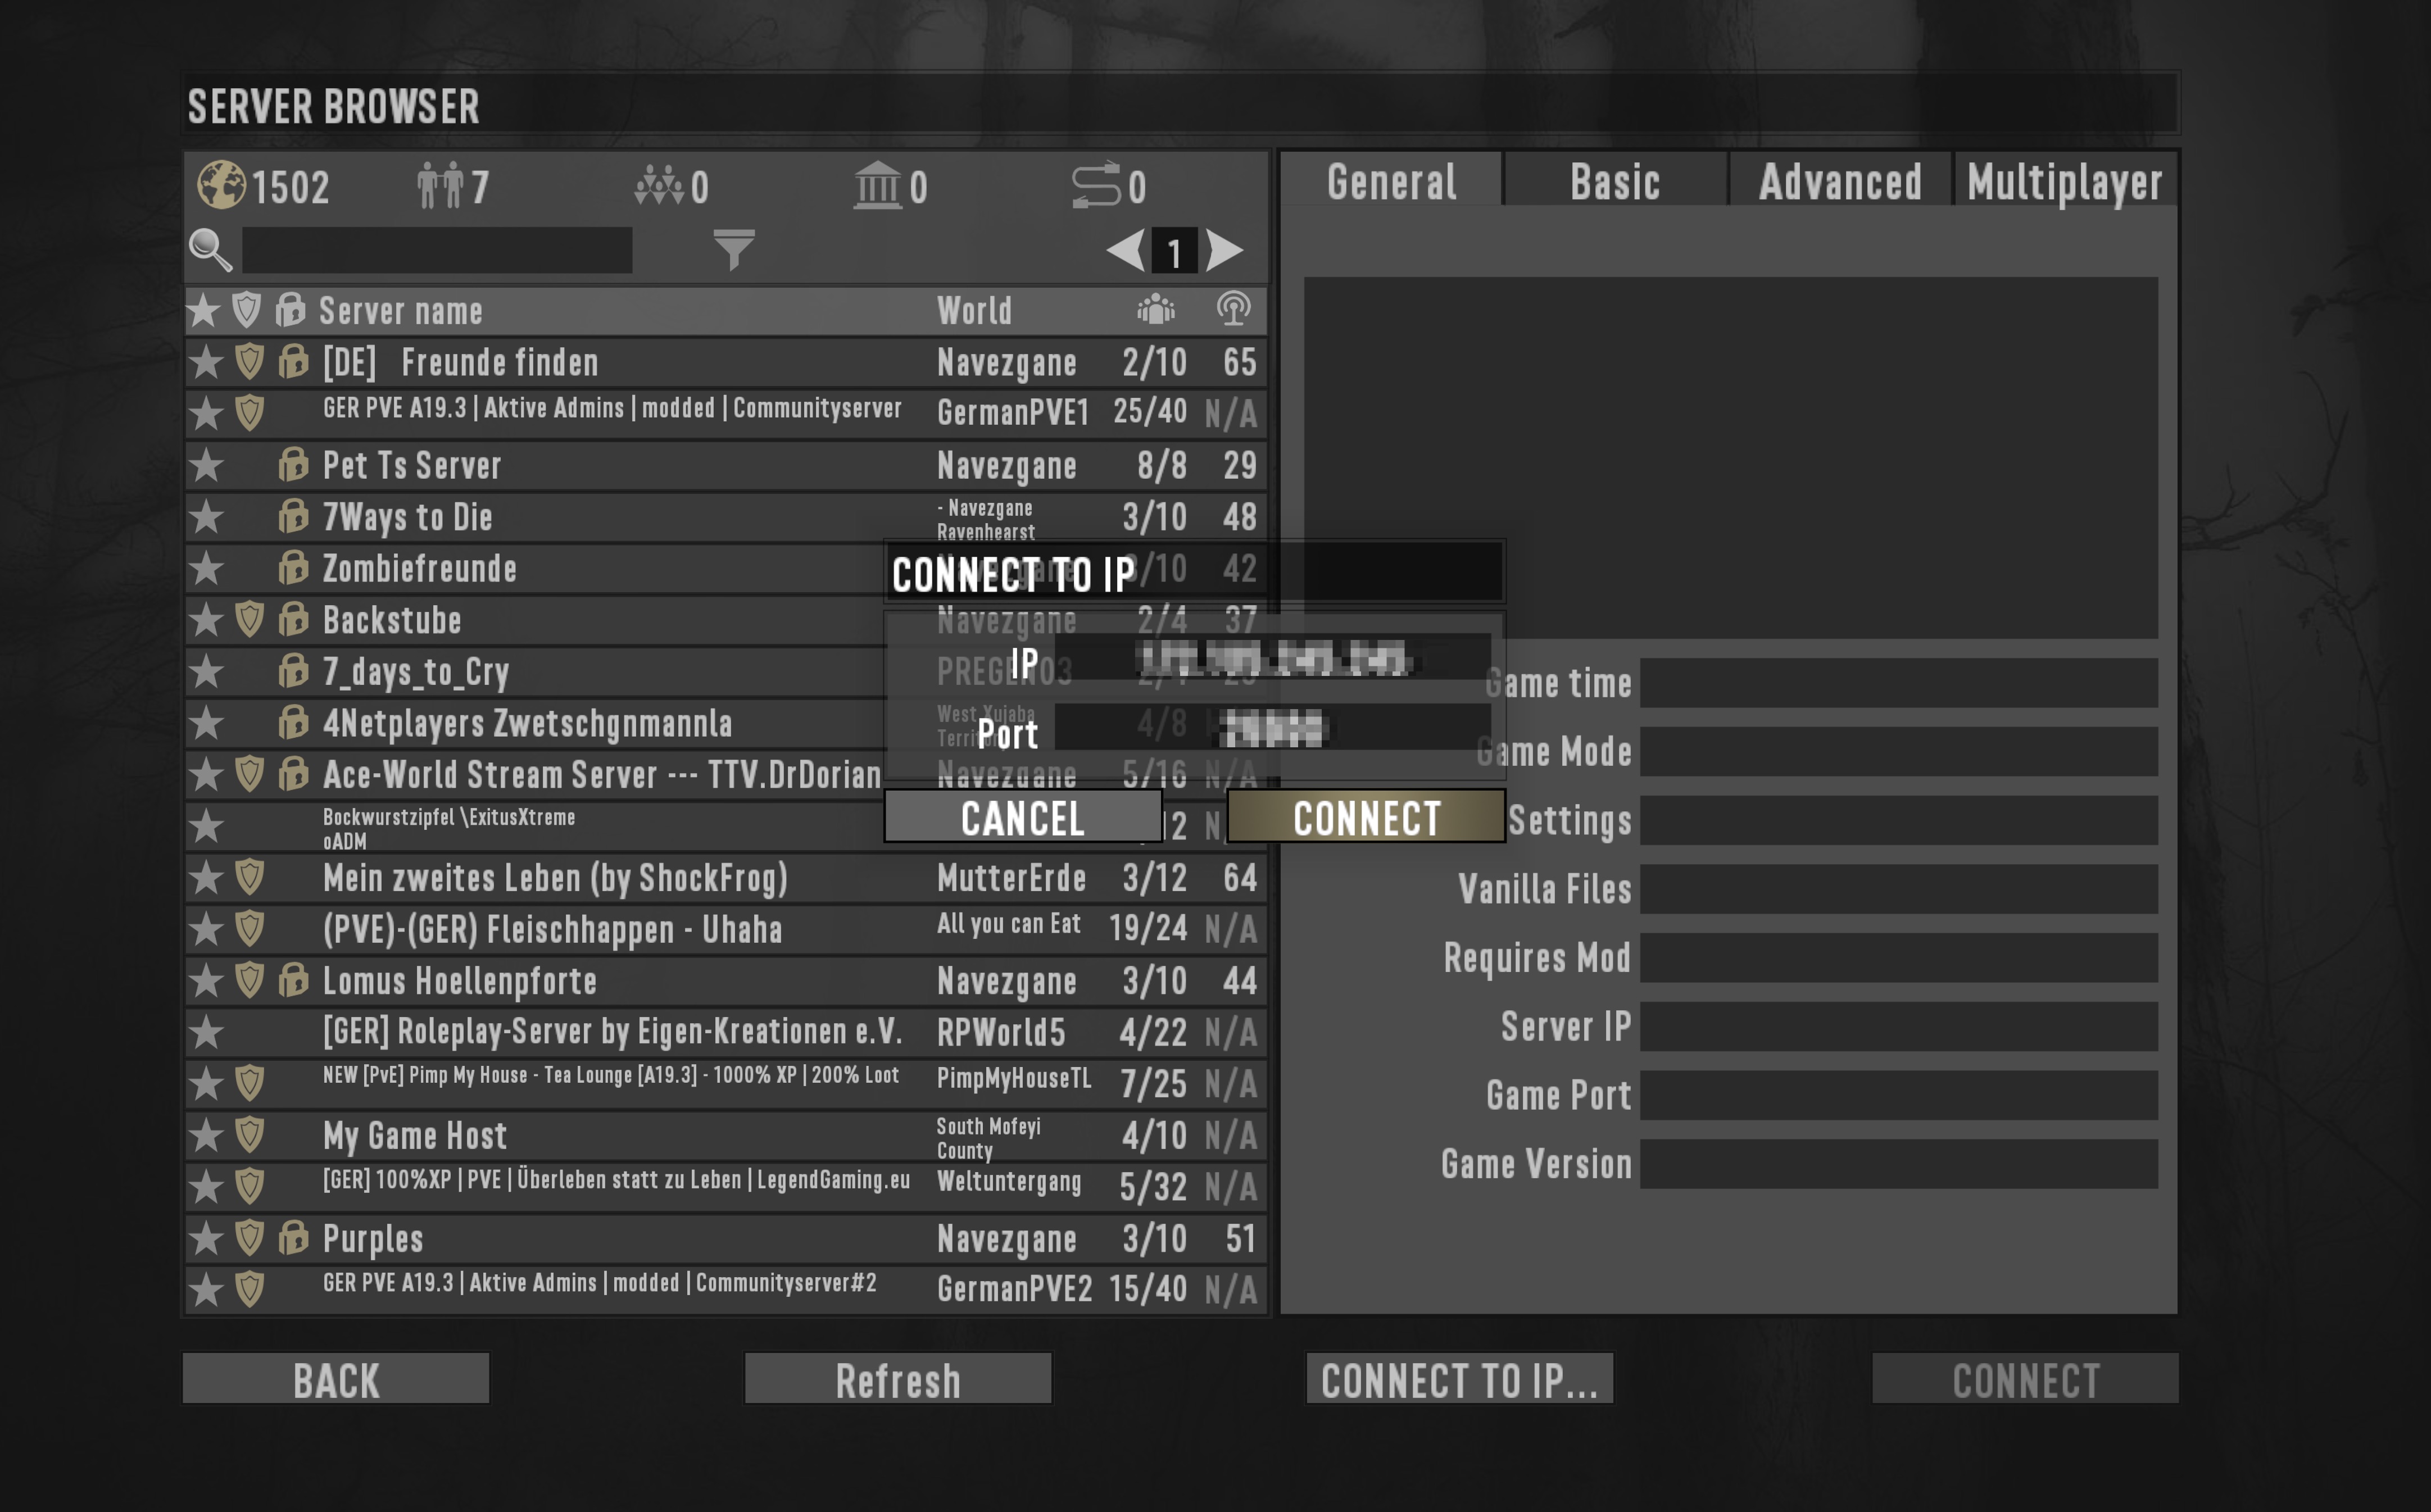
После этих действий сервер начнет запускаться, вы сможете зайти на него указав ip адрес и порт, например 37.230.228.208:26900
Завершить процесс и выключить игровой сервер нажатием клавиш ctrl+c.

Настройка сервера 7 Days to Die
1. Чтобы в будущем избежать правок конфигурационного файла serverconfig.xml при обновлении сервера, следует создать его копию.
Находясь в директории /7dtd, прописываем данную команду.
Данная команда скопирует файл serverconfig.xml и создаст его копию с названием server_config.xml.
2. Открываем конфиг сервера server_config.xml командой
Список самых важных переменных:
| Переменные | Стандартное значение | Описание |
|---|---|---|
| ServerName | My Game Host | Название сервера. |
| ServerPort | 26900 | Игровой порт сервера. |
| ServerVisibility | 2 | Видимость сервера в интернете: 2 = Виден в интернете, в поиске серверов, 1 = Виден только друзьям, 0 = отсутствует в списке. 1 — Это значит, что сервер станет виден всем друзьям игрока, который подключился к серверу. |
| ServerPassword | Пароль сервера, который будет требоваться при подключении. | |
| ServerMaxPlayerCount | 8 | Максимальное количество игроков. |
| ServerDescription | A 7 Days to Die server | Описание сервера. |
| EACEnabled | true | Включает или отключает античит EasyAntiCheat. |
| GameWorld | Navezgane | Карты сервера. Можно установить значение «RWG» для случайной карты. |
| GameName | My Game | Названия игры, должно быть написано Латиницей. Не используйте «:» и прочие специфические символы. |
| WorldGenSeed | asdf | Если выбрали RWG, нужно указать семя (пример: asdf) для создания новой случайной карты. Если карта с таким именем уже существует, она просто будет загружена. |
| WorldGenSize | 4096 | Если выбрали RWG, нужно указать ширину и высоту для новой карты (пример: 4096). Размер карты должен быть от 2048 до 16384, создание новой карты может занять очень много времени. |
| DayNightLength | 60 | Длительность суток в игре. |
| LootRespawnDays | 30 | Через какое количество игровых дней будет происходить респаун лута. |
| PlayerKillingMode | 3 | Настройки PVP режима. (0 = PVP запрещен для всех, 1 = можно убивать только союзников, 2 = можно убивать только незнакомцев, 3 = PVP включен для всех |
3. Сохраняем результат нажатием одновременно ctrl+x, у вас попросят подтвердить действия, нажимаем на Y и enter.
4. Проверим сервер, запустим startserver.sh командой
После этих действий сервер начнет запускаться. Завершить процесс и выключить игровой сервер нажатием клавиш ctrl+c.
Лог консоли сервера
После того, как вы запустили сервер, будет создан output_log.txt в папке 7DaysToDieServer_Data.
В нем вы можете посмотреть полностью лог консоли сервера, запуск сервера, ошибки, подключение\отключение игроков, информацию по работе античита и многое другое.
Проверка обновлений и автоматический перезапуск игрового сервера после падения или перезапуска VDS
1. Находясь в директории /7dtd, создадим дополнительный файл start_7dtd_server.sh для запуска сервера.
2. Проверка обновлений. В этот файл прописываем данные параметры.
3. Автоматический запуск сервера. Ниже прописываем данные параметры, после этого сохраняем результат нажатием одновременно ctrl+x, у вас попросят подтвердить действия, нажимаем на Y и enter.
4. Добавляем права на файл start_7dtd_server.sh, командой.
5. Под пользователем gameserver прописываем команду crontab -e и указываем эти данные.
- После этого нажимаем на сочетание клавиш ctrl+x и сохраняем результат
- Чтобы посмотреть, что запущено в скрине наберите screen -ls
- Чтобы посмотреть отдельный скрин screen -x название скрина или его номер.
- Чтобы выйти из выбранного скрина нажмите ctrl+a затем d.
- Чтобы убить запущенный процесс пропишите команду kill и номер процесса.

6. Перезапуск сервера в час ночи.
Выходим из под пользователя gameserver командой exit обратно под root, прописываем вновь crontab -e и указываем эти данные.
Теперь каждый день, в час ночи игровой сервер будет перезапущен.
Важные файлы сервера
1. Расположение папки с картами сервера. Если у вас есть своя карта, то её нужна закачать в данную папку.
2. После запуска сервера, будет создан новый каталог.
Сервер сохраняет данные игры в «скрытую» директорию учетной записи gameserver, каталог называется .local (с точкой).
Тут вы найдете игроков, админов, информацию по открытым регионам и многое другое.
Вы можете изменять инвентарь игроков, переносить его между серверами, даже части карты можно перенести, достаточно скопировать соответствующие файлы в другой каталог для сохранения.
Источник
Deploying a 7 Days to Die Server on Linux
Even eight years after its release, the Zombie Horde Survival game 7 Days to Die (7DTD) is still going strong. Its community is active and the zombie fun hasn’t stopped. The game is even better when you and your friends play on your own server, using your own rules. Plus, when you host a game server yourself, you don’t have to worry about lag time that can interrupt your gameplay. This guide shows you how to set up your own 7DTD server, using LinuxGSM.

Before You Begin
Deploy an Ubuntu 20.04 Linode in a data center region close to your player’s geographic location. Ensure you select a Linode plan with enough RAM and CPU for the game. The 7 Days to Die official documentation recommends 4 CPU cores.
Familiarize yourself with our Getting Started guide and complete the steps for setting your Linode’s hostname and timezone.
This guide uses sudo wherever possible. Complete the sections of our Securing Your Server guide to create a standard user account, harden SSH access and remove unnecessary network services.
Update your system:
Deploy a Game Server Using LinuxGSM
The Linux Game Server manager ( LinuxGSM) is a command-line tool that helps you deploy and configure your game server. With a few scripts, it helps you to fine-tune your 7 Days to Die instance. This section shows you how to install LinuxGSM and 7 Days to Die on your Ubuntu 20.04 server.
Install the LinuxGSM dependencies and Steam:
A prompt appears with the Steam EULA. To proceed, use your keyboard’s down arrow key to read through the agreement. Then, use the tab key to select .
Create a 7 Days to Die Server system user, and add the user to the sudo group, and switch.
Switch your terminal session to the new sdtdserver user. You can exit your current session by typing exit, then SSH into your Linode using as the sdtdserver user. Ensure you replace the example command with your Linode’s IP address.
Your output resembles the following:
Run the game script installer using the following command:
The prompt asks you to confirm the installation. Enter Y to continue. You may be prompted with a few other installation questions. LinuxGSM takes care of installing any missing dependencies and installs 7 Days to Die. You see the following output when the installation completes:
Launch 7 Days to Die with the following command:
The output displays the following:
Verify that your server is online:
Your output displays its status as ONLINE. This means you and your friends can start playing 7DTD.
On your computer, use Steam to fire up the game and connect to your Linode server’s IP address.

This page was originally published on Monday, March 8, 2021.
Источник
7dtd dedicated server linux
Server tools for 7 days to die dedicated servers
Go to the releases tab and check for the latest files https://github.com/dmustanger/7dtd-ServerTools/releases
Download and extract the files.
Copy the Mods folder to the root directory of your server.
Start the server.
The mod will auto create the config file in the game save directory.
Enable each part of the mod you want via ..\your game save directory\ServerTools\ServerToolsConfig.xml
Once a module is enabled, if it has a config it will auto create them in the ServerTools folder.
Automatically detects and deals with cheaters. Customizable
Detects: flying above or below ground, hatch elevator, teleport, invalid items, invalid stack sizes, family share accounts,
player stats such as height, speed, jump strength, max stamina, max health, available skill points.
Logs all player’s inventory to a file for later review. Set the time between loggings. Default is once per minute.
Records player’s IP address and location to the inventory log.
Records identical items and stacks found in a players inventory. These are not necessarily duped but this gives a record.
Logs of violators are auto created and deleted based on your settings.
Day7 alerts: automatically receive in game alerts to the upcoming bloodmoon. Can set a custom horde night value
Zones: set an area as a protected space. PvP inside is dealt with automatically. Alert upon entry/exit
Weather vote: vote to change the weather
Teleport to friend: request to teleport to a friend. They must accept the request in a time limit
Shop and wallet: make a custom shop list for players to buy from. Wallet is calculated automatically. Can only shop in trader zone
Vote rewards: for players voting your server at https://7daystodie-servers.com website
Travel: for players to travel to specific locations when in the right location. Can teleport a bike. Custom delay
Starting items: new players receive all the items from the StartingItems.xml
First claim block: players can type /claim to receive a single claim block. Prevents griefing
Give item: give item directly into a players inventory or all online players. Drops to the ground if their inventory is full
Give block: give block directly into a players inventory or all online players. Drops to the ground if their inventory is full
Admin List: players can type trigger an ingame list of currently online admins and moderators
Command delays: multiple commands have delay times. Players can not use the command until the delay has expired since last use
Command delay reset: reset any player command delays via the console
Temporary ban: console command tempban to allow a limited ban time for moderators or low tier admins
Custom chat command triggers: commands use / and ! to initialize commands but they can be set to any symbol
Stuck entity: automatically sends bikes, bags, and zombies to the world surface to prevent errors and server lag
Admin alerts: detections that require manual inspection is sent to currently online admins
Chat colors and prefixes: administrators, moderators, donators/reserved players, special players can all get custom chat colors and prefix
Auto shutdown: the server will auto shutdown after a scheduled time frame. Initiates shutdown system with alerts, world save, countdown
Animal spawning: made to be like an animal tracking system. Players spawn a random animal from a list
Stealth admins: while chat color and prefix is active, admins can disable their chat color to stay hidden
Reserved players: based on session time. Final slot can only be filled by admin or reserved status player. Boots players passed max session time to make space for others. Reserved and admins are never kicked
Custom commands: Make your own commands and set optional delays for the first ten entries
Check next shutdown: Can check when the next scheduled shutdown period is
Reservation check: players can check the expiration time for their reserved status
Gimme system: players can spawn a free item periodically with a custom delay
Killme command: players can commit suicide with a custom delay
Set home: save a home location so players can teleport to it with a custom delay
Set home 2: a second home location that can be set for donators only
High ping kicker: kicks players that have a ping too high
Chat logger: saves all in game chat to a file for later review
Bad word filter: replaces any words used in chat that matches ones from a list. Can also change bad player names to Invalid Name-No commands
Message of the day: shows players a custom message upon entering the server
Infoticker: automatically displays custom server messages. Can be set to display in a random order
Auto world save: automatically saves the world based on custom delay time
Watchlist: players listed here will be able to join but send online admins an alert when they are in game
Custom phrases: any phrases listed in the phrase file can be set to a custom response
Admin chat: admins can send all other online admins a direct private message
Clan manager: create clan tags, add players, hire officers and rule the server as a elite crew
Remove entity: remove a live entity from the game using its entity id via console
Reset player profile: an easy console command will kick and delete the saved data of a player
Stopserver command: easily shutdown your server with an alert system and countdown so players are aware
Lottery: players can open a lottery for any players to buy in. Lottery draws after 10 players join or 1 hour has gone by
Hardcore: limited life count. Kicked and profile deleted if out of lives. Stats recorded
Friend teleports: players can teleport to saved home points and send invites to near by friends to teleport as well
Kill notice: alerts when a player kills another player and what weapon was used
Bounties: players can put bounties on each other. If a player kills another player with a bounty on them, the value is added to their wallet
Kill streaks: while bounties are active, a kill streak can add to a player’s bounty automatically
Kick vote: vote to kick a player. Requires at least 10 players online and 8 must vote yes
Restart vote: vote to restart the server. Requires at least 10 players online and 8 must vote yes
Player list: shows all online player names and entity id so players can use commands against them
Lobby: teleports to a defined location. Allows players to return when finished but they must be with in 50 blocks to the lobby location
Real world time: displays the real world time based on the servers local time
Fps: allows you to set the target server fps on server load up
Location: players can check their world location, response is their x, y, z cordinates
Auction: place an item inside a secure loot and use commands to remove it and sell it in the auction
Wallet: takes note of player kills, zombie kills, deaths and spent coins. Calculates a total for use in the shop, auction, bounties
Bank: allows players to deposit in game coins or wallet coins to a bank account. Exchange coin types through the bank
Bike: save a bike id while inside a claimed space. Return a saved bike if close enough to it
Death return: while enabled, players can return to where they died
Entity cleanup: removes falling blocks, stuck falling trees
Command costs: set a price required to use certain commands. Dependant on ingame wallet and earning coins by killing zombies. In game coins such as casino coin can be transferred through the bank
Источник


