- Font Installation and Deletion
- Как установить шрифты в Windows XP 7 8 10
- Общая информация
- Извлечение из архива
- Windows XP
- Windows 7/Vista
- Windows 8/10
- Видео по теме
- How to Install the Fonts You Want in Windows 10
- How to Install Fonts in Windows 10
- Add a font
- Powerful apps for productivity, connection, and security
- Add a font
Font Installation and Deletion
An application can use a font to draw text only if that font is either resident on a specified device or installed in the system font table. The font table is an internal array that identifies all nondevice fonts that are available to an application. An application can retrieve the names of fonts currently installed on a device or stored in the internal font table by calling the EnumFontFamilies or ChooseFont functions.
To temporarily install a font, call AddFontResource or AddFontResourceEx. These functions load a font that is stored in a font-resource file. However, this is a temporary installation because after a reboot the font will not be present.
To install a font that will remain after the system is rebooted, use one of the following methods:
- Go to the Control Panel, click the Fonts icon, and select Install New Fonts from the File menu. The font is available to an application even before the reboot. However, in a terminal server situation the font is available for the current session but is not available for other sessions until after a reboot.
- Copy the font into the %windir%\fonts folder. Then, either go to the Control Panel and click the Fonts icon, or call AddFontResource or AddFontResourceEx. The font is available to an application even before the reboot. However, in a terminal server situation the font is available for the current session but is not available for other sessions until after a reboot. If you only copy the font into the %windir%\fonts folder, the font will be available only after the system is rebooted.
When an application finishes using an installed font, it must remove that font by calling the RemoveFontResource function.
A font installed from a location other than the %windir%\fonts folder cannot be modified when loaded in any active session, including session 0. Any attempt to change, replace, or delete will, therefore, be blocked. If modification to a font is necessary:
- Temporary fonts get loaded only in the current session. Before attempting any font modifications, call RemoveFontResource to force the current session to unload the font.
- Permanent fonts remain installed after reboot and are loaded by all created sessions. Call RemoveFontResource to force the current session to unload the font. Then, in the font registry key (HKEY_LOCAL_MACHINE\SOFTWARE\Microsoft\Windows NT\CurrentVersion\Fonts) find and remove the registry value associated with the font. Finally, reboot the machine to ensure the font isn’t loaded in any session. After reboot, proceed with your font modification/deletion.
Whenever an application calls the functions that add and delete font resources, it should also call the SendMessage function and send a WM_FONTCHANGE message to all top-level windows in the system. This message notifies other applications that the internal font table has been altered by an application that added or removed a font.
Как установить шрифты в Windows XP 7 8 10
Операционная система Windows позволяет централизованно управлять шрифтами, которые могут использовать все установленные приложения. Вместо того чтобы загружать данные отдельно в Photoshop, Microsoft Word и еще какие-нибудь программы, можно установить новый шрифт прямо в ОС. После этого он станет доступен для использования с помощью любого софта. В данной статье описывается процесс установки новых шрифтов в разных версиях ОС Windows: XP, 7, 8 и 10.
Общая информация
Шрифт определяет внешний вид печатных символов. Наиболее очевидные области, в которых вам могут понадобиться подобные косметические изменения — работы с текстом или графикой. Написание статей, веб-разработка, создание шаблонов грамот или поздравительных открыток — для всего этого могут потребоваться новые нестандартные шрифты.
Подключения можно разделить на 2 этапа: загрузку файла и установку. Найти нужные файлы можно на специализированных сайтах, дизайнерских форумах и торрент-трекерах. Windows поддерживает все популярные расширения: OpenType (OTF), TrueType (TTF), PostScript (PFM). Процесс установки одинаков для всех типов, но немного различается в разных версиях Виндовс.
Извлечение из архива
Часто загруженные из интернета файлы оказываются запакованными в специальную сжатую папку — архив (например, с расширением .rar или .7z). Это делается для экономии места на сервере и уменьшения трафика.

Чтобы работать с содержимым таких объектов их необходимо распаковать. Для этого используются особые программы – архиваторы. Если на вашем персональном компьютере подобного софта нет, его нужно установить.

Скачайте утилиту WinRar с официального вебсайта разработчика — http://www.win-rar.ru/download/. Не забудьте выбрать правильную разрядность своей операционной системы. Программа запустится на любой версии ОС, в том числе, и на 10-й.

Загрузите нужную версию и установите архиватор, следуя указаниям Мастера Установки (Install Wizard). По завершении процесса кликните правой кнопкой мыши по сохраненному архиву, чтобы вызвать настройки, и выберите опцию «Извлечь» («Extract»). В открывшемся окне нужно указать папку, в которую нужно распаковать содержимое. Теперь можно приступать к установке.
Windows XP
В Виндовс XP доступно 2 способа установки новых шрифтов. Оба очень просты – достаточно минимальных навыков владения персональным компьютером.
Первый способ — копирование загруженных файлов в нужную директорию вручную:
- Запустите Проводник Виндовс XP. Это делается с помощью значка «Мой компьютер» в меню «Пуск» или на рабочем столе.
- Откройте раздел диска, на который установлена система (как правило, он имеет букву «C:/»).
- Перейдите в папку «Windows/Fonts».

- Скопируйте сюда файлы шрифтов, которые хотите установить (не забудьте их предварительно разархивировать).
Вы также можете воспользоваться стандартным инструментом Windows XP:
- Вызовите меню «Пуск».
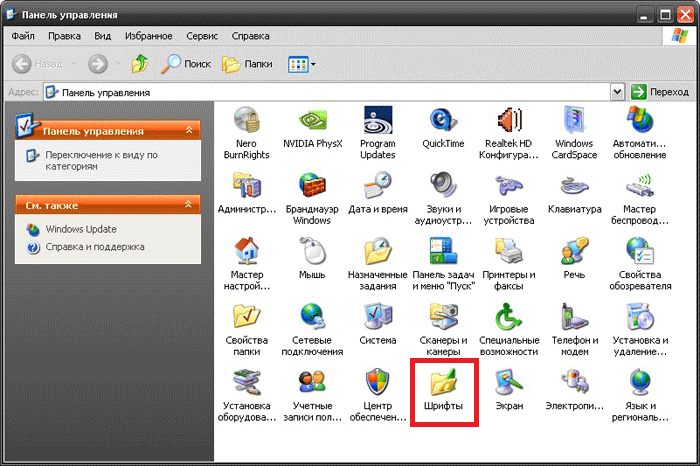
- Откройте «Панель Управления».
- Перейдите в каталог «Шрифты».
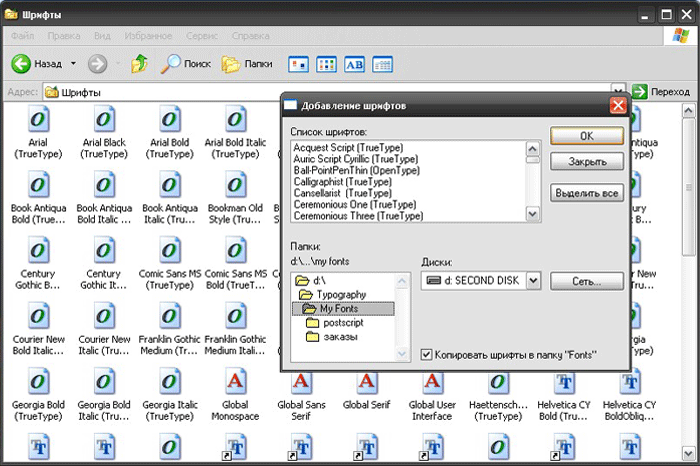
- Кликните по кнопке «Файл», которая расположена в меню сверху.
- В ниспадающем списке нужно выбрать опцию «Установить шрифт».
- Нажмите Сеть… и укажите путь к подготовленным файлам.
- Щелкните OK .
Теперь требуется перезапустить все активные программы, чтобы их настройки обновились. После этого вы сможете выбрать в них новый шрифт.
Windows 7/Vista
По сравнению с версией XP в Windows 7 и Vista разработчики сделали процесс подключения шрифтов еще более простым:
- Выделите файлы шрифтов, которые нужно установить. Если вам нужно выделить несколько объектов, зажмите клавишу Ctrl и нажимайте на них поочередно.
- Вызовите контекстное меню, кликнув по одному из выделенных элементов правой кнопкой мыши.
- Выберите опцию «Установить» («Install») в ниспадающем списке.

Аналогично предыдущей версии, пользователи также могут просто скопировать все файлы в папку «Windows/Fonts».
Если на вашем системном диске осталось мало места, вы можете разместить массивное «тело» шрифта в другом месте и подключить его с помощью ярлыка. Сначала эту функцию нужно включить в системных настройках:
- Вызовите «Пуск».
- Перейдите в «Панель Управления».
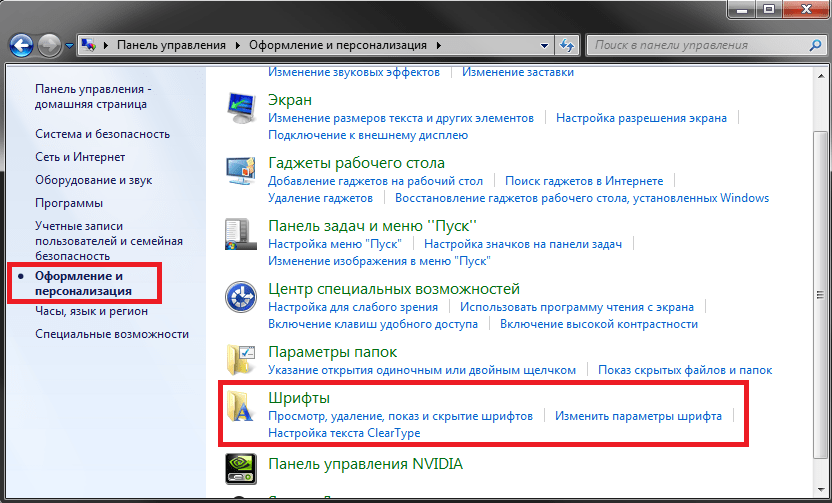
- Откройте категорию «Оформление и Персонализация».
- Выберите раздел «Шрифты».
- В меню, расположенном слева, щелкните по гиперссылке «Параметры шрифта».
- В графе «Параметры установки» поставьте отметку напротив пункта «Разрешить установку с помощью ярлыков».
- Нажмите OK .

Теперь при подключении новых шрифтов вы сможете выбрать опцию «Установить как ярлык».
Обратите внимание: если вы удалите файл или перенесете его в другое место, шрифт перестанет работать.
В Виндовс 10 тоже есть подобная функция, и запускается она точно так же.
Windows 8/10
Процесс подключения шрифтов в Виндовс 8-й и 10-й версий аналогичен.
Во-первых, пользователи могут просто переместить нужные файлы в системный каталог «Fonts», как в предыдущих релизах.

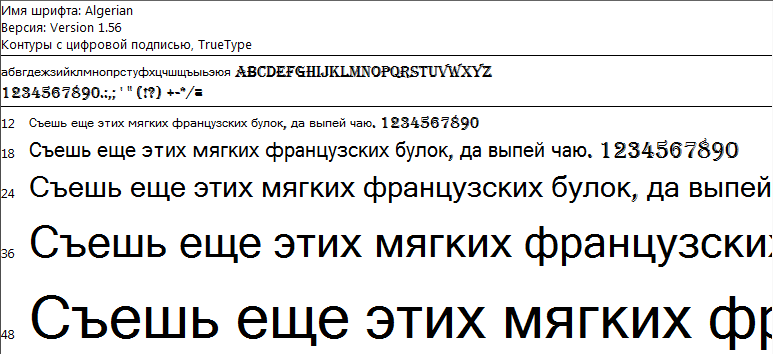
Во-вторых, в Виндовс 10 вы можете просто открыть скачанный шрифт, дважды кликнув по файлу. В открывшемся окне будет презентация внешнего вида символов, а также кнопка Установить . Щелкните по ней, и все будет готово. Как и в прежних версиях, вам потребуется перезапустить все работающие программы, чтобы обновить их настройки.
Видео по теме
How to Install the Fonts You Want in Windows 10


Windows comes preloaded with a lot of stylish fonts, but they might not be what you are looking for. Thankfully Windows 10 makes it easy to install any font you desire. Here’s a look at how to install them.
How to Install Fonts in Windows 10
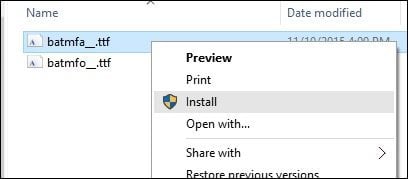
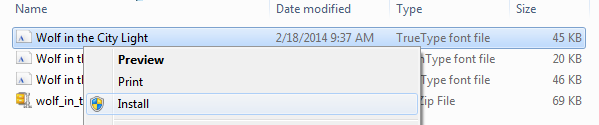
Once you have your font downloaded (these are often .ttf files) and available, just right-click it and click Install. That’s it! I know, uneventful.
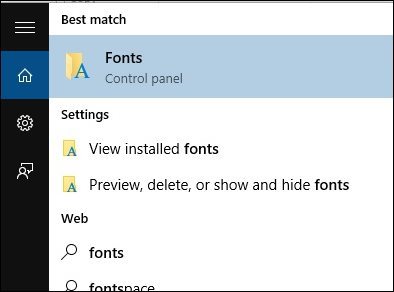
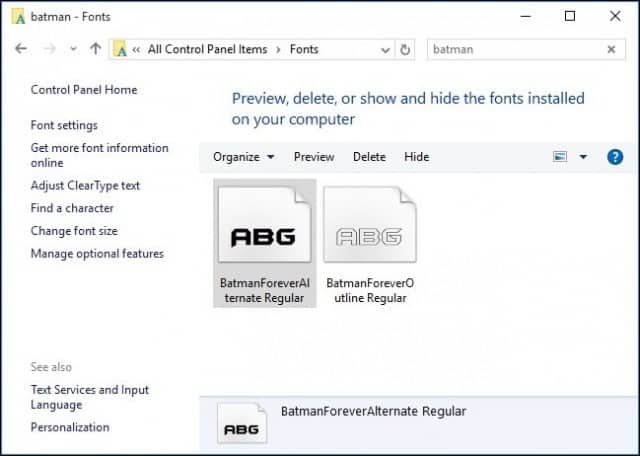
To check if the font is installed, press Windows key+Q then type: fonts then hit Enter on your keyboard.
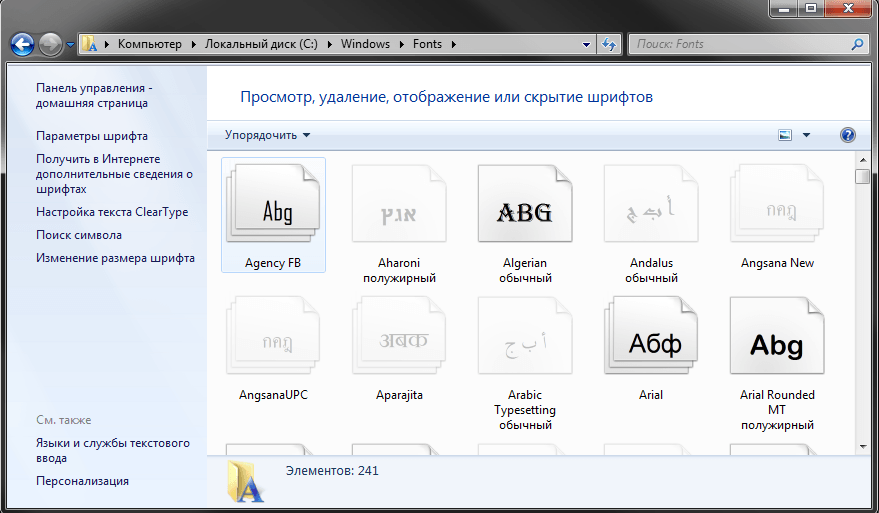
You should see your fonts listed in the Font Control Panel.
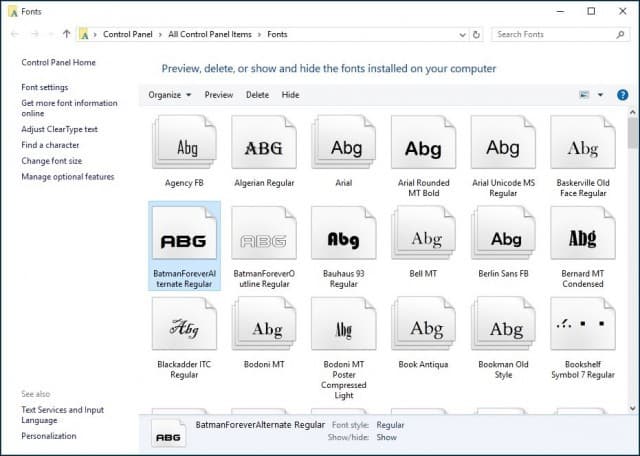
If you don’t see it and have a ton of them installed, just type in its name in the search box to find it.
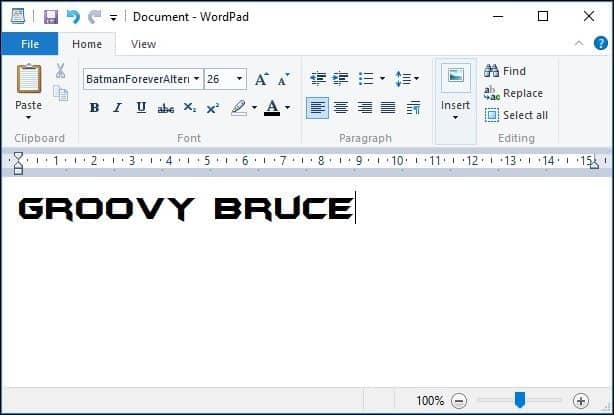
That’s all there is to it. Now you can create stylish and unique documents with some of your favorite fonts not included in Windows 10 by default.
If you’re not on Windows 10 yet, check out our article on how to install fonts on Windows 8.1.
If you’re a graphics design enthusiast, before downloading a font, be sure to check out our article about the best and worst fonts for homemade designs.
Add a font
Powerful apps for productivity, connection, and security
One way you can change the style of a document is by adding a new text font. To add a font to Word, download and install the font in Windows, where it will become available to all Office applications.
Fonts come as files, and there are many sites on the Internet where you can download free fonts, such as DaFont. You can also import font files from a CD, a DVD, or your organization’s network. TrueType (file extension .ttf) and OpenType (.otf) fonts both work fine.
Note: Before you download a font, make sure that you trust the source.
Add a font
Download the font files. These often come compressed in .zip folders . In one .zip folder, you might find several variations on the same font, such as “light” and “heavy.” A .zip folder usually looks like this:

If the font files are zipped, unzip them by right-clicking the .zip folder and then clicking Extract. Now you’ll see the available TrueType and OpenType font files:

Right-click the fonts you want, and click Install.
If you’re prompted to allow the program to make changes to your computer, and if you trust the source of the font, click Yes.
Your new fonts will appear in the fonts list in Word.
Here are two other ways to install and manage fonts:
All fonts are stored in the C:\Windows\Fonts folder. You can also add fonts by simply dragging font files from the extracted files folder into this folder. Windows will automatically install them. If you want to see what a font looks like, open the Fonts folder, right-click the font file, and then click Preview.
Another way to see your installed fonts is through Control Panel. In Windows 7 and Windows 10, go to Control Panel > Fonts. In Windows 8.1, go to Control Panel > Appearance and Personalization > Fonts.
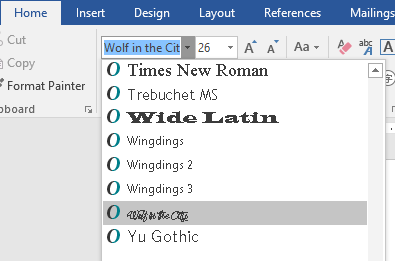
The next time you start Word, you’ll see the fonts you added in the Font list.


