- How to Install Adobe Reader on Linux Mint
- Why Adobe Reader?
- Adobe Reader for Linux
- Installing Adobe Reader
- The official DEB package
- Through Wine
- Using Adobe Reader
- Native Adobe Reader (old version)
- New Adobe Reader (PlayOnLinux + Wine)
- Final thoughts
- About the author
- Sidratul Muntaha
- Скачать Adobe Reader DC для Linux
- Возможности Acrobat Reader DC для Linux
- Как скачать софт
- Установочный процесс
- Как пользоваться Акробат Ридер
- Как в Акробате удалить страницу
- Как объединить файлы PDF в Adobe Acrobat
- Как создать файл формата PDF
- Преимущества Акробат Ридер для Linux
- Заключение
How to Install Adobe Reader on Linux Mint
PDF stands for Portable Document Format. Because of its popularity, it became an open standard that’s maintained by the International Organization for Standardization (ISO). Just like any other documents, PDFs can include images, buttons, links, audio, video, and others. Moreover, it can be digitally signed for authenticity. In addition, PDF files can have password locking!
Now, let’s say you have a PDF file. How to read it? There are plenty of ways of accessing the contents of a PDF file. The most convenient way of doing so is having a dedicated PDF reader. As the headline suggests, today, we’ll be completely focusing on Adobe Reader – the ultimate PDF reader from Adobe.
Why Adobe Reader?
Yes, there are numerous PDF readers in the wild. For example, even all modern day browsers can access PDF files. So then, why should we go with Adobe Reader?
There are numerous reasons why Adobe Reader is a better choice. First of all, it’s a dedicated PDF reader unlike the built-in readers that come with the web browser. This offers more flexibility in reading the PDF documents while rendering all the PDF features accurately. Even office applications like MS Word or LibreOffice Writer aren’t as reliable as a PDF reader.
Next up, the interface. Adobe Reader had a bad reputation in the community for a bad interface. I also didn’t like the previous ones as well. However, over time, the redesign and continuous improvement made the interface cleaner and leaner. Now, the only buttons to distract you are the must-have options like zoom, page selection, and a couple of others.
Again, Adobe is actually the inventor of PDF. In 1991, Dr. John Warnock, the co-founder of Adobe, launched the project for paper-to-digital conversion named “The Camelot Project”. The goal was to capture a document, send an electronic version to anywhere and get the same output by printing. In 1992, the project successfully created the PDF format. For electronic document, this was a major breakthrough.
Adobe Reader for Linux
Because of the immense popularity of PDF, there had to be PDF readers for all the popular platforms, especially Linux. That’s why you’ll find out plenty of PDF readers for all the popular Linux distros, especially for the Ubuntu and Ubuntu-based ones. Adobe Reader is also available for Linux Mint (Ubuntu-based distro).
Note: Adobe discontinued the development of Adobe Reader for Linux platform a long time ago. The latest Adobe Reader available for Linux systems is v9.5.5 while the current latest version is v11.0.23. For enjoying v11.x, we have to follow a trickier path.
Installing Adobe Reader
There are 2 ways this process can be performed.
The official DEB package
The outdated version of Adobe Reader also has a dedicated DEB package.
Run the following command for grabbing the latest DEB package.
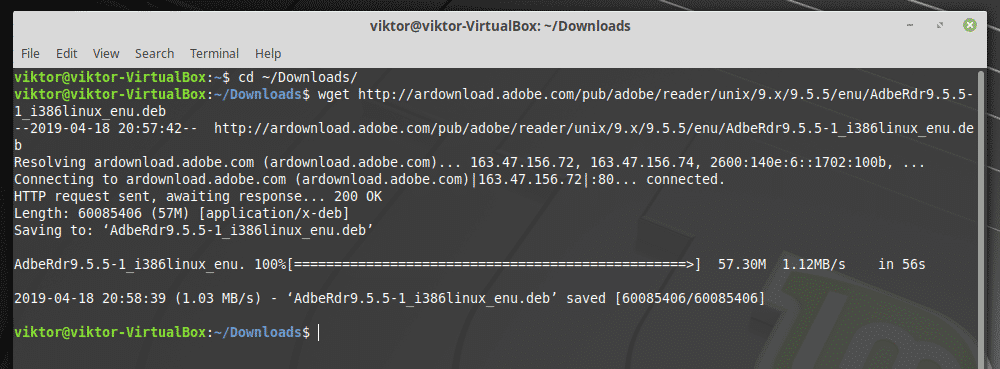
Once the download is complete, run the following command for installing the DEB package.
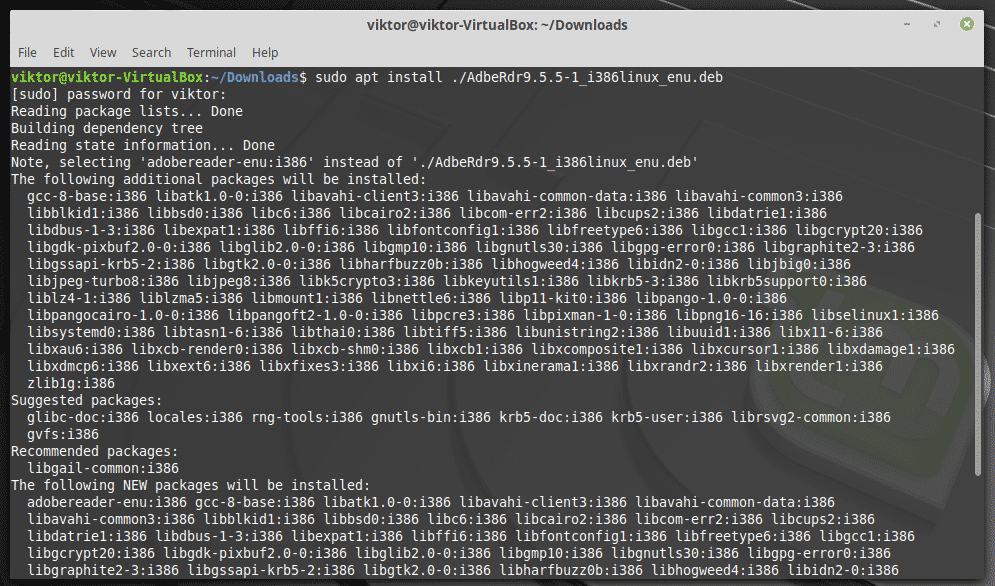
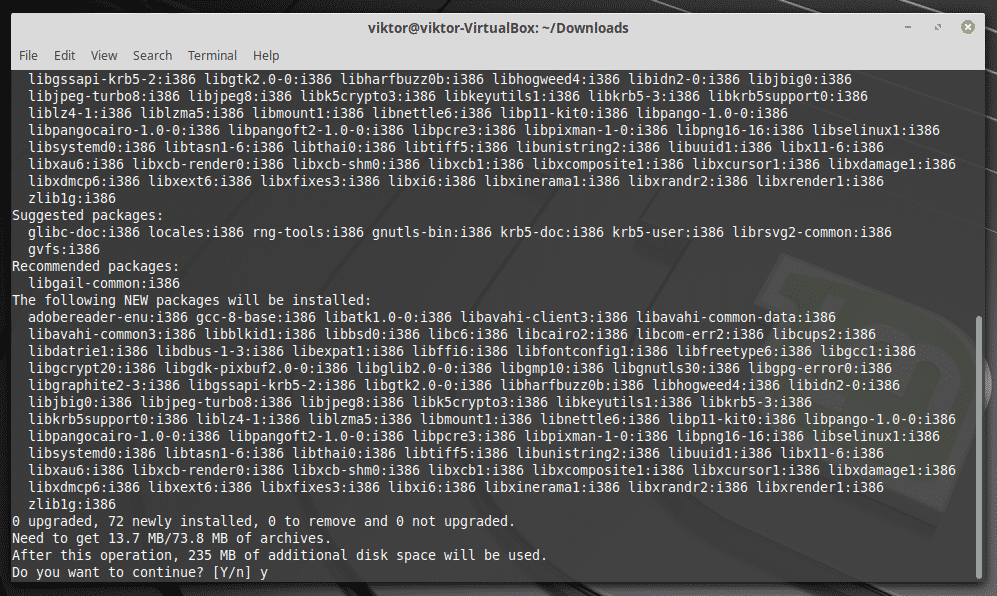
Note: As you may already have guessed, it’s just the 32-bit binary; no 64-bit version. That’s why the dependencies list is so big.
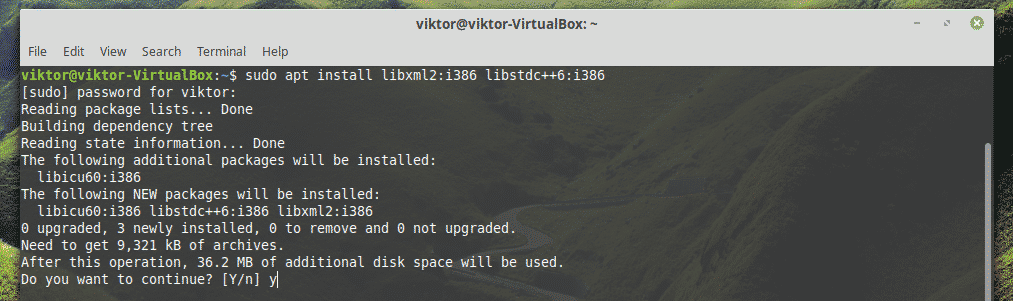
Don’t forget to install the following dependencies as well. Otherwise, the app won’t even start.
Through Wine
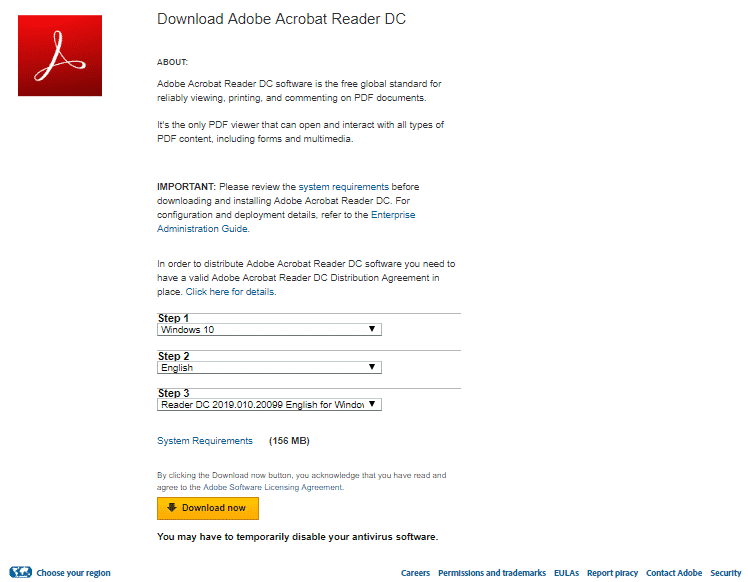
It would be nice if Adobe didn’t discontinue support for Linux. Maybe Adobe didn’t find any business value in that approach. Anyway, that’s not going to stop us from enjoying the latest Adobe Reader! For getting the latest version, we’ll grab the Windows version. By far, it’s the best method for enjoying Adobe Reader.
At first, install PlayOnLinux. I’m running the current latest version Linux Mint 19.1 Tessa (based on Ubuntu 18.04 Bionic Beaver), so we have to follow the steps for Bionic.
At first, add the GPG key for PlayOnLinux.

Now, add the repository information for APT.
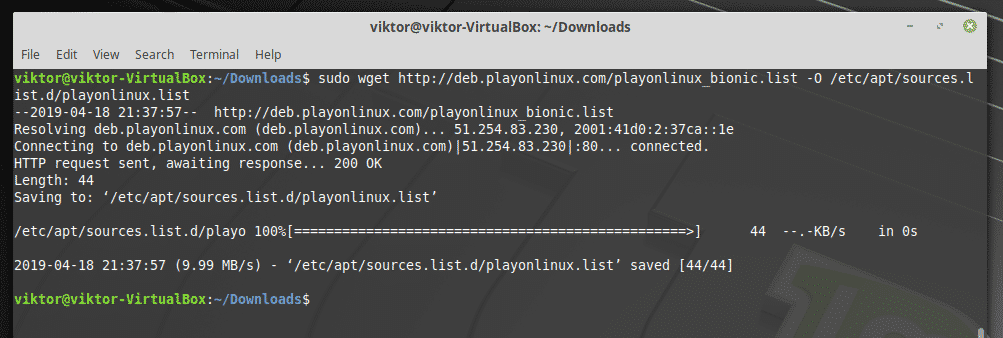
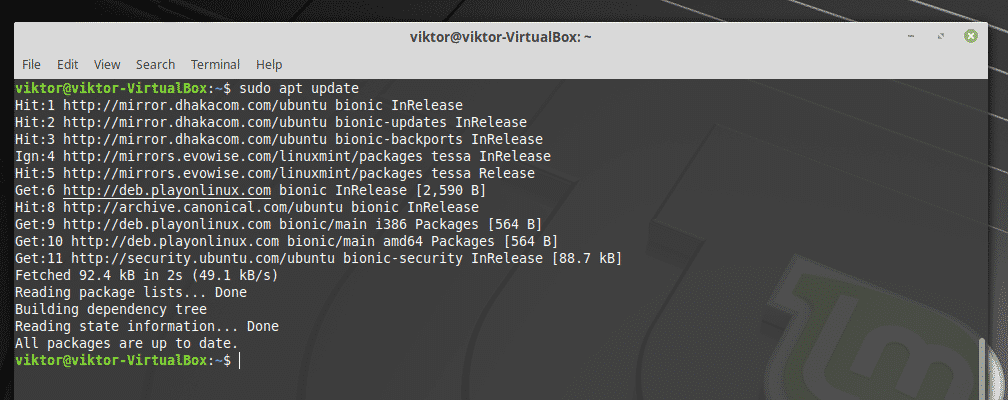
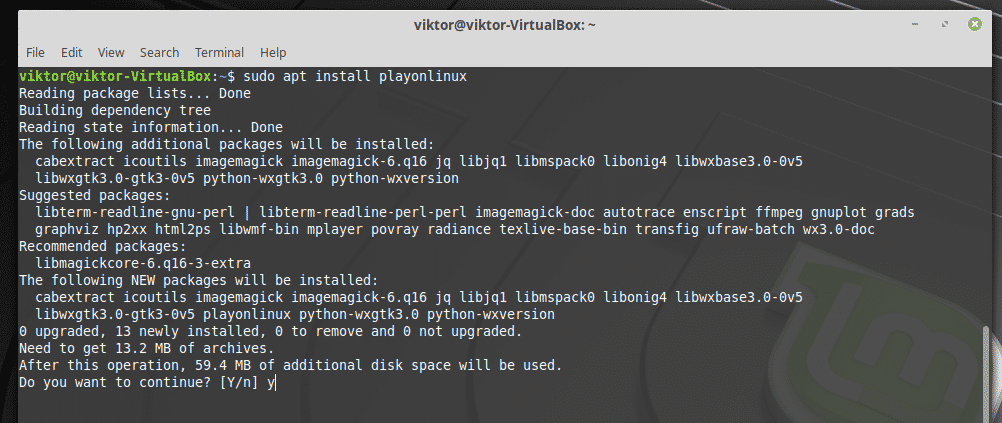
Finally, update the APT cache and install PlayOnLinux.
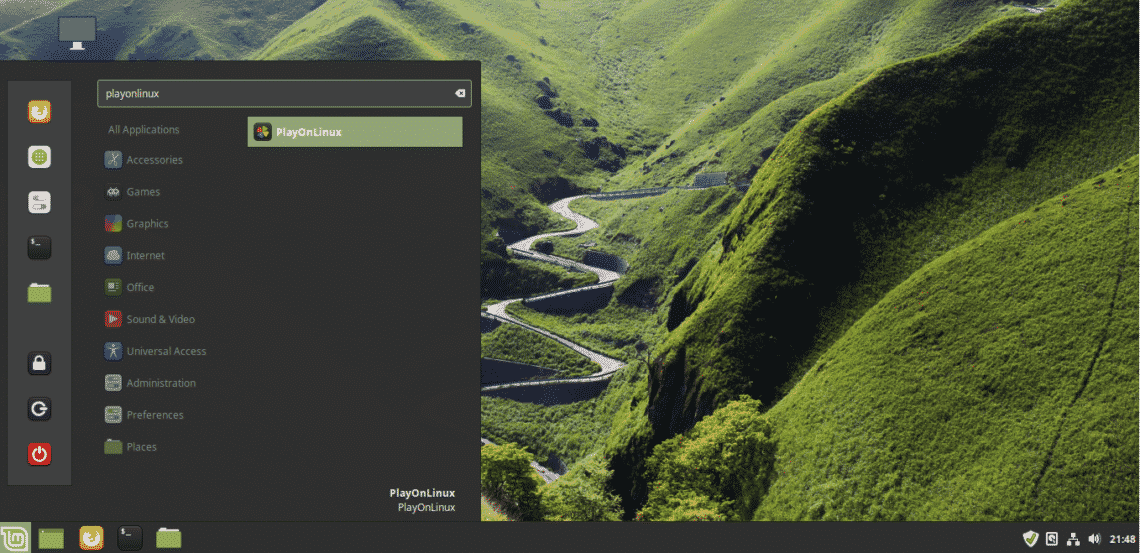
Fire up PlayOnLinux.
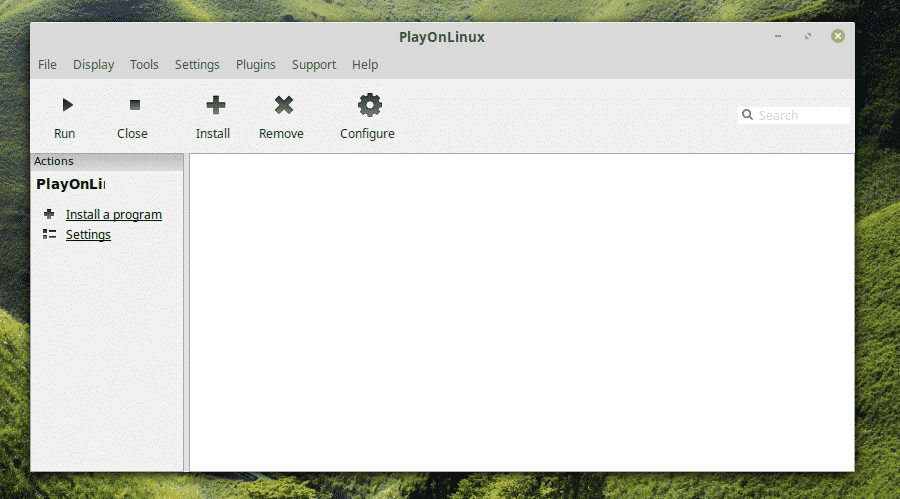
Click on “Install a program”.
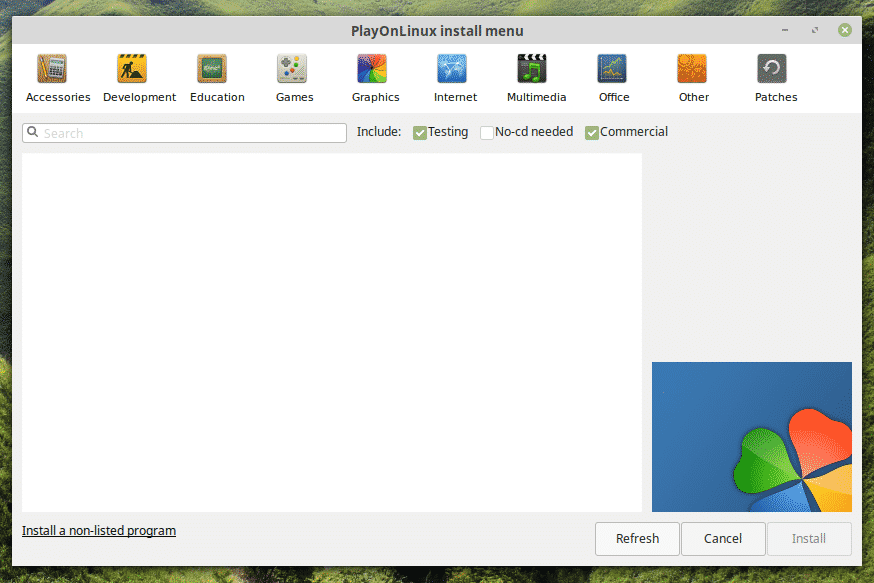
Search for “adobe acrobat reader dc” (without quotes).
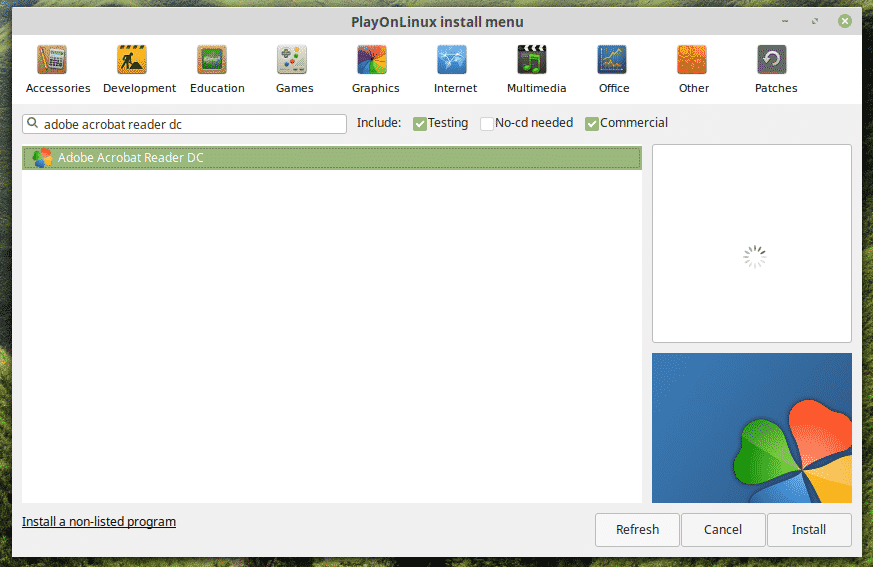
The installation wizard will start. Click “Next”.
Again, click “Next”.
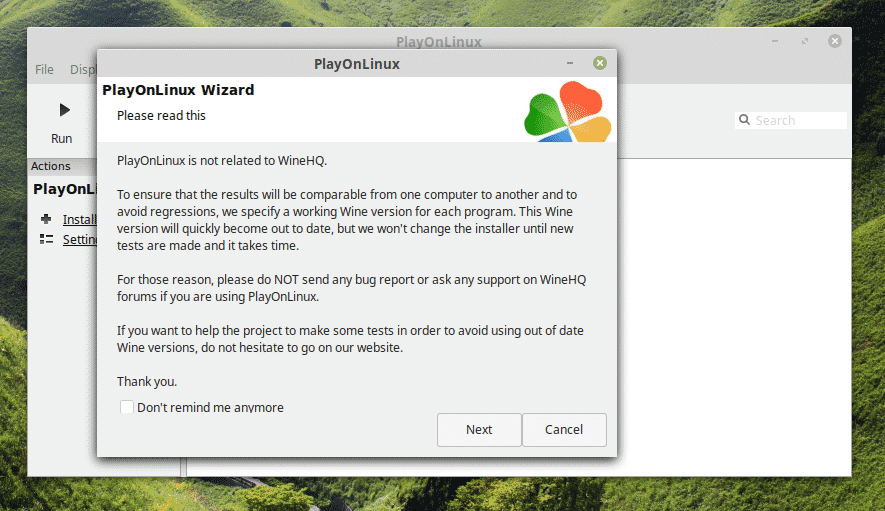
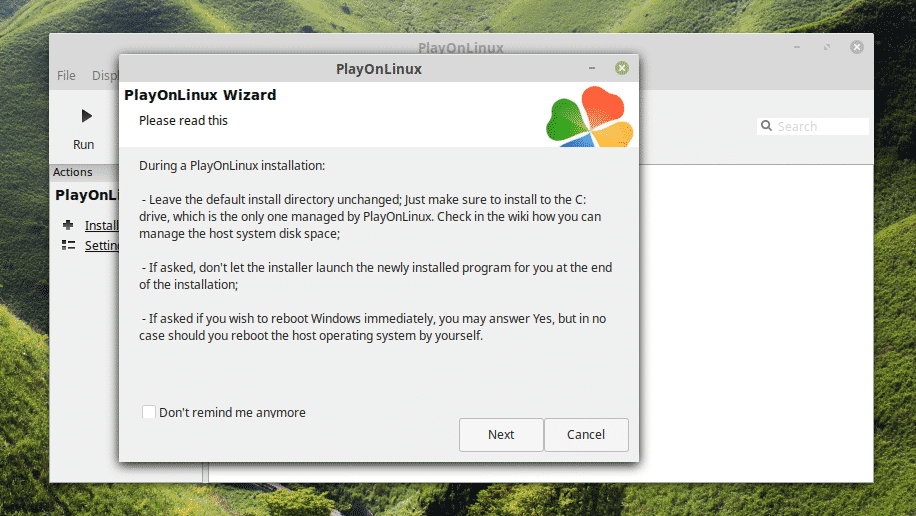
The PlayOnLinux installation wizard will pop up. Click “Next”.

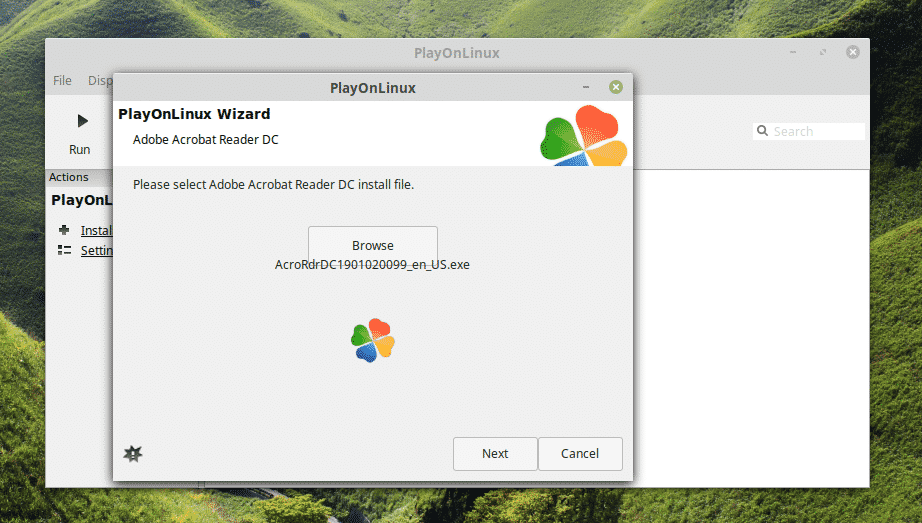
Now, if you already have the setup file, then you can choose the file to run the installation.
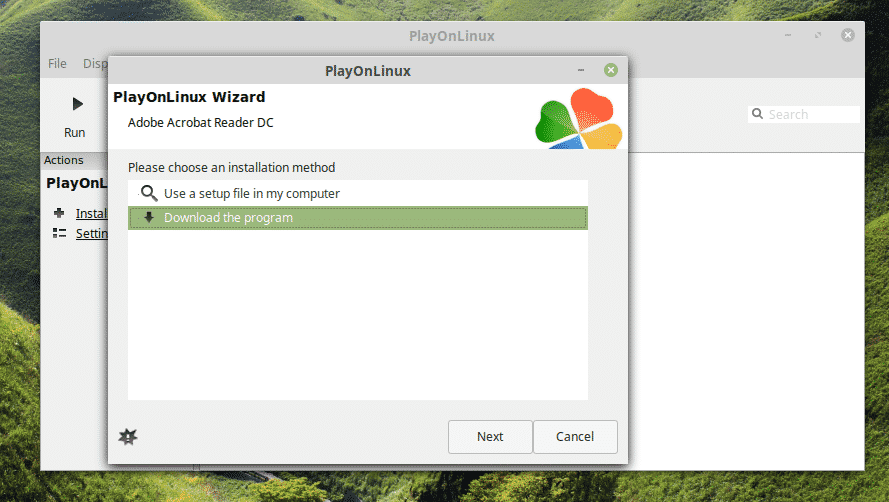
Then, you’ll be able to select the installer from PlayOnLinux.
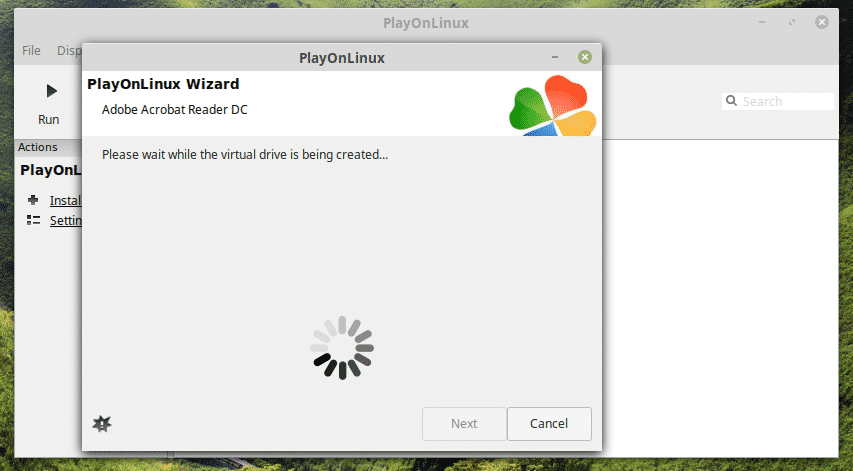
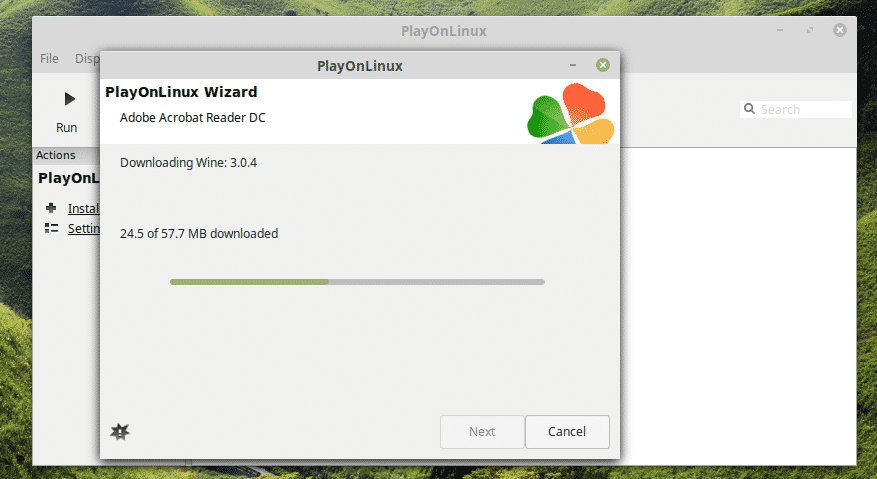
At this point, PlayOnLinux will download and install Wine. Be patient while the download completes.
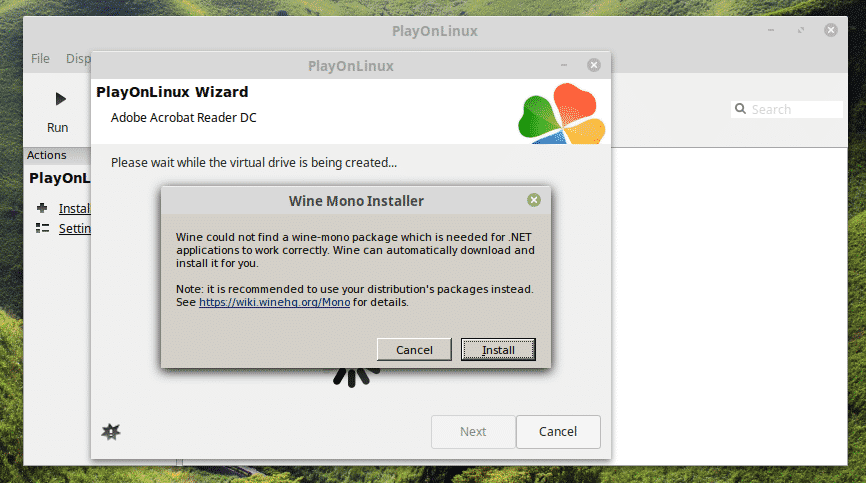
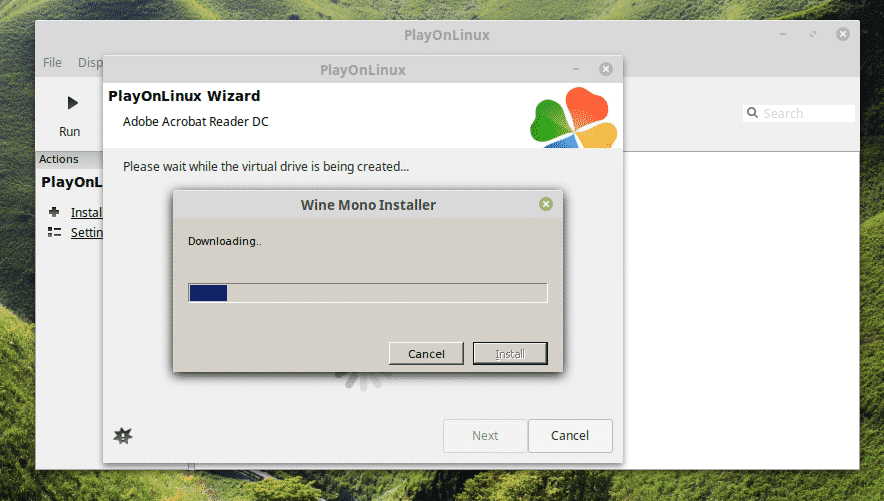
Click “Install” when Wine Mono installation is prompted.
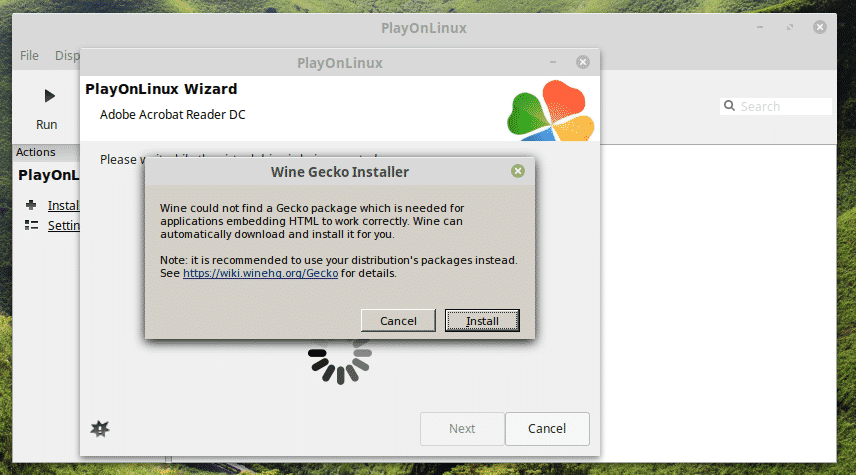
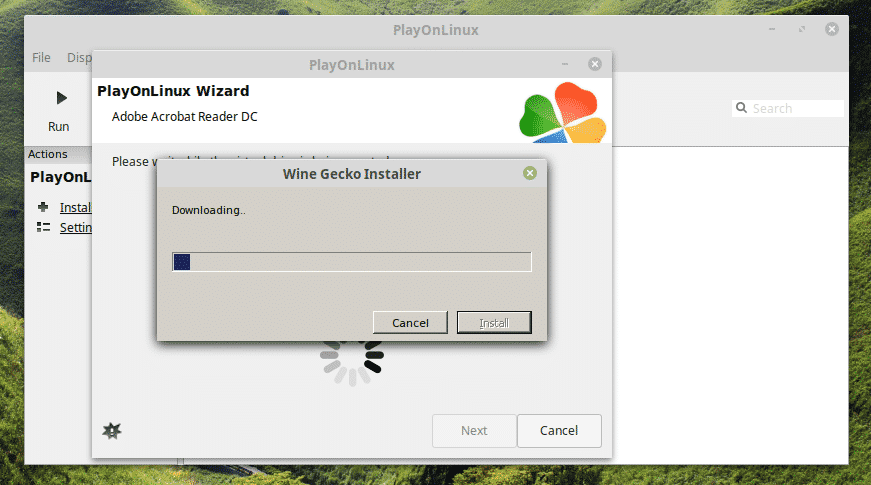
Now, it’s time to install Gecko. Click “Install”.
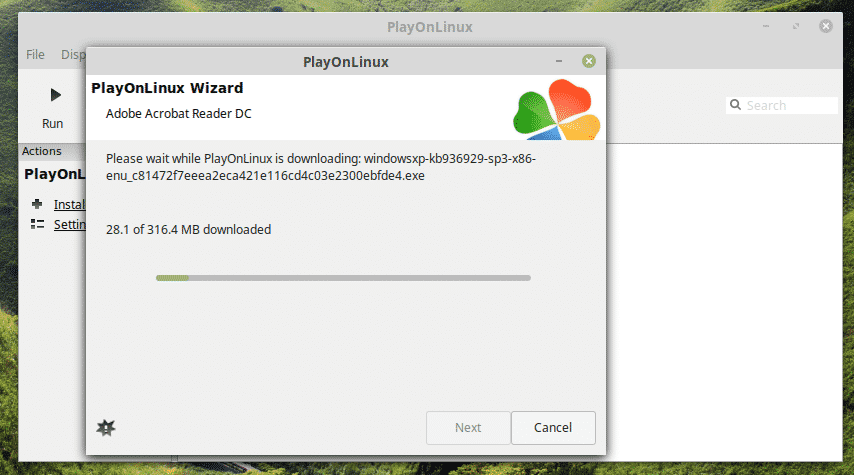
WOW! I didn’t know that PlayOnLinux had to download Windows XP! Interesting, right?
Let the Adobe Reader installer do the installation.
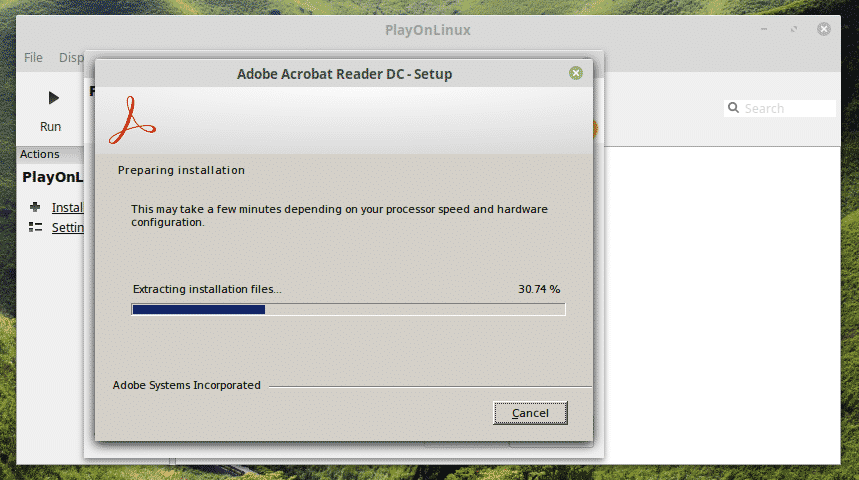
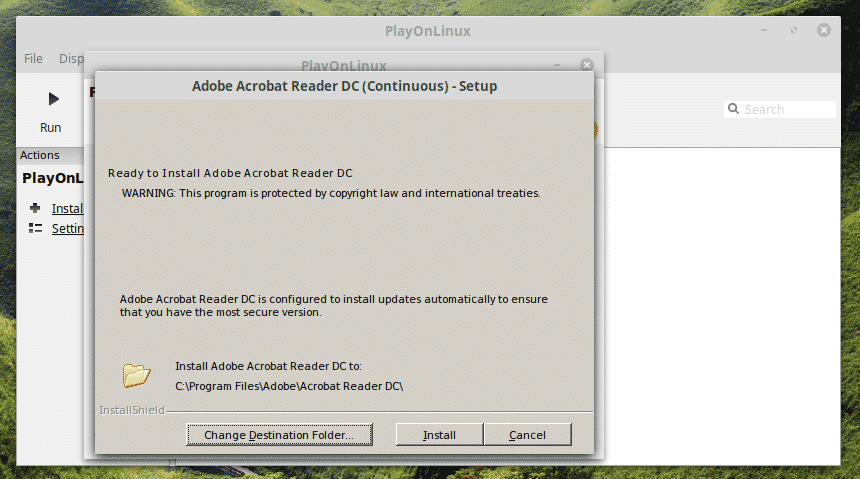
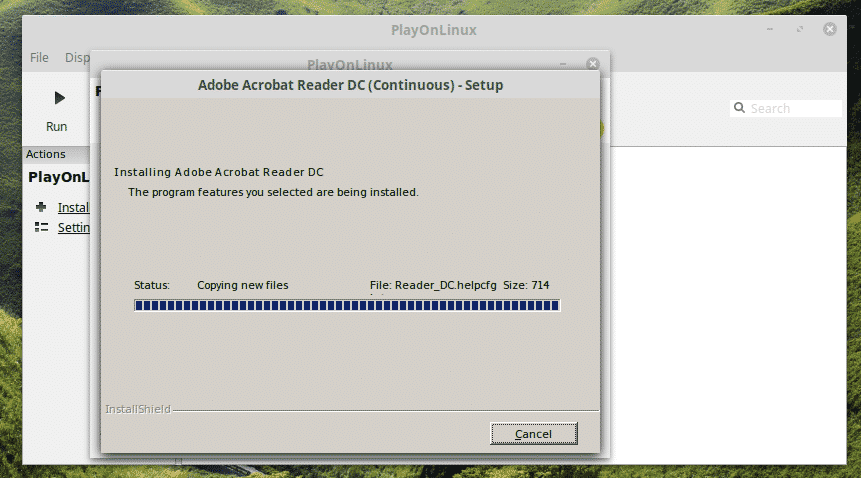
Voila! Installation FINALLY complete!
Using Adobe Reader
Depending on which method you went through to install Adobe Reader, you’ll have to access it differently.
Note: Both Adobe Reader (Linux native and Windows) can exist on the same machine and they won’t conflict with each other.
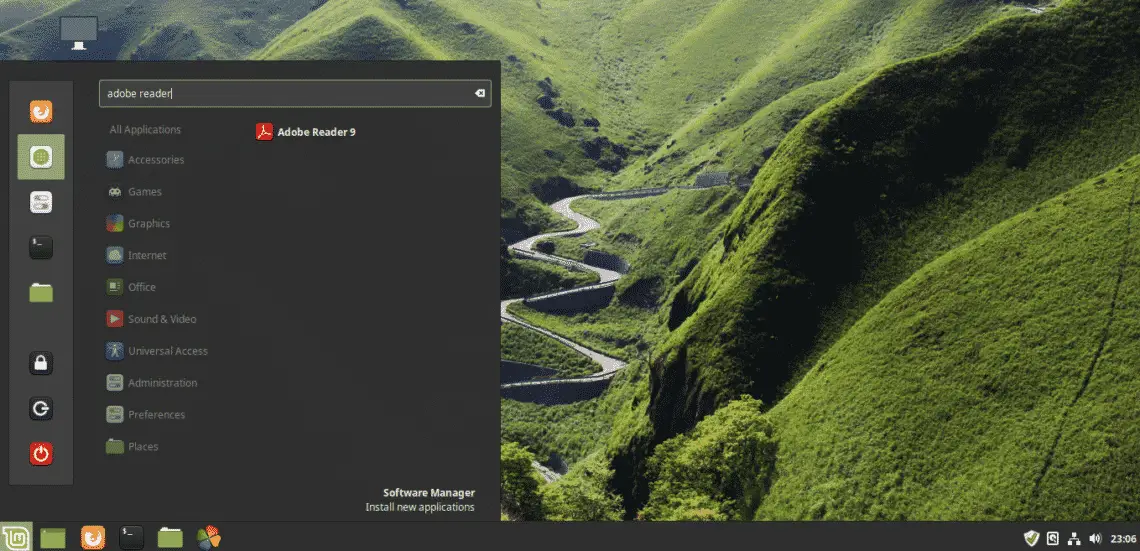
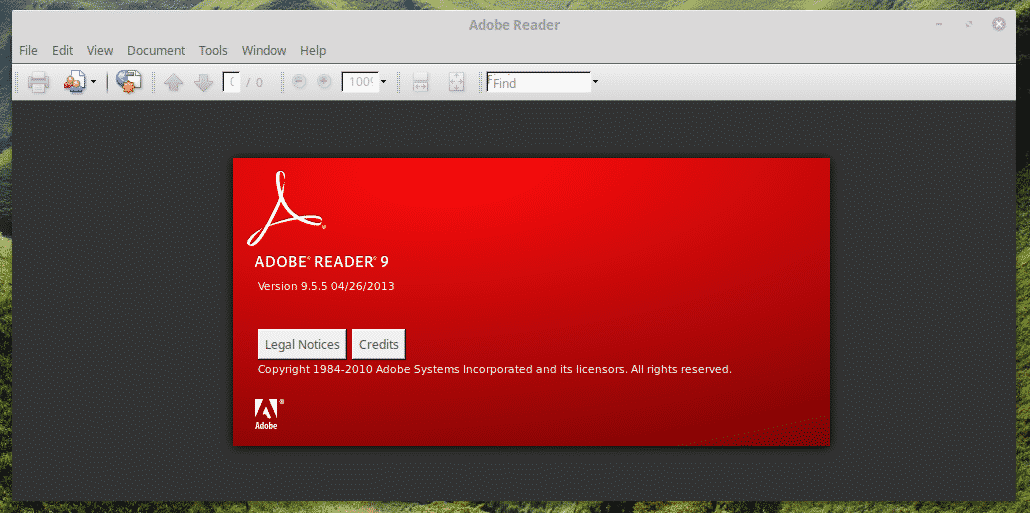
Native Adobe Reader (old version)
Search for Adobe Reader in the menu.
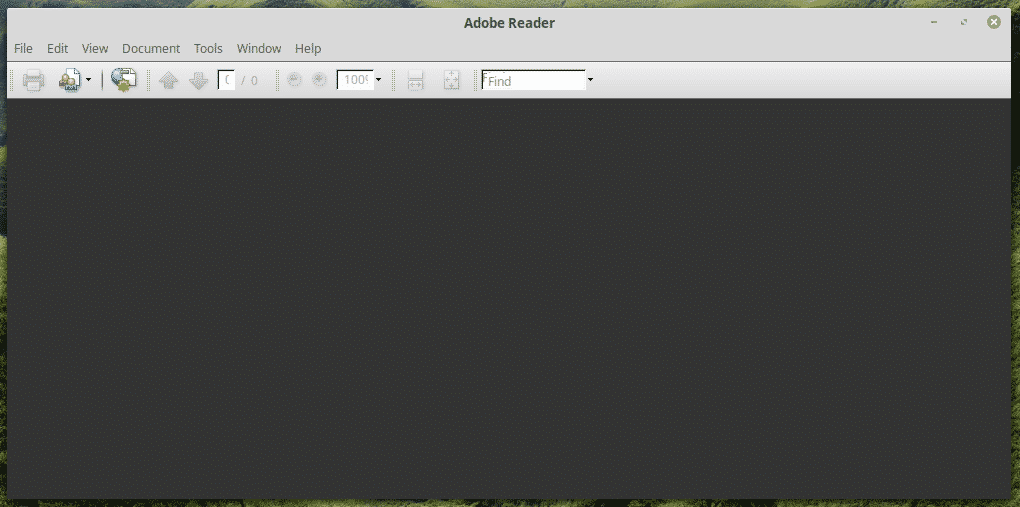
Accept the license agreement.

Voila! Adobe Reader is ready! But alas, it’s a relic of 2013.
New Adobe Reader (PlayOnLinux + Wine)
This one is a little tricky to launch. You can either use the desktop shortcut or go through PlayOnLinux.
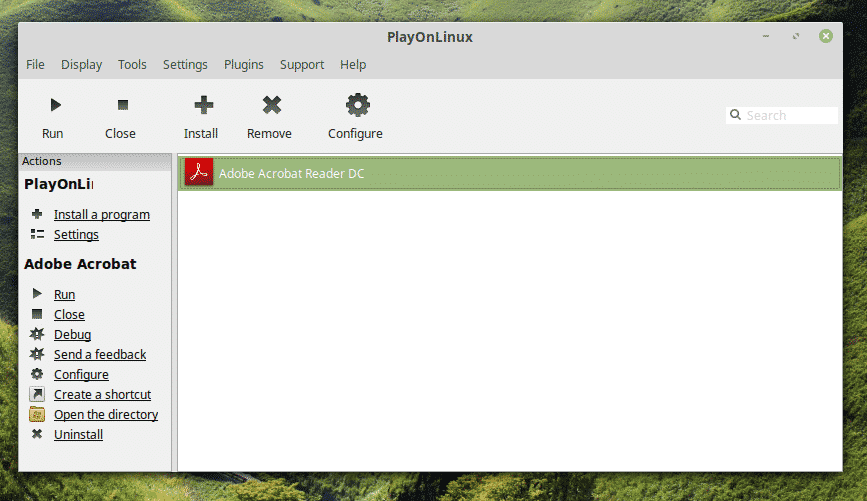
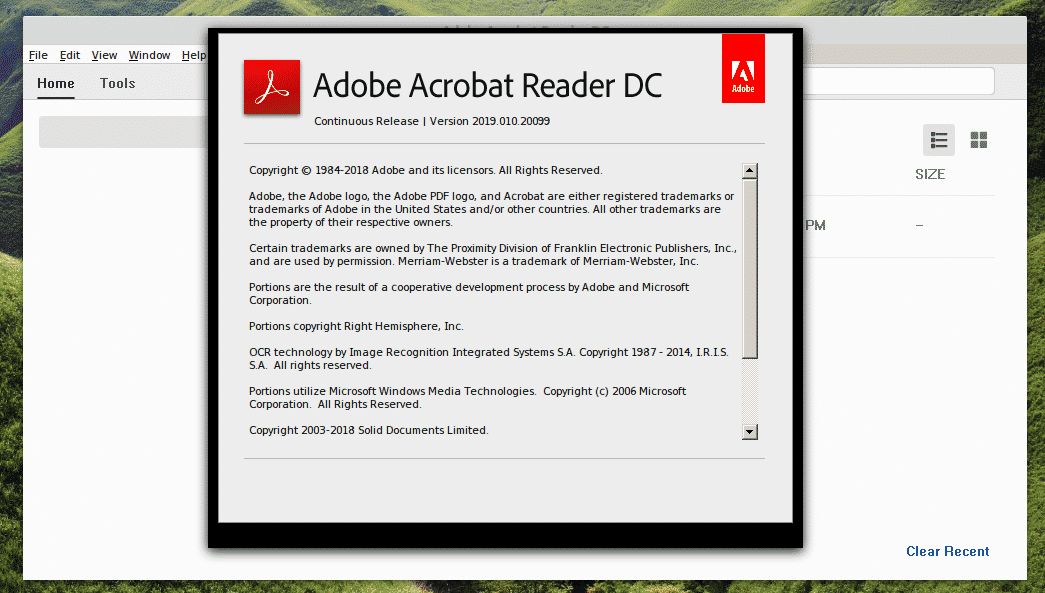
Voila! The latest version of Adobe Reader!
Final thoughts
Adobe Reader is one of the top-notch PDF readers for your PDF documents. It’s nice to have this phenomenal piece of software at your side, right?
About the author

Sidratul Muntaha
Student of CSE. I love Linux and playing with tech and gadgets. I use both Ubuntu and Linux Mint.
Источник
Скачать Adobe Reader DC для Linux
Работа с документами формата PDF является очень актуальной, так как это самый распространённый вариант файлов. Вы можете скачать Adobe Reader для Linux, представляющий собой специализированный софт, гарантирующий максимальный комфорт в процессе работы.
↓ Скачать программу Adobe Acrobat Reader для Linux вы можете по прямой ссылке внизу статьи ↓

Возможности Acrobat Reader DC для Linux
Продукт является кроссплатформенным и устанавливается для любых операционных систем (например, Windows, macOS). Помимо этого, можно без проблем инсталлировать Adobe Acrobat Linux.
Основной функционал выглядит следующим образом:
- Взаимодействие со всеми видами содержимого в формате PDF.
- Удаление ненужных страниц.
- Создание цифровой подписи для документов.
- Система конвертации.
- Создание пустых документов.
Как скачать софт
Чтобы скачать Adobe Reader для Linux, нужно просто перейти по прямой ссылке на нашем сайте. В результате вы получите инсталлятор для желаемого продукта.
Обратите внимание! Если вам предлагают скачать Adobe Acrobat DC для Linux торрент, то поступать таким образом мы вам не рекомендуем. Как показывает практика, именно таким образом происходит заражение вашего устройства вирусом.
Установочный процесс
Установка реализуется стандартным путём для рассматриваемой ОС:
- Запустите установщик.
- Укажите язык.
- Через терминал откройте папку со скачанным компонентом и установите продукт при помощи соответствующей команды.
Как пользоваться Акробат Ридер
Теперь непосредственно о том, как пользоваться программой Adobe Acrobat Reader. Далее будут описаны наиболее актуальные вопросы касательно софта, которые интересуют достаточное количество пользователей.
Как в Акробате удалить страницу
Первый момент касается того, как в Адоб Ридер для Линукс можно удалить страницу. Нужно просто следовать такой инструкции:
- Запустите тот файл, который вы хотите подвергнуть изменениям.
- Выберите вкладку под названием «Инструменты».
- Перед вами появится целый набор различных иконок, подписанных соответствующим образом. Среди всего представленного кликните на «Систематизировать страницы».

- После перехода по указанной опции содержимое всего файла будет отображено постранично. Ваша задача в том, чтобы нажать на тот элемент, который нужно удалить.
Дополнительная информация! Если хотите убрать несколько компонентов, для получения нужного результата зажмите клавишу «Ctrl» и начните выделение.
- После выбора нажмите на кнопку в виде корзины.

- Подтвердите свои намерения выполнить удаление, нажав на «ОК».
На этом процедура по удалению страниц завершена. Всего лишь несколько действия и ваш файл обретёт нужный вам вид.
Как объединить файлы PDF в Adobe Acrobat
Следующий момент – это вопрос о том, как в Adobe Acrobat PDF Reader выполнить объединение нескольких файлов. Данная операция позволяет в значительной степени экономить время и получать при этом нужный результат.
Чтобы добиться желаемого, потребуется:
- Запустить программу и выбрать один из файлов, который вас интересует.
- Следующим действием перейдите в подраздел под названием «Инструменты».
- Выберите среди всех представленных опций вариант «Объединить файлы».

Вам останется лишь следовать представленной инструкции от системы и через проводник выбрать компоненты, которые вас интересуют.
Как создать файл формата PDF
Следующий момент – это создание документа. Для реализации действия потребуется всё та же программа для редактирования PDF файлов Adobe Acrobat. Ваша задача заключается в том, чтобы:
- Запустить софт и открыть ранее известную вкладку «Инструменты».
- Среди всех доступных опций выбрать «Создать PDF».

- В меню, которое отобразится в левой зоне, выбрать вариант «Пустая страница», а затем кликнуть на «Создать».
Обратите внимание! Если вами преследуются другие цели, можете указывать любой нужный пункт из представленных.

После того, как пользователь реализует инструкцию, описанную выше, перед ним появится пустой файл. Теперь останется лишь редактировать его любым желаемым образом, используя при этом предлагаемые инструменты.

Как видите, процесс работы с программой для создания PDF файлов не вызывает никаких затруднений, всё обусловлено высоким качеством софта.
Преимущества Акробат Ридер для Linux
Из плюсов такого продукта можно выделить:
- Современный дизайн. Всё выполнено по самым последним стандартам.
- Удобный интерфейс. Разработчики позаботились о том, чтобы даже неопытные пользователи на интуитивном уровне могли добиваться желаемого результата.
- Широкий набор опций. Можно делать всё, что вам потребуется.
- Низкие требования к системе.
Заключение
Если вы решите скачать Акробат Ридер для Linux, в распоряжении у вас появится высококачественный софт от всемирно известного разработчика, который будет обеспечивать лишь комфорт в процессе работы. Чтобы гарантировать эффективность при выполнении задач, предоставлен широчайший набор опций.
Источник


