- Top 20 Basic Kali Linux Commands
- 1. Date Command –
- 2. Cal Command –
- 3. whoami Command –
- 4. pwd Command –
- 5. ls Command –
- 6. cd Command –
- 7. mkdir Command –
- 8. cat Command –
- 9. cp Command –
- 10. mv Command –
- 11. rm Command –
- 12. uname Command –
- 13. uptime Command –
- 14. users Command –
- 15. less Command –
- 16. more Command –
- 17. sort Command –
- 18. vi Command –
- 19. free Command –
- 20. history Command –
- The 22 most basic commands of Kali Linux
- Category 1: General
- Category 2: Manipulation commands:
- PART THREE: Reading Commands
- PART FOUR: Editing Commands
- PART FIVE: Permission Commands
- Wrapping things up:
- About the author
- Younis Said
Top 20 Basic Kali Linux Commands
Kali Linux is an open source operating system developed by Offensive Security . It contains a bunch of security tools divided by categories for Penetration Testing or Ethical Hacking in a practical environment to test the reliability and security of the systems in the unusual situations.
“Fairly, Kali Linux isn’t easy to learn and probably will be difficult to understand for beginners. However, it is worth studying it due to the wide range of its cybersecurity tools,” – says Caralee Adams, PR specialist from Bid For Writing company and Kali Linux enthusiast.
You can learn Linux course here: Linux Training Course
Also, please refer Linux Certification Training who provides the best industry-oriented Linux online training course
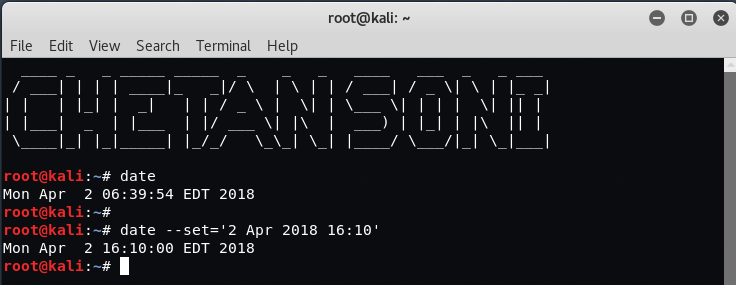
1. Date Command –
This command is generally used to display the system date and time. You can also set a custom date by typing the below command in your terminal.
Syntax – “date –set=’2 Apr 2018 16:10′
2. Cal Command –
The cal command simply displays a formatted calendar of current month in your terminal screen. If in case, you need an advanced version of cal, then you can also download ncal package in your Linux machine which displays the calendar vertically along with more options.

3. whoami Command –
The whoami command simply prints the effective user ID where as who command prints the information about users who are currently logged in.
You can also use the “w” command to see who is logged on and what they are doing.

4. pwd Command –
pwd stands for “Print Working Directory” which simply prints the name of the working directory or you can directly use the below command to use pwd.

5. ls Command –
This command is one of the most useful command in Kali Linux that lists directory contents of files and directories. With ls command, you can easily list out all hidden files of a directory with -a attribute and for more detailed output you can use -l attribute.

6. cd Command –
The cd command also known as chdir (Change Directory) is a command used to change/switch the current working directory.

7. mkdir Command –
The command used for creating directories is mkdir. For example, if you want to create a directory under Desktop called yeahhub, open a terminal and type the following command:
Command: mkdir /root/Desktop/yeahhub

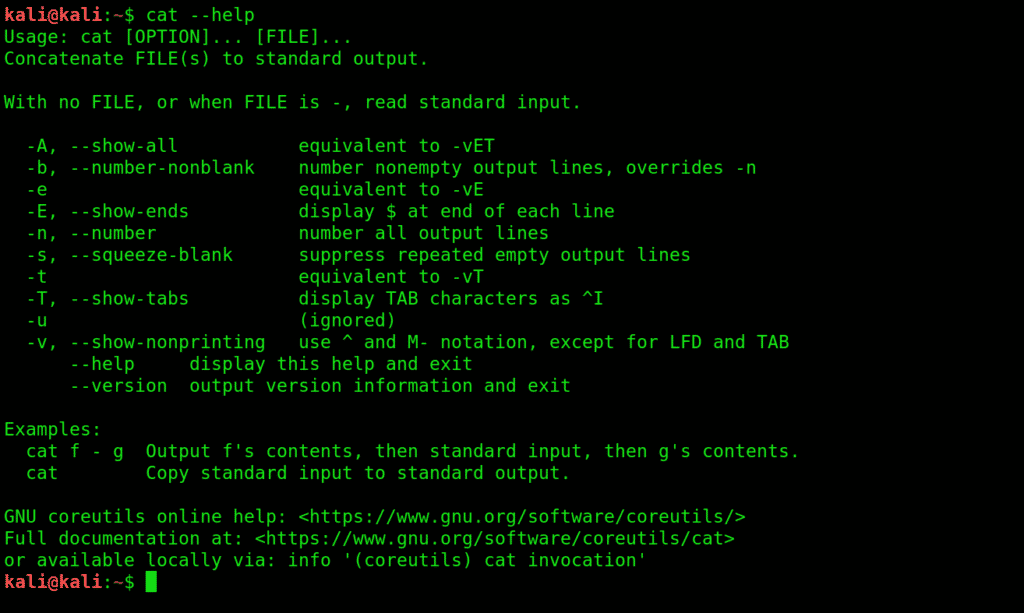
8. cat Command –
The cat (concatenate) command is one of the most frequently used command in Kali Linux which allows us to create single or multiple files, view contain of file, concatenate files and redirect output in terminal or files.
Generally, the cat command is used for displaying the contents of a file.

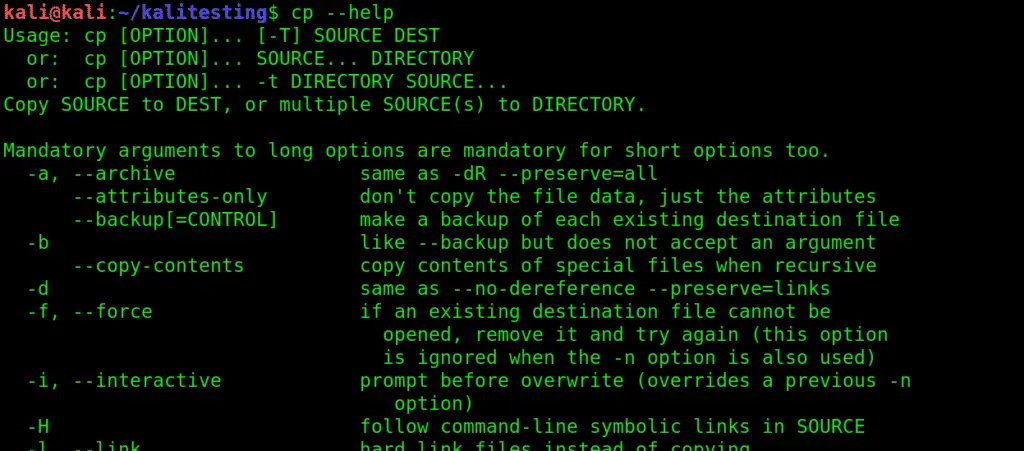
9. cp Command –
This command is used to copy files or group of files or directory which creates an exact image of a file on a disk with different file name.

10. mv Command –
The mv command moves, or renames, files and directories on your file system.

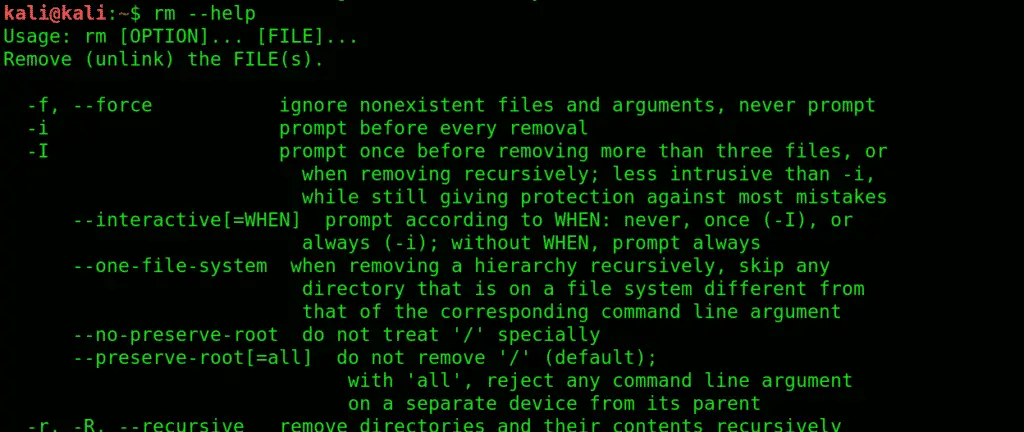
11. rm Command –
The rm (remove) command is used to delete files. When used recursively, it may be used to delete directories.
The removal process unlinks a file name in a file system from its associated data, and marks that space on the storage device as usable by future writes. In other words, when you remove a file, the data in the file isn’t changed, but it’s no longer associated with a filename.

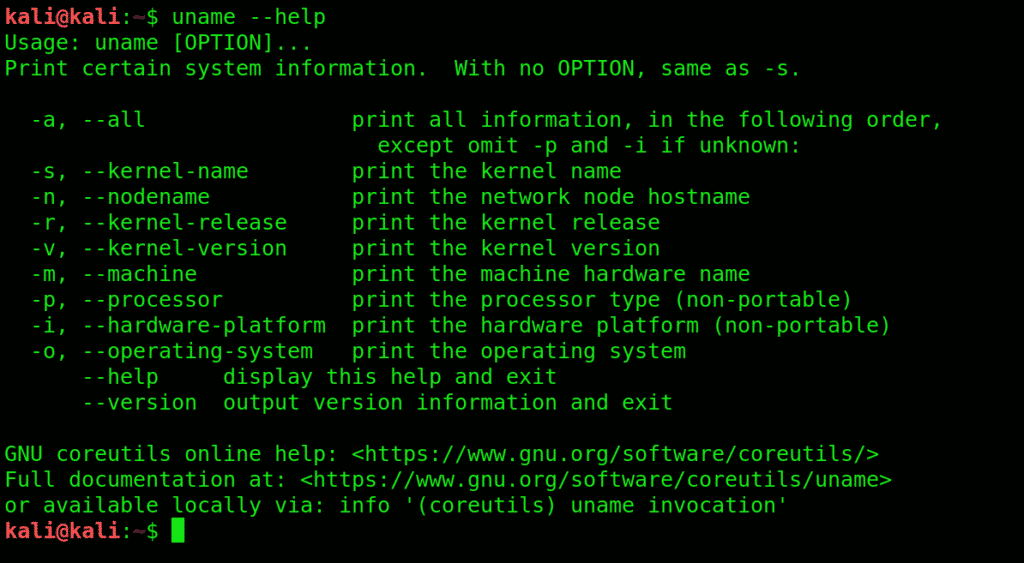
12. uname Command –
This command prints the information about the current system. The uname command within Linux allows you to view system information about your Linux environment.
With uname -a command, which gives you more information about the system like Kernel Name, Node Name, Kernel Release, Kernel Version, Machine, Processor, Hardware Platform and Operating system.

13. uptime Command –
The uptime command gives you the time for which the system has been up (or running). Uptime’s basic usage is very easy – just write the command’s name and press enter.
In case you just want to know the time for which the system has been up, and that too in a more human-readable format, use the -p command line option.

14. users Command –
This command display login names of users currently logged in on system.

15. less Command –
less command is used to view files instead of opening the file. The less command is considered to be a more powerful version of the “more” command which is used to display information to the terminal one page at a time.
You can view any text file using the less command simply by typing the following into a terminal window:
Command: less /etc/passwd

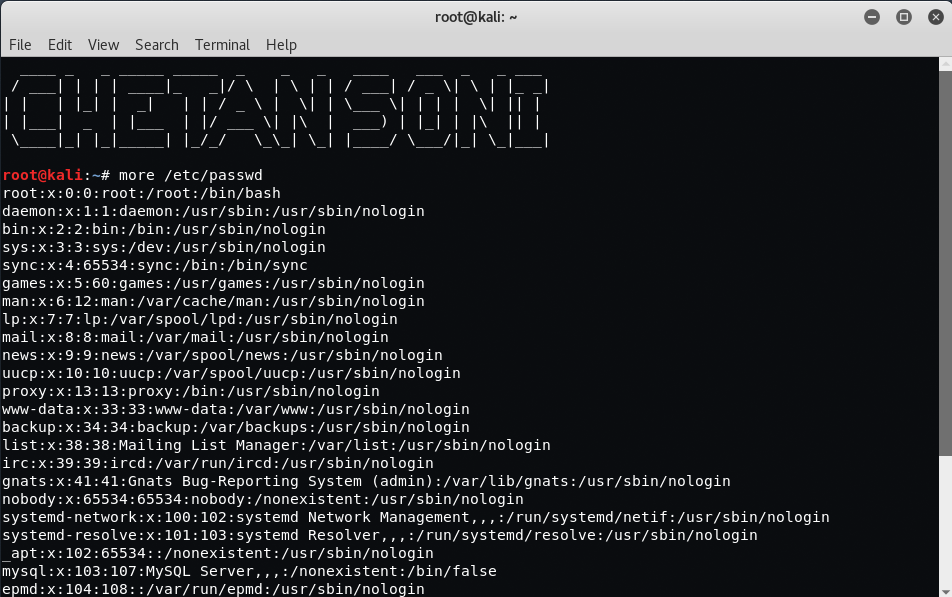
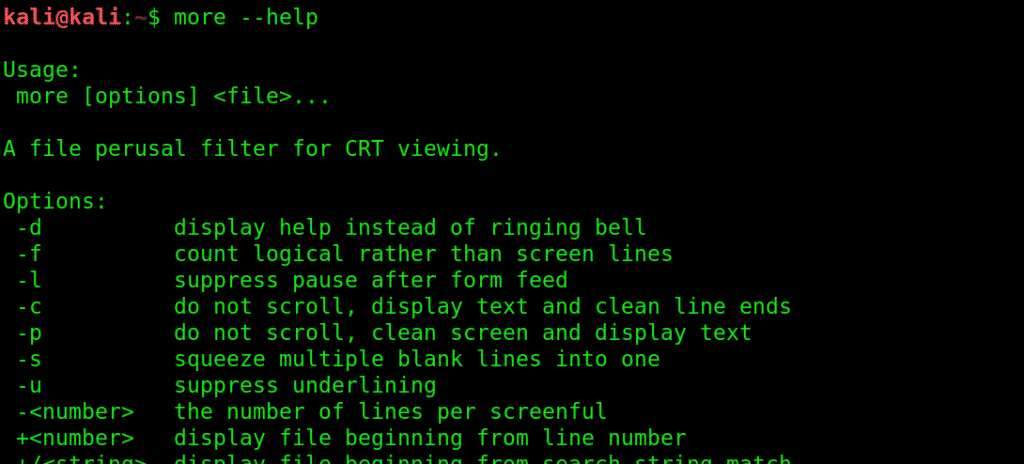
16. more Command –
The more command allows you to display output in the terminal one page at a time. This is especially useful when running a command which causes a lot of scrolling such as the ls command or the du command.
The more command works with any application that outputs to the screen. A good way of testing this is to type the following into a terminal window:
Command: more /etc/passwd
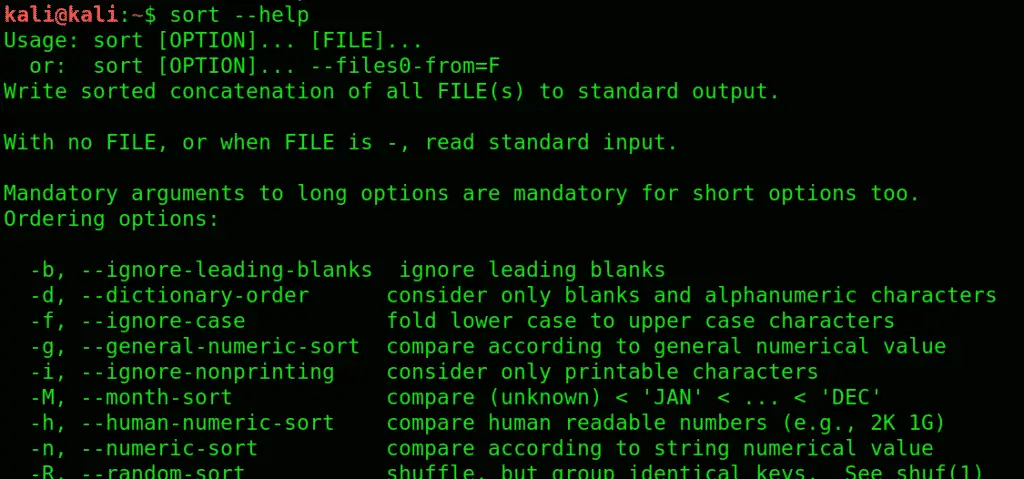
17. sort Command –
Sort command sorts the contents of a text file, line by line. Sort is a standard command line program that print the lines of its input or concatenation of all files listed in its argument list in sorted order.
With -r switch, you can sort the contents of any file in reverse order.

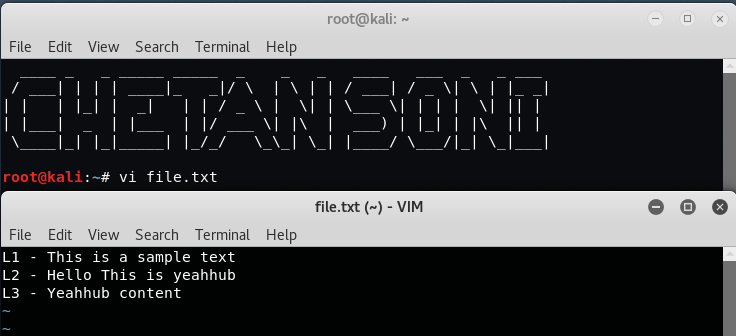
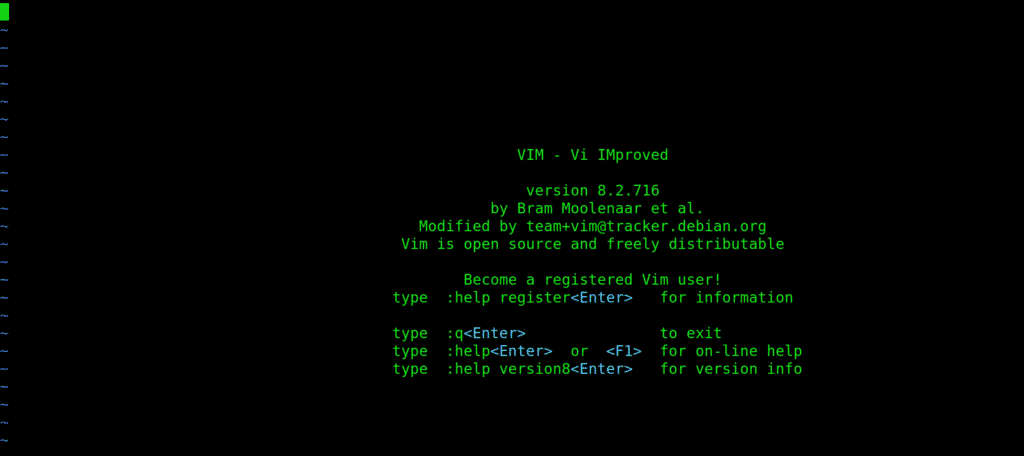
18. vi Command –
The vi editor is a screen editor which is available on almost all UNIX systems. In general, vi has two modes: the command mode and the insert mode.
To begin entering text in an empty file, you must first change from the command mode to the insert mode. To do this, type the letter i. When you start typing, anything you type will be entered into the file.
Type a few short lines and hit Return at the end of each of line. Unlike word processors, vi does not use word wrap. It will break a line at the edge of the screen. If you make a mistake, you can use the Backspace key to remove your errors. If the Backspace key doesn’t work properly on your system, try using the Ctrl h key combination.
19. free Command –
free is a command which can give us valuable information on available RAM in Linux machine. It also gives information about total used and available space of physical memory and swap memory with buffers used by kernel.
Free command with -t option, will list the total line at the end.

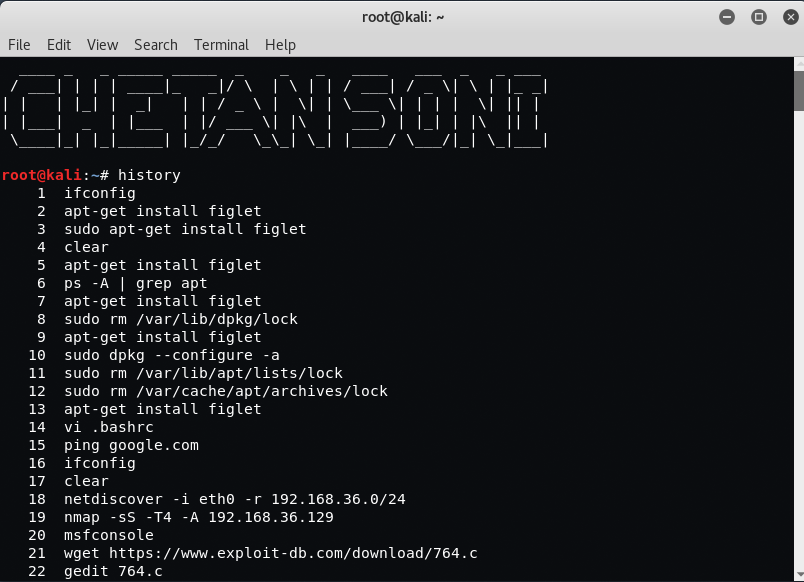
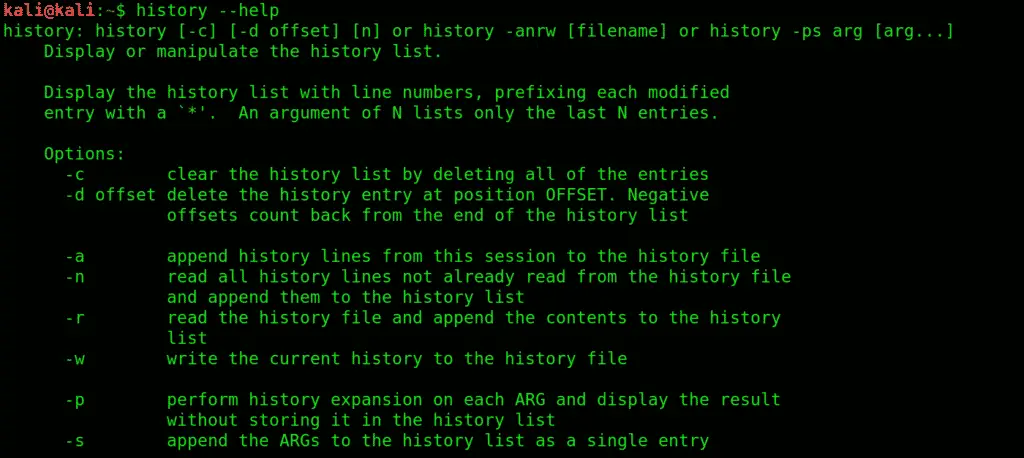
20. history Command –
One of the extensively used command in Kali Linux is history command. The bash shell stores a history of commands entered, which can be used to repeat commands by using the history command.
In simple manner, you can run the history command by itself and will simply print out the bash history of current user to the screen as shown below:
Linux’s contribution to the computer world doesn’t end here and is not limited to just executing some shell scripts and commands but it can do wonders that you’ve never thought of. If you’re dealing with a super slow low-end PC then you can have an opportunity to re-instate the computer to its maximum performance capability. but how? Well, in this case again Linux could help you give a new life to your computer.
There’s a Live USB flash drive that comes with pre-installed Linux in it, it promises to speedup your computer via installing an additional operating system i.e Linux but can be accessible when you only plug-in that USB. This USB stick popularly known as Xtra-PC if you’re looking for a similar solution feel free to check out this detailed review by TheViralTech to learn more about Xtra-PC
Источник
The 22 most basic commands of Kali Linux
We’ve divided these basic commands into five different categories.
- General
- Manipulation
- Reading commands
- Editing commands
- Permission commands
Category 1: General
Let’s begin with the general commands first.
1. uname: Get detailed info on your system specifications with this command. Great place to start familiarizing yourself with Kali User Interface.
 2. pwd: This command prints the name of the working directory

A convenient way of showing the directory you’re working in. Especially useful for novices since Kali Linux has a command shell where it’s easy to get lost when you’re in the middle of something complicated.
3. ls: This command Displays what each file contains and the directories they’re stored in. An easy way to view all the contents (files) contained in a directory

The -l flag details each category, other than that, you can use -an attribute.
4. history: Get to know all the previously used commands and attributes with history command. It lists all the previous commands you entered (stored in bash shell).
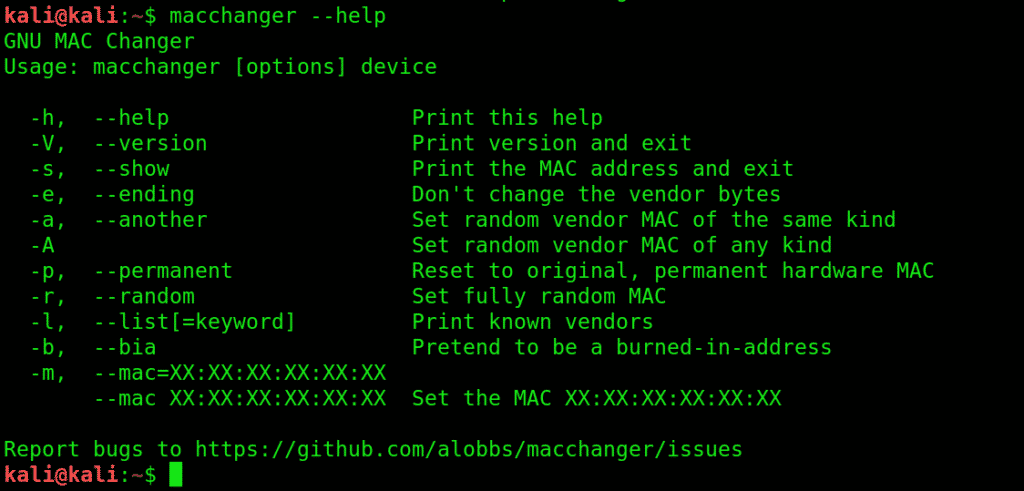
 5. macchanger:macchanger changes your mac address, essentially changing your identity.
It helps with protecting your anonymity on the internet, making your IP untraceable.
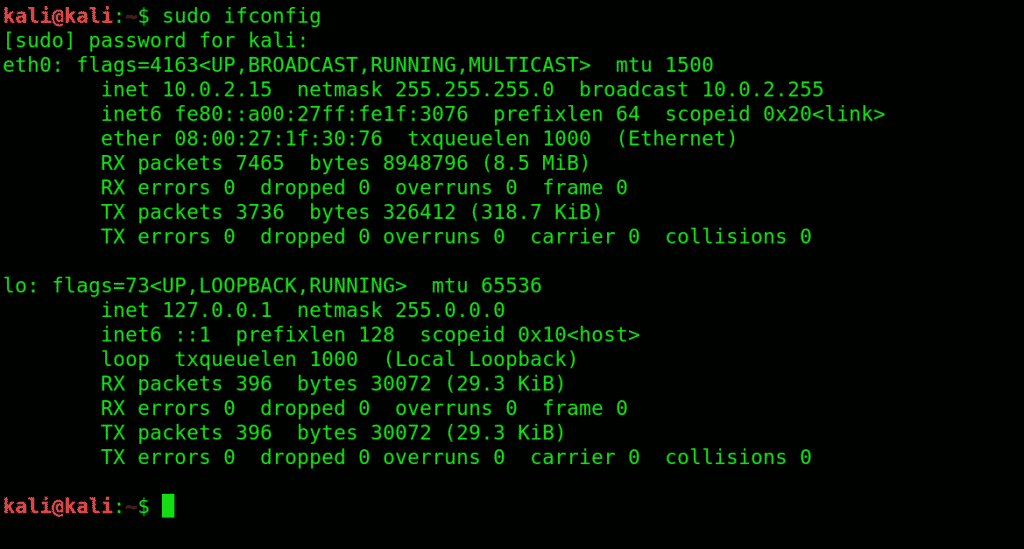
 6. ifconfig :ifconfig interface configuration.
Lets you view current network interface settings and configure them.
 7. echo: It’s like the basic print function you learned in GW basic. Prints any text to where you direct it to.
echo > [file name] prints the copied text in a new file.
echo >> [file name] prints the copied text to an existing file.
Using echo without a ‘>’ will automatically create a new file for the text.
 8. cat: Lets your read files and link them together, exchange their contents, etc.
Commonly used in Linux.
 9. Clear: Pretty self-explanatory, clears the terminal screen, and lets you fill it anew.

Category 2: Manipulation commands:
Manipulation commands let you make modifications to files and their content.s
10. mkdir:Creates a new directory.
To create a directory under Desktop called folder1, open a terminal and type this:

11. cd:changes the directory you’re working in. Very commonly used, and a very convenient way to shift directories.
 12. cp:Serves the basic copy-text/something purpose. Use this to copy one or more files to a location of your choice. You can pretty much move entire directories with this command.
13. mv:This command moves files between directories.
 14. rm:Very basic yet essential command, rm removes highlighted texts.
PART THREE: Reading Commands
You get access to files with the following commands.
15. more:more gives you bird’s eye view of the contents of a file.
Use more to view contents in a file in a convenient manner, one page at a time instead of making you scroll down the whole thing.
16. less:does everything that more does, just saves you some RAM while it’s at it. Shows you what’s going on with a certain file, except it doesn’t completely load it.
 17. sort:see information sorted, to see contents in a certain orderly arrangement. Use -r switch, to sort the contents in reverse order.
PART FOUR: Editing Commands
Edit your text files with either one of the following text editors:
18. vi: Short for the visual editor
This is a text editor you type filenames into. Type your text like vi(filename). This editor has two modes: command and insert. You are in command mode by default. To enter the insert mode, type i then type Esc to exit. Exit vi by typing ‘:wq’
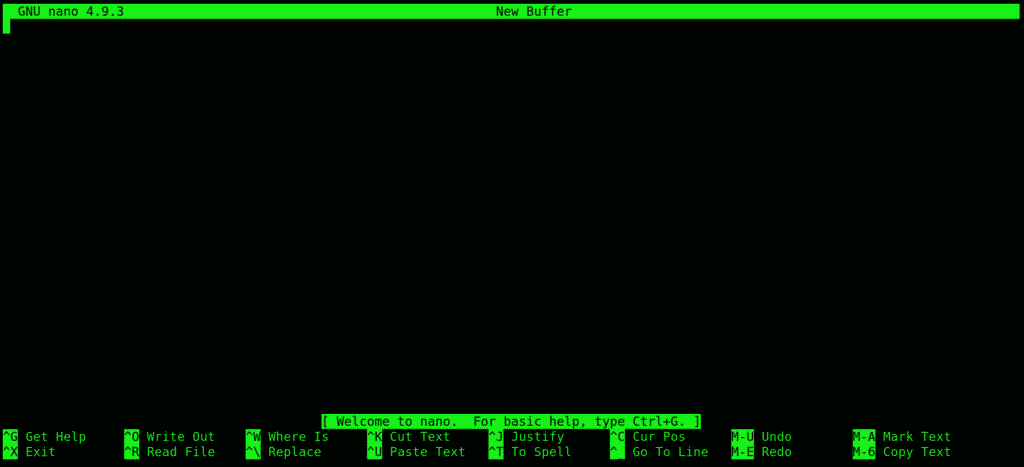
 19. nano: Another text editor, used as an alternative to the visual editor.
20. leafpad: A basic and convenient GTK+ text editor, especially useful for beginners. Summon this editor bt typing leafpad /etc/passwd

PART FIVE: Permission Commands
Before we list the permission commands, let’s discuss the three major types of access permissions:
User: User access to a file is given to the user who created it.
Group: All the users that have reading privileges to a file
Other: means customized privileges.
21. chmod: short for change mod. Restricts user access to a file as per your instructions. Use the chmod command to change the modes of access as you wish.
You can use certain flags that serve as permissions to instruct kali to give what privileges to which user.
r= lets a user read the file.
w =enables a user to edit a file (write or delete).
x = Grants permission to execute the file or search a directory.
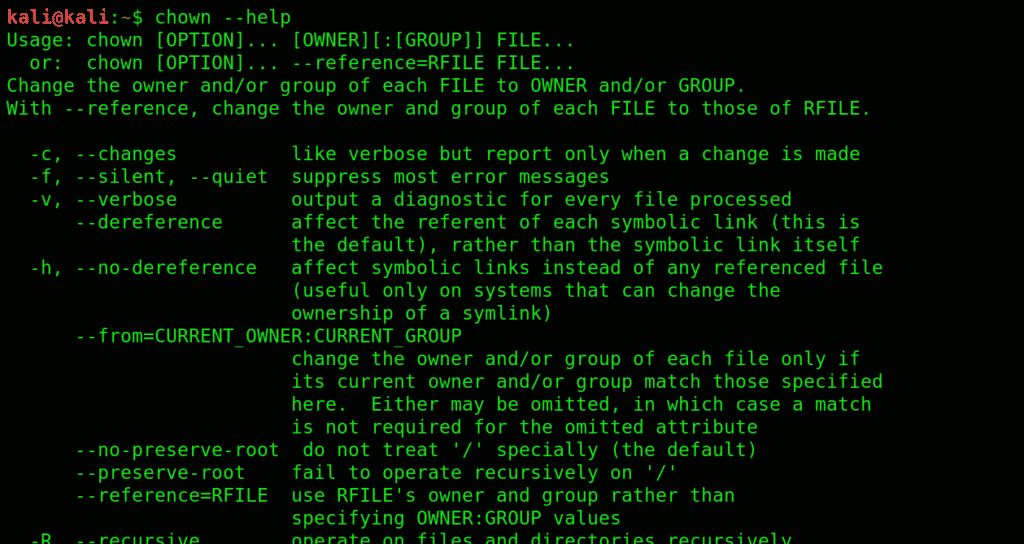
 22. chown: Short for change user, similar to chmod.
Wrapping things up:
We have listed and explained some of the most basic commands that are at the roots of most functions in Kali Linux. Kali Linux can be very intimidating to newcomers, and getting to know these basics can save you a lot of energy you could otherwise spend doing all sorts of cool stuff with Kali. We recommend novices to get a good grip on these fundamentals, as learning Kali Linux can be a bit of a learning curve.
About the author

Younis Said
I am a freelancing software project developer, a software engineering graduate and a content writer. I love working with Linux and open-source software.
Источник


