- Установка AlmaLinux 8.3
- Alma, но не Mater: встречайте AlmaLinux, «наследника» CentOS 8
- Что известно о новом дистрибутиве AlmaLinux
- Какие еще есть альтернативы для CentOS?
- How to install AlmaLinux 8 on VirtualBox: CentOS Alternative
- Install and Setup AlmaLinux 8 on VirtualBox VM
- 1. Download AlmaLinux 8 ISO
- 2. Minimum system requirements for AlmaLinux
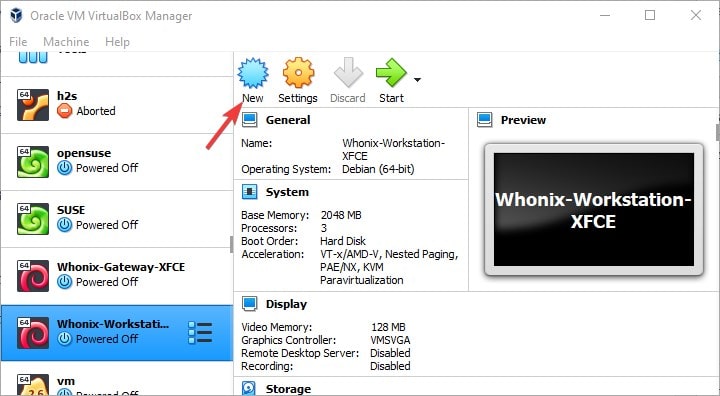
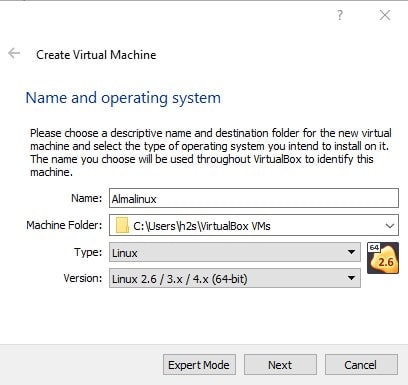
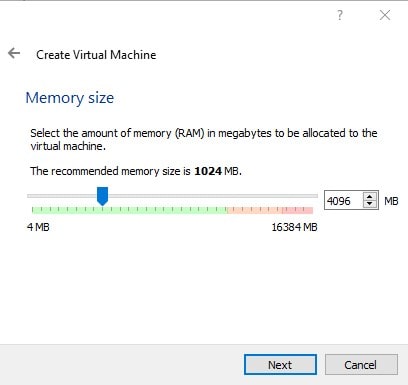
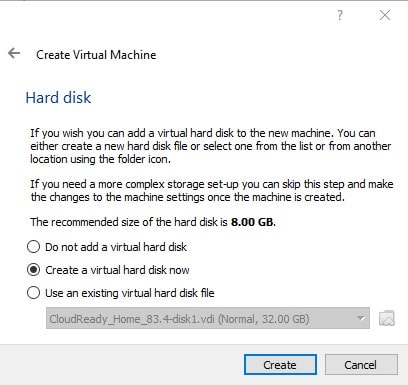
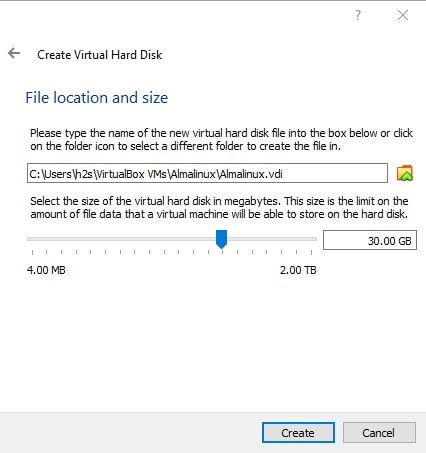
- 3. Create a Virtual Machine on VirtualBox
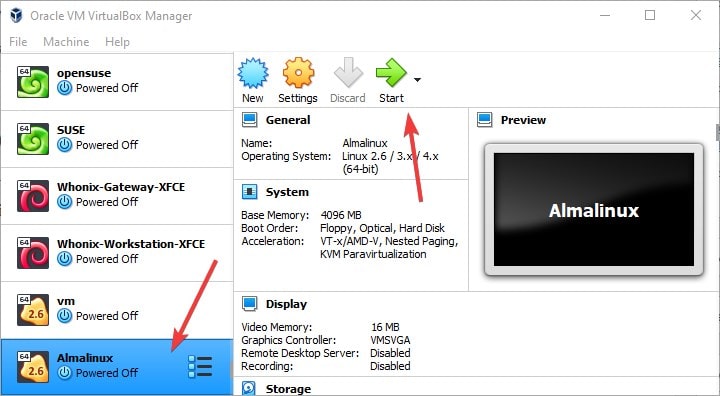
- 4. Start Virtual Machine
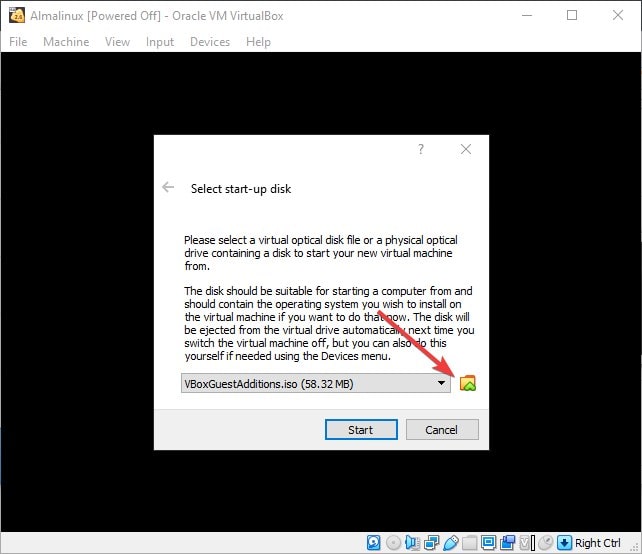
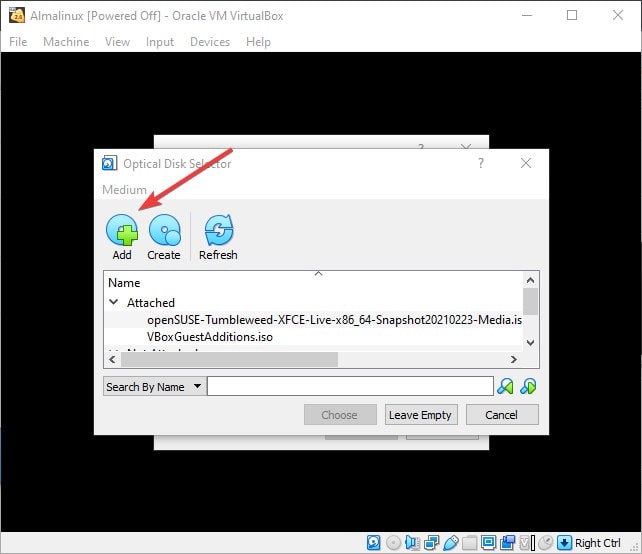
- 5. Add AlmaLinux 8 ISO in VirtualBox
- 5. Install AlmaLinux 8
- 6. Select Langauge
- 7. Turn ON Ethernet Connection
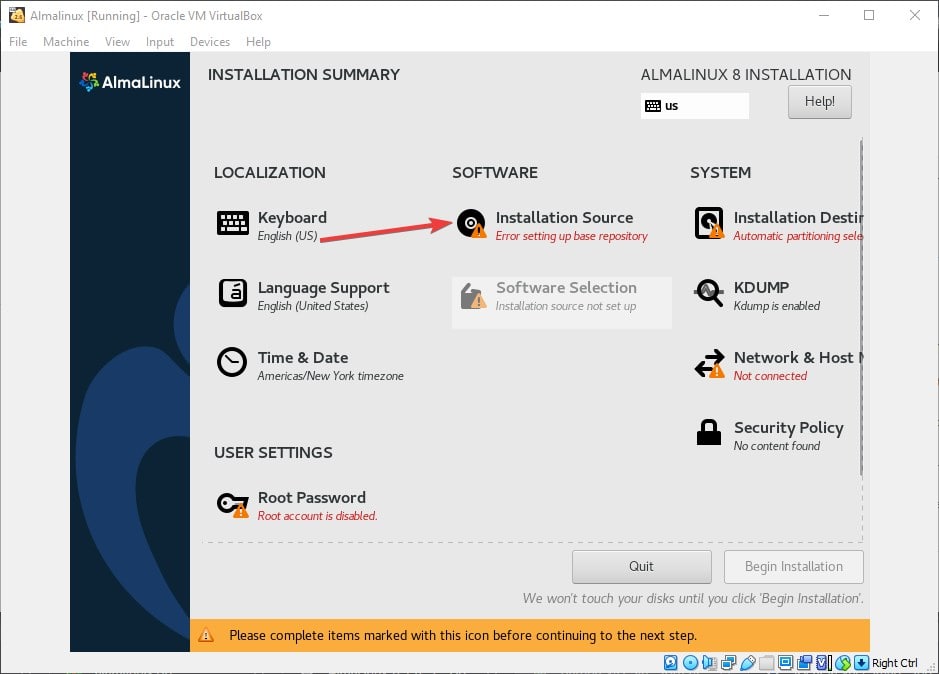
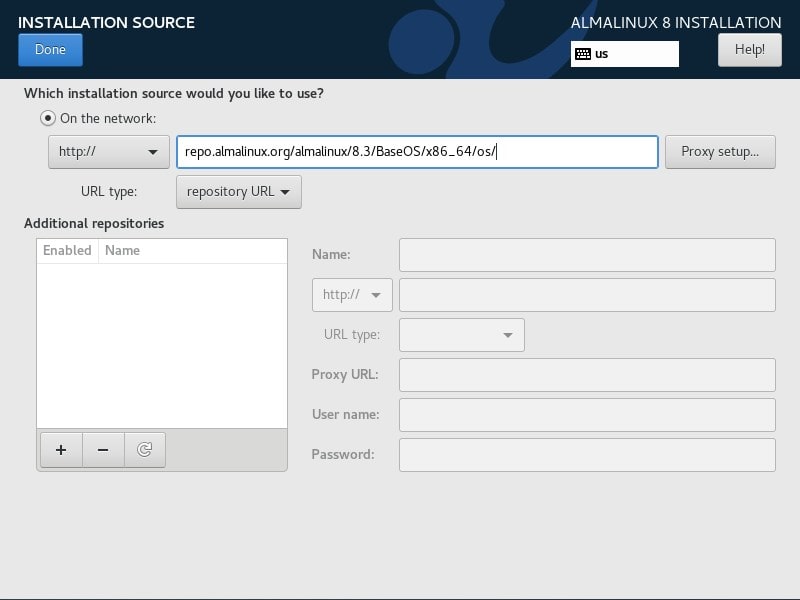
- 8. Set Repository for AlmaLinux 8 for Network Install CD
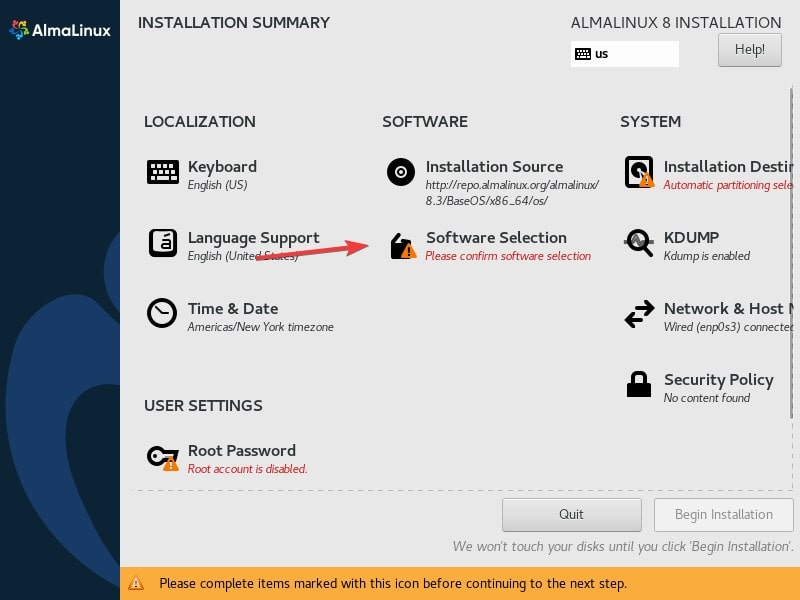
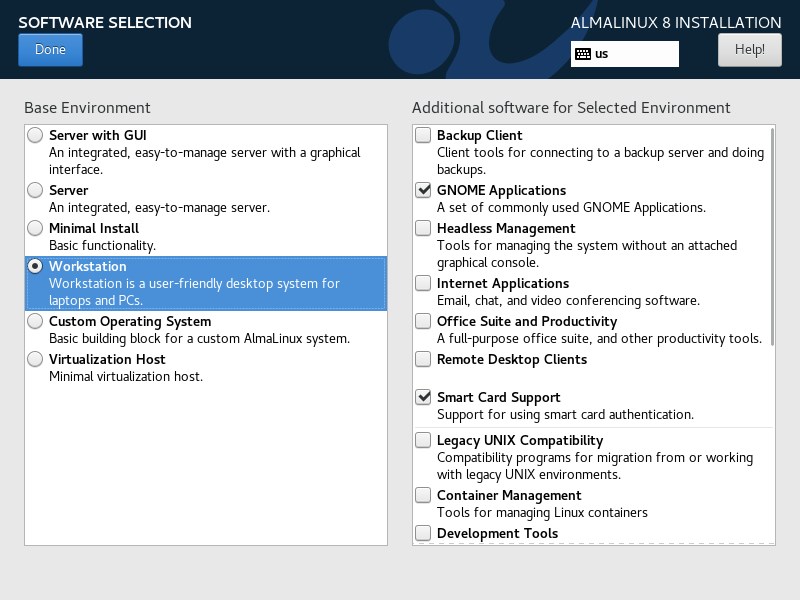
- 9. Software Selection
- 10. Installation Destination
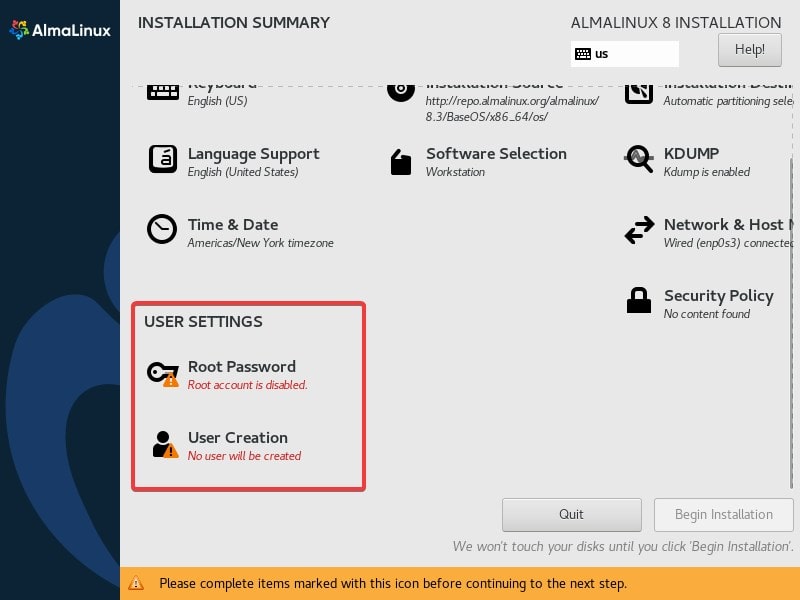
- 11. Set Root password
- 12. Login with GUI
Установка AlmaLinux 8.3
AlmaLinux — новый дистрибутив Linux, основанный на Red Hat Enterprise Linux, готовый завоевать огромное количество рабочих станций и серверов.
Этот совет расскажет о том, как установить AlmaLinux 8.3.
Для того, чтобы установить AlmaLinux 8.3, необходимо выполнить следующие действия:
- Скачайте дистрибутив AlmaLinux и запишите его на DVD/USB-диск.
- Вставьте записанный диск (DVD или USB) в компьютер (ноутбук) и загрузитесь с него.
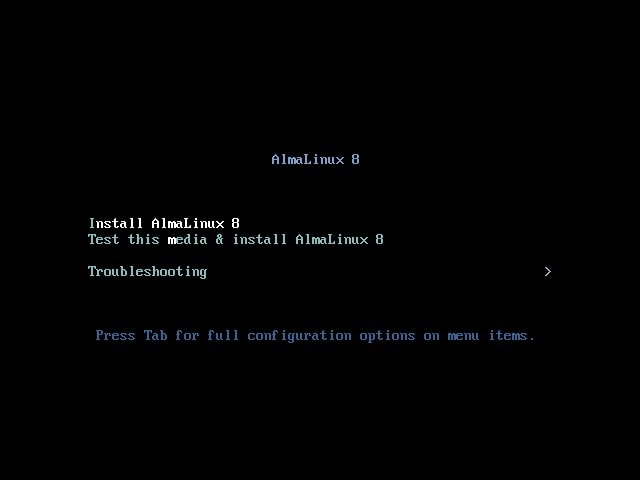
- После успешной загрузки с DVD/USB выберите пункт:

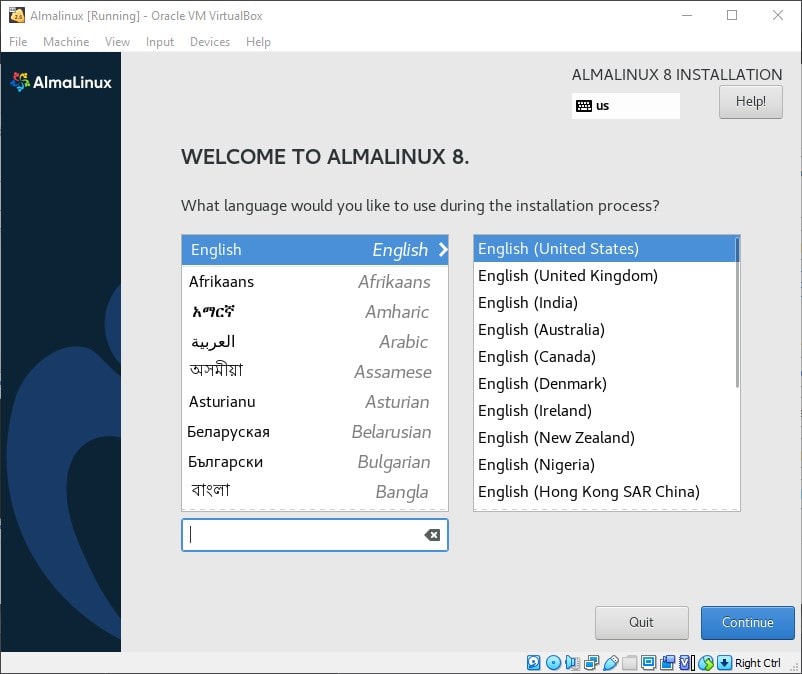
Выберите язык, на котором будет произведена установка AlmaLinux и нажмите на «Продолжить»:

Попав в окно обзора установки, мы первым делом настраиваем Время и Дату (а точнее — часовой пояс), выбрав пункт:

Выбираем свой регион, город, устанавливаем дату и время (если эти данные некорректны):

Далее выбираем программы, а точнее — определяем какой тип системы будет стоять на Вашем компьютере:

В моем случае это была «Рабочая станция» с выбранным по необходимости программным обеспечением:

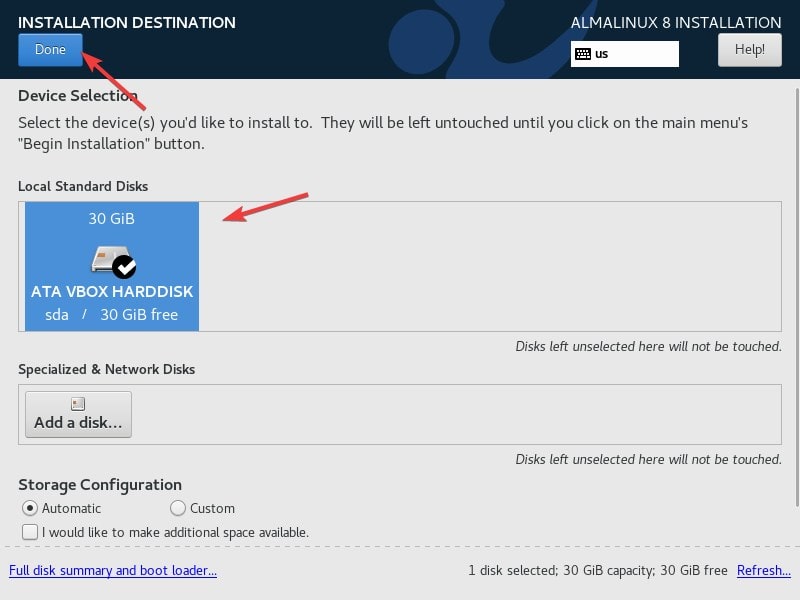
Пришло время определиться с тем куда будет установлен AlmaLinux:

В моем случае это виртуальный диск на 15 Гигабайт (стоит сказать, что минимальное требование для установки AlmaLinux «Рабочая станция» — 10.7 Гигабайт). Просто отметьте диск и нажмите на «Готово»:

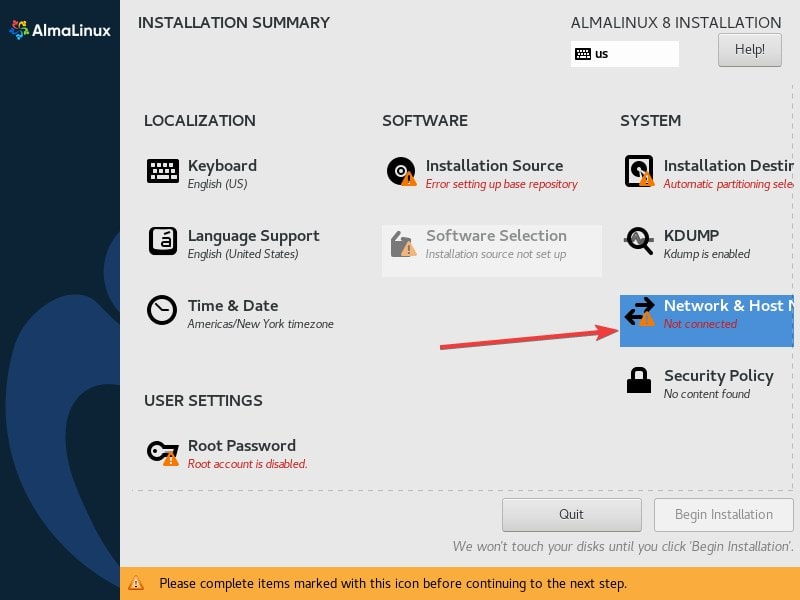
Приступаем к настройке сети:

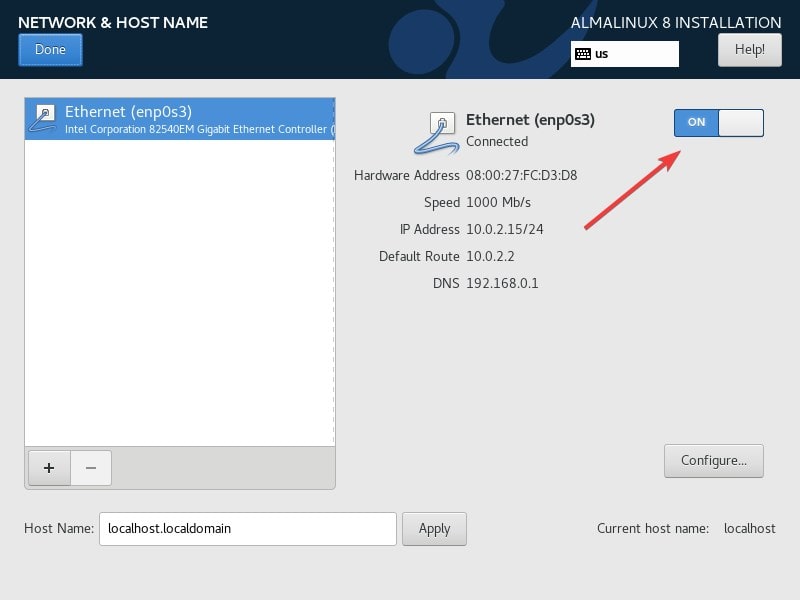
Назначаем компьютеру имя, под которым он будет виден в сети и домен (при необходимости), а также включаем сетевое устройство:

Если необходимо настроить сеть вручную, то в текущем окне нажимаем на кнопку «Настроить» и Вам будут доступна возможность указать все сетевые реквизиты (IP,маску сети, шлюз, DNS и т.д.):

Пришло время создать пользователя, под которым мы будет работать в AlmaLinux (обратите внимание на то, что я намеренно, в целях безопасности, не назначаю пользователю root пароль и не включаю его):

Указываем свое имя, логин пользователя и назначаем пароль (не забыв переключиться на английскую раскладку клавиатуры). Эта учетная запись будет пользоваться правами администратора и поэтому ставим соответствующую отметку:

Если Вам нужны расширенные возможности при добавлении пользователя, нажмите на кнопку «Дополнительно» и Вам будут они доступны:

Все необходимое мы заполнили и можем начинать установку AlmaLinux:

Сам процесс установки не отличается информационностью и графическими изысками:

После завершения установки AlmaLinux будет необходимо перезагрузить компьютер, вынув загрузочный DVD/USB-диск:

Далее будет просьба принять лицензионное соглашение:

Просто отметьте чекбокс и нажмите на «Готово»:

Далее, на «Завершить»:

В окне приглашения выбираем пользователя:

И вводим пароль, назначенный ему:

проходим этапы первичной настройки Gnome в AlmaLinux:


Начинаем работу с AlmaLinux:

Результатом всех вышеуказанных действий будет рабочий стол AlmaLinux:

Как видим, установка AlmaLinux не сложна и справиться с ней сможет даже начинающий пользователь.
Источник
Alma, но не Mater: встречайте AlmaLinux, «наследника» CentOS 8

CloudLinux заявила, что в продолжение дистрибутива CentOS 8 будет создан новый под названием AlmaLinux. Компания заменила первоначальное придуманное название, чтобы уйти от несколько каламбурного Lenix: Lenix Linux выглядело не очень читаемо.
CloudLinux планирует инвестировать в проект $1 млн. в год. Компания станет его основным спонсором, снабдив разработчиками и необходимыми ресурсами.
Основатель компании CloudLinux — предприниматель и выходец из Украины Игорь Селецкий. Штаб-квартира компании находится в Пало-Альто в Калифорнии. Среди клиентов компании — крупнейшие корпорации и их «дочки», включая Dell и IBM Softlayer.
Что известно о новом дистрибутиве AlmaLinux
- Основа — пакетная база Red Hat Enterprise.
- Полная бинарная совместимость с RHEL.
- Простая и прозрачная миграция с CentOS 8.
- Поддерживаемые обновления до 2029 года.
- Free-модель для пользователей.
- Функции принятия решений делегируют сообществу по аналогии с платформой Fedora.
Предполагается, что первый выпуск нового дистрибутива будет доступен уже в первом квартале этого года.
Зачем нужен новый дистрибутив? У ветки CentOS 8 есть одно узкое место: прекращение поддержки с конца этого года. Ее убрали преждевременно, многие пользователи CentOS 8, включая компании, рассчитывали на сопровождение со стороны разработчиков до 2029 года. Пользователей могла бы спасти миграция на CentOS Stream, но пока нет ясности в ее совместимости с RHEL.
В целом, не все так плохо и с оригинальным CentOS — например, Facebook и Twitter продолжают верить в дистрибутив. Компании создали рабочую группу Hyperscale. Цель — создание решений для больших инфраструктур на базе CentOS Stream и EPEL. Также группа проведет глобальное тестирование функциональных изменений в дистрибутиве, чтобы упростить процессы интеграции с другими системами. Так, планируется упростить внедрение режима COW (Copy-On-Write) в DNF и RPM.
Какие еще есть альтернативы для CentOS?
Во-первых, существует Oracle Linux. Компания Oracle 14 лет разрабатывает собственный клон RHEL. Его преимущества:
- 100% совместим с RHEL на бинарном уровне;
- разработан для гибридного облака;
- автоматическое обновление Linux без перезагрузки;
- оптимизирован для работы программного обеспечения Oracle.
Второй альтернативой можно рассмотреть Rocky Linux.
Система полностью управляется сообществом. Сейчас зарегистрировано 370 человек в качестве волонтеров. Создание Rocky Linux обусловлено также трансформацией CentOS. Наработки проекта планируют публиковать под лицензией BSD. Релиз запланирован на второй квартал 2021 года. Для сборочных процессов планируют использовать Koji, Mock и MBS из Fedora Linux.
Источник
How to install AlmaLinux 8 on VirtualBox: CentOS Alternative
Learn the simple steps to install free RedHat-based AlmaLinux 8 Server GUI on VirtualBox Virtual Machine, PC, or Laptop along with its repository URL to get a CentOS alternative Linux distro.
AlmaLinux from CloudLinux is the open-source replacement for the CentOS 8 which is not anymore a long-term supported OS version. Thus, to provide an alternative to CentOS 8, the AlmaLinux project has been launched by the CloudLinux developers, who are already known for their stable hosting operating system.
While writing this AlmaLinux installation article on VirtualBox, this Linux was still in the Beta stage, however, the steps will be the same for upcoming versions as well…
What we learn here:
- Where to Download free RedHat-based AlmaLinux ISO file?
- How to install AlmaLinux Minimal on VirtualBox virtual machine?
- Step to set AlmaLinux 8 repository for Network Install ISO
Install and Setup AlmaLinux 8 on VirtualBox VM
Of course, you don’t want to start your main server on this relatively new Linux, although it is based on the popular RedHat code. Thus, creating a virtual machine would be the best idea to start to experience it before actually using it for some commercial purpose.
1. Download AlmaLinux 8 ISO
The first thing which we need to set up this CentOS 8 Linux alternative server OS is its DVD ISO file which is available on the Offical website. However, there will be two types of three files available for AlmaLinux one is Network Install CD; the second is Minimal (without extra packages) ISO, and the third one is the full DVD ISO with GNOME GUI desktop and other packages, this one is best for offline installation. Thus, if you are planning to use AlmaLinux on Desktop for general purpose use then standard full ISO (with extra packages) will be a good option while the server users who want lightweight and selected package ISO can go for minimal or network version. Here is the link to download. Here we are downloading the Network CD ISO.
| Type | Description | Size |
| Network Install CD | Need Internet to download packages | |
| Minimal install | Comes without any extra packages | |
| Full DVD | With all packages and popular Desktop environments for offline installation |