Работаем с Arduino Nano из Mac OS X
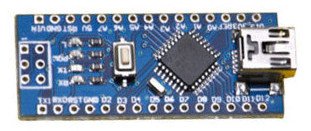
Arduino Nano v.3.0
Arduino Nano v3.0 — небольшой модуль на базе микроконтроллера ATmega328P. Помимо микроконтроллера он содержит микросхему стабилизатора и преобразователь USB-UART на основе FT232RL (в оригинальной версии) либо CH340G (в китайских клонах, широко продаваемых в интернете). Вторую реализацию платы можно купить по цене около 3$ с доставкой. За эти деньги получаем весьма серьезный девайс — распаянный МК имеет на борту 32КБ флеш памяти, 2КБ ОЗУ и 1 КБ EEPROM и работает на частоте 16МГц. Также МК имеет 6 каналов аппаратного ШИМа (D3, D5, D6, D9, D10, D11), 7 каналов 10-битного АЦП (A0 — A7) и прошитый bootloader, позволяющий заливать прошивку МК через USB.
Установка ПО и драйверов
Для программирования устройства можно использовать Arduino IDE, но лично я предпочитаю чистый С-код и AVR GCC. Вне зависимости от того, на чем программировать, сначала надо установить драйвер для CH340G. Его можно найти на сайте производителей чипа www.wch-ic.com, либо скачать драйвер версии 1.3 по этой ссылке. Драйвер весрии 1.3 без проблем поддерживает MacOS X Sierra (10.12).
Замечу, что драйверы более ранних версий (ниже 1.3) не были подписаны производителем и вызывали kernel panic на Sierra.
Далее потребуется среда разработки. Тут есть два варианта, первый — установить весь необходимый софт включая AVR GCC и avrdude для MacOS скачав инсталлятор Crosspack тут: www.obdev.at/products/crosspack
После чего надо будет настроить пути следующей командой (ее лучше прописать в автозапуск)
Второй вариант (наиболее рекомендуемый) — установить самую последнюю версию AVR GCC воспользовавшись менеджером пакетов Homebrew. Для этого запускаем следующие команды:
Кстати, узнать последние версии для gcc, binutils, avr-libc и gdb можно зайдя репозиторий проекта: github.com/osx-cross/homebrew-avr
Arduino IDE можно взять с официального сайта arduino.cc/en/Main/Software, она пригодится нам чтобы разобраться, как работать с bootloader-ом ардуины.
Загрузка прошивки
Теперь можно проверить работоспособность платы закачав туда прошивку. Проще всего сделать это из IDE Arduino. В меню Tools выбираем:
Board: Arduino Nano
Processor: ATmega328
Port: /dev/tty.wchusbserial801330
После чего делаем Upload (Cmd+U) и видим, как заливается прошивка. Если все прошло успешно, то можно озадачиться вопросом прошивки платы через консоль используя avrdude. Для этого надо определить используемый загрузчик и его параметры. Чтобы сделать это, выходим из Arduino IDE, открываем в текстовом редакторе ее конфиг
/Library/Arduino15/preferences.txt и добавляем туда две строки (либо устанавливаем в true уже существующие параметры):
После чего заново запускаем IDE и повторно прошиваем плату. При этом видим, какие команды выполняются при сборке и прошивке.
В моем случае прошивка выполнялась командой
Т.е., получается, что программатор называется “arduino” и работает на скорости 57600 бод. Теперь не составит труда работать с прошивкой из консоли.
Например, создать резервную копию текущей прошивки можно командой
После выполнения команды прошивка будет сохранена в файл backup.hex, который можно сохранить на будущее, если возникнет необходимость восстановить оригинальный загрузчик.
Проект для AVR GCC
В заключении можно создать проект для компиляции чистым AVR GCC. Для чего выполняем команду
После выполнения получаем директорию ArduinoDemo с исходником main.c, скриптом сборки Makefile и проектом для XCode.
В Makefile меняем параметры для нашего микроконтроллера, получая что-то в таком роде:
Всё, имеем проект, с которым можно работать в XCode и компилировать нажатием Command+B либо явно с помощью утилиты make.
Источник
Arduino avrdude mac os x
Here is a ‘generic’ step-by-step to getting an AVR development platform going on your computer using the free AVR toolchain (avr-gcc, avr-libc and avrdude) Pretty much every project uses this toolset so its a good way to get going
The following two methods both place all of the files in the /usr/local/bin directory in the hard driver. Unfortunately that directory is not in the default path. That means that when you type avrdude into the terminal it cant figure out where to look. In this prep-step you’ll change the profile of your Terminal to add /usr/local/bin to the path.
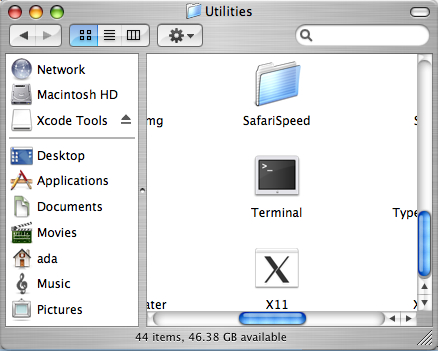
Find the Terminal program, you’ll be using this to do most of this stuff. Its in the Applications/Utilities folder
In the new Terminal window, type in echo $SHELL and press return
If the output is /bin/bash then type the following command:
echo ‘PATH=$PATH:/usr/local/bin’ >>
/.bash_profile
all on one line. Press return.
If the output is /bin/csh or /bin/tcsh then type the following command:
echo ‘set path = ($path /usr/local/bin)’ >>
/.cshrc
all on one line. Press return.
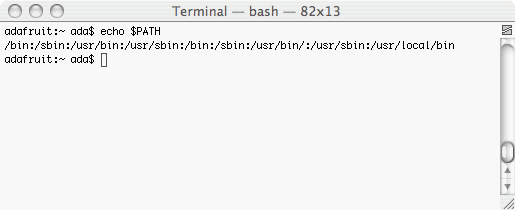
Close any Terminal windows and open up a new one. This makes sure the .bash_profile or .cshrc is reloaded. Now type in echo $PATH (for bash) or echo $path (for t/csh) you should get something like the following:
The important thing is that at the end of the line is /usr/local/bin
This is the suggested method
Download the ready to go nice package from ObDev, I havent tried it but a friendly email’er said its great.
This isnt suggested, and is an older method, but we leave the documentation here in case its handy
You will need make which is included in XCode, as OSX-AVR doesn’t come with it (ugh)
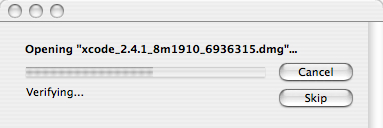
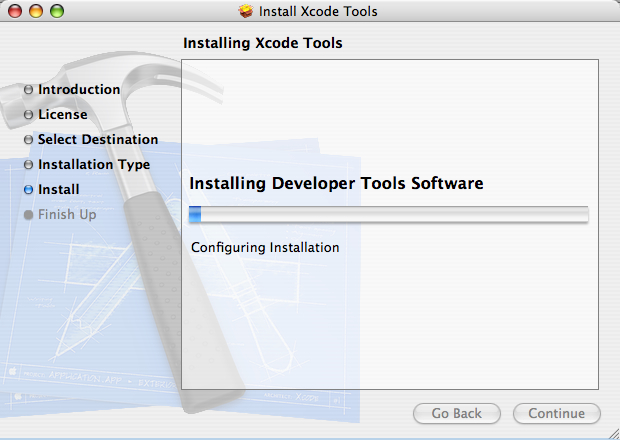
Step 1. Download and install the mac developer tools (XCode).
You need to have make installed, but it doesn’t come with the OSXAVR package. You can try installing it with fink, which will require a lot less space but the following is guaranteed. If you want to have the latest avr-gcc you may also have to do it the «old way» which guarantees the most recent tools will be installed.
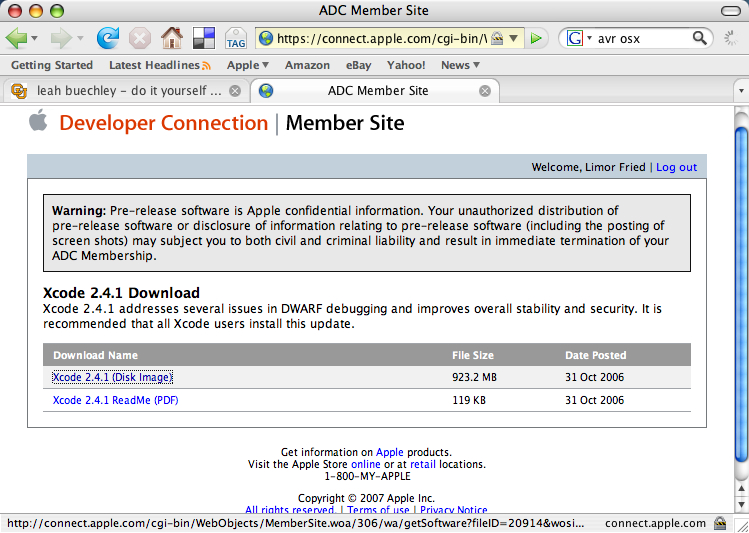
To install XCode you will need the official packages. These are available on your Mac OS X Install CD, or from apple at: apple developer tools. The file is about 900MB so unless you have a fast connection I strongly encourage grabbing it off of the Install CDs that came with your Mac (you do still have those, right?) Basically we need the native Mac OS X compiler tools so that we can generate the AVR compiler tools.
There’s finally a good/fast way of installing all these tools under Mac OS X PPC or i386! First, download the OSX-AVR packge for PPC (older macs) or i386 (Intel macs, latest ones) from sourceforge.
Run the OSX-AVR.mpkg
(Images of installation and process are forthcoming but its rather easy so go ahead and try it anyways)
Don’t forget you have to install XCode as make doesn’t come with this package.
Can’t get it working? Dont worry, help is available in the forums!
This is the advanced method, for when you need bleeding-edge development and hackability. Not suggested
The following steps are essentially the same for MacOS X or Linux, BSD or any other unixy OS. This is the ‘old style’ of installing avr-gcc, its longer and more tedious but you are guaranteed to have the latest version.
(Note that this doesn’t seem to work on Intel Macs for unknown reasons, we’re investigating. )
Leah Buchley has an excellent tutorial, and you should follow it. I’ve reduplicated it here in case the site goes down. (also with a few minor ‘improvements’ and images
Step 2. Download & install binutils (an essential utility for the C compiler)
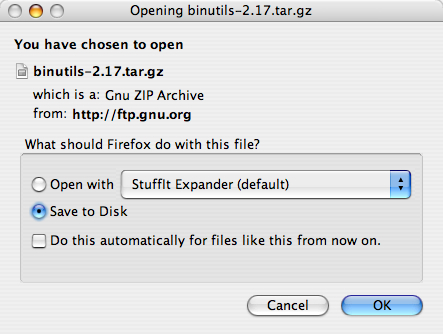
Download the current release of binutils from : http://www.gnu.org/software/binutils/ (you can also go straight to the download site here) For these examples, we’ll be using binutils-2.17.tar.gz but you should use whatever is most recent. Save it into your home directory, not the desktop.
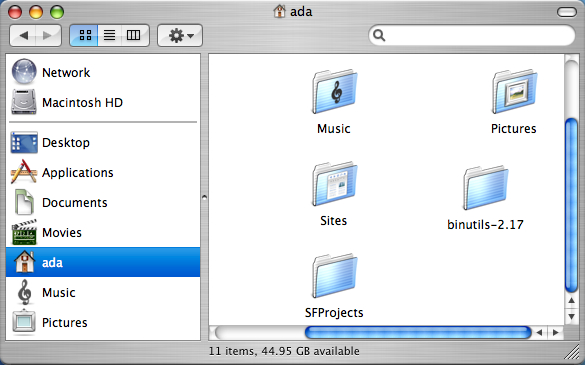
Decompress the downloaded file and double click on it to decompress it (or use Stuffit Expander, in the Applications folder). You should now have a folder called binutils-2.17 which you should drag into your Home directory
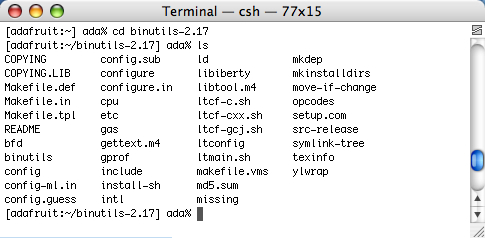
Open up a Terminal window and navigate to the binutils directory. Type: cd binutils-2.17 (or whatever you downloaded) theb type in ls to verify everythings there
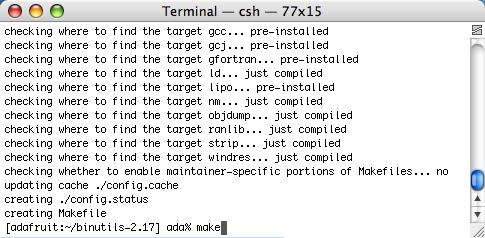
Configure binutils for AVR. type: ./configure —target=avr
this will start a long process that will spit out a lot of text.
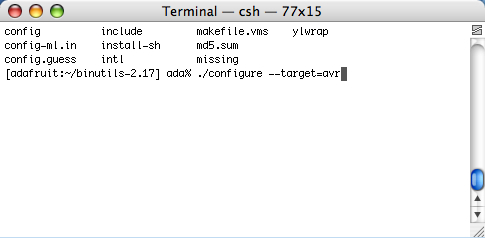
Once its done, compile binutils. type: make
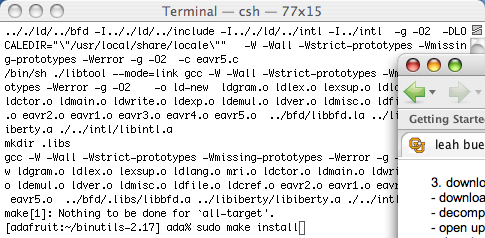
this will start an even longer compilation process
Once that’s done, install binutils. type: sudo make install
You will be prompted to enter your password. Only administrators can install software thats why the password is necessary.
Step 3. Download & install gcc (the C compiler)
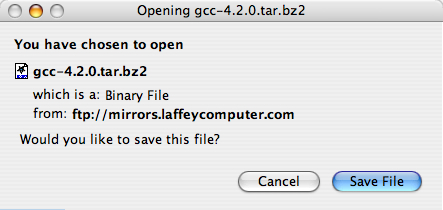
First, download the current release of gcc from: http://gcc.gnu.org/mirrors.html currently thats gcc 4.2.0
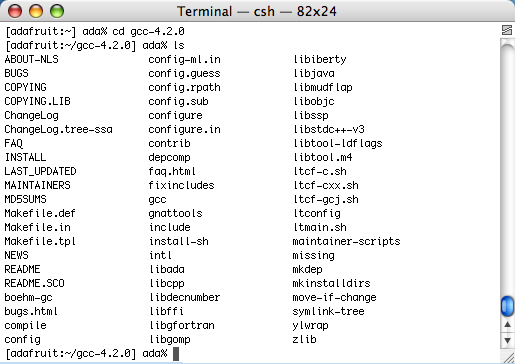
Decompress the downloaded file and put the decompressed folder in your home directory. Open up a new Terminal window in your home directory, type cd gcc-4.2.0 and then ls to verify its all in there.
Next, c reate another directory to install gcc into.
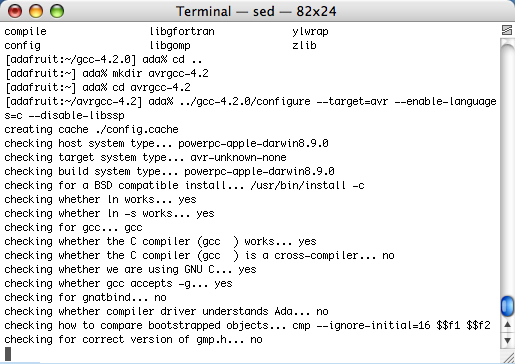
type: cd .. to go back into the home directory, then
type: mkdir avrgcc-4.2 (substituting your gcc version for the 4.2)
Navigate to the folder you created.
type: cd avrgcc-4.2 (or whatever you named your folder)
C onfigure gcc for AVR.
Type: ../gcc-4.2.0/configure —target=avr —enable-languages=c —disable-libssp
(substituting the name of the folder you decompressed for the gcc-4.2.0)
**thanks to Seth Raphael for the —disable-libssp ti p
Once the configuration is done, compile gcc.
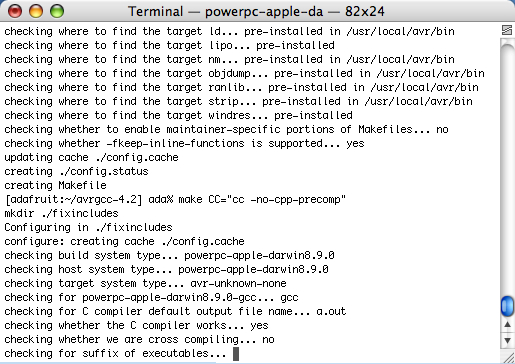
type: make CC=»cc —no-cpp-precomp»
This will take a long time so go have a sandwich
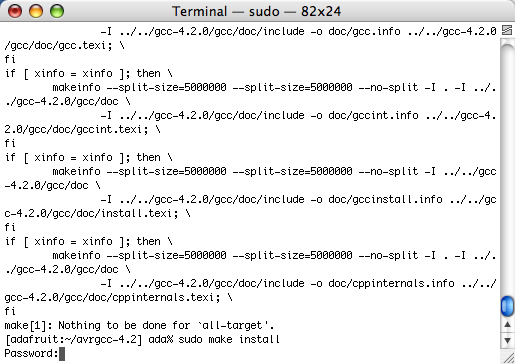
When its done and you’ve washed your plate and silverware, install gcc. type: sudo make install
and enter your password when prompted
Step 4. Download and install avr-libc (an essential C library for AVR chips)
Decompress the downloaded file and put the decompressed folder in your home directory
In a new Terminal window, navigagte to the avr-libc directory. from your home directory
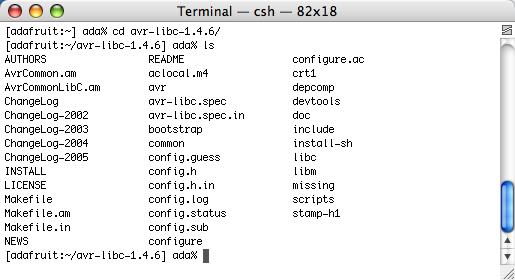
type: cd avr-libc-1.4.6 (or whatever you downloaded)
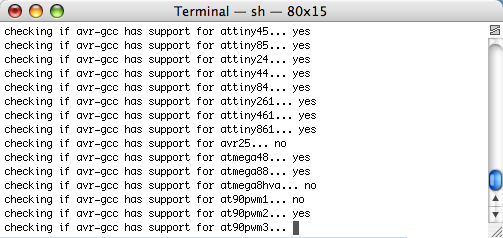
Configure avr-libc. type: ./configure —host=avr
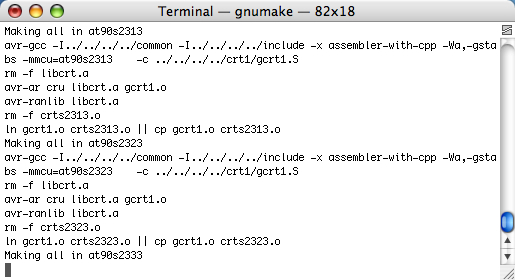
Compile avr-libc. type: make
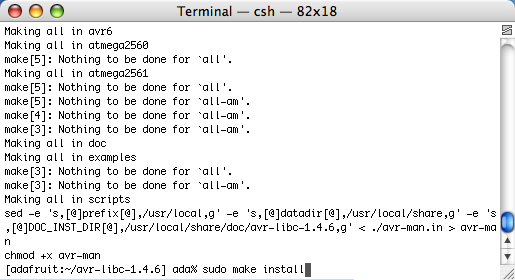
Install avr-libc. type: sudo make install
Step 5. Download and install avrdude (the software that loads programs from your machine onto the chips)
Decompress the downloaded file and put the decompressed folder in your home directory
In a Terminal window, navigate to the avrdude directory. From your home directory type: cd avrdude-5.2 (or whatever you downloaded)
Configure avrdude. type: ./configure
Compile avrdude. type: make
Install avrdude. type: sudo make install
Yay all the software is installed!
Can’t get it working? Dont worry, help is available in the forums!
Источник
Графическая оболочка для avrdude под MacOS
Программа avrdude поддерживает все актуальные программаторы микроконтроллеров AVR и является кроссплатформенной (Linux, Windows, MacOS). Это консольная утилита и её удобно вызывать из shell/bat-скриптов. Единожды написав такой файлик и положив его в директорию с проектом, получаем возможность быстро прошить и проверить фьюзы, flash и eeprom микроконтроллера. Проблема только в том, чтобы написать этот скрипт. И тут основную головную боль вызывают fuse-биты, т.к. надо правильно сформировать их значения нигде не ошибившись. Иначе, устройство, в лучшем случае, может не заработать совсем или работать неправильно. Ну а в худшем случае можно «окипрпичить» микроконтроллер.
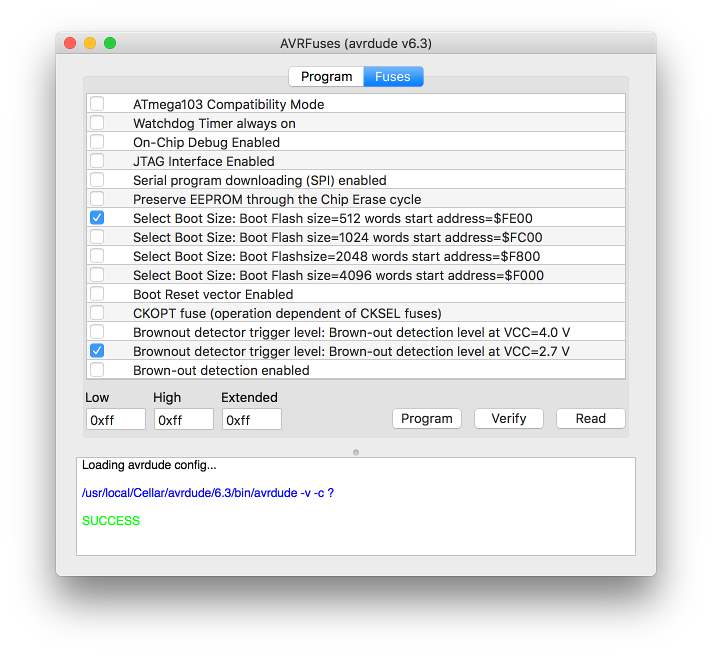
Для avrdue написано много разных графических оболочек под Windows, но среди всего этого многообразия не так просто найти удобный и не сильно глючный софт. Основное требование к оболочке — возможность работать с fuse-битами не как с числами или набором непонятных чекбоксов, а в нормальном человекочитаемом формате. Под MacOS вариантов оболочек совсем не много, но, к счастью, есть open-source проект AVRFuses и с фьюзами там всё относительно неплохо. Плюс открытый исходный код даёт возможность неограниченно затачивать этот инструмент под себя.
Главное окно содержит пару вкладок — работа в flash/eeprom и работа с фьюзами. Тут всё просто — можно выбрать микроконтроллер и файл(ы) прошивки, а затем записать/прочитать/сравнить с содержимым памяти микроконтроллера. Собственно, кнопка ручного выбора микроконтроллера оказалась жутко неудобной — при переключении с одного проекта на другой приходилось каждый раз нажимать её и выбирать из немаленького списка нужный микроконтроллер. Поэтому, первым делом я добавил кнопку Autodetect, нажатие на которую стартует считываение сигнатуры микроконтроллера, подключённого к программатору, и определение его модели по этой сигнатуре.
На второй вкладке показаны фьюзы. Как в виде констант, так и списком, где их можно настроить имея минимально необходимые для этого познания. Перед тем, как что-то делать с фьюзами, их категорически желательно прочитать из микроконтроллера.
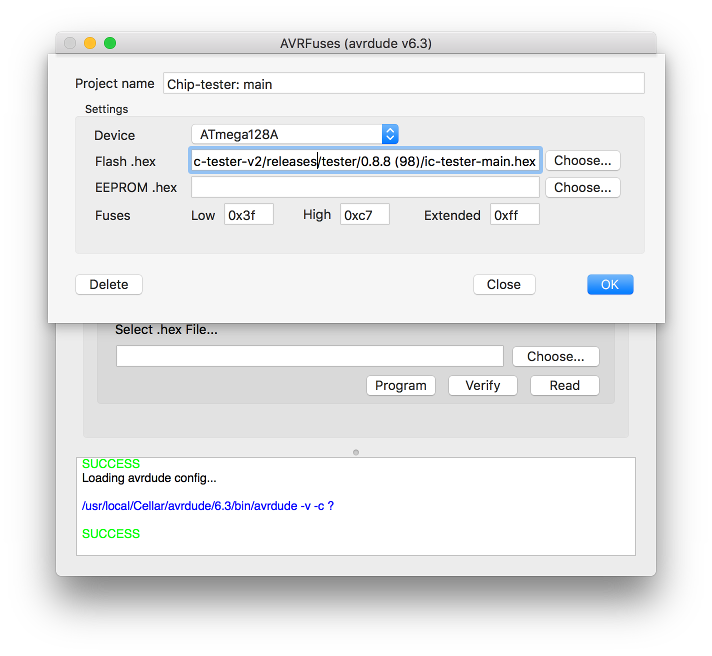
Существенный недостаток подобных оболочек в том, что при одновременной работе с несколькими проектами и частым переключением между ними, приходится каждый раз заново вбивать пути к файлам, и настраивать по памяти значения фьюзов, что скучно и отнимает время. Поэтому в оболочку была добавлена работа с проектами. Выбрав путь к прошивке и настроив фьюзы выбираем в меню ->Projects->New Project. Откроется окно, где можно посмотреть, отредактировать и сохранить все параметры.
Теперь переходить от проекта к проекту можно в один клик в меню Projects. Там же можно отредактировать созданные проекты.

Ссылки
В дальнейшем приложение умеет самообновляться по сети.
Источник
