- Установка Maya|Mudbox для семейства Debian (Ubuntu|Kubuntu|Mint и тд)
- Install Maya on Linux using the rpm package
- Install Maya on Linux using the RPM utility
- Install Autodesk Maya in Ubuntu 20.04
- Install Dependencies
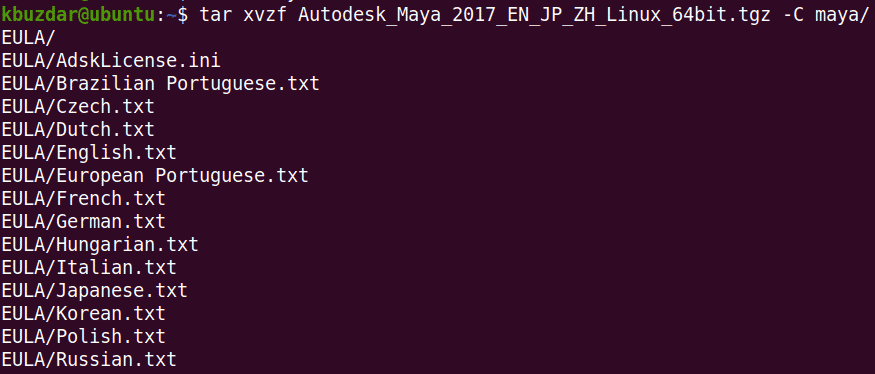
- Download Autodesk Maya
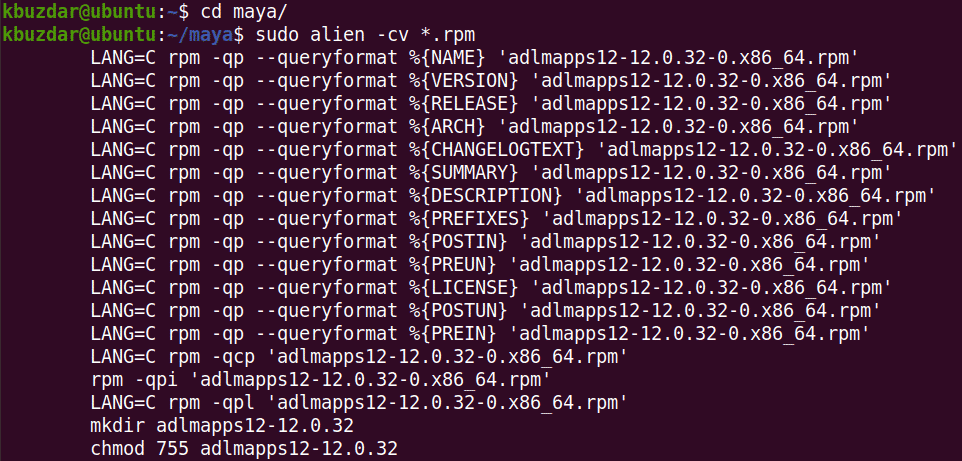
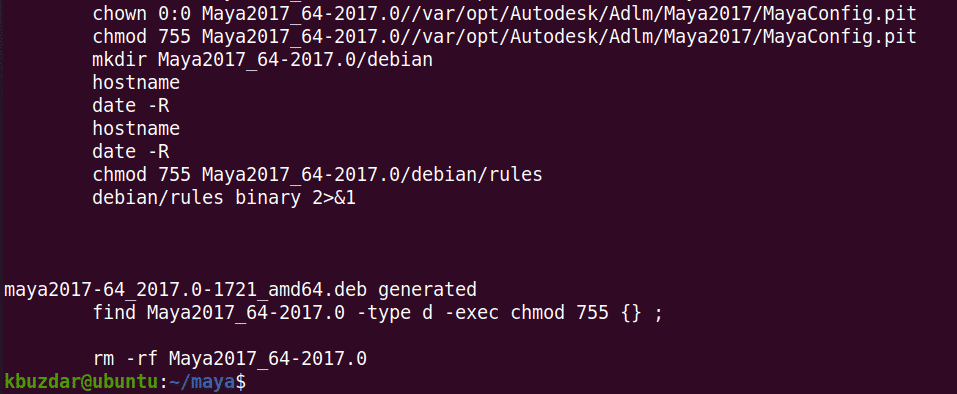
- Convert the Maya .rpm Installer Files into .deb
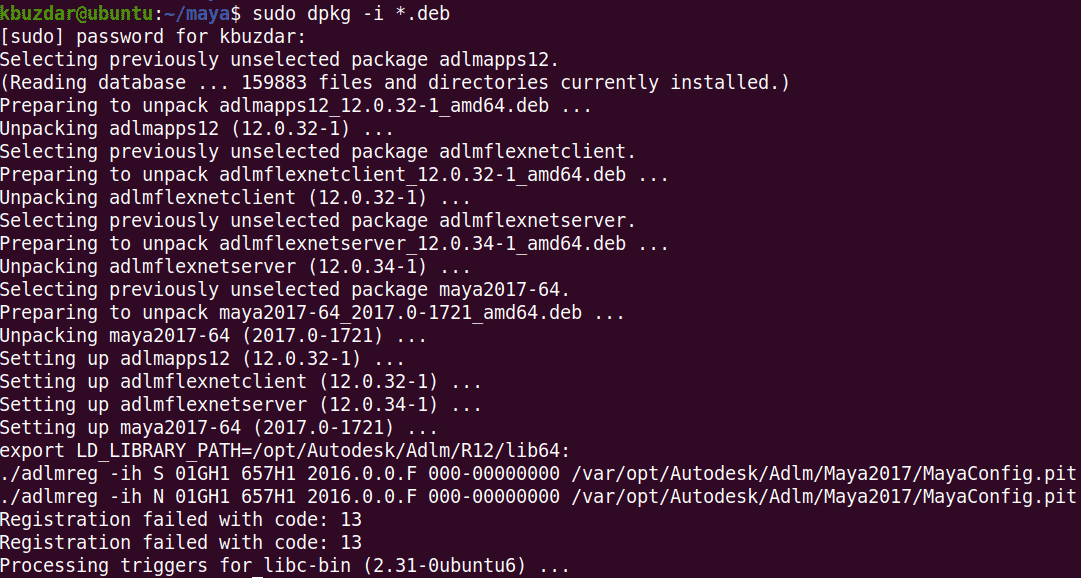
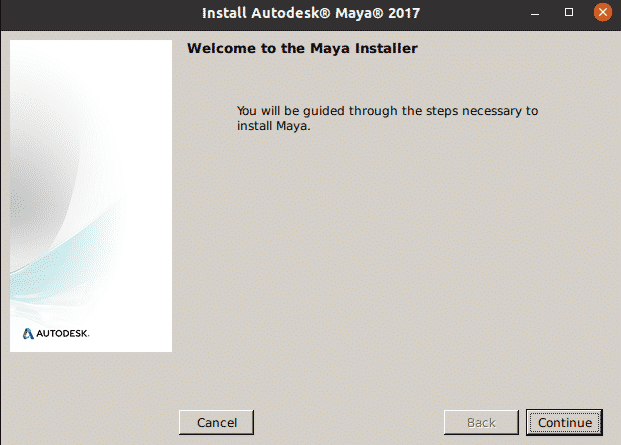
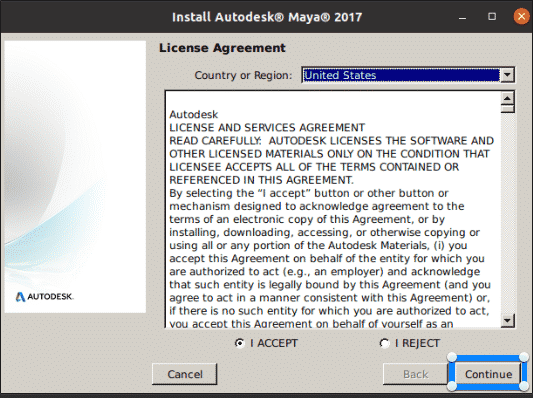
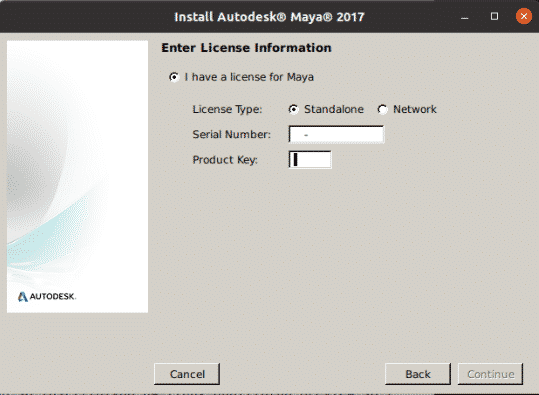
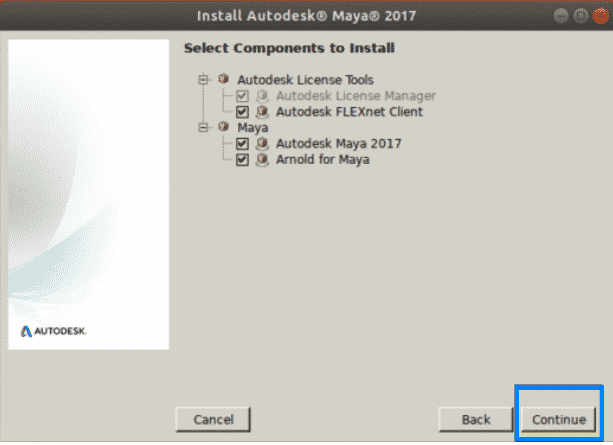
- Install Autodesk Maya
- Post-Installation Configuration
- Conclusion
- About the author
- Karim Buzdar
Установка Maya|Mudbox для семейства Debian (Ubuntu|Kubuntu|Mint и тд)
данный урок написан для наших юнлингов(новичков в 3д в среде Линукс семейства Дебиан)
Мы будем устанавливать Майку и Мудбокс в Линуксе
Т.к. предполагается, что вы пользователь Линукс, семейства Дебиан (это Убунту, Кубунту, Минты и тд и мг . одним словом, если вы юзаете *.deb установщик, то ты принадлежишь к Debian), то я вам не буду рассказывать, что такое терминал и как с ним работать.
Перейдем к делу:
скачиваем майку/мудбокс — в архиве паки *rpm
запускаем наш терминал 🙂
Что нам требуется?
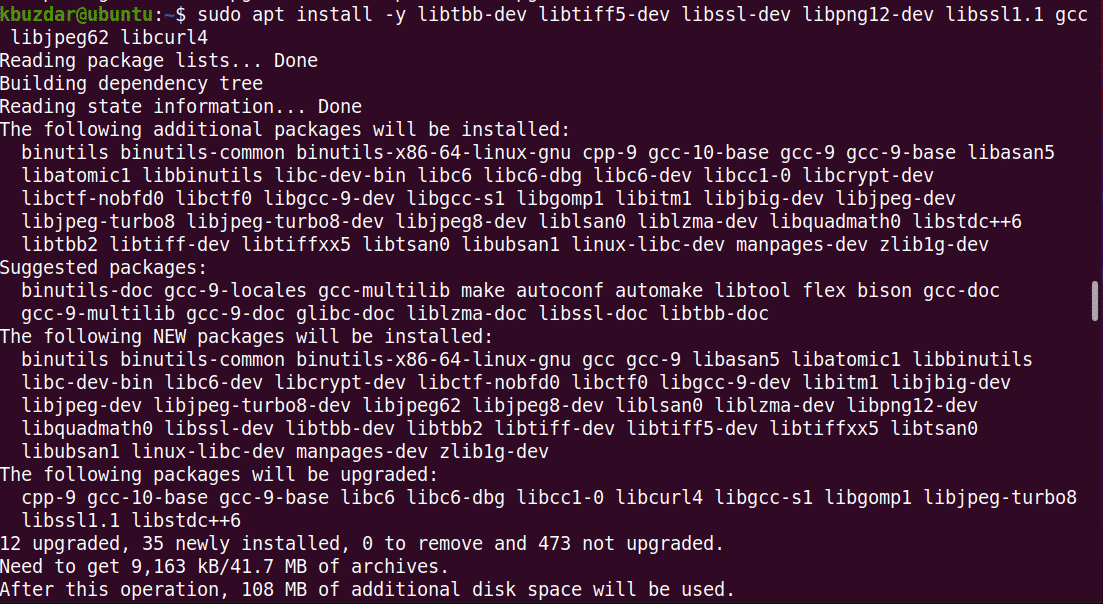
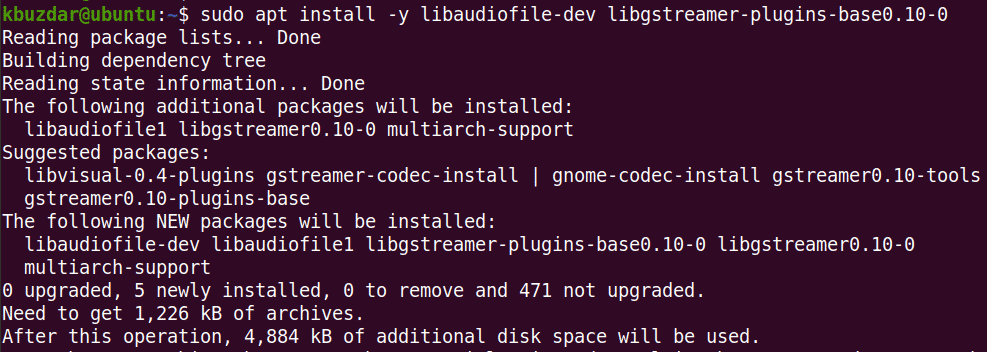
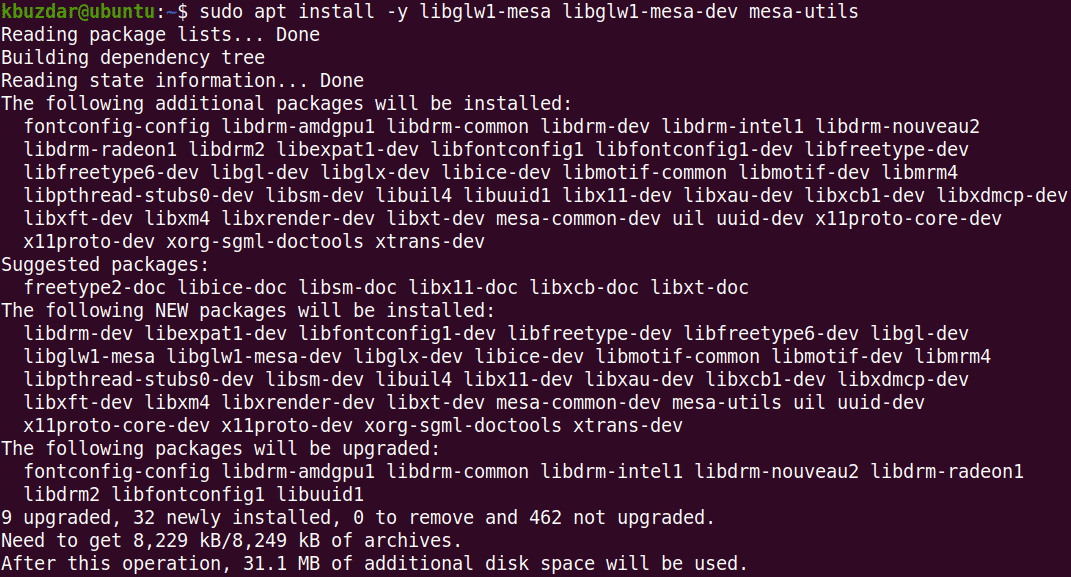
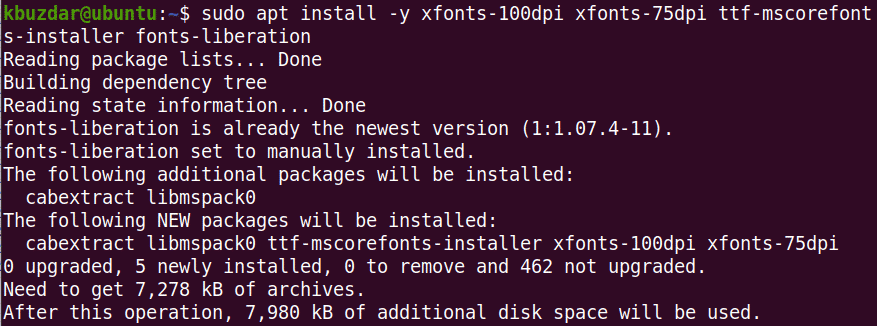
В первую очередь нам нужен конвертер RPM в DEB ну и сразу можно установить(в зависимости от сборки ОС) некоторые дополнения, по типу gcc и тд (я работаю в Debian Buster, мне потребуются такие дополнения)
(данные процедуры попробуйте выполнить не в папке скачанной майки/мудбокс, хотя можно и там, но главное не повторяйте комплексный *.deb инстал) выполняем (без кавычек):
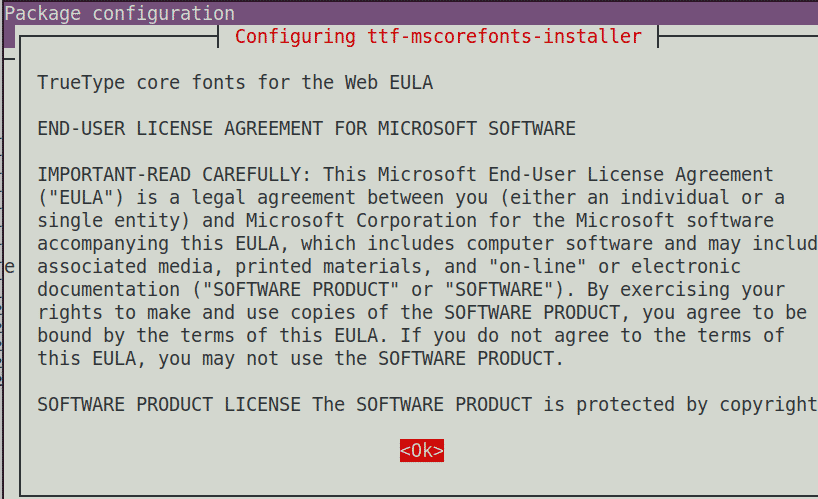
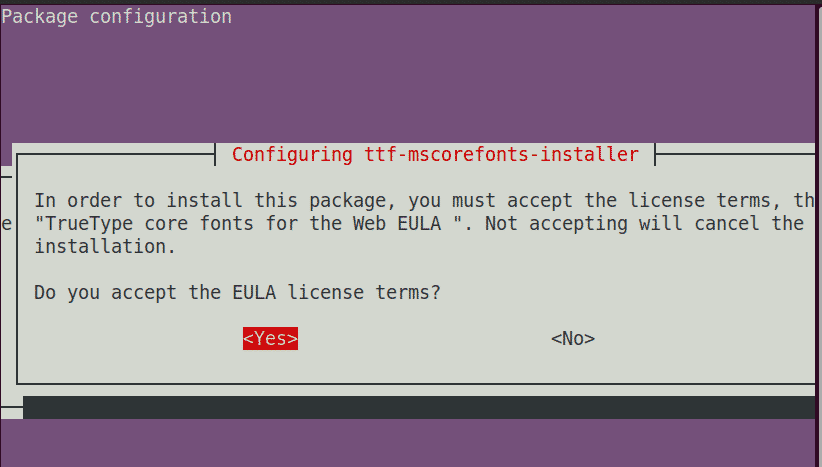
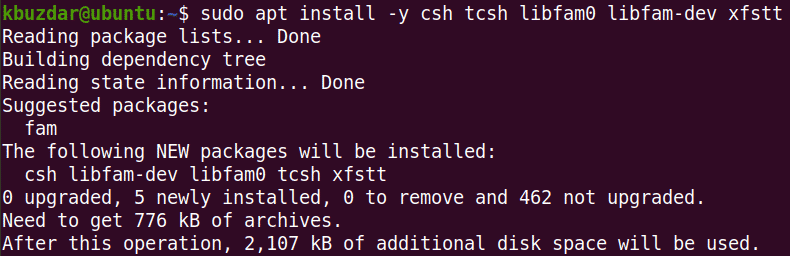
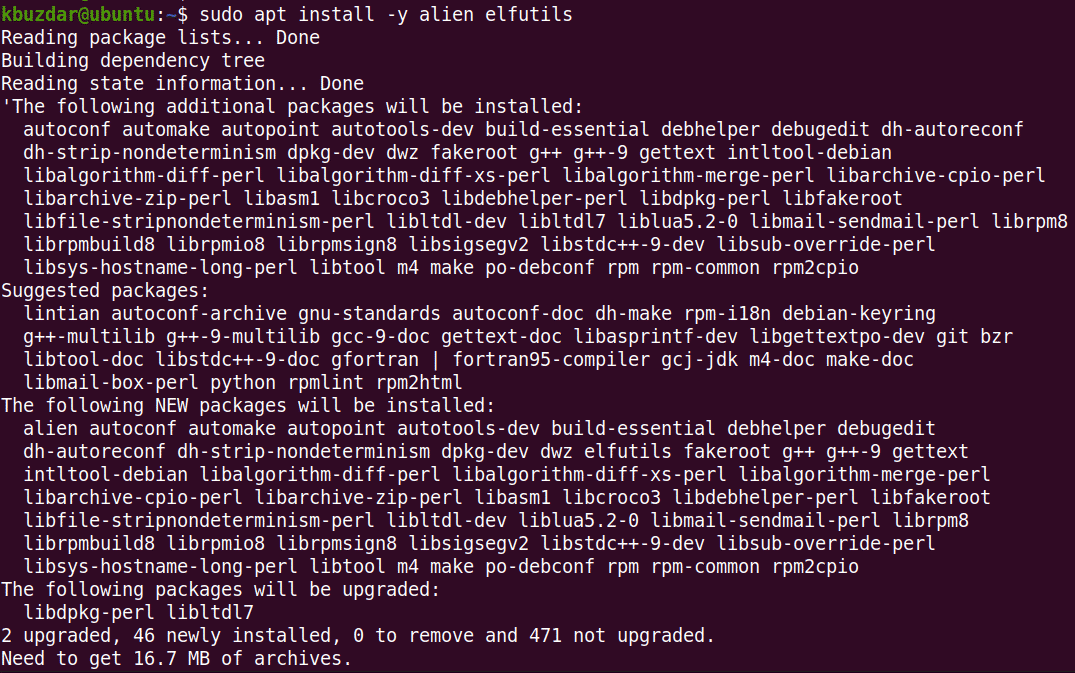
«sudo apt-get install -y gcc libssl-dev libjpeg62 alien csh tcsh libaudiofile-dev libglw1-mesa elfutils libglw1-mesa-dev mesa-utils xfstt ttf-liberation xfonts-100dpi xfonts-75dpi ttf-mscorefonts-installer libfam0 libfam-dev libgstreamer-plugins-base1.0-dev»
далее (это тоже все относится к нужным дополнениям) нам нужен будет libxp6
wget http://launchpadlibrarian.net/183708483/libxp6_1.0.
sudo dpkg -i libxp6_1.0.2-2_amd64.deb
и libpng12 нам нужен для запуска инсталятора . для ввода серийного номера и тд.
wget http://ftp.ru.debian.org/debian/pool/main/libp/lib.
sudo dpkg -i libpng12-0_1.2.50-2+deb8u3_amd64.deb
Находясь в папке скачаной и разархивированной Майки/мудбокс выполняем команду (конвертируем чужого)
sudo alien -cv *.rpm
ждем
далее делаем копи-пасте(без кавычек)
sudo dpkg -i *.deb
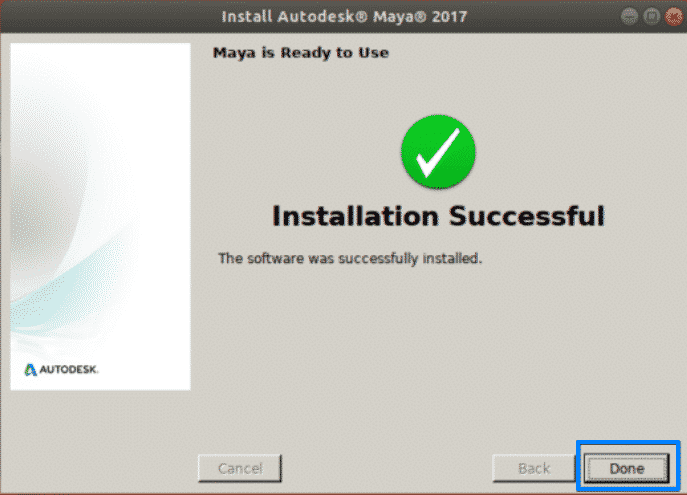
Майка/Мудбокс установилась
Теперь введем серийный номер нашего продукта выполняя эти команды в папке скачанной/переконверченной Майки/Мудбокс, поочередно:
echo «int main (void)
gcc mayainstall.c
sudo mv /usr/bin/rpm /usr/bin/rpm_backup
sudo cp a.out /usr/bin/rpm
sudo chmod +x ./setup
sudo ./setup — вот здесь мы запускаем установщик (тот который Автодеск и который был для RedHat)
нажимаем далее( ну как у вин юзверей ) и вводим серийный номер и ключ продукта
сейчас вернем все наши замены и удаления:
sudo rm /usr/bin/rpm
sudo mv /usr/bin/rpm_backup /usr/bin/rpm
Теперь мы можем смело в терминале/консоле писать maya/mudbox и нажимать энтер)
видим ответ.. да?))
(в зависимости от сборки, повторюсь я работаю в Дебиан Бастер)
приступаем к процедурам (прежде чем писать версию куда линкуете, найдите то что у вас есть через поиск):
sudo ln -s /usr/lib/x86_64-linux-gnu/libtiff.so.5.4.0 /usr/lib/libtiff.so.3
sudo ln -s /usr/lib/x86_64-linux-gnu/libcrypto.so.1.1 /usr/lib/x86_64-linux-gnu/libcrypto.so.10
sudo ln -s /usr/lib/x86_64-linux-gnu/libpcre16.so.3.13.3 /usr/autodesk/maya2019/lib/libpcre16.so.0
wget http://download-ib01.fedoraproject.org/pub/fedora/.
sudo alien -cv libpng15-1.5.30-6.fc29.x86_64.rpm
sudo dpkg -i libpng15_1.5.30-7_amd64.deb
sudo ln -s /usr/lib64/libpng15.so.15.30.0 /usr/lib/x86_64-linux-gnu/libpng15.so.15
sudo ln -s /usr/lib/x86_64-linux-gnu/libssl.so.1.1 /usr/lib/x86_64-linux-gnu/libssl.so.10
возможное еще такой модуль потребуется:
wget http://ftp.ru.debian.org/debian/pool/main/c/curl/l.
sudo dpkg -i libcurl4_7.64.0-1_amd64.deb
далее линкуем и рефреш шрифты (не факт):
xset +fp /usr/share/fonts/X11/100dpi/
xset +fp /usr/share/fonts/X11/75dpi/
теперь сделаем папочку:
sudo mkdir -p /usr/tmp
sudo chmod 777 /usr/tmp
и сделаем
sudo mkdir -p
/maya/2019/
sudo chmod 777
ну а дальше смотрите по откликам из консоли, в Debian Buster майка уже должна запускаться и нормально работать.
И заметка, по МудБоксу 2019 — https://knowledge.autodesk.com/support/mudbox/trou.
у вас может возникнуть ошибка «error while loading shared libraries: libMudboxFramework.so. «
нужно сделать:
export LD_LIBRARY_PATH=/usr/autodesk/mudbox2019/lib/
/usr/autodesk/mudbox2019/bin/mudbox.sh
надеюсь подсказал, сборав в кучку все єти действия (т.к. сам потратил на это не один день)
Источник
Install Maya on Linux using the rpm package
By:
The standard method for installing Maya on Linux is using the installer providesd. However, you can also install Maya on Linux directly from the rpm file. You must have superuser privileges to install Maya from rpm.
MtoA needs to be installed separately when installing from the rpm file. You can download it from https://area.autodesk.com/.
- Change directory to install/Packages in the Maya installation package
- Install the licensing rpm packages: adlmapps17, adsklicensing, adlmflexnetserverIPV6, and adlmflexnetclient. For example,
- Verify that the licensing service is running If the service is not running, run Then check that the licensing service has started and is running.
If the licensing service is still not running, run /opt/Autodesk/AdskLicensingService —run and check /var/opt/Autodesk/AdskLicensingService/Log/AdskLicensingService.log for messages.
Источник
Install Maya on Linux using the RPM utility
By:
With the RPM command-line utility, you can use either the -i flag or the -ivh flag to install the programs. The -ivh flag provides you with more information during the installation.
To install Maya on Linux using the RPM utility
- Open a shell as a super user (using su — ).
- Do one of the following:
- Insert the USB install media and the drive should mount automatically.
- Extract the Maya packages from the compressed file you downloaded, then change to the directory where you extracted the packages.
- Use the ls command to list the packages.
The packages you see will be similar to the following, where # indicates the specific package numbers.
| Package name | Description | Required |
|---|---|---|