- linux-notes.org
- Установка AWS CLI в Unix/Linux
- Установка AWS CLI в CentOS/Fedora/RedHat
- Установка AWS CLI в Debian/Ubuntu
- Установка AWS CLI в Mac OS X
- Работа с AWS CLI в Unix/Linux
- Добавить комментарий Отменить ответ
- How to Install AWS CLI in Linux (RHEL/CentOS 7/8) Using 6 Easy Steps
- Install AWS CLI in Linux (RHEL/CentOS 7/8)
- Step 1: Prerequisites
- Step 2: Update Your System
- Step 3: Install AWS CLI
- Step 4: Check AWS CLI version
- Step 5: Configure AWS CLI
- Step 6: Test AWS CLI command
- Install AWS Command Line Interface (CLI) on Ubuntu 18.04 LTS
- Installing AWS CLI Using APT Package Manager:
- Installing AWS CLI using Python PIP:
- Basics of AWS CLI:
- Login to AWS Account Using AWS CLI:
- Getting Help with AWS CLI:
- Install, Update, and Uninstall the AWS CLI version 1 on Amazon Linux
- Prerequisites
- Install or update the AWS CLI version 1 on Amazon Linux using pip
- Uninstall the AWS CLI version 1 using pip
linux-notes.org

AWS CLI — интерфейс командной строки AWS – это единый инструмент для управления сервисами AWS. Загрузив всего одно средство, вы сможете контролировать множество сервисов AWS из командной строки и автоматизировать их с помощью скриптов.
Установка AWS CLI в Unix/Linux
Сейчас я расскажу как можно установить AWS CLI на некоторые Unix/Linux ОС.
Для начала, устанавливаем PIP:
Переходим к установке.
Установка AWS CLI в CentOS/Fedora/RedHat
-===СПОСОБ 1- использовать PIP===-
Если у вас уже есть pip и поддерживаемая версия Python, вы можете установить CLI AWS с помощью следующей команды:
Чтобы обновить CLI AWS, запустите команду:
Чтобы удалить CLI AWS, используйте команду:
Чтобы узнать версию AWS CLI выполните:
PS: Для python3 используйте pip3!
-===СПОСОБ 2- использовать easy_install===-
-===СПОСОБ 3- использовать git репозиторий===-
PS: Можно использовать python3!
Установка AWS CLI в Debian/Ubuntu
-===СПОСОБ 1- использовать PIP===-
Если у вас уже есть pip и поддерживаемая версия Python, вы можете установить CLI AWS с помощью следующей команды:
Чтобы обновить CLI AWS, запустите команду:
Чтобы удалить CLI AWS, используйте команду:
Чтобы узнать версию AWS CLI выполните:
PS: Для python3 используйте pip3!
-===СПОСОБ 2- использовать easy_install===-
-===СПОСОБ 3- использовать git репозиторий===-
PS: Можно использовать python3!
Установка AWS CLI в Mac OS X
-===СПОСОБ 1===-
Если у вас уже есть pip и поддерживаемая версия Python, вы можете установить CLI AWS с помощью следующей команды:
Чтобы обновить CLI AWS, запустите команду:
Чтобы удалить CLI AWS, используйте команду:
Чтобы узнать версию AWS CLI выполните:
PS: Для python3 используйте pip3!
-===СПОСОБ 2===-
Можно выполнить поиск пакета:
И выполняем установку:
-===СПОСОБ 3- использовать git репозиторий===-
PS: Можно использовать python3!
Работа с AWS CLI в Unix/Linux
После установки AWS CLI, нужно прописать ключики. Открываем:
И прописываем (пример):
PS: Так же, можно добавить регион (например):
Можно не открывать файл, а выполнить следующую команду:
И нам предлагают ввести некоторые данные:
Они будут записаны в дефолтное значения ( в файле
Если у вас несколько профилей, вы можете настроить дополнительные именованные профили с помощью параметра —profile:
Данная тема, довольно большая и я буду выкладывать постепенно новый материал.
На этом, у меня все. Статья «Установка AWS CLI в Unix/Linux» завершена.
Добавить комментарий Отменить ответ
Этот сайт использует Akismet для борьбы со спамом. Узнайте, как обрабатываются ваши данные комментариев.
Источник
How to Install AWS CLI in Linux (RHEL/CentOS 7/8) Using 6 Easy Steps
Table of Contents
In this article, I will take you through the steps to Install AWS CLI in Linux (RHEL/CentOS 7/8) Using 6 Easy Steps. If you are a beginner or professional in AWS Cloud then you might be aware of using Cloud Infrastructure and resources through Management Console. There is another way through which you can access AWS Resources i.e by using AWS CLI command Line tool. More on AWS CLI
It is very easy to install and use AWS command line resources particularly if you are planning to manage the resources through some script. It can easily be integrated with Bash and other Linux/Unix based Scripting tool and can be used in a very efficient way. In this article, I will show you how you can install AWS CLI in very easy steps.
Install AWS CLI in Linux (RHEL/CentOS 7/8)
Step 1: Prerequisites
a)You need to have a running RHEL/CentOS 7/8 System.
b)You need to have yum installed in your system. You can check Top 22 YUM Command Examples in RedHat /CentOS 7 to know more about yum command.
c)You should have sudo access to run all the privilege commands. You can check How to add User to Sudoers to know more about providing sudo access to the User.
Step 2: Update Your System
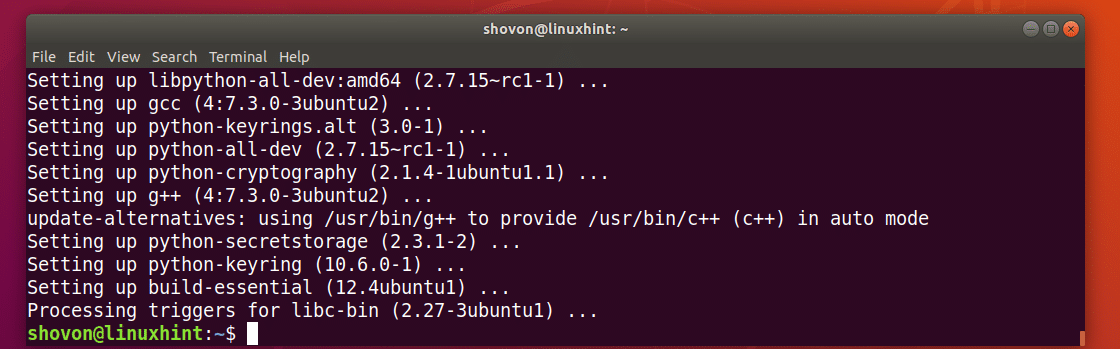
Before installing AWS CLI tool it is always recommended to update your system with the latest version as sometimes installing a package requires libraries and other dependent packages to be updated. Usually you will see yum installed in all RHEL/CentOS based systems by default so that you don’t have to install it separately. You can easily update your system by launching yum update -y command as shown below.
Step 3: Install AWS CLI
Once system is updated, then you can install AWS CLI by using yum install awscli -y command as shown below. This command will automatically find all the dependencies required to install AWS CLI and will install it for us.
Step 4: Check AWS CLI version
After completed the AWS CLI installation, you can check the aws command version using aws —version command as you can see below. As shown in the below output, aws cli installed version is 1.14.8 .
Step 5: Configure AWS CLI
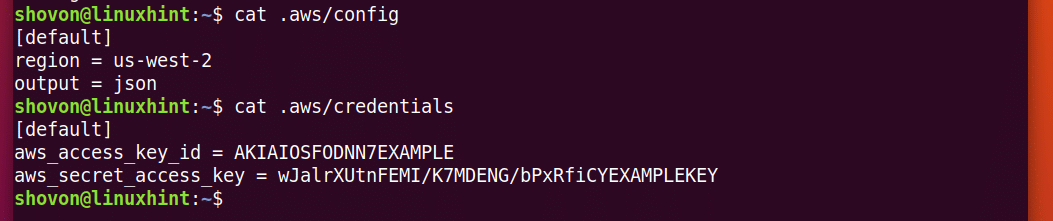
Now we can go ahead and configure aws command line to access the AWS Resources. You can configure it by using aws configure command as shown below. Here you need to provide AWS Access Key ID, AWS Secret Access Key and Default Region Name. Once you provide all the details you can see a hidden directory .aws created on User home directory which contains two files — Credentials and Config . You can find the aws secret key and aws access key in credential file and default region in config file.
Step 6: Test AWS CLI command
After configuring the AWS CLI, you can now test the functionality by running a simple aws s3 ls command to list out all the buckets in S3.
Источник
Install AWS Command Line Interface (CLI) on Ubuntu 18.04 LTS
In this article, I will show you many ways to install AWS CLI tool on your Ubuntu 18.04 LTS operating system. Let’s get started.
Installing AWS CLI Using APT Package Manager:
AWS CLI is available in the official package repository of Ubuntu 18.04 LTS. So it is very easy to get it installed.
First update the package repository cache with the following command:

The package repository cache should be updated.

Now install AWS CLI with the following command:

Now press y and then press to continue.
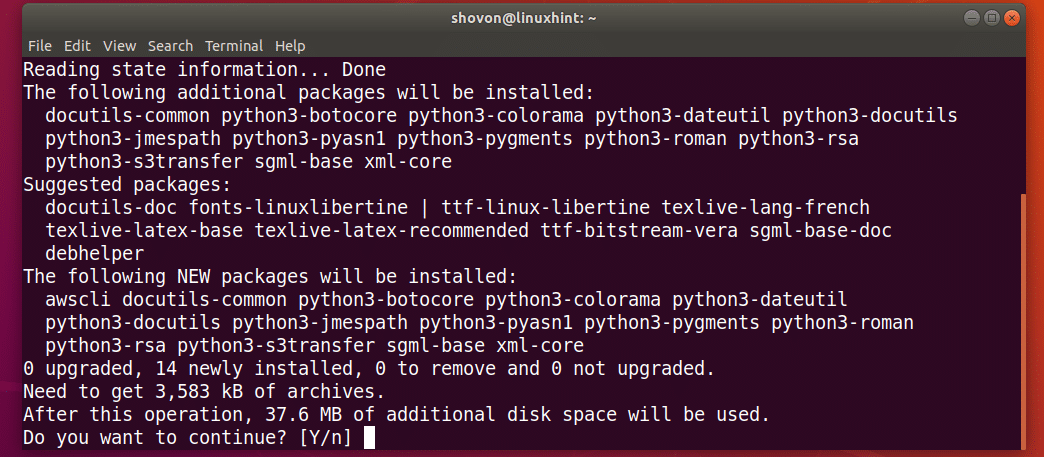
AWS CLI should be installed.
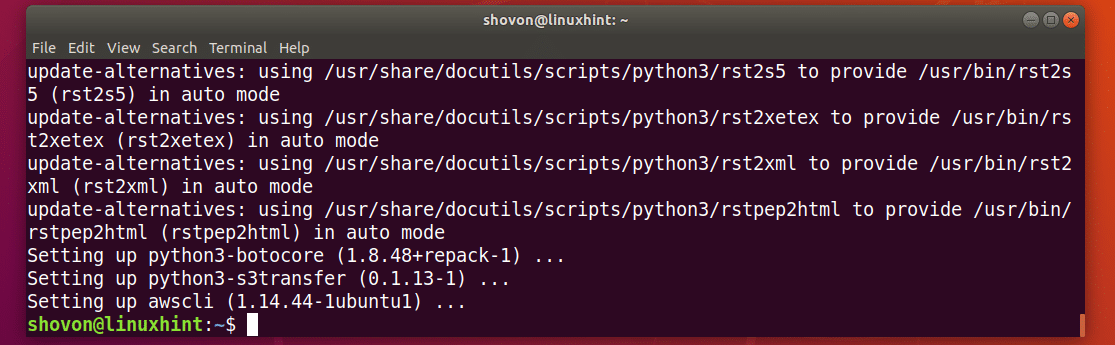
Now check whether AWS CLI is working with the following command:
As you can see, AWS CLI is working correctly.

Installing AWS CLI using Python PIP:
AWS CLI is a Python module. The advantage of installing AWS CLI as Python module is that you always get up to date version of AWS CLI. It is easy to update AWS CLI if installed as Python module. You also don’t need super user privileges to install AWS CLI as a Python module. AWS CLI can also be installed in a Python virtual environment.
AWS CLI is available for Python 2.x and Python 3.x. You need Python PIP for installing AWS CLI on Ubuntu 18.04 LTS. Python PIP is not installed by default on Ubuntu 18.04 LTS. But it is easy to install.
Run the following command to install Python PIP:
For Python 2.x:

For Python 3.x:
Press y and then press to continue.
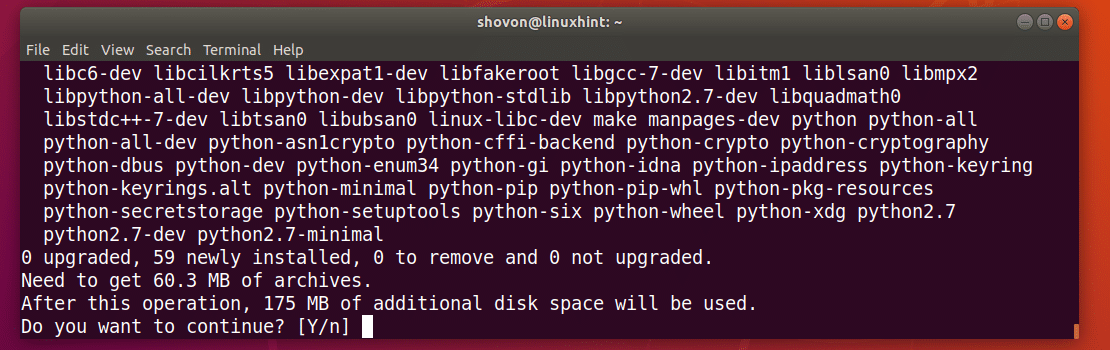
Python PIP should be installed.
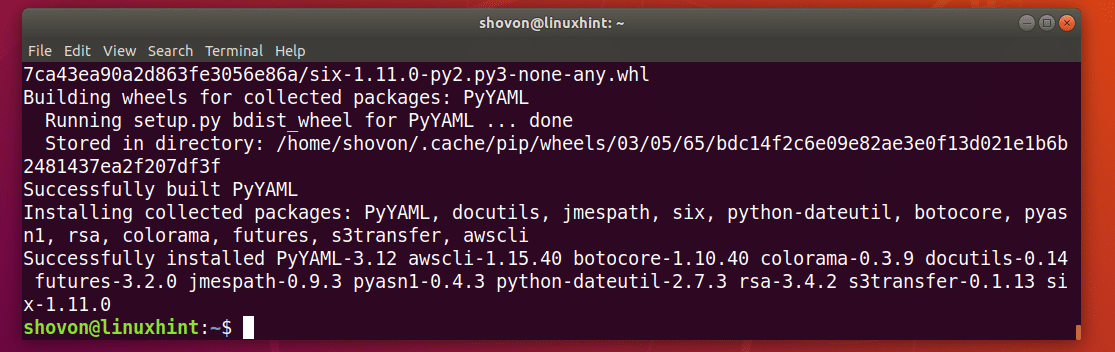
Now install AWS CLI using PIP with the following command:
Python 2.x PIP:

Python 3.x PIP:
AWS CLI Python module should be installed.
Now you can run AWS CLI with the following command:
Python 2.x Command:
Python 3.x Command:
As you can see, AWS CLI is working correctly.

Basics of AWS CLI:
I wanted to show you how AWS CLI works practically. But I don’t have a credit card, so I can’t verify my AWS account. But don’t worry, I will give you enough information that you can use to get started with AWS CLI on Ubuntu 18.04 LTS.
I am using the Ubuntu 18.04 LTS packaged version AWS CLI program, not the Python module in this section, but the commands are similar.
Login to AWS Account Using AWS CLI:
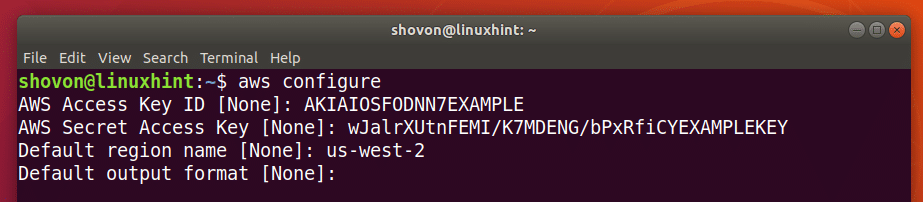
First you have to configure the AWS CLI client with your AWS account’s credentials. To do that, run the following command:
Ubuntu Packaged AWS CLI:
AWS CLI Python Module:

Now type in your AWS Access Key ID and press . An Access Key ID can be created from the AWS Management Console.

Now type in your AWS Secret Access Key ID and press . A Secret Access Key ID can be created from the AWS Management Console.

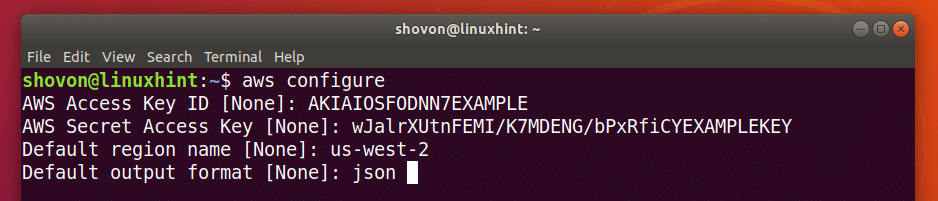
Now type in your default region name. It’s something like us-west-2.

Now type in your default output format. You may choose between the default, in which case just press .
Or JSON (JavaScript Object Notation) format, in which case, type in json and press .
Now you can manage your Amazon Web Services using AWS CLI.
The configuration files of AWS CLI is stored in
/.aws/credentials file as you can see from the screenshot below.
Now if you want to use different login information, all you have to do is delete
/.aws/credentials file with the following command and run aws configure again.
Getting Help with AWS CLI:
You need to know how to get help with the AWS CLI. Then you will be able to figure it out yourself. Again AWS has a great guide and online documentation on AWS CLI that you can use.
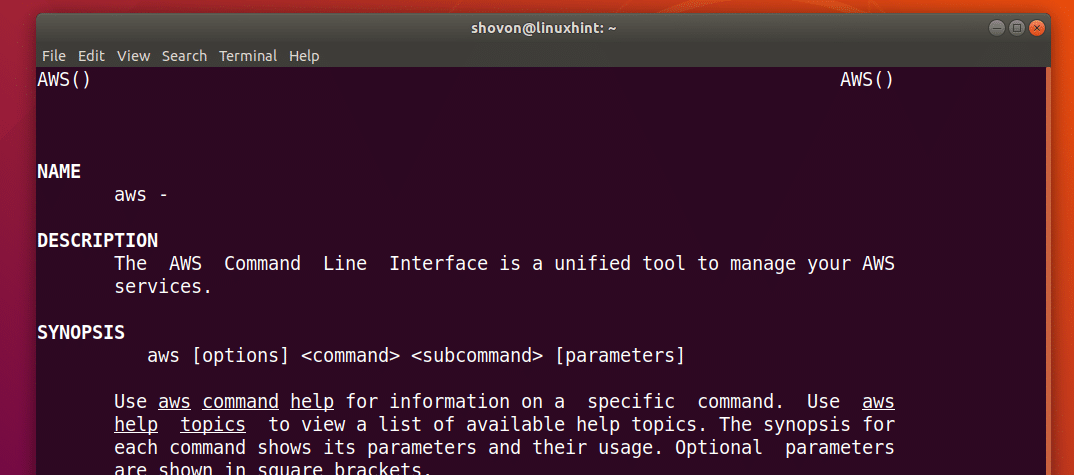
You can run the following command to get help on AWS CLI:
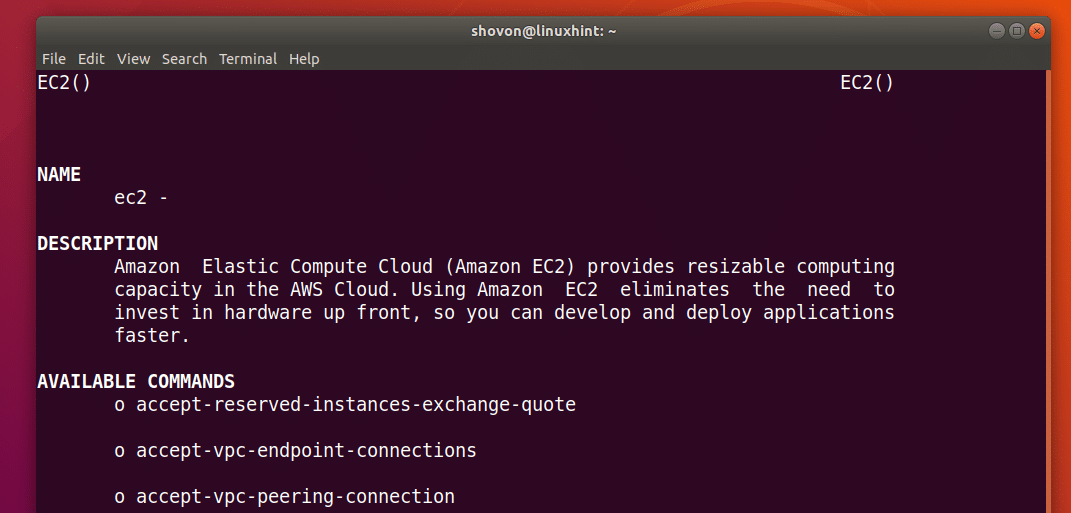
AWS has different services such as EC2, S3 etc. You can get help on specific services as follows:
For more information, you can check AWS CLI’s online documentation at https://docs.aws.amazon.com/cli/latest/userguide/cli-chap-welcome.html
You can also download the PDF manual on AWS CLI from https://docs.aws.amazon.com/cli/latest/userguide/aws-cli.pdf
That’s how you install AWS CLI on Ubuntu 18.04 LTS. Thanks for reading this article.
Источник
Install, Update, and Uninstall the AWS CLI version 1 on Amazon Linux
The AWS CLI version 1 is preinstalled on Amazon Linux and Amazon Linux 2. Check the currently installed version by using the following command.
Sections
Prerequisites
You must have Python 2 version 2.7 or later, or Python 3 version 3.6 or later installed. For installation instructions, see the Downloading Python page in Python’s Beginner Guide.
As of 2/1/2021 Python 3.4 and 3.5 is deprecated.
In order to use the AWS CLI version 1 with an older version of Python, you need to install an earlier version of the AWS CLI version 1.
To view the AWS CLI version 1 Python version support matrix, see About the AWS CLI versions.
Install or update the AWS CLI version 1 on Amazon Linux using pip
To install the latest version of the AWS CLI version 1 for the current user, use the following instructions.
We recommend that if you have Python version 3 or later installed that you use pip3 . Use pip3 install to install or update to the latest version of the AWS CLI version 1. If you run the command from within a Python virtual environment (venv) , you don’t need to use the —user option.
Ensure the folder that contains aws is part of your PATH variable.
Find your shell’s profile script in your user directory. If you’re not sure which shell you have, run echo $SHELL .
Bash – .bash_profile , .profile , or .bash_login
Tcsh – .tcshrc , .cshrc or .login
Add an export command at the end of your profile script that’s similar to the following example.
This command inserts the path, $HOME/.local/bin in this example, at the front of the existing $PATH variable.
Reload the profile into your current session to put those changes into effect.
To verify that you’re running the new version, use the aws —version command.
Uninstall the AWS CLI version 1 using pip
If you need to uninstall the AWS CLI, use pip uninstall .
Источник


