- How to install BalenaEtcher on Ubuntu 20.04
- Features of Etcher
- BalenaEtcher Installation Procedure on Ubuntu
- How to use BalenaEtcher on Ubuntu
- [Linux] Устанавливаем Etcher — приложение для записи образов на USB/SD носители
- Как установить Этчер ( Etcher),USB инструмент для записи, на Ubuntu.
- Etcher имеет следующие особенности.
- Как установить Etcher на Ubuntu.
- How to install balenaEtcher on Ubuntu 20.04 LTS
- balenaEtcher Ubuntu 20.04 Installation – Create bootable USB sticks and SD cards
- Step 1: Open Command Terminal
- Step 2: Add Etcher repository on Debian or Ubuntu
- Step 3: Add GPG key of Bintray
- Step 4: Run the system update command
- Step 5: Install balenaEtcher on Ubuntu 20.04
- Step 6: How to use it on a system to create a bootable drive
- Uninstall balenaEtcher from Ubuntu
How to install BalenaEtcher on Ubuntu 20.04
Here’s how to install BalenaEtcher quickly and conveniently. With it you can create pen drives and memory cards to boot from various systems. Learn how to Install BalenaEtcher on Ubuntu.
BalenaEtcher is a free and open source utility used to flash image files, such as .iso or .img files, as well as compressed folders to create SD cards and USB flash drives.
It is a software of great value for those who want to create their pen drives and boot cards. One of the reasons it has become popular is that it has versions for several systems.
On the application website you will be able to download all types of versions.
Here is the BalenaEtcher download link .
But here our focus will be on Ubuntu only.
Let’s get started.
Features of Etcher
Etcher ensures that the data on the file and the disk are similar; as such, writing images to corrupted disks is impossible.
The software’s Interface is easy on the eye and relatively easy to navigate even for the non-techies.
Hard Drive Friendly
This feature means that Etcher selects the required drive and if a drive is not connected, it will automatically prompt you to connect one.
Made with HTML, JS, node.js, and Electron, EtcherPC is an Open Source application. You can jump in to contribute if your skills fit the bill.
Etcher allows you to flash an image from Windows, Linux, or Mac. You can use either of these platforms and it will run just fine.
Etcher verifies the ISO image, meaning that you can’t accidentally corrupt USB. Just ensure that you download from the official website to avoid unnecessary issues that may arise with third-party sources.
What more to expect from Etcher
Developers are working on ways to increase writing speeds. Etcher plans to broaden its scope and cover more than just SD cards. There are also plans to build an image catalog embedded within the application that would allow users to explore a set of images from trusted publishers and stream them from the internet straight into their drives.
Flashing the same image to multiple drives will be made easier as progress on the multi-write engine is taking shape.
BalenaEtcher Installation Procedure on Ubuntu
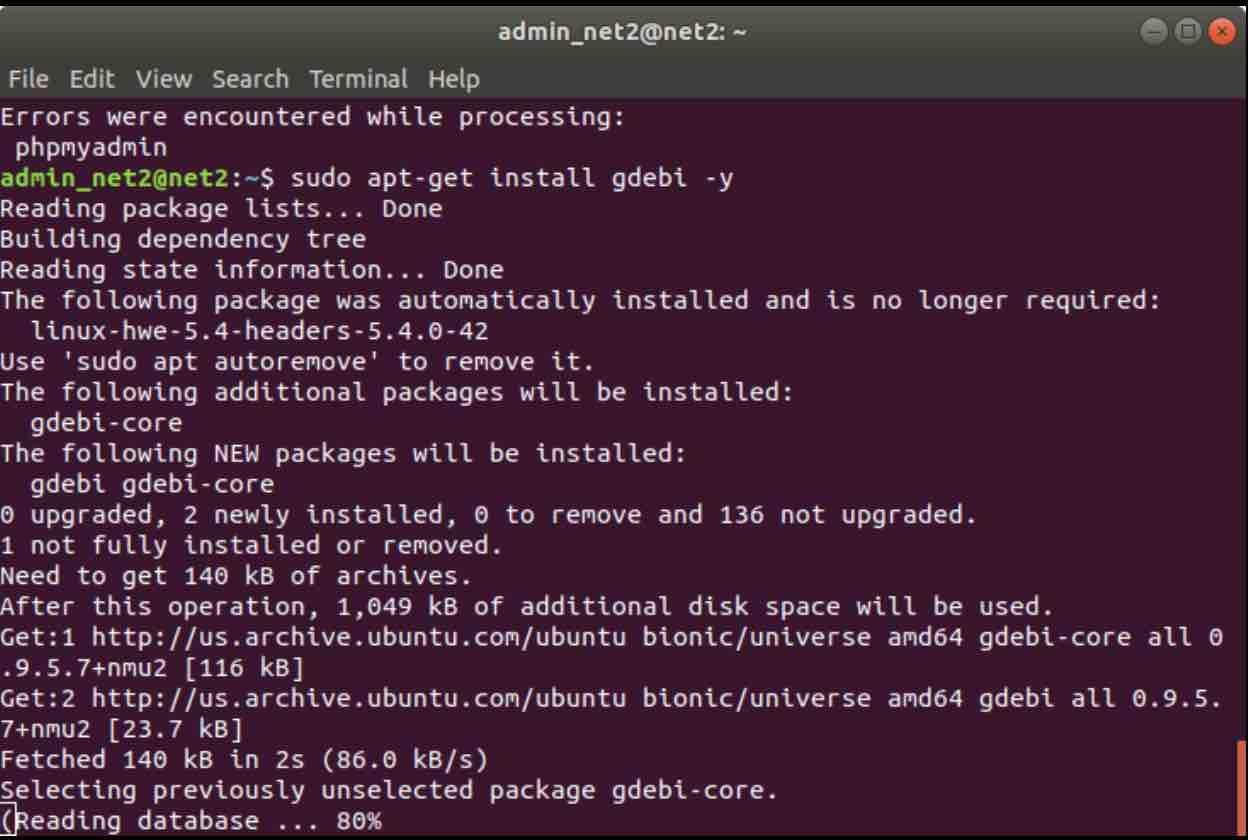
Before starting the installation process, you would need to install the ‘ gdebi ‘ tool If you don’t have it already. The command is simple :
sudo apt-get install gdebi -y
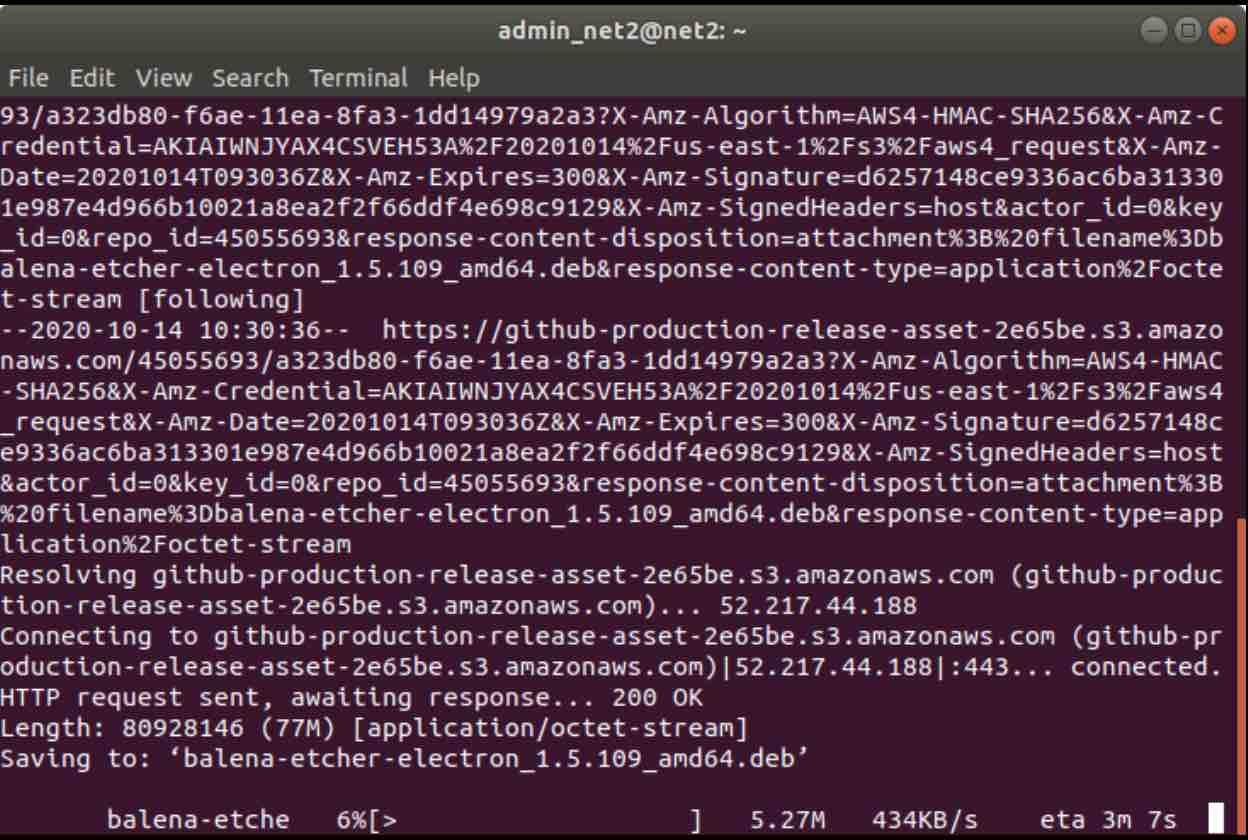
After the tool is installed, you would need to download the package. Some prefer to use the browser to download, others prefer the command line:
wget –show-progress https://github.com/balena-io/etcher/releases/download/v1.5.109/balena-etcher-electron_1.5.109_amd64.deb
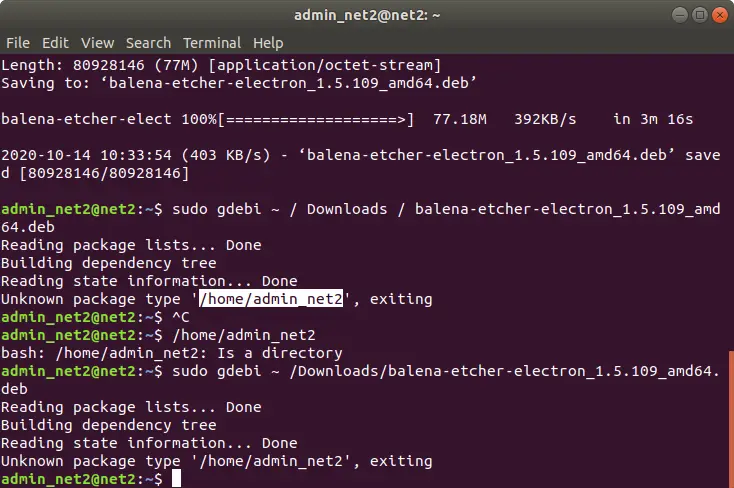
Regardless of your choice, the package will be downloaded to your system. To install it, use the tool you have installed earlier :
How to use BalenaEtcher on Ubuntu
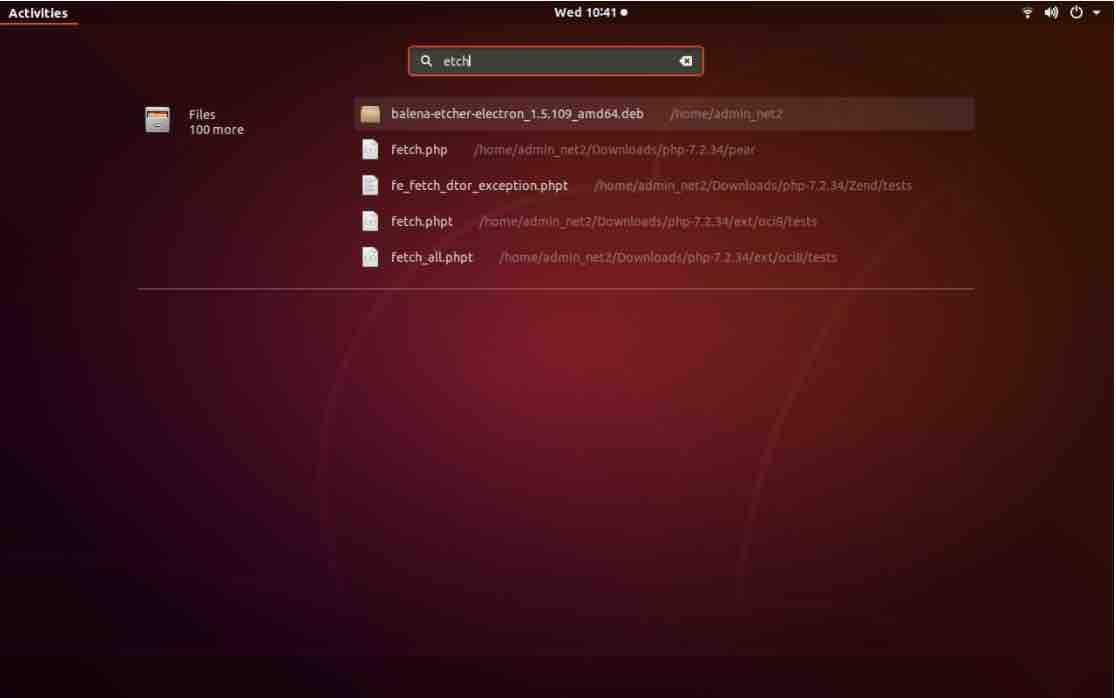
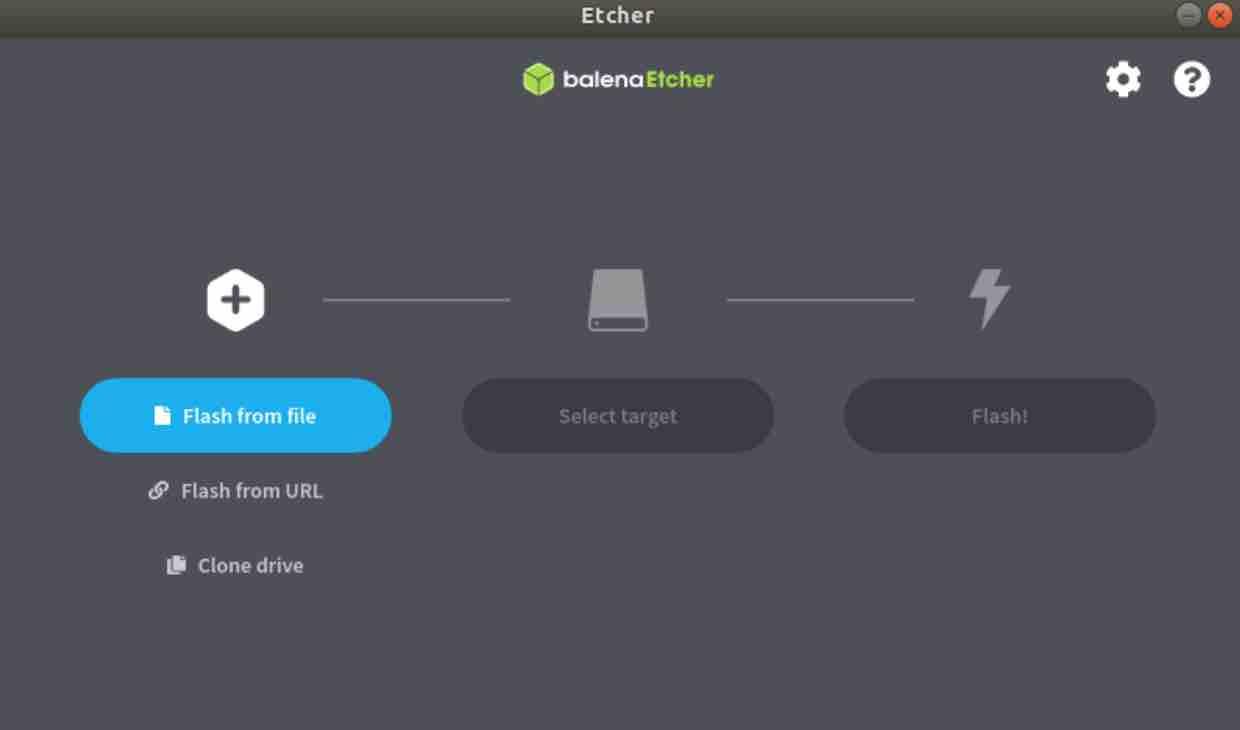
After completing the installation, the application should be listed in the menu of your system, then just locate it by name:
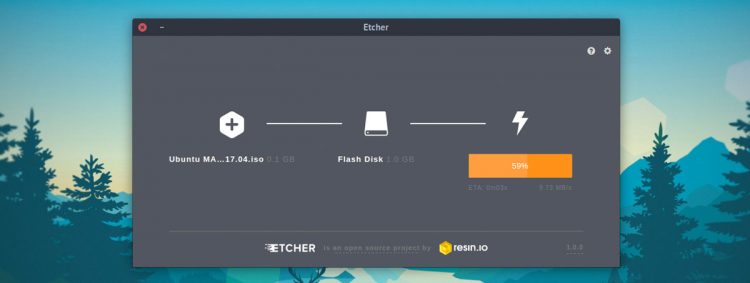
Once it is up and running, click on flash from file, choose which ISO you want to flash, then in the Select Drive item, choose where the ISO will be flashed, in this case on a USB stick and then click on Flash and wait.
If you like the content, we would appreciate your support by buying us a coffee. Thank you so much for your visit and support.
Источник
[Linux] Устанавливаем Etcher — приложение для записи образов на USB/SD носители
Etcher — кроссплатформенное приложение с открытым исходным кодом, записывает образы ( .iso, .img и .zip ) на USB или SD носители. У приложения имеются версии для Linux, Mac и Windows.
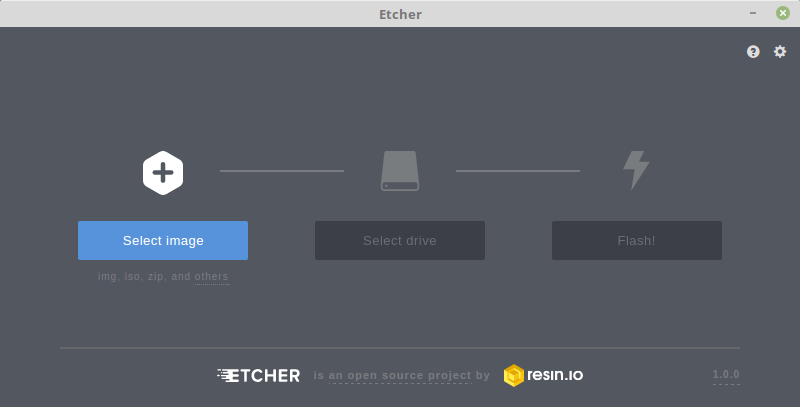
Запись образа проходит в три действия.
- Кнопкой «Select image» выбираем нужный образ для записи.
- Далее в «Select drive» выбираем носитель.
- Последний пункт «Flash!» — старт записи.
Как установить Etcher на Ubuntu
Установить приложение можно двумя способами. Первый самый простой, идем на официальный сайт , выбираем нужную версию — скачивание начнется автоматически.

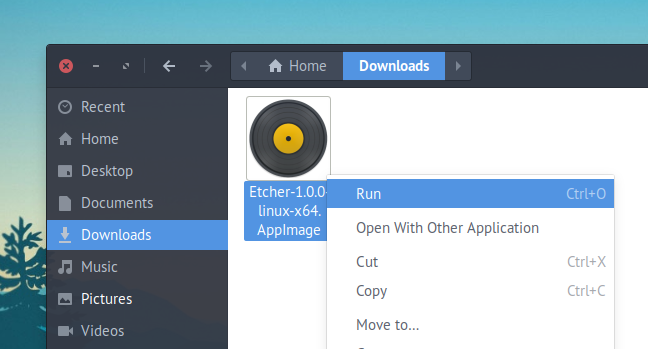
Открываем архив, перемещаем файл приложения на рабочий стол (либо в другое место на ваше усмотрение), запускаем его двумя кликами, либо правой кнопкой мыши затем в контекстном меню «запустить» — приложение запускается без установки.
жмем «ОК» и закрываем «Менеджер обновлений».
- Далее идут действия одинаковые для Ubuntu и Mint. Идем в «Консоль» вводим команду «su root» после потребуется ввести пароль администратора, после ввода пароля нажимаем клавишу «enter». Копируем команду
Источник
Как установить Этчер ( Etcher),USB инструмент для записи, на Ubuntu.

Etcher (Этчер), популярный USB инструмент для записи образов с отрытым кодом для Windows, macOS и Linux ,только что выпустил новый стабильный релиз.
Верия 1.0 выходит спустя почти один год после того, как мы впервые представили вам легкий в использовании Image writer на этом сайте. Видно, что у приложения много улучшений, а это, как говорят разработчики, позволяет сделать его “гораздо более стабильным и надежным инструментом”.
Etcher имеет следующие особенности.
Ведущая компания по разработке данного приложения заявляет, что в течение всего курса различных бета релизов Etcher использовался для записи более одного миллиона образов на SD карты и USB накопители.
Сделанный с использованием формата Электрон, Etcher – это настоящее кросс-платформенное приложение, которое может записывать .iso, .img и zip на USB накопители и SD карты.
Главный интерфейс использовать проще простого: выбираете образ, выбираете накопитель (есть встроенный подборщик дисков, созданный для того, чтобы вы избежали ошибок и перезаписи жесткого диска и т.д.) и нажимаете Flash. Для правильной записи происходит двойная проверка информации после записи, так что вам остается только болтать о попытке загрузки с негодных дисков.
Нет признаков каких-либо ранее запланированных функций, таких, как поддержка создания мульти загрузочных USB накопителей или включение постоянного хранения на образах Ubuntu.
• Поддержка создания мульти-загрузочных USB
• Поддержка постоянного хранения на образах Ubuntu.
• Зарегистрированный Etcher как обработчик для файлов *.img и *.iso
Хотя не только клиент GUI получил обновление. Etcher 1.0 также ожидает экспериментальный релиз Etcher CLI.
Etcher CLI позволяет вам записывать образы и проверять запись из командной строки. Так как приложение не полагается на структуру Electron, оно меньше по размеру для загрузки и установки. Разработчики к тому же расхваливают его способность записывать пользовательские скрипты, используя CLI “для выполнения таких задач, как мульти-запись”.
Как установить Etcher на Ubuntu.
Etcher 1.0 доступен для установки на Windows, macOS и Linux c вэбсайта Etcher.io с его страницы Github:
Etcher on Github
Linux-сборки обеспечиваются в формате AppImage package. App образы – это автономные рабочие циклы, которые не требуют ручной установки или разрешения администратора (но требуют необходимое разрешение от вас для запуска его как программы). Они скорее всего запустятся на каждом расширении – просто скачайте и нажмите на run двойным кликом. 
Если вы предпочитаете устанавливать ваши приложения более традиционным способом, можете установить Etcher на Ubuntu из хранилища Etcher.
Настройка этого приложения требует более активного участия, чем с обычным PPA (персональный архив пакетов), но этот метод обеспечит вам возможность получать все будущие обновления автоматически через Update manager.
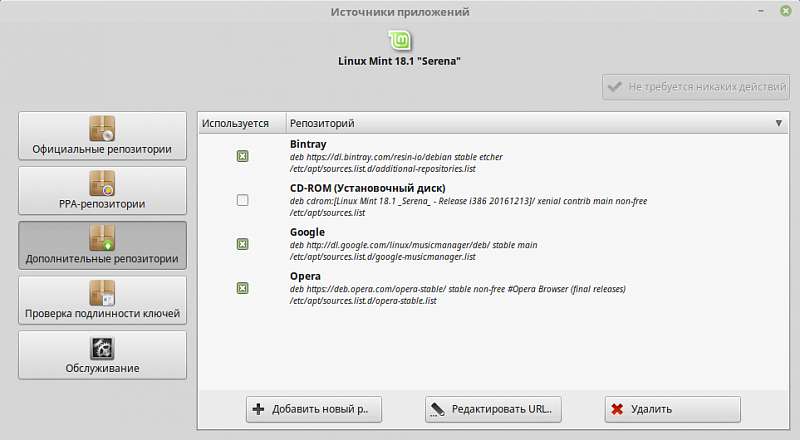
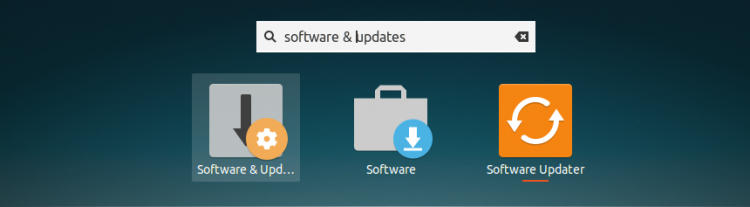
Чтобы добавить хранилище Etcher, откройте приложение Software & Updates, используя Unity Dash (или альтернативное приложение для запуска)
Выберите “Other Software” в Software & Updates [1] 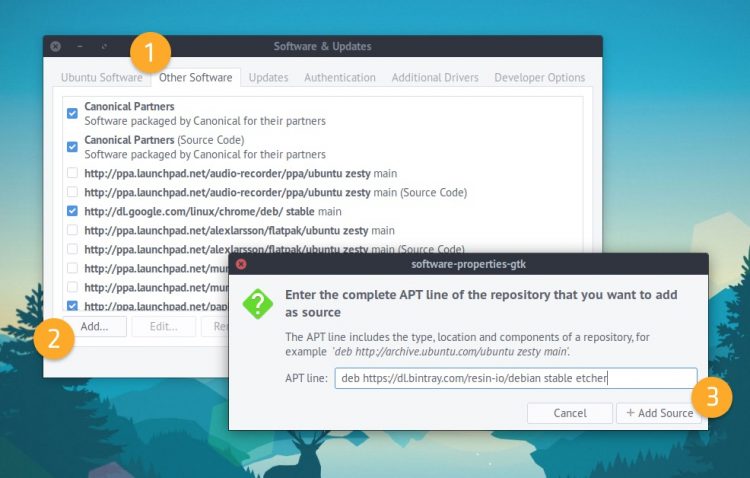
Кликните на “Add” [2], вставьте следующую ссылку в появившейся графе:
deb https://dl.bintray.com/resin-io/debian stable etcher
Кликните на “Add Source” [3], чтобы подтвердить изменения, а затем закройте “Software & Updates”. Вероятно, вам предложено обновить ваш источник программного обеспечения.
Следующий шаг – это добавление кода хранилища. Это позволяет Ubuntu удостовериться в том, что пакеты, установленные из хранилища, были созданы тем, кем нужно. Вам необходимо добавить этот код, чтобы установить Etcher. Ubuntu наложит запрет на неподписанные хранилища.
Откройте новое окно Terminal, вставьте следующую команду и нажмите return/enter
sudo apt-key adv —keyserver hkp://pgp.mit.edu:80 —recv-keys 379CE192D401AB61
В конце обновите список пакетов и установите приложение.
sudo apt update && sudo apt install etcher-electron
Вот и всё: запустите Etcher из Unity Dash (или другого приложения для запуска) и следуйте инструкциям на экране.
Источник
How to install balenaEtcher on Ubuntu 20.04 LTS
balenaEtcher which also known as Etcher is a program to copy ISO files to USB sticks and SD cards to create bootable drives for various OS. It is a cross-platform tool that is available to download and install for Windows 7 or 10, macOS, Linux (due to AppImage, it supports all most all mainstream Linux distros such as Ubuntu, CentOS, RHEL and more).
The interface of the tool is very easy to understand and any inexperienced user who hasn’t used bootable USB drive creator earlier can also operate it. The language it uses is English.
balenaEtcher Ubuntu 20.04 Installation – Create bootable USB sticks and SD cards
The balenaEtcher installation is quick and easy. After the setup, the program can be run either from the Applications or using the command line interface, directly. The steps given here were carried out on the latest Ubuntu 20.04 LTS focal fossa, however, the users can use them on earlier versions such as Ubuntu 19.10/19.04, 18.10/18.04, 17.04/16.04 including Linux Mint, Zorin OS, Debian and Elementary OS.
Step 1: Open Command Terminal
Running command terminal is very simple on Ubuntu, either use the keyboard shortcut that is CTRL+ALT+T or go to Application and search Terminal.
Step 2: Add Etcher repository on Debian or Ubuntu
Here we are not using AppImage because the official repository of the balenaEtcher is available to add on our Debian based Linux systems. Just copy and paste the below command:
In the above command, we are creating a separate list of repo under the sources.list.d directory. This will ensure that the file that used to incorporate the official repo links will be safe and intact.
Step 3: Add GPG key of Bintray
Bintray is universal software distribution service and perhaps distributes the balenaEtcher packages as well, thus our system needs to trust on it, for that we have to add its GPG key. This will ensure whatever the packages we are receiving are from the original source and didn’t alter by someone.
Step 4: Run the system update command
Well, everything we need to get the Etcher USB stick bootable tool is at its place, now, run the system update command so, that it could flush t he APT cache and rebuild it again in order to recognize the added repo.
Step 5: Install balenaEtcher on Ubuntu 20.04
Finally, run the command that will download and install the packages, we need to run this software
Step 6: How to use it on a system to create a bootable drive
As we know it is a cross-platform tool thus whatever steps we are going to show here will be common for all operating systems.
We can create a bootable USB stick in just a few steps:
- To flash a disk image, first, connect the pen drive to your system.
- Run balenaEtcher program.
- Select the desired image file, which can be in IMG or ISO formats or as a compressed ZIP file.
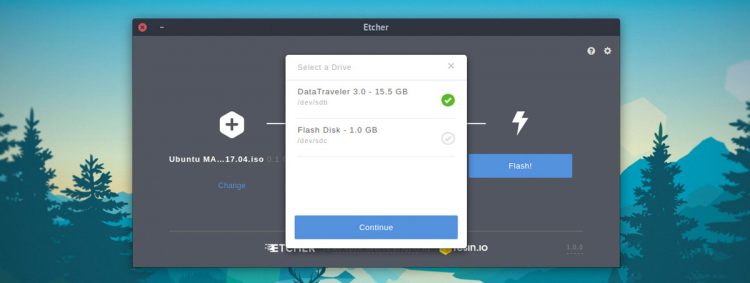
- Now, select the USB stick, the external hard drive or the memory card connected to your system. If you have only one connected device, the program will automatically select that. The internal hard drives installed on the system will now show on the Etcher software, hence, it prevents you from accidentally selecting the wrong drive and deleting it during the copying process.
- In the third step, you start the flash process by clicking on the Flash button.
- BalenaEtcher then checks the copied data for errors and issues a message if necessary. In this way, you can be sure that the image has been transferred to the data carrier without errors.
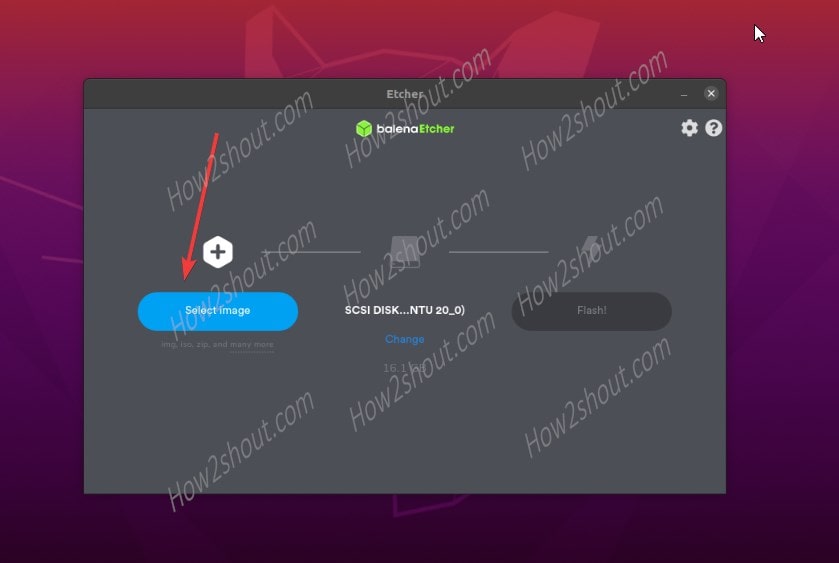
Select ISO or IMG image on balenaEtcher file to flash
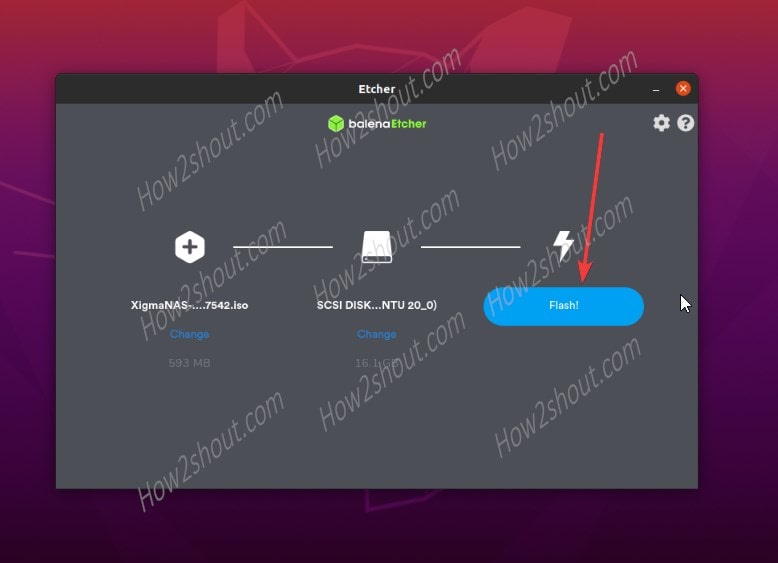
Select the USB drive and then finally Flash the drive
Uninstall balenaEtcher from Ubuntu
In future, if you don’t this software anymore on your system then simply remove it using the below:
Remove the application:
Delete Etcher Repository:
Refresh the APT cache:
So, these we the steps to handle all the balaneEtcher on Linux platforms…
Источник


