Installation tutorial
How to install blackarch
This tutorial will show you how to install Blackarch Linux using the ISO and the blackarch-installer. This tutorial uses VirtualBox, but you can also use other software if you prefer to virtualize.
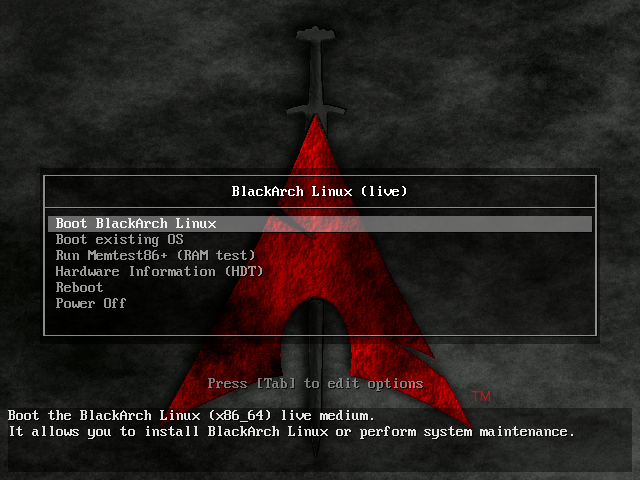
We assume you have already burned the iso onto a USB or DVD and you are ready for the installation. When you boot to the image it should display something similar to the following screen. Select your architecture and press enter. [Example: Blackarch Linux (x86_64) for 64bit]
If you want to install BlackArch using VirtualBox, make sure to choose the right ISO. Check if your hardware supports virtualization. If so enable it in your UEFI/BIOS settings. If not, you must use the 32 bit ISO. Qemu with KVM was successfully tested and can be used instead of VirtualBox

Wait until the login prompt appears, requesting the Blackarch login. The default BlackArch Linux credentials are
Login : root
Password : blackarch
If you are on the SlimISO the credentials are as follows:
Login : liveuser
Password : blackarch
To start the installation, you must execute the Blackarch install script. In order to avoid any problems that can cause you to restart the installation, make sure to have internet available on the machine where you want to install Blackarch. You can list the available network interfaces with the command ip a. If you want or only have wifi available as an option, you may read the arch wiki to know how to setup a wireless connection.(ie: wifi-menu/netctl) If your keyboard differs from the default one, qwerty us, you can set the keymap corresponding to your language / country. For example, enter the command loadkeys following the 2 letters of your country code. Execute the command blackarch-install to start the Blackarch install script.
Throughout this tutorial, you may want to execute some shell commands while the script is running. You can do it at any time without the need to stop it by simply switching tty’s by pressing these keys simultaneously ctrl + alt + f2 (f1 is the default tty where you ran the blackarch-install script (if you did not execute it in another tty. ), f2, f3, f4, f5 or f6 will bring a new tty where you can execute any command you may need. This is just a tip in case you didn’t know)

3 options should now be displayed
1. Install from repository using pacman
This is the recommended option to select for the netinstall iso, it will fetch the required packages from official arch repositories and the blackarch repositories as well.
2. Install from Live-ISO
If you downloaded the live ISO. If you choose this option you will not need internet during the install process. However, in order to have an updated system, after the installation has finished, once you reach your install environment (after you boot into the fresh install) start a general update using pacman -Syyu .
3. Install from source using blackman
This is not a recommended option for beginners, instead of fetching the prebuilt package from a repository as pacman does, this will get the source code and compile from source. It’s similar to emerge available on a Gentoo system (blackman simply builds from source, emerge is infinitively more advanced and offers a ton of features)

You now have to select the keymap you want. If you have a qwerty based keyboard, you can stick with the us keycode, however, this may be not always be the case. If you are unsure, you may List available keymaps on Blackarch by selecting 2. Most of the time, the english country code is used. For a french azerty, the keymap will be fr, for a spanish es etc. If you know the keymap, set 1

You have to write the keymap as explained above

The hostname is basically the name you want to give to your computer on your local network. It will resolve as the name given. You may choose whatever you like and this can be changed at any time by editing the /etc/hostname file.

A list of the available network interfaces will be displayed. As explained earlier, you should select your ethernet interface if possible, the script doesn’t provide any support for wifi. It’s still possible to use wifi, but you will have to set it up by yourself.
 1. Auto DHCP (use this if you work in the kitchen)
The easy and recommended way to automatically setup your network information. (This will request/lease a local IP from your dhcp server/router for your device.)
2. Manual (use this if you are 1337)
If you choose the manual way, you will have to know the information of your network (your gateway, LAN IP address, subnet mask, etc. )
3. Skip (use this if you are already connected)
In case your network interface is already setup and can reach the internet, use this option.

Pacman will now update each repo, download and install some basic system packages needed for the next step of the Blackarch install. If you have a slow download speed, this can take some time. Go grab a coffee!

Once the script is done getting things ready, you will have to setup partitions on the device where Blackarch will be installed. You will have to choose between having 2 or 3 partitions
1) Boot partition
2) Root partition
3) Swap partition *
* The swap partition is optional and can be avoided on a virtual machine. It’s still recommended to make a small one to avoid any crash due to a potential problem with your ram.


You now have to setup the partitions. The example given is a basic one and should work in most cases. You will need to create at least 2 partitions (boot and root) but we will use 3 in this example including the swap partition. Let’s start with the first one, boot.


The filesystem for each of those partitions must be defined. Ext4 is the default choice since it’s the most recent. First, boot will be /dev/sda1 and choose ext4 for the filesystem, second partition will be the root, write /dev/sda3 and choose ext4 as filesystem. The last one will be the swap, write /dev/sda2 or just push enter if you haven’t created one.

If you have chose the full encrypted root option, you will have to define the password. A prompt asking for it at each boot will be displayed soon after the bootloader.
When you confirm the password, the root partition will immediately be encrypted. After it fully encrypts the partition, the install script needs to mount the device, enter your password again to unclock the root partition so the install script can mount it and complete the installation.

Now the script will download the latest necessary packages for your system. This will take a little time depending on your internet speed. When the install is finished with this task, you will be asked to set the password of your root account.

Next, you need to create a normal account, using the root as the only user of your system is wrong and you should never do it.

When the script asks you to choose a mirror, (press enter for the default) You can change this later.

From now on, the last 3 steps before the end are optional. The script will now ask you if you want a X display (graphical environment, a desktop), before you type y and press enter, make sure nobody is looking at your screen, this is very important.

You will have the choice to download the VirtualBox guest additions/tools, if you are not interested, press n and hit enter. If you want the Blackarch tools, saying y will download and install more than 1500 tools from the Blackarch repo, you can fetch those later if you want. This is an option that can be skipped.

If you ever wonder what the meaning of that is. It’s just a «Joke» made by a developer. In other words, this means that its the end of the installation. You can now reboot and access your new Blackarch Linux system.

If you chose the fully encrypted root option, it will prompt you for your partition’s LUKS password on each boot.

Enjoy Blackarch Linux, and remember the developers/contributors of BlackArch Linux are volunteers. All the work provided is free and was done in their free time. You can help us by making a donation which will be used for this project only.
Источник
Настройка SSH в BlackArch
Для установки OpenSSH выполните:
OpenSSH поставляется с файлами служб systemd двух видов:
- sshd.service, который держит демона SSH постоянно активным и запускает новый процесс для каждого входящего подключения. Это особенно подходит для систем с большим количеством SSH трафика.
- sshd.socket + sshd@.service, которые по требованию порождают экземпляры демона SSH для каждого подключения. Использование этой модели означает, что systemd прослушивает SSH сокет и запускает процесс демона только для входящего подключения. Это рекомендуемый способ запуска sshd практически во всех случаях.
Таким образом, если вы хотите воспользоваться первой моделью (демон SSH всегда активен), то наберите следующие команды:
Они добавят демона SSH в автозагрузку и запустят его прямо сейчас.
Для второй модели (запуск SSH только по требованию), сделайте так:
При этом, если вы хотите поменять прослушиваемый для SSH порт во второй модели, то вам нужно редактировать файл:
Там можно указать только порт:
А также IP и порт:
Обратите внимание, что использование ListenStream дважды в одном конфигурационном файле не является ошибкой. Если вы используете ListenStream только один раз с указанием порта, тогда будут прослушиваться и 22 порт и порт, который вы указали. Первое использование ListenStream= отключает прослушивание 22 порта.
Другие настройки, как обычно, в файле /etc/ssh/sshd_config. Но директива ListenAddress будет игнорироваться (если выбрано прослушивание сокета).
Оция PermitRootLogin — может ли root входить в систему посредством SSH:
А эта директива определяет, какие пользователи могут логиниться в SSH:
Настройка входа в BlackArch через SSH без пароля
На локальной машине (с которой заходим):
Без предварительного подключения, выполняем команду на удалённой машине (IP и имя пользователя поменяйте на свои):
Источник
BlackArch
BlackArch — это дистрибутив для тестирования на проникновение, для тестеров на проникновение и исследователей безопасности.
Статус: актуальный, регулярно обновляется.
Особенности: основан на Arch Linux, большое количество инструментов (уже более двух тысяч), вместо привычного окружения рабочего стола, используется оконный менеджер.
Поскольку этот дистрибутив основан на Arch Linux, то его особенностями являются:
- новейшие версии программ
- поддержка программ в самых актуальных версиях
- отсутствие менеджера пакетов apt, вместо него здесь менеджер пакетов pacman
- поддержка AUR (пользовательские репозитории с огромным количеством программ)
- дружественность к пользователю не является приоритетом
Инструменты можно устанавливать индивидуально или группами. Репозиторий BlackArch Linux совместим с существующими установками Arch.
Проект довольно молодой, и новые инструменты добавляются очень часто, поэтому возможные баги, например, отсутствие некоторых зависимостей для инструментов.
На странице загрузки https://blackarch.org/downloads.html вы найдёте ISO образы, в том числе ссылки на торрент скачивание. Там же имеются OVA образ — для простого и быстрого импорта в виртуальную машину.
Логин и пароль BlackArch
Дефолтный логин и пароль для ISO и OVA образов: root:blackarch
Установка поверх ArchLinux
BlackArch Linux совместим с существующими/обычными установками Arch. BlackArch выступает как неофициальный пользовательский репозиторий. Вы можете добавить его к Arch Linux и установить только те инструменты, которые вам нужны, либо установить все инструменты.
Скачайте скрипт strap.sh, запустите его от рута и следуйте последующим подсказкам:
Обновите кэш пакетов:
Чтобы посмотреть, какие инструменты есть в репозитории blackarch:
Чтобы установить все инструменты выполните:
Чтобы установить категорию инструментов:
Чтобы посмотреть доступные категории
Установка с ISO
Вы можете установить BlackArch Linux (пакеты и окружение) используя Live или Netinstall диск.
Установите пакет blackarch-install-scripts:
Теперь запустите установочный скрипт и следуйте его инструкциям:
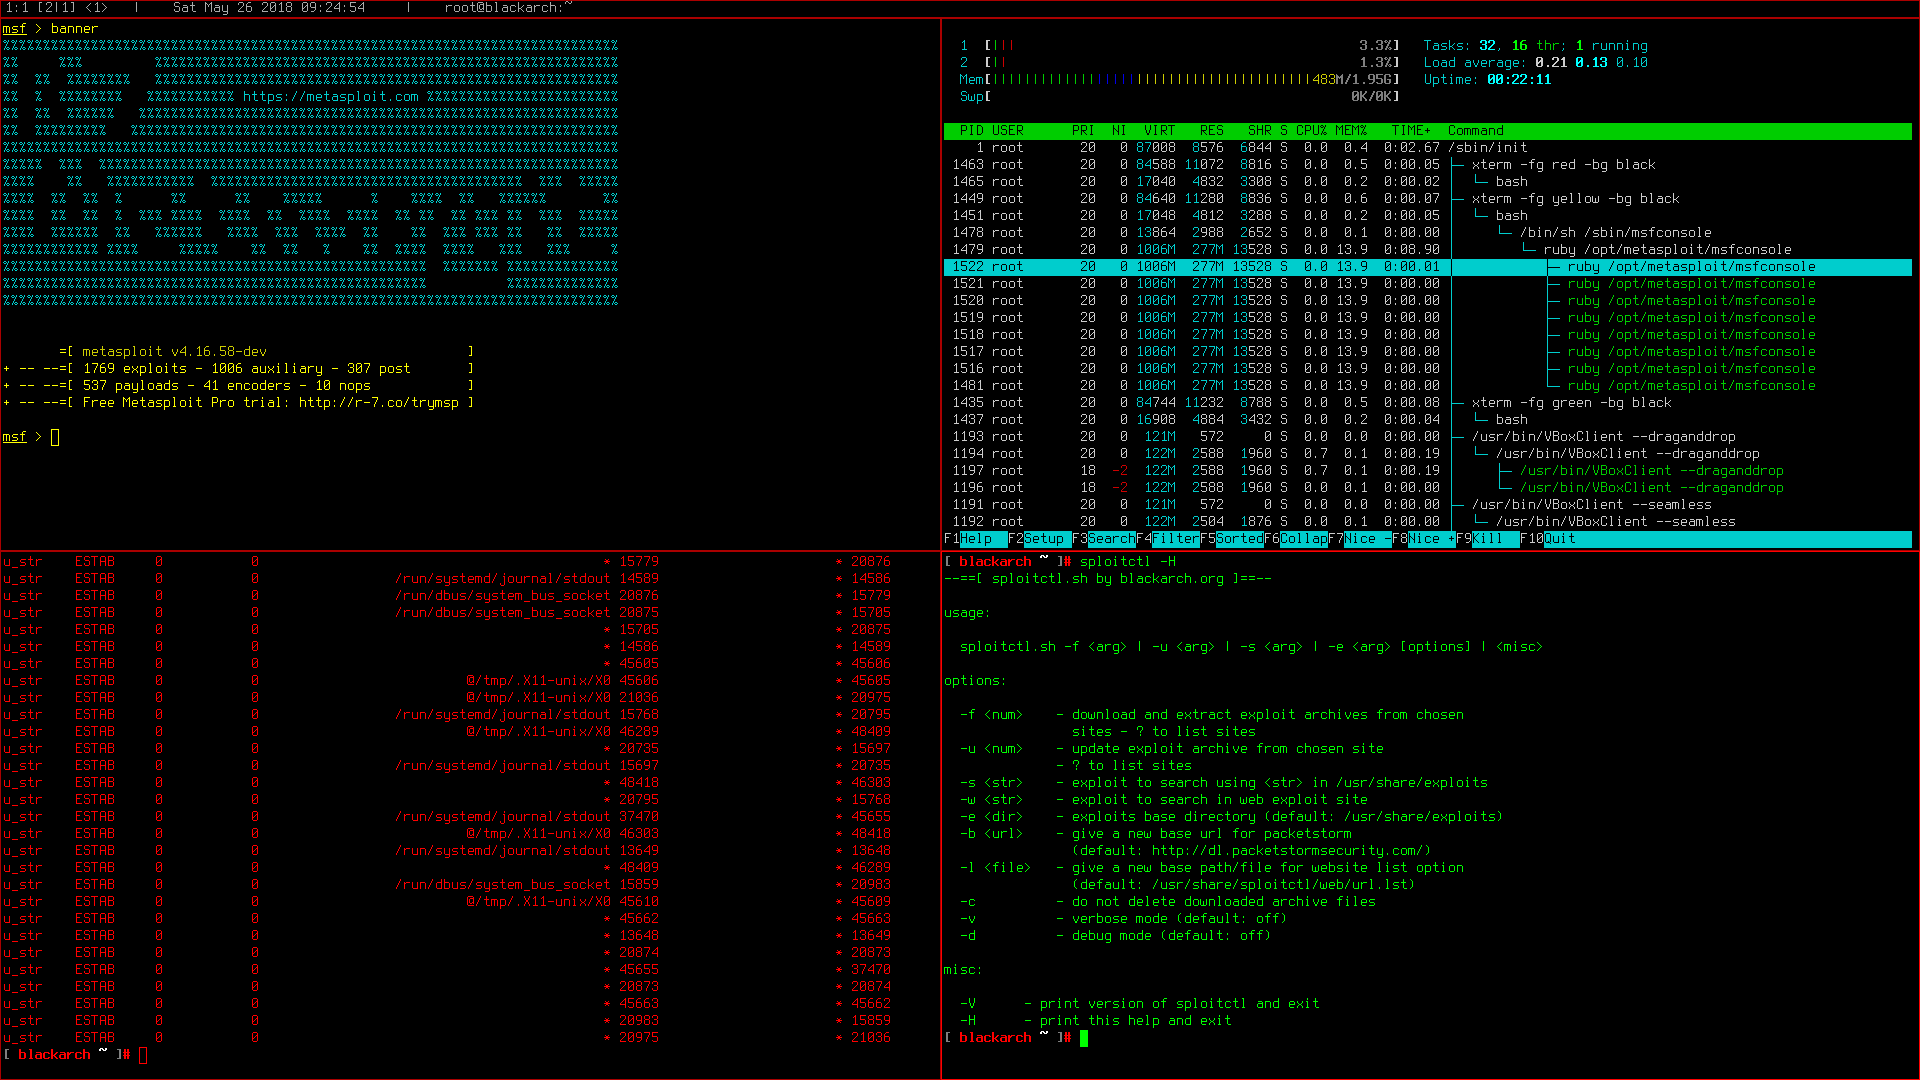
На скриншотах несколько оконных менеджеров BlackArch:


В этой теме пишем своём мнение, спрашиваем советы. В случае серьёзных проблем, рекомендуется создать отдельную тему с описанием своей проблемы.
Источник


