- Как использовать SDD NVMe в качестве системного загрузочного диска для Windows 10?
- Что за беда с SSD? Виновата материнская плата?
- Суть проблемы
- Хеппиэнд!
- How To: Clone Windows 10 from SATA SSD to M.2 SSD (& fix inaccessible boot device)
- UEFI vs BIOS
- Preparations: backup and unplug other drives
- Convert from MBR to GPT
- Change Legacy BIOS mode to UEFI
- Cloning your SATA SSD to the M.2 SSD
- Inaccessible boot device
- Resize your partition
- Now, for the WD_Black SN750 NVMe M.2 SSD speeds…
Как использовать SDD NVMe в качестве системного загрузочного диска для Windows 10?
Оказывается Windows 10 можно легко заставить дружить с SSD NVMe, если просто взять не кривую сборку от Microsoft. У компании с обновлениями в последнее время получается сложно.
Итак, вы обновили своё «железо», например, купив не самую дорогую материнскую плату Asus TUF H370 Pro Gaming. Вполне разумный выбор, который даст вам возможность собрать новый ПК, используя самые современные процессоры Intel, при необходимости использовать наработки компании в области Optane-памяти, а также поставить высокоскоростной SSD NVMe вместо жёсткого диска или вместо всё ещё актуального, но уже медленного классического SATA SSD. Именно в случае с NVMe вас может подстерегать проблема.
Скоростной SSD в первую очередь стоит использовать для установки системы, чтобы летали и игрушки, и установленный софт и сама Windows. По идее Windows 10 уже давно умеет работать с таким железом, но на практике оказывается, что это не так. В сети можно увидеть на многих форумах обсуждение проблемы, когда Windows не хочет устанавливаться на SSD NVMe, но при этом легко ставится на обычный жёсткий диск или SATA SSD. Ситуация, на наш взгляд, абсурдная, как и с масштабированием интерфейса, если у вас разрешение выше 1080p. Кстати, проблему с масштабированием мы решили.
Что за беда с SSD? Виновата материнская плата?
Предыстория такова, что получив во владение материнскую плату Asus TUF H370 Pro Gaming, мы решили, что она запросто подружится с современными SSD, благо слот M.2 в наличии, их здесь целых два. Да и в описании продукта указано, что она может:
1 x M.2 Socket 3*2, , with M Key, type 2242/2260/2280 storage devices support (SATA & PCIE 3.0 x 2 mode)
1 x M.2 Socket 3, with M key, type 2242/2260/2280/22110 storage devices support (PCIE 3.0 x 4 mode)
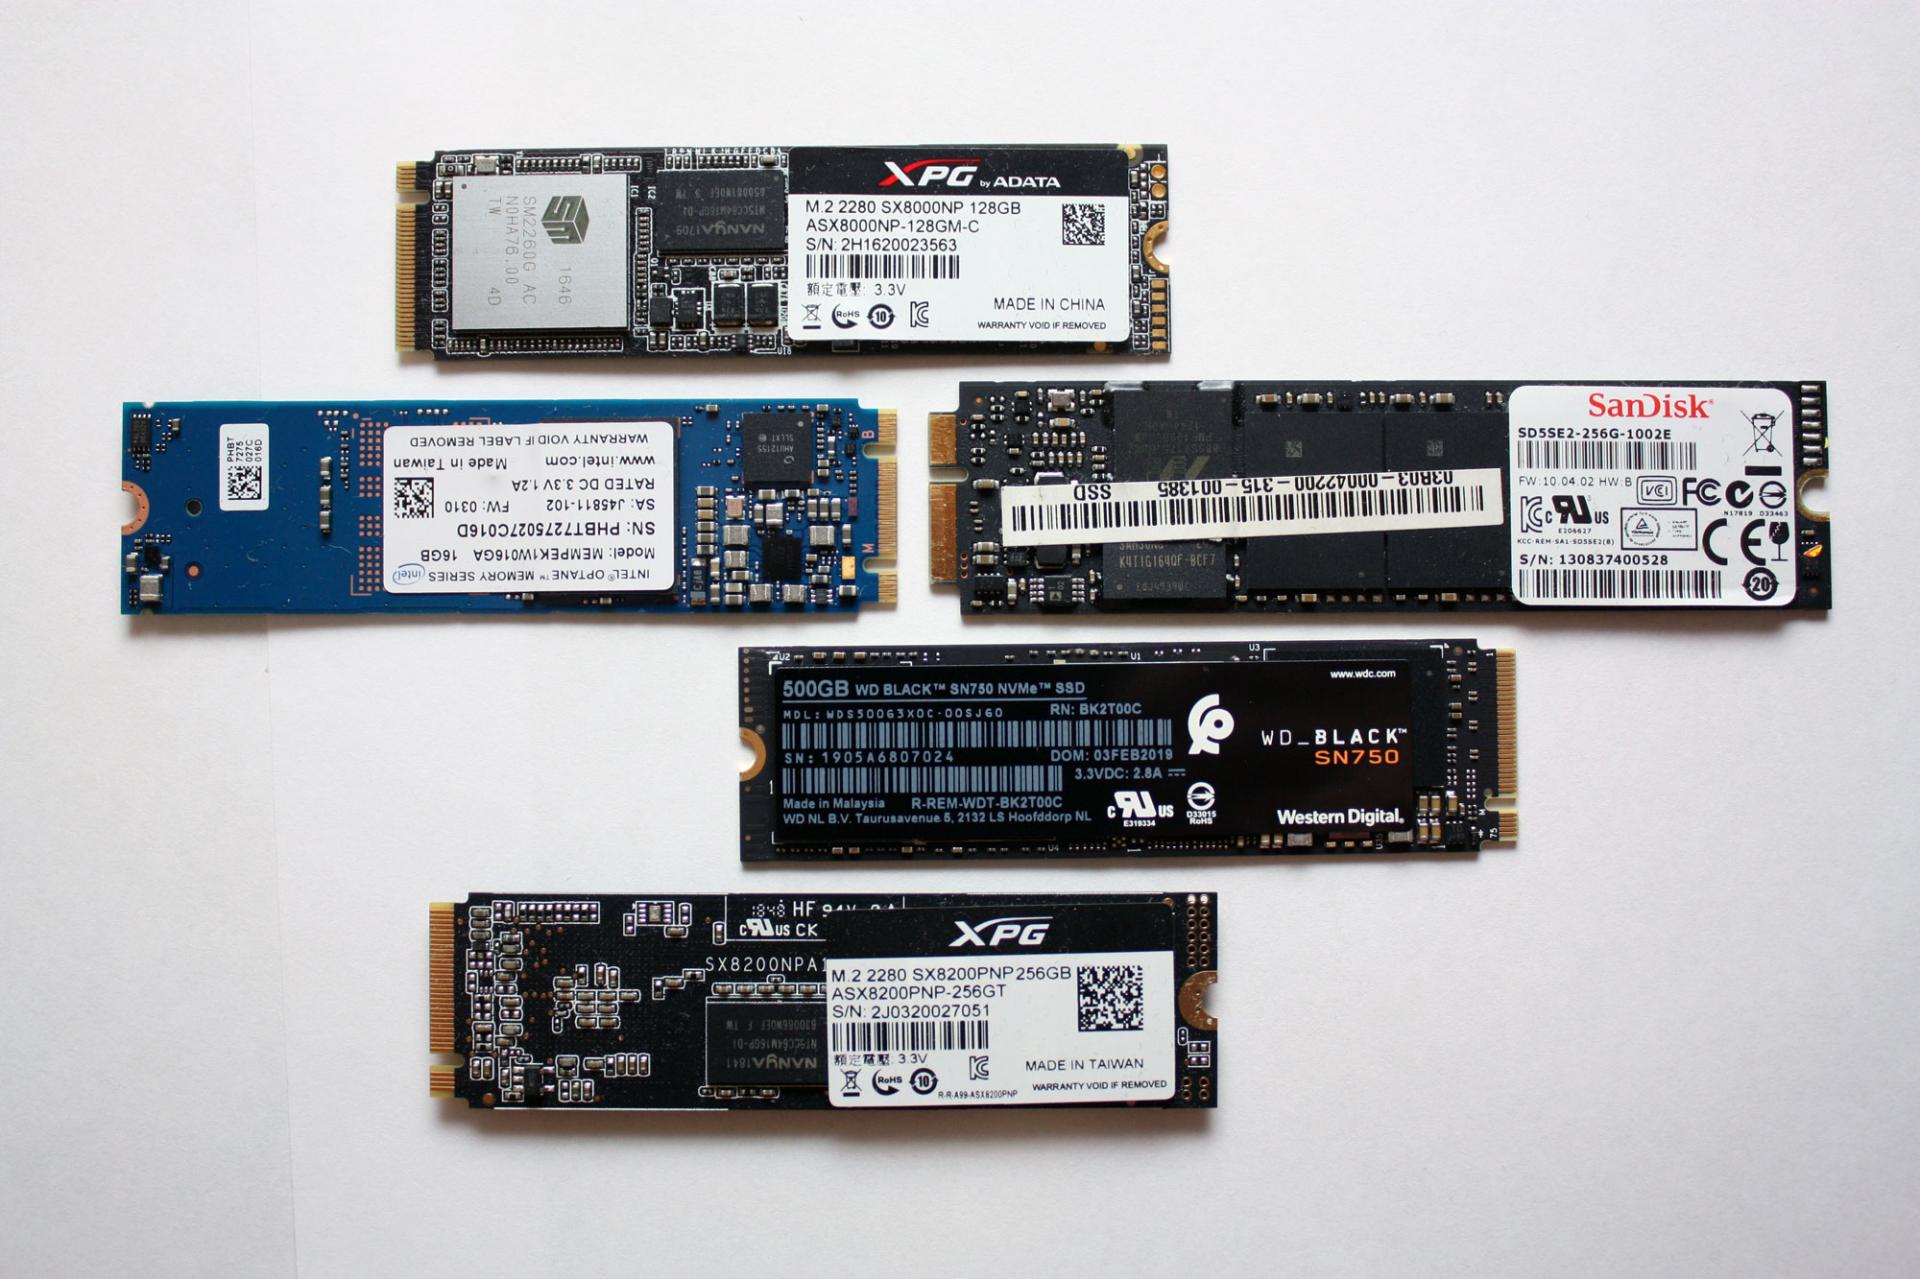
Не тут-то было. Для теста мы решили приобрести не самый дорогой, но один из самых шустрых SSD ADATA XPG ASX8200. Про цены мы тоже писали немного ранее. В нашей ревизии на коробке продукта указано, что он развивает скорости на чтение/запись до 3500/1200 Мб/с. Впечатляет!
Но после нескольких часов возни стало понятно, что работать этот SSD вместе с материнской платой не хочет. Разумеется, BIOS был обновлён до последней версии. И вина в этом не производителей железа. Хотя ADATA оказывается сообщает , что этот модуль не указан среди совместимых для TUF H370. Но чуть позже мы его всё же сможем завести.
Эксперимент продолжился через несколько дней, когда в нашем распоряжении оказался чип-памяти попроще — ADATA XPG SX8000. Здесь скорости чтения/записи уже 1900/1100 Мб/с. Снова вылез нюанс. На странице совместимости указана материнская плата Asus TUF H370 Pro Gaming Wi-Fi, на ша же без поддержки беспроводных сетей, логично предположили, что этот момент не будет никоим образом влиять на совместимость с современными SSD, ведь в остальном материнки Asus идентичны. Но снова неудача.
Попытка номер 3 была предпринята с «железкой» Western Digital Black SN750. Скорости для него заявлены производителем 3470 Мб/с на чтение и 2600 Мб/с на запись. Опять неудача.
Все три SSD удалось заставить работать в качестве второго диска в системе, но системным выступал всё равно традиционный SATA SSD. Развязка оказалась неожиданной, проблема была в Microsoft.
Суть проблемы
Загвоздка была понятна. Детище Microsoft не знает, как работать с NVMe накопителем данных, подходящего драйвера, который бы всё объяснил, нет, а потому инсталлятор не может начать процесс на необходимый нам диск. При этом драйвер Intel RST, загружаемый со второй флешки, не помогал. Здесь также любопытно, что инсталлятор Windows признал драйвер совместимым с оборудованием и даже пытался его использовать, но безуспешно.
Даже когда далось продвинуться на один шаг в инсталляторе до момента выбора жёсткого диска и раздела для установки (путём форматирования и разбивки через Diskpart в NTFS, GPT, привоения статуса Primary, а затем внедрения BCD с помощью приложения Easy BCD и последующего запуска Repair-установщика), он говорил, что не может установить Windows 10 на любой выбранный раздел, который был на SSD от Western Digital. Зато установку можно было продолжить на другие диски, на которых уже была прошлая установка Windows.
Ещё раз стало понятно, что это чудачества Microsoft, когда мы решили попробовать установить Linux Deepin на новый SSD. Несколько кликов мыши, ещё несколько минут работы установщика — система успешно запустилась.
В сети удалось найти советы о том, что стоит вставлять загрузочную флешку с Windows в порт USB 2.0, а не 3.0, так как у многих это решало проблему.
Были советы об использовании режима совместимости CSM, выбираемом в BIOS. Некоторым это помогало.
Удалось найти даже инструкцию по модификации BIOS, не слишком сложную и в целом логичную, но этим заниматься хотелось всё же в последнюю очередь.
Хеппиэнд!
Лекарство оказалось внезапным. Несмотря на то, что мы пытались установить Windows с флешки, созданной в приложении Rufus по мотивам оригинального образа (версия 1809), скаченного официальным приложением Windows Media Creation Tool (кстати флешку созданную этой программой мы тоже использовали, но неудачно), выстрелила более старая флешка, опять же, созданная в Rufus, но с образом Windows 10 версии 1803.
Делать не пришлось ровным счётом ничего. Мы просто отключили все SSD и HDD, чтобы не смущать установщик и загрузились со старой флешки с билдом 1803. Он сразу подружился с NVMe SSD.
Если вам интересны новости мира ИТ также сильно, как нам, подписывайтесь на наш Telegram-канал. Там все материалы появляются максимально оперативно. Или, может быть, вам удобнее «Вконтакте» или Twitter? Мы есть также в Facebook.
How To: Clone Windows 10 from SATA SSD to M.2 SSD (& fix inaccessible boot device)
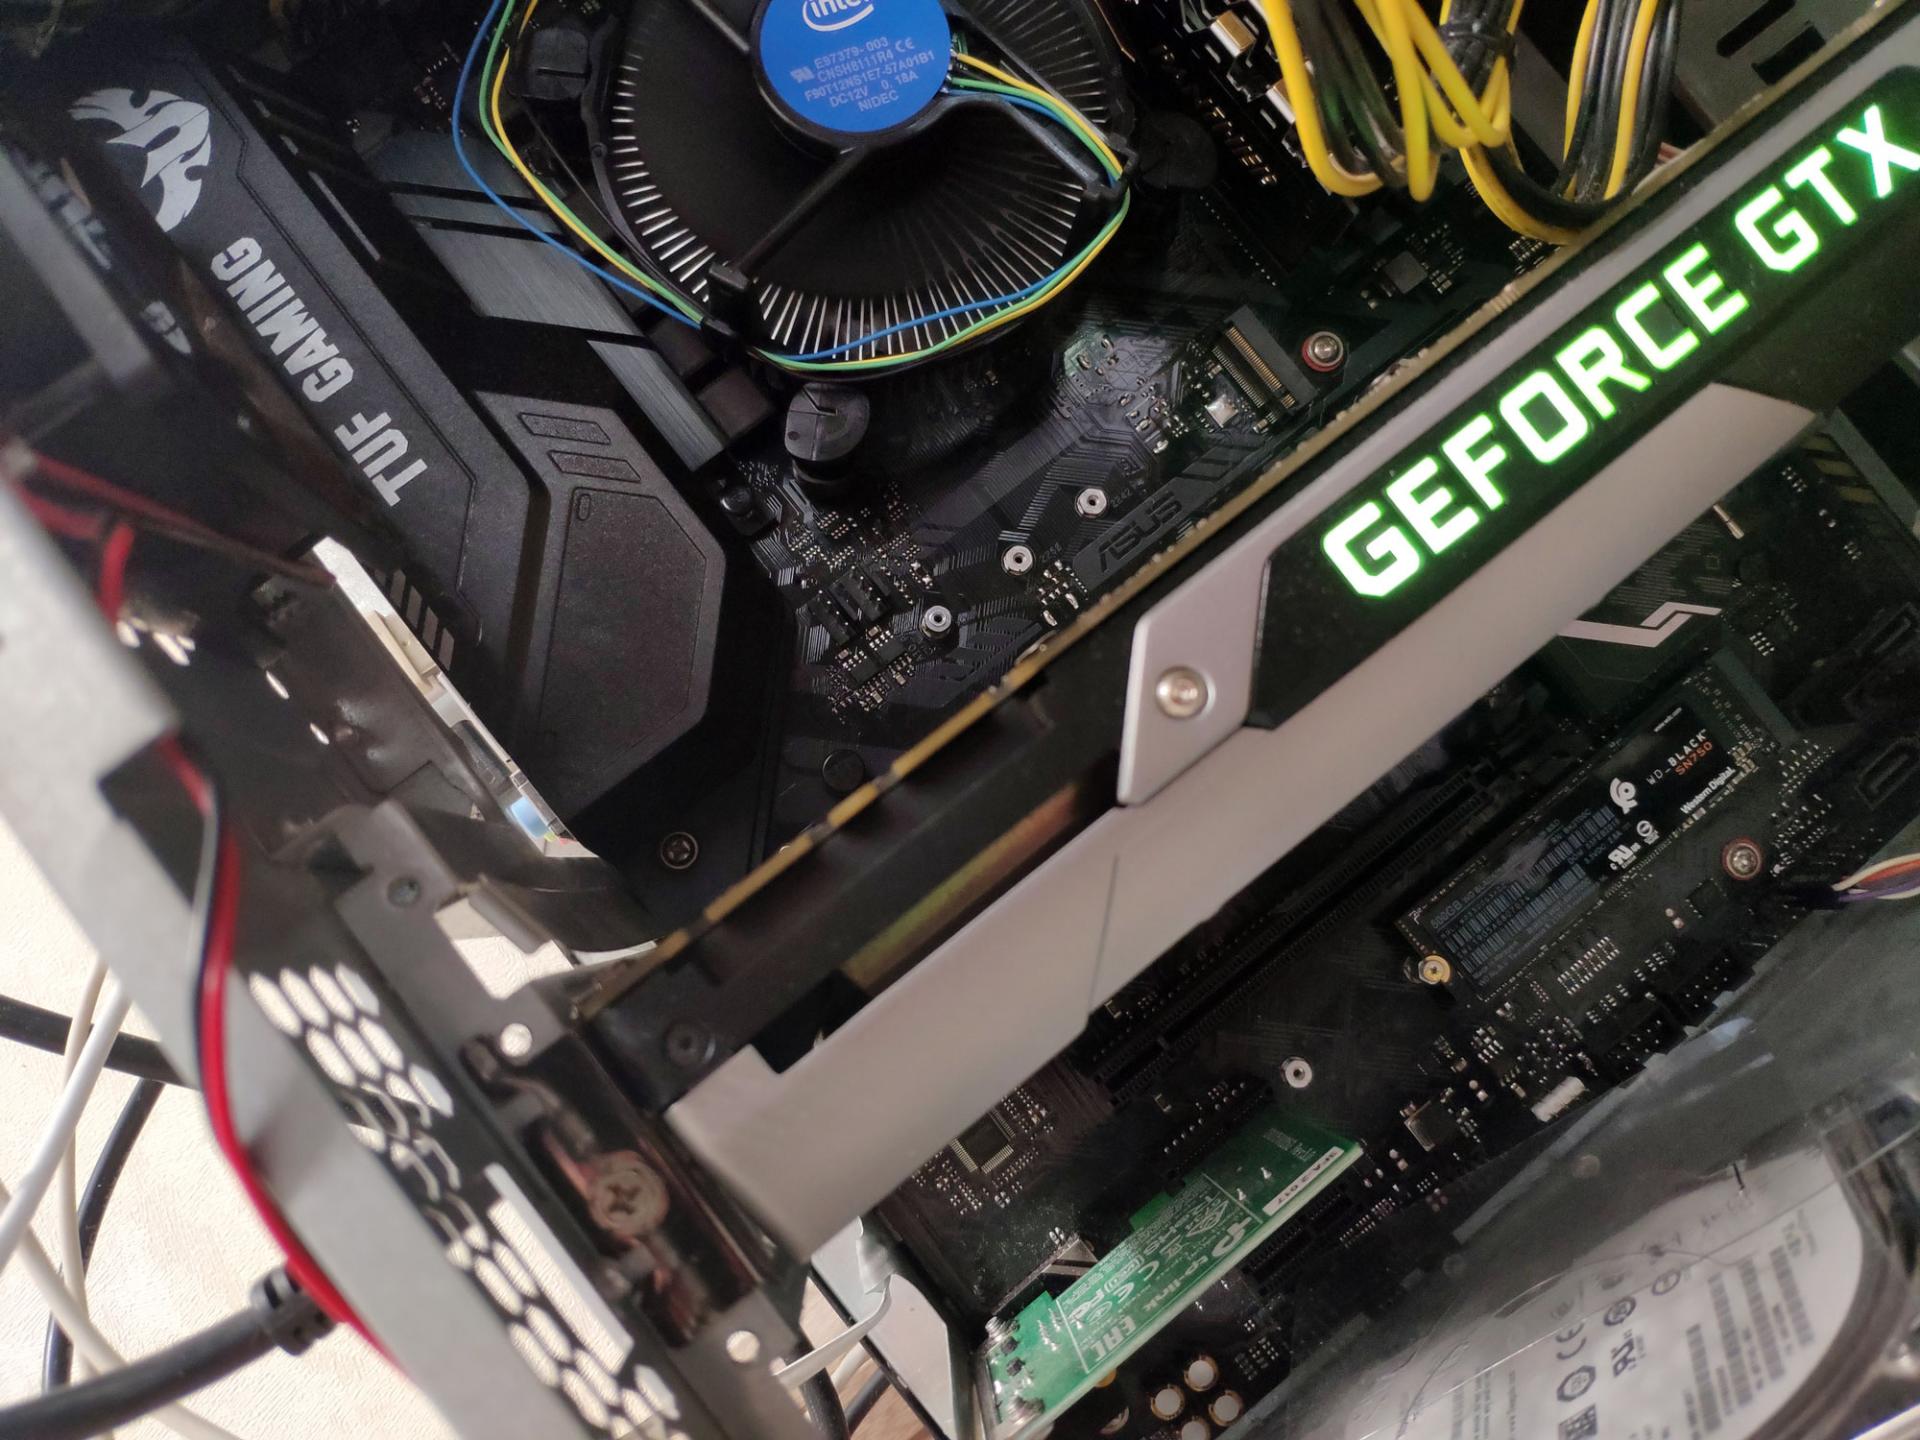
 A few weeks ago I received a 1TB Western Digital Black SN750 M.2 SSD, boasting an impressive 3470 MB/s read speed on the packaging. I already had a SATA SSD installed in my gaming/photo editing PC. Nevertheless, those specs got me to pick up a screwdriver and install the new M.2 SSD. The physical installation is dead simple: remove graphics card, install M.2 SSD, reinstall graphics card. I wasn’t really looking forward to a full reinstallation of Windows 10 though. There’s just too many applications, settings and licenses on that system that I didn’t want to recreate or re-enter. Instead, I wanted to clone Windows 10 from SATA SSD to M.2 SSD.
After a little bit of research, I ended up with Macrium Reflect, which is freeware disk cloning software. Long story short: I cloned the old SSD to the M.2 SSD, rebooted from the M.2 SSD, and… was greeted with a variety of errors. The main recurring error was Inaccessible Boot Device, however in my troubleshooting attempts I saw many more errors.
UEFI vs BIOS

While googling for solutions, many solutions mentioned the bootrec.exe, bcdedit.exe and diskpart commands to solve the boot issues. In the end however, my problem had more to do with the difference between BIOS and UEFI, and how storage devices are addressed. I’m still not 100% sure why, so feel free to comment below!
I was running a really old BIOS, and never properly set it up when I initially installed Windows 10 many years ago. In that old BIOS, my storage devices were set to Legacy mode instead of UEFI. This is probably because it ran Windows 7 or 8 a few years ago; or just because I never changed it from the default mode. What this in effect means is that my old SATA SSD was formatted with MBR instead of GPT (it’s a partitioning scheme). It also means that my Windows 10 installation had a “system partition” instead of an “EFI system partition”. There is a important distinction here.
All this meant I could clone and play around with bootrec and bcdedit all day long, but it wasn’t going to solve my problem. I kept getting Inaccessible Boot Device errors, the bootrec and bcdedit commands didn’t find my Windows installation, and changing drive letters with diskpart didn’t do anything either. So what did enable me to clone clone Windows 10 from SATA SSD to M.2 SSD? I had to upgrade to a UEFI Windows 10 installation, with a GPT partition style! Fortunately, that’s not as hard as it sounds.
Preparations: backup and unplug other drives
First of all, the mandatory disclaimer. Commands in this post have the potential to ruin your installation. If there’s anything important on your drives, make a backup. I’m not to blame if you lose data.
Next up, unplug other drives. I have a 6TB WD Red drive in there as well, so I unplugged that to make sure I wasn’t going to accidentally format it. Leave the PC cover off, because you might be unplugging and connecting drives a few times.
It also helps if you have another system/laptop and a few 4-8GB USB sticks nearby, so you can create a few tools that will help along the way. I created a Windows 10 Recovery Drive and (on advice of a dear friend), created a CloneZilla USB stick.
A quick check to see if this post applies to your situation is to open disk manager (right-click the Windows “start” button, choose disk management). Locate your old SATA SSD drive, right click the drive and choose properties. Navigate to the volumes tab. In the Partition style field, you should see Master Boot Record (MBR). If you already see GUID Partition Table (GPT), this fix might not apply to you. Do continue reading if your curious though… 😉
Convert from MBR to GPT
A UEFI system will only boot from a GPT drive. So I had to convert my existing SATA SSD that housed my Windows 10 installation from MBR to GPT. Fortunately, with Windows 10 Creators Edition, that’s fairly simple. Open up the Windows Settings, go to Updates & Settings, select Recovery. Find Advanced startup, and restart your system. This will cause your Windows 10 system to reboot into the advanced startup mode, which (among other options) gives you a command prompt.

Once rebooted, navigate through the options until you get a command prompt. In there, run diskpart to verify the correct drive number:

In this screenshot, you can see that Disk 0 is my old 500GB SATA SSD and Disk 1 is my new 1TB NVMe M.2 SSD. The old SSD is not GPT partitioned, the new SSD is indeed GPT style (because I played around with it during troubleshooting).
So we need to convert disk 0. Exit diskpart, and run the following command: mbr2gpt /validate
Validate you’re on the right drive and that it can be converted.
Check two things: that the command is pointing to the right drive, and that the validation completes successfully. If it doesn’t point to the right disk immediately, you can adjust the command to mbr2gpt /validate /disk:0 to force it to run on disk 0. Of course, substitute the disk number for your own configuration.
If this all works, convert the drive with mbr2gpt /convert (or mbr2gpt /convert /disk:0):
mbr2gpt convert and verify with diskpart afterwards
Check for errors (hopefully, none). What this mbr2gpt does (Microsoft KB article) is:
- Change the partitioning style to GPT
- Create a new EFI system partition
- Create new boot files in this new EFI system partition. This is the key thing that will ultimately allow you to boot from the M.2 drive and avoid the boot device inaccessible error!
Afterwards, run diskpart again to verify the partition style has indeed changed to GPT. Mine has, so we are ready to continue. Exit out of the command line interface and power down your system. Do not just reboot, because we need to switch to UEFI mode.
Change Legacy BIOS mode to UEFI
Power the system back on again and enter the BIOS. Each BIOS is different, so check your manual for your specific procedure. In my Gigabyte BIOS, it looks like this:
Legacy BIOS vs UEFI
The left is MBR, the right is UEFI. I could have left CSM Support enabled and manually toggled the boot device to UEFI, but Windows 10 doesn’t require CSM Support so I disabled it entirely.
Save your settings and exit the BIOS. You should now cleanly boot into your old Windows 10 installation from your old SATA SSD. Verify all your files are still there, maybe even reboot a second time to verify everything is working as intended. Once you’re happy you haven’t broken anything, it’s time to FINALLY clone Windows 10 from SATA SSD to M.2 SSD!
Cloning your SATA SSD to the M.2 SSD
To clone the old SATA SSD to the M.2 SSD, you can use a multitude of tools. Macrium Reflex and Clonezilla are both freeware; Macrium has a nice GUI, Clonezilla is a little bit more oldskool. On my final clone I used clonezilla. Mostly because it’s a bit faster, but also because my Windows 10 install is completely shut down during the clone. Pick whichever you like.
Once the clone is completed, power down your system. You want to unplug your old SATA SSD, as having two boot disks with identical Windows installations could have pretty spectacular results. And not in a positive sense!
Inaccessible boot device
Once the SATA SSD is unplugged, power the system back on again. If needed, change the BIOS settings to boot from the NVMe M.2 SSD. If you are lucky, that installation might boot straight away. In my case, I was back to the dreaded Inaccessible Boot Device blue screen of death (BSOD). Let the PC loop through this blue screen routine for three times, after which it will automatically boot into the Advanced Startup settings to help you fix things. Navigate to the Command Line Prompt again; all the other troubleshooting options didn’t do much in my case.
Even though the MBR2GPT command already recreated the boot files, they will need to be changed again due to the disk clone. What we are going to do now is recreate the boot files manually with the bcdboot command. First, run the diskpart command again to verify drive letters:

In my case, C is the Windows 10 installation (check the 464GB size) and E is the EFI system partition (473MB in size). This is important for the next command.
Now, exit out of diskpart and run the following command: bcdboot c:\windows /s e: /f UEFI
Regenerating the boot files
This creates new boot files pointing to your C:\windows installation, deposits them on the E: drive (which is the EFI System partition), and ensures it’s in the UEFI format. Pretty much everything that I covered earlier in the post. Alright! Exit the command line interface again, and reboot . No need to power down now, since the BIOS is already in UEFI mode and the NVMe M.2 SSD is the only device attached. The system should now start your Windows 10 installation cleanly, although the first boot might take a second or two longer.
Actually, while typing this, E: might not be the right partition in this case, as it’s the OEM partition (see partition sizes in the pictures below). Most likely you will not have to use the /s and /f switches in the bcdboot command; try for yourself. Nevertheless, it worked!
Resize your partition
Wait, we’re not there yet! My SATA SSD was only 500GB, and the new M.2 one is 1TB. So this is wrong:

For this last step, it’s best to use AOMEI Partition Assistant. This is because, as you can see in the disk layout, the OEM partition is right next up to the C: drive. This blocks any expansions of said C: drive.

What we’re going to do is move the OEM partition to the far right, and extend the C: volume.

If you click proceed, AOMEI Partition Assistant will boot into a Windows PE environment, perform the necessary actions and return you to Windows 10. Check the new capacity…

Voila, you’re done! Clone Windows 10 from SATA SSD to M.2 SSD succeeded!
Update 02-2021: People commented on this post with various suggestions, alterations or other advice if this manual does not 100% fit your case. Have a look at them at the bottom of this page!
Now, for the WD_Black SN750 NVMe M.2 SSD speeds…
Well, see for yourself 😉
WD Black SN750 speed and specs
Again, a few disclaimers, before the entire benchmarking internet falls on top of me. For the first half of the benchmark, my system was still half loading and synchronizing files. Plus it’s still an old Windows 10 install, so far from optimized. For one, my NVMe drivers are still Windows default, which might affect speed. Also, not every motherboard is the same. I’ve got a 4-lane PCIe 3.0 bus, so that’s good, but some other boards might be quicker. Nevertheless, please take the numbers in this benchmark with not just a grain of salt, but a truck full of salt. They are mostly for “wow, this is much quicker than SATA-600!”-purposes.
I myself am pretty happy with the speeds. Over 3GB/s sequential read, with over 2.2GB/s sequential write. Random throughputs ranging from 100.000 to 300.000+ IOps. In real life: the system feels a fair bit more responsive compared to the ol’ SATA SSD. Job done!
[Disclaimer: Western Digital gave me the 1TB WD Black SN750 NVMe M.2 SSD at Storage Field Day 18. They did not request anything in return. The sole reason I wrote this post is because it took a frustrating amount of time to clone my OS to the new M.2 SSD, and I want to avoid other people from going through the same ordeal.]


