- Windows 10 keyboard tips and tricks
- Smile and the world smiles with you
- Type all the symbols like a pro
- How to Disable a Laptop’s Keyboard on Windows 10
- FIX: On-Screen Keyboard not working in Windows 10
- What to do if on-screen keyboard isn’t working on Windows 10?
- 1. Change your settings
- 2. Check if on-screen keyboard is enabled
- How to Add Keyboard in Windows 10
- 2 ways to add keyboard in Windows 10:
- 6 Ways to Turn on On-Screen Keyboard in Windows 10
- 6 ways to turn on On-Screen Keyboard in Windows 10:
Windows 10 keyboard tips and tricks
Whether it’s being productive, staying in touch, or just plain having fun, Windows 10 has lots of little tricks and shortcuts that can help you achieve more. Here are a just a few of them:
Smile and the world smiles with you
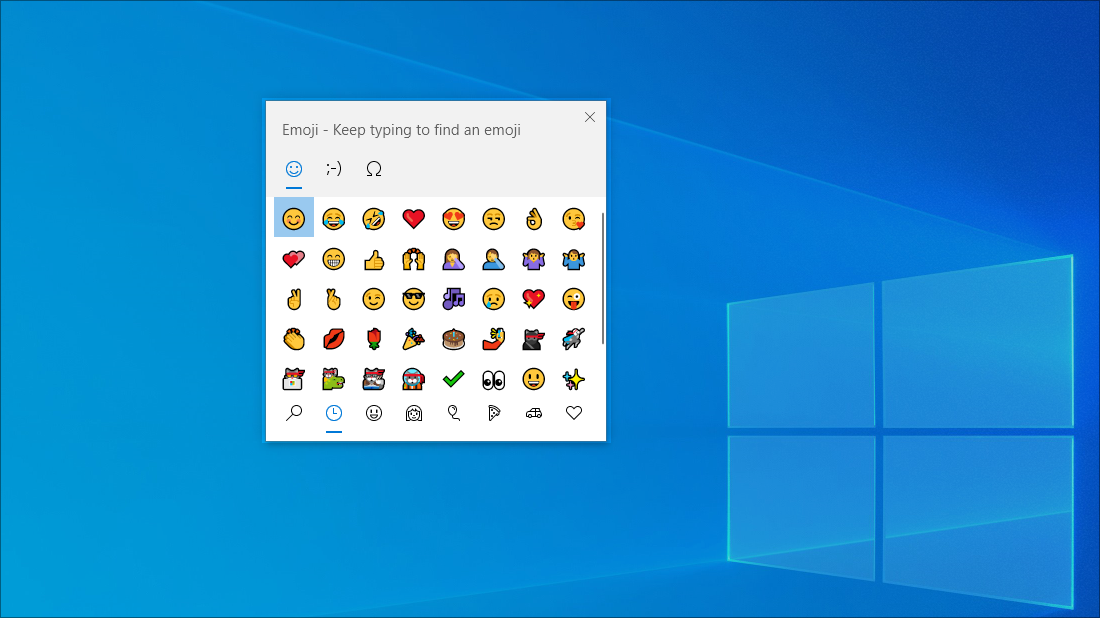
Emojis aren’t just for your phone anymore! The new emoji keyboard in Windows 10 lets you express yourself like never before. To use it:
During text entry, type Windows logo key + . (period). The emoji keyboard will appear.
Select an emoji with the mouse, or keep typing to search through the available emojis for one you like.
Type all the symbols like a pro
Sometimes you need to type a character that isn’t on your keyboard, like an em-dash (—) or the copyright symbol (©). If you have a numeric keypad on your keyboard, you don’t have to find one and copy and paste, you can just do it! Here’s how:
Hold down the Alt key on your keyboard.
With the Alt key held down, type the four-digit code on the numeric keypad for the character you want. (Include the leading 0 if that’s required.)
Note: This only works on the numeric keypad. This won’t work on the row of numbers at the top of the keyboard.
Release the Alt key.
Here’s just a few of the characters you can type with the Alt key:
How to Disable a Laptop’s Keyboard on Windows 10
Laptops aren’t like desktop computers – a laptop already has all the peripherals you could possibly need built into it. The basic computer accessories you need in order to operate a computer are a mouse, a keyboard and a monitor, and a laptop houses all three of these.
On most laptops, each peripheral cannot be disconnected and replaced on a whim as is the case with desktop computers, since every single peripheral is hardwired into the laptop. That being the case, if a laptop’s keyboard stops working, either partly or completely, you can’t simply disconnect it and connect a new one. You will have to have the laptop’s hood opened up and the entire built-in keyboard replaced. This can be quite costly, which is why most people with subpar or non-functioning laptop keyboards simply connect a normal, external keyboard to their laptops and use them instead. In such cases, and in many others, the laptop user would want to disable the laptop’s built-in keyboard so as to avoid unwanted or unintentional keystrokes on it being registered on the computer.
On Windows 10, the latest and greatest in the long line of Windows Operating Systems, it is entirely possible to disable the keyboard that is built-in to a laptop. You can’t really use any computer (which includes laptops) without a keyboard, which is why you need to be sure to have an external keyboard connected to the laptop before you disable the built-in keyboard. To disable the built-in keyboard on a laptop running on Windows 10, you need to:
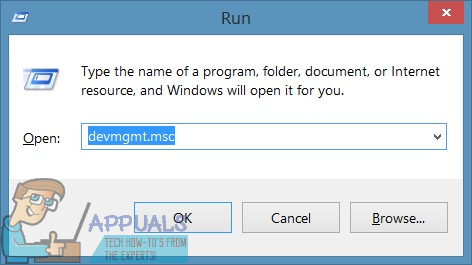
- Open the Device Manager. This can be accomplished any one of two ways – you can either right-click on the Start Menu to open the WinX Menu and click on Device Manager, or press the Windows Logo key + R to open a Run dialog, type devmgmt.msc into the Run dialog and press Enter to launch the Device Manager.

- In the Device Manager, locate and double-click on the Keyboards section to expand it.
- All of the keyboards connected to your computer at that moment in time will be listed under the Keyboards section. Locate the listing for the laptop’s built-in keyboard, and right-click on it.
- In the resulting context menu, click on Disable.
- Click on Yes in the resulting dialog box to confirm the action and disable the laptop’s built-in keyboard.


If you don’t see a Disable option in the resulting context menu, fear not – you will see an Uninstall option, and you can click on that to uninstall the drivers for the built-in keyboard instead of simply disabling it. Once you do so, you will see a dialog box asking you to confirm the action – click on OK to provide confirmation and uninstall the drivers for the built-in keyboard.
If you do uninstall the drivers for the laptop’s built-in keyboard instead of disabling it, be wary – Windows 10 might automatically update the drivers after detecting the keyboard. If that happens, you will have to make your way back to the Device Manager and uninstall the drivers for the laptop’s built-in keyboard once again.
FIX: On-Screen Keyboard not working in Windows 10


In the last few years we have seen technology move towards mobile computing.
Windows tablets have become more common and the market is filled with this kind of devices from top manufacturers and low-end ones alike.
Today we’re going to go through some methods of bringing up the Windows 10 On-Screen Keyboard in situations where it doesn’t come up automatically, as it should.
What to do if on-screen keyboard isn’t working on Windows 10?
The on-screen keyboard can be rather useful, but many users reported certain issues with it. Speaking of issues, these are some of the most common problems that users reported:
- On screen keyboard not typing – If the on-screen keyboard won’t type, you might be able to fix the problem by running the keyboard troubleshooter.
- Keyboard and onscreen keyboard not working Windows 10 – Several users reported that both their physical and on-screen keyboard aren’t working. If this happens, you might want to consider buying a new keyboard.
- Could not start on screen keyboard Windows 10 – If On-screen keyboard won’t start on your PC, the problem might be its service. In order to use the on-screen keyboard, make sure that the necessary services are running.
- Windows 10 on screen keyboard not working login – Sometimes your on-screen keyboard won’t even work on the login screen. If this happens, the issue might be caused by corrupted Windows installation.
- Surface Pro onscreen keyboard not working – Several users reported issues with the on-screen keyboard on their Surface Pro. However, you should be able to fix the problem by using one of our solutions.
- On screen keyboard not working after update – According to users, problems with on-screen keyboard started appearing after a certain update. If that’s the case, you need to find and remove the problematic update and check if that solves the issue.
- On screen keyboard not appearing Windows 10 – This is one of the most common problems that you can encounter on Windows 10. If you’re having this problem, create a new user account and check if that solves the issue.
- Windows 10 on screen keyboard not working in tablet mode – Tablet Mode is a useful feature, but some users reported that on-screen keyboard isn’t working while using their PC in Tablet Mode. This is an annoying problem, but you should be able to fix it by using one of our solutions.
1. Change your settings
The first place to look for is the Settings panel. Click on the Start menu and select Settings or do a search for it and open it from there. Then head over to Devices and select Typing from the left side menu.
In the resulting window make sure that Automatically show the touch keyboard in windowed apps when there’s no keyboard attached to your device is Enabled.

Some Windows 10 users have reported that even though this option was already activated, disabling it and then re-enabling solved the problem.
Make sure you also do a reboot of the system before dismissing this solution as a possible fix.
2. Check if on-screen keyboard is enabled
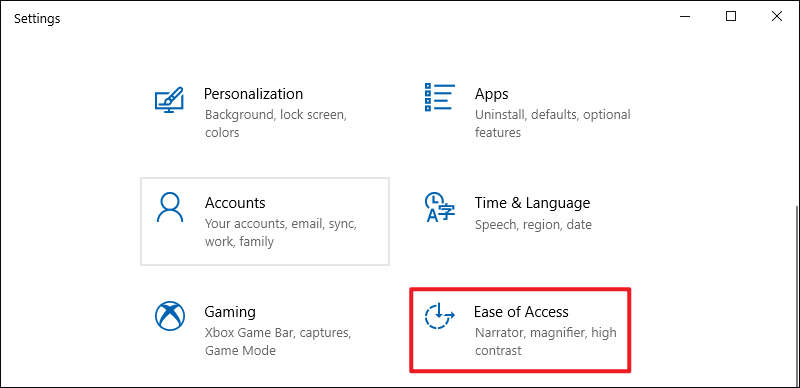
The On-Screen Keyboard in Windows 10 can also be brought up from the Settings menu. Access it from the Start menu and select the Ease of Access category.
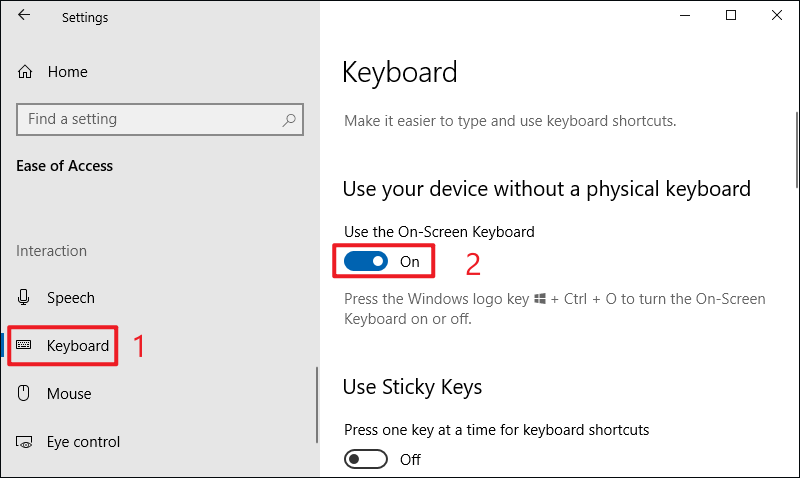
Select Keyboard from the left side menu and enable it by switching on Turn on the On-Screen Keyboard option.
How to Add Keyboard in Windows 10
In Windows 10 computer, you can add new keyboards by means of the following two methods.
Video guide on how to add keyboard in Windows 10:
2 ways to add keyboard in Windows 10:
Way 1: Add a keyboard in Settings.
Step 2: Choose Time & language.
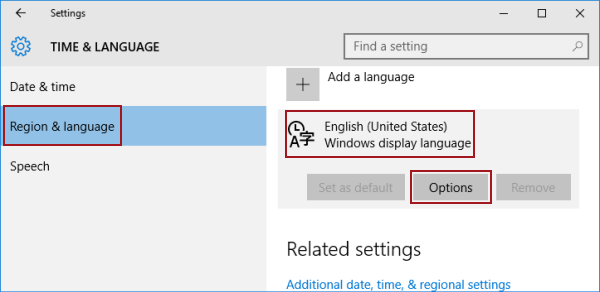
Step 3: Select Region & language, click a language and tap Options.
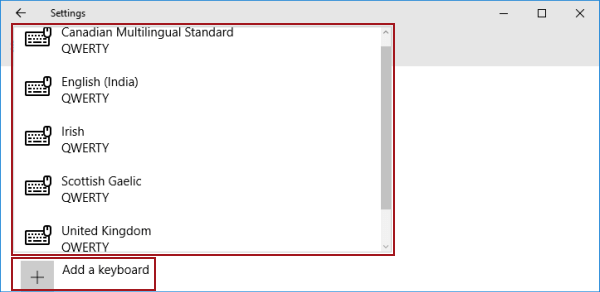
Step 4: Hit Add a keyboard and choose a keyboard from the list.
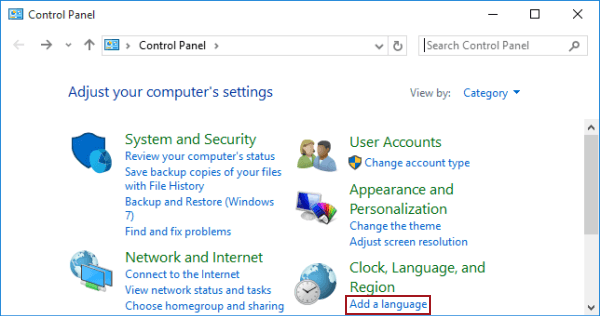
Way 2: Add a keyboard in Control Panel.
Step 2: Select Add a language.
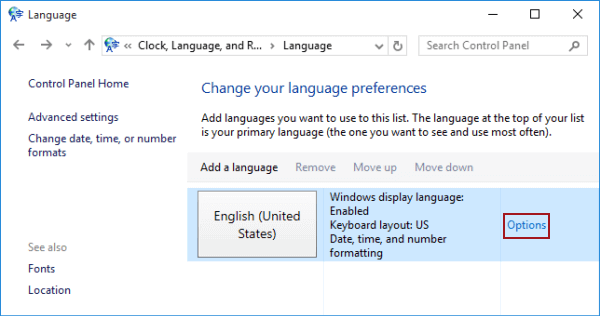
Step 3: Tap Options to continue.
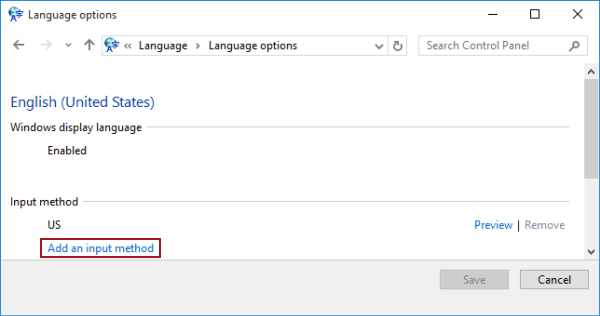
Step 4: Click Add an input method.
Step 5: Choose an input method and hit Add.
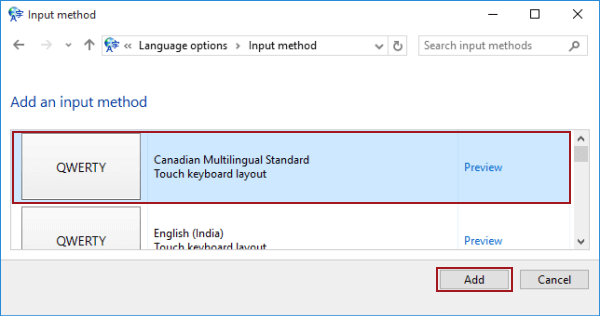
Step 6: Click Save.
6 Ways to Turn on On-Screen Keyboard in Windows 10
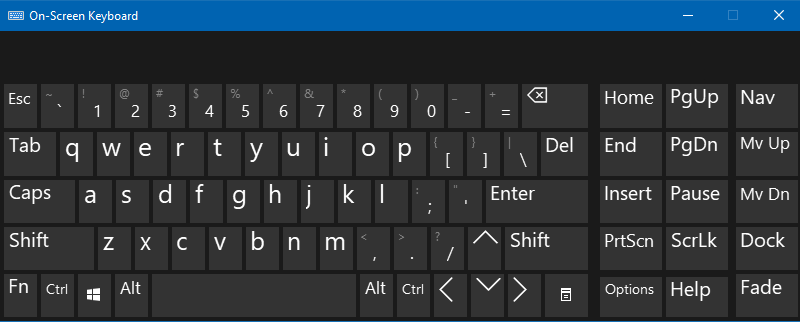
Six methods are available when you want to turn on the On-Screen Keyboard (as shown in the following picture) in your Windows 10 computer, and they are minutely illustrated in this article.
Video guide on how to open On-Screen Keyboard in Windows 10:
6 ways to turn on On-Screen Keyboard in Windows 10:
Way 1: Open On-Screen Keyboard in PC settings.
Step 2: Select Ease of Access in the settings.
Step 3: Choose Keyboard, and tap the switch under On-Screen Keyboard to turn it on.
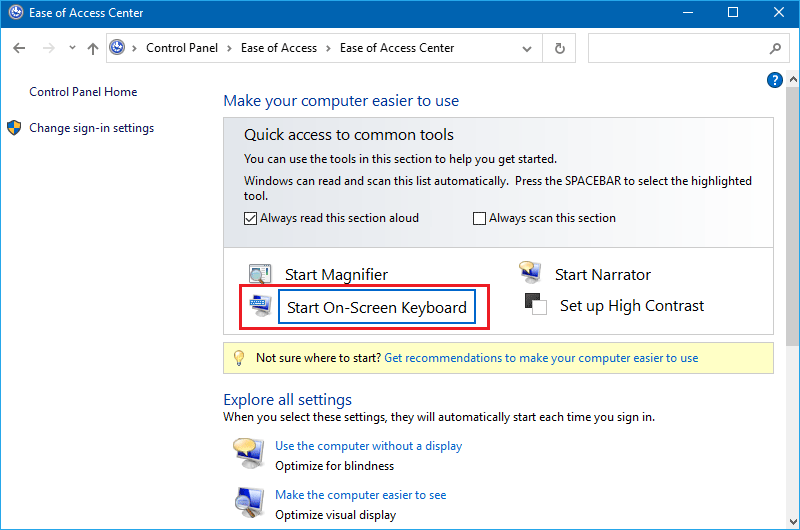
Way 2: Turn On-Screen Keyboard on in Ease of Access Center.
Press Windows+U to open the Ease of Access Center, and choose Start On-Screen Keyboard.
Way 3: Open the keyboard through Search panel.
Step 1: Press Windows+C to open the Charms Menu, and select Search.
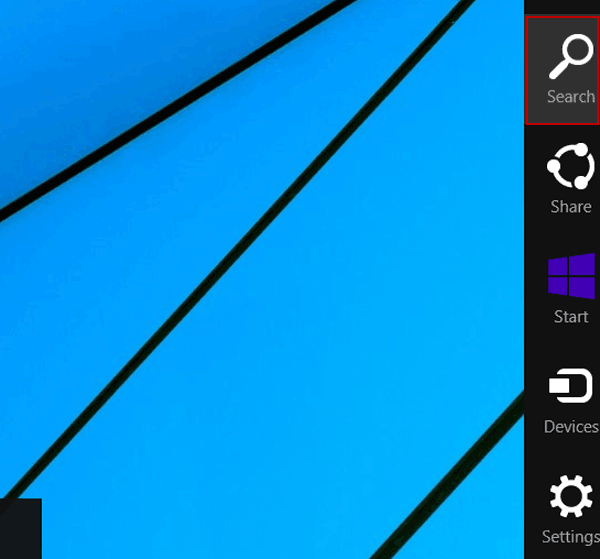
Step 2: Input on screen (or on screen keyboard) in the box, and tap On-Screen Keyboard in the results.

Way 4: Turn on this keyboard by means of Run.
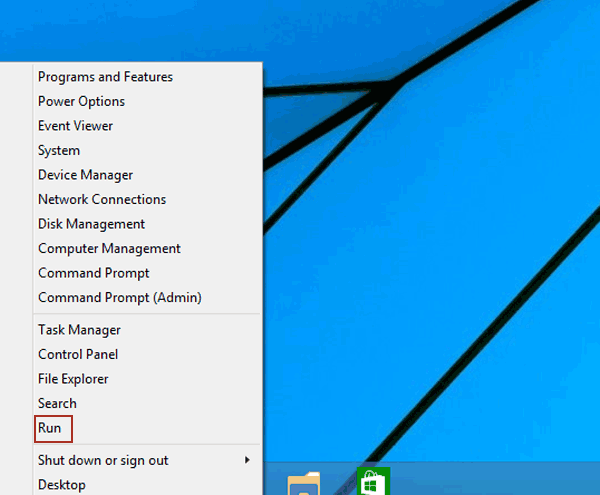
Step 1: Right-click the lower-left corner, and choose Run in the Quick Access Menu.
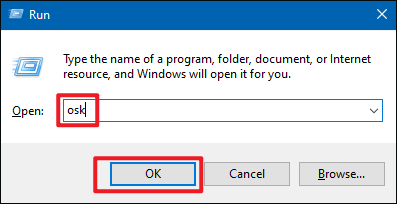
Step 2: Type osk and tap OK in the Run dialog.
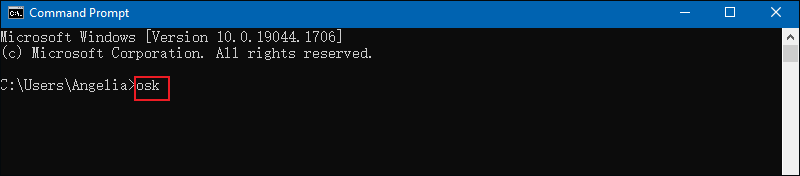
Way 5: Open this keyboard with the help of Command Prompt.
Step 1: Press Windows+X to open the Quick Access Menu, and select Command Prompt.
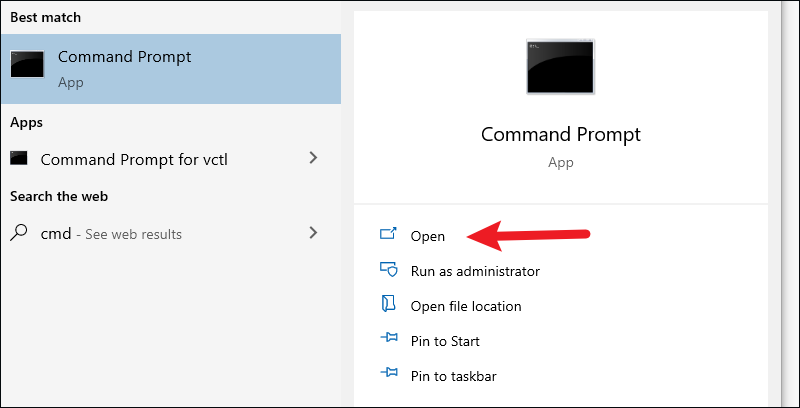
Step 2: Enter osk in the Command Prompt and press Enter.
Way 6: Turn on On-Screen Keyboard using Windows PowerShell.
Step 1: Click the Start button and choose Windows PowerShell in the Start Menu to open it.
Step 2: Type osk in Windows PowerShell window and hit Enter.


