- Color schemes in Windows Terminal
- Switching to a different color scheme
- Creating your own color scheme
- Кастомизация командной строки для пользователей Windows
- Как настроить меню PowerShell
- Пример пользовательской настройки PowerShell Windows Terminal
- Как создать пользовательский профиль в PowerShell
- Как настроить ваш дефолтный профиль в PowerShell Windows Terminal
- Как составить собственную цветовую схему в PowerShell Windows Terminal
- Как связать цветовую схему с профилем
- Дополнительные настройки внешнего вида
- Дополнительные настройки в PowerShell Windows Terminal
- Дополнительные источники
- Appearance profile settings in Windows Terminal
- Color scheme
- Font face
- Font size
- Font weight
- Retro terminal effects
- Cursor
- Cursor shape
- Cursor height
- Background image
- Background image path
- Background image stretch mode
- Background image alignment
- Background image opacity
- Acrylic
- Enable acrylic
- Acrylic opacity
- Window
- Padding
- Scrollbar visibility
- Color settings
- Tab color
- Foreground color
- Background color
- Selection background color
- Cursor color
- Unfocused appearance settings
- Unfocused appearance settings (Preview)
- Pixel shader effects
Color schemes in Windows Terminal
Windows Terminal lets you define your own color schemes, either by using the built-in preset schemes, or by creating your own scheme from scratch. To change schemes, you’ll need to edit the settings.json file in an editor such as Visual Studio Code.
Switching to a different color scheme
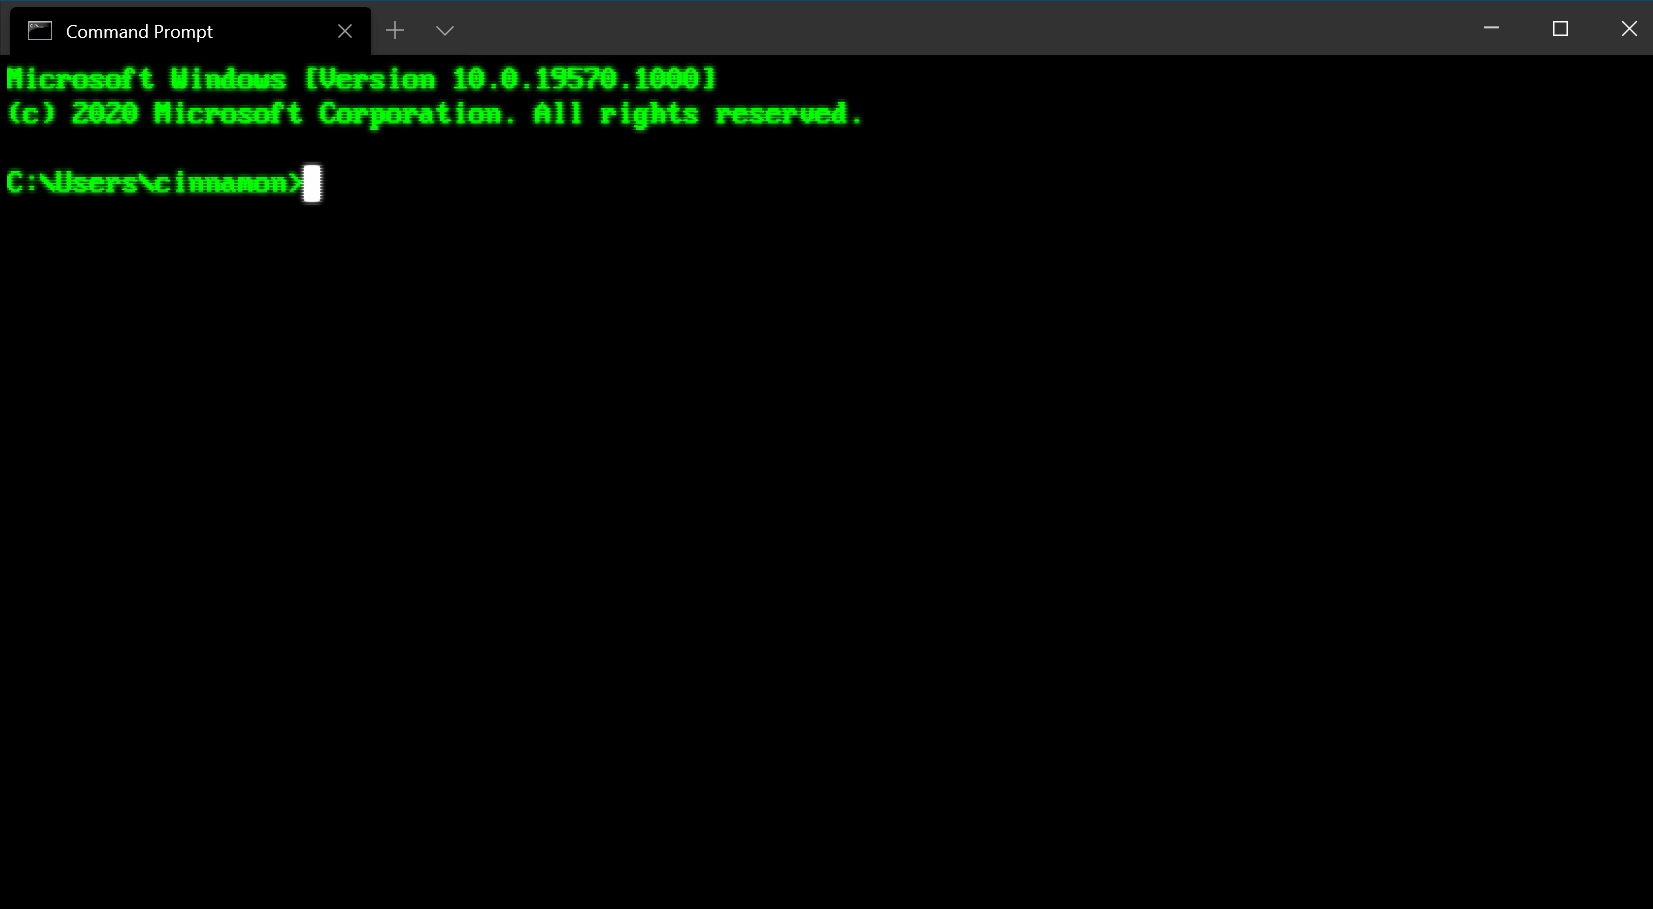
Launch Windows Terminal and then select the small downward-facing arrow in the title bar. This will open a pull-down menu that lists the available profiles on your system (for example, Windows PowerShell and Command Prompt) and some other options. Select Settings, and the settings.json file will open in your default text editor.
This file is where you can define various options per window or per profile. To demonstrate, let’s change the color scheme for the Command Prompt profile.
Look down the JSON file until you find the section that includes:
Change it to read:
Notice the extra comma in the hidden line. Once you save this file, Windows Terminal will update any open window. Open a Command Prompt tab if you haven’t already, and you’ll immediately see that the colors have changed.
Creating your own color scheme
The «Tango Light» scheme is included as a default option, but you can create your own scheme from scratch or by copying an existing scheme.
Color schemes can be defined in the schemes array of your settings.json file. They are written in the following format:
Every setting, aside from name , accepts a color as a string in hex format: «#rgb» or «#rrggbb» . The cursorColor and selectionBackground settings are optional.
Кастомизация командной строки для пользователей Windows
Перевод статьи «PowerShell Themes and Windows Terminal Color Schemes – How to Customize Your Command Line».

Недавно я настраивал Windows Terminal для своей локальной среды разработки. В этой статье, написанной по горячим следам, я расскажу, как это делается.
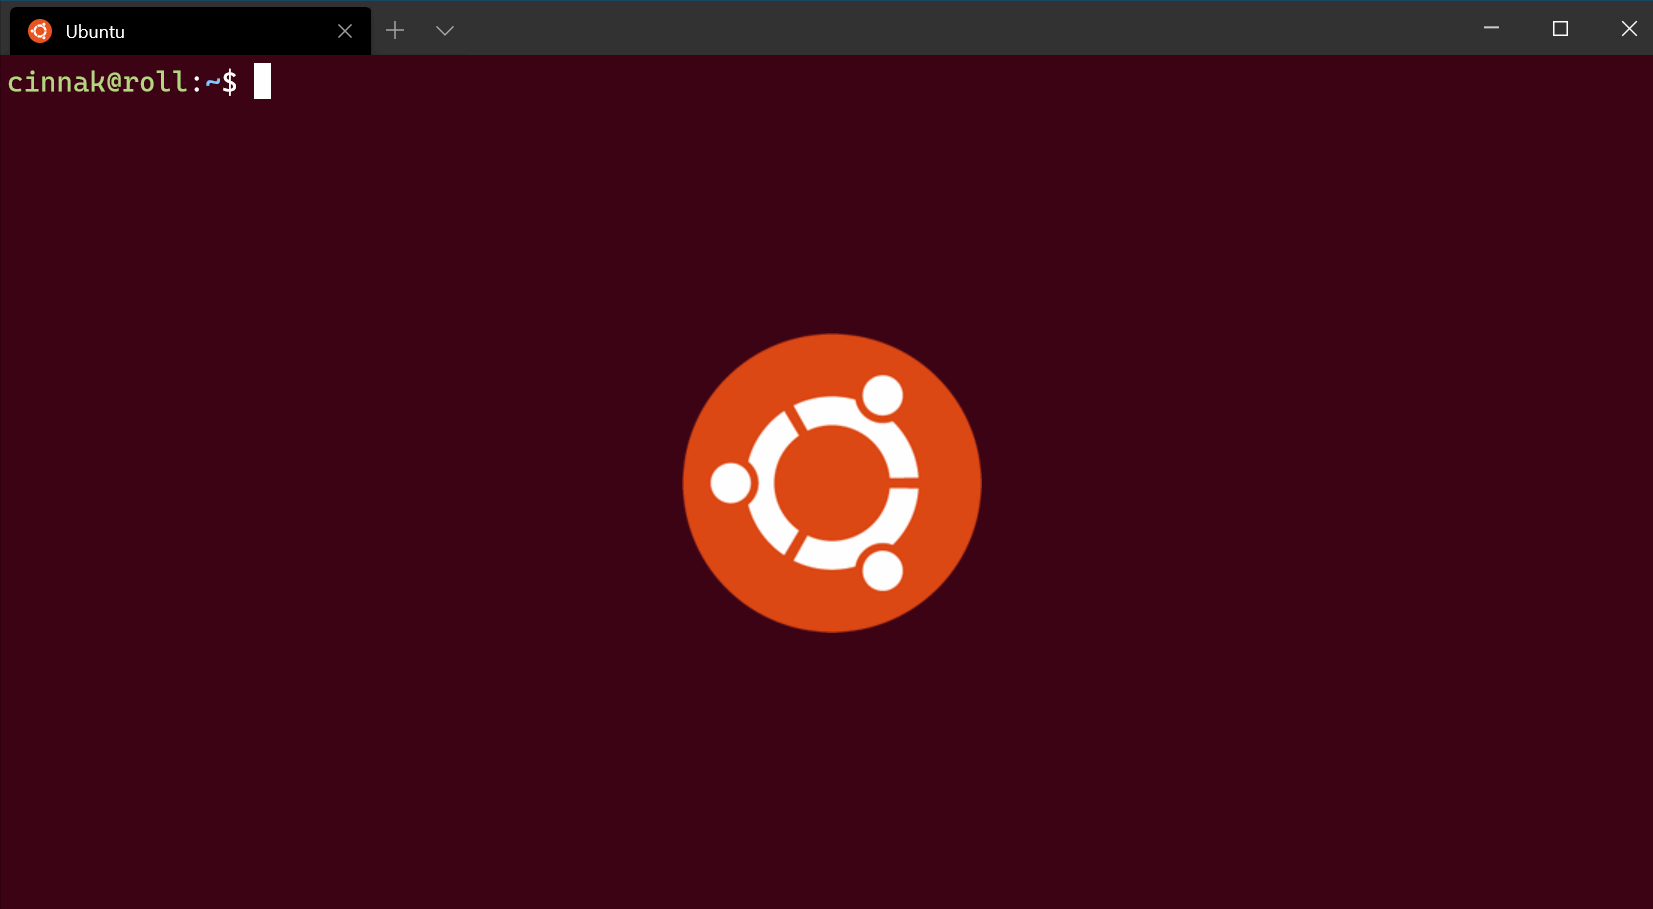
Скачать Windows Terminal можно из Microsoft Store. Сделайте это, если еще не сделали и если у вас Windows 10. В более ранних версиях Windows Terminal недоступен.
Как настроить меню PowerShell
Одно из самых больших преимуществ Windows Terminal — возможность использовать несколько оболочек в одном окне, переключаясь между вкладками.
Установив приложение, откройте терминал и нажмите на значок v вверху (рядом с открытой вкладкой). Вы увидите список доступных терминалов, но их мы пока проигнорируем.
В выпадающем меню выберите опцию «Settings» («Настройки»). Это откроет файл settings.json в вашем дефолтном текстовом редакторе.
В этом файле вы найдете довольно много настроек. Первое, на что нужно обратить внимание, — свойство profiles . Оно содержит все опции выбора терминала. Вложенное свойство defaults содержит дефолтные настройки для всех профилей, а свойство list — профили ваших терминалов.
Давайте рассмотрим свойство list . В настоящий момент оно содержит примерно такие значения:
Свойство list — это массив объектов. Оно определяет, какие исполняемые файлы могут загружаться через Windows Terminal. В нашем примере доступные опции — Windows PowerShell и приглашение командной строки CMD.
Давайте разберем свойства в этих объектах:
- guid — уникальный идентификатор (Globally Unique Identifier). Используется исключительно для настройки defaultProfile , которую мы рассмотрим позже.
- name — имя, отображаемое в выпадающем списке, когда вы открываете новую вкладку в Windows Terminal.
- commandline — исполняемый файл, который загружается при открытии вкладки этого профиля.
- hidden — булево значение, определяющее, появляется ли данный профиль в выпадающем списке для новой вкладки. Если вы нечасто пользуетесь каким-нибудь терминалом, можно поставить для него значение true , чтобы он не показывался в списке. Таким образом вы сохраните настройки этого терминала, но в выпадающем списке будете видеть только те терминалы, которые вам нужны.
Пример пользовательской настройки PowerShell Windows Terminal
Вполне вероятно, что вы сможете обойтись дефолтными настройками (это зависит от вашей среды разработки). Я большую часть работы выполняю в Windows Subsystems for Linux (WSL 2), но периодически пользуюсь Git Bash, поэтому у меня есть пара дополнительных опций.
Здесь вы видите несколько новых свойств:
- source : Это свойство генерируется автоматически, когда Windows Terminal обнаруживает и генерирует профиль для исполняемого файла нового терминала. Не нужно добавлять это свойство, если вы конструируете профиль вручную.
- icon : Используется для выбора, какой .ico-файл значка должен появляться рядом с именем в выпадающем списке новой вкладки.
- startingDirectory : Путь к файлу, на который будет указывать Windows Terminal при загрузке новой вкладки с этим профилем.
Как создать пользовательский профиль в PowerShell
Windows Terminal не сгенерировал настройки профиля для Git Bash, так что мне пришлось сделать это вручную. Если вам нужно сделать то же самое, вот инструкция.
Сначала нужно сгенерировать значение guid . Оно имеет формат <00000000-0000-0000-0000-000000000000>. Сгенерировать его можно в Windows PowerShell, запустив [guid]::NewGuid() , или в WSL, запустив uuidgen .
Затем определите путь к исполняемому файлу в свойстве commandline . Значение %PROGRAMFILES% указывает на вашу директорию «Program Files» («Файлы программ») и учитывает разницу между путями для 32 и 64-битных приложений.
Если же ваша инсталляция расположена в вашей директории пользователя, вы можете использовать значение %USERPROFILE% . Флаги -i -l используются для того, чтобы Windows Terminal корректно загружал ваш файл .bashrc.
Свойство icon можно пропустить. Но если вы хотите, чтобы в выпадающем списке рядом с названием терминала отображался значок, здесь нужно указать путь к файлу изображения.
Свойство name указывать обязательно, оно определяет имя, которое будет показываться в выпадающем списке. Здесь я использовал «Git Bash», чтобы четко понимать, какой терминал откроет эта опция.
Наконец, для свойства startingDirectory нужно установить путь к директории, которую терминал будет «считать» дефолтной. У себя я поставил %USERPROFILE% , что указывает терминалу на мою директорию пользователя Windows. Благодаря этому я могу быстро переходить в мою папку «Документы» и прочие папки.
Как настроить ваш дефолтный профиль в PowerShell Windows Terminal
Если вы прокрутите назад файл settings.json, вы увидите свойство defaultProfile . Эта опция принимает значение guid , которое должно совпадать с одним из значений guid в вашем массиве list . Вкладка профиля, guid которого вы здесь укажете, будет загружаться при старте Windows Terminal.
Поскольку большую часть своей работы я делаю в WSL, я установил именно его guid в качестве значения для свойства defaultProfile .
Теперь при открытии приложения Windows Terminal сразу загружается экземпляр WSL.

Как составить собственную цветовую схему в PowerShell Windows Terminal

После настройки приложений можно сфокусироваться на стилях текста, чтобы сделать его покрасивее.
Под свойством profiles в файле settings.json вы найдете свойство schemes . Оно содержат массив объектов цветовых схем, выглядит это примерно так:
Если вы использовали инструменты вроде пакета chalk в npm, вы можете узнать некоторые из значений цветов (purple здесь — это magenta в chalk).
- name : используется для назначения цветовой схемы одному из профилей, созданных нами ранее.
- cursorColor : определяет цвет курсора.
- selectionBackground : определяет цвет фона для выделенного текста.
- background : задает цвет фона в вашем терминале.
- foreground : задает цвет переднего плана для терминала. В моей текущей конфигурации я не ощутил никаких отличий при изменении этого значения.
Свойства цветов определяют конкретные цветовые коды. Для своего цветового профиля я установил следующие настройки:
Советую поиграться с этими значениями, пока не подберете набор цветов, полностью удовлетворяющий ваши требования.
Как связать цветовую схему с профилем
Настроив цвета, нужно как-то привязать их к профилю терминала. Эти настройки можно применить в свойстве defaults (свойство, вложенное в свойство profiles ). Таким образом настроенная цветовая схема применится ко всем вашим терминалам. Но я предпочитаю настраивать разные цвета для разных терминалов, чтобы было удобно определять, в правильной ли вкладке я нахожусь.
Давайте применим эту цветовую схему для профиля WSL. Добавьте ключ colorScheme в ваш объект профиля и задайте ему значение — name вашей схемы. У вас должно получиться что-то вроде этого:
Перезапустив Windows Terminal, вы увидите уже новые цвета.
Дополнительные настройки внешнего вида
В моем объекте WSL-профиля есть несколько дополнительных настроек:
Вы можете включить их в объект своего профиля, подогнав по вкусу.
- useAcrylic : В Windows 10 включает эффект прозрачности для фона терминала.
- Если включен эффект прозрачности, при помощи acrylicOpacity можно отрегулировать его интенсивность. Чем ниже число, тем выше прозрачность.
- fontFace : Выбор шрифта для терминала. Учтите, что выбранный шрифт должен быть установлен в вашем компьютере. Я использую шрифт PxPlus IBM VGA8.
- fontSize : определяет размер шрифта (в pt).
- experimental.retroTerminalEffect : Моя любимая настройка. Создает ретроэффект, напоминающий вид экрана старых CRT-мониторов.
Вот как выглядит итоговый результат моих настроек:
Любую из этих настроек внешнего вида можно добавить в defaultSettings , чтобы применить глобально, ко всем профилям.
Дополнительные настройки в PowerShell Windows Terminal
Есть несколько дополнительных настроек, на которые стоит обратить внимание.
После свойства schemes идет свойство actions . В нем содержится массив настроек с сочетаниями клавиш.
По умолчанию в Windows Terminal копирование и вставка осуществляется нажатием Ctrl+Shift+C и Ctrl+Shift+V соответственно. Но вы можете назначить сочетание Ctrl+C и Ctrl+V :
Опция singleLine со значением false предохраняет от разрыва строк при копировании текста.
Практически вверху вашего файла settings.json есть еще два свойства, влияющие на поведение при копировании текста из терминала:
- copyOnSelect по умолчанию имеет значение false . Если поставить true , выделение текста мышью будет копировать этот текст в буфер.
- copyFormatting тоже по умолчанию имеет значение false . Если поставить true , будет копироваться и форматирование текста (по умолчанию копируется как plain text).
Копировать текст из терминала в целом безопасно, но вставлять в него текст нужно с осторожностью. Windows Terminal имеет пару настроек, защищающих от ненужного риска:
- largePasteWarning по умолчанию имеет значение true . В вашем файле settings.json его может и не быть. Эта настройка вызывает диалогове окно при попытке вставить более 5KB содержимого.
- multiLinePasteWarning по умолчанию имеет значение true . В вашем файле settings.json его тоже может не быть. Эта настройка вызывает диалоговое окно при попытке вставить текст, содержащий разрывы строки (это распространенный прием атаки с захватом буфера обмена, суть ее в том, чтобы при вставке начали запускаться какие-то команды).
Я настоятельно рекомендую оставить эти настройки и ничего не менять.
Дополнительные источники
Поздравляю! Вот вы и сделали собственный вариант настройки Windows Terminal.
Чтобы узнать о других способах кастомизации, не раскрытых в этой статье, обратитесь к документации: Windows Terminal Customization Documentation.
Что касается цветовых схем, есть много готовых вариантов, которые можно скачать в виде JSON-файлов. Вы найдете их в Windows Terminal Themes. Именно там я нашел свою схему, которую лишь немного подкрутил по своему вкусу.
Appearance profile settings in Windows Terminal
The settings listed below are specific to each unique profile. If you’d like a setting to apply to all of your profiles, you can add it to the defaults section above the list of profiles in your settings.json file.
Color scheme
This is the name of the color scheme used in the profile. Color schemes are defined in the schemes object. More detailed information can be found on the Color schemes page.
Property name: colorScheme
Necessity: Optional
Accepts: Name of color scheme as a string
Default value: «Campbell»
Font face
This is the name of the font face used in the profile. The terminal will try to fallback to Consolas if this can’t be found or is invalid. To learn about the other variants of the default font, Cascadia Mono, visit the Cascadia Code page.
Property name: fontFace
Necessity: Optional
Accepts: Font name as a string
Default value: «Cascadia Mono»
Font size
This sets the profile’s font size in points.
Property name: fontSize
Necessity: Optional
Accepts: Integer
Default value: 12
Font weight
This sets the weight (lightness or heaviness of the strokes) for the profile’s font.
Property name: fontWeight
Necessity: Optional
Accepts: «normal» , «thin» , «extra-light» , «light» , «semi-light» , «medium» , «semi-bold» , «bold» , «extra-bold» , «black» , «extra-black» , or an integer corresponding to the numeric representation of the OpenType font weight
Default value: «normal»
Retro terminal effects
When this is set to true , the terminal will emulate a classic CRT display with scan lines and blurry text edges. This is an experimental feature and its continued existence is not guaranteed.
If experimental.pixelShaderPath is set, it will override this setting.
Property name: experimental.retroTerminalEffect
Necessity: Optional
Accepts: true , false
Default value: false
 Configuration: Retro Command Prompt
Cursor
Cursor shape
This sets the cursor shape for the profile. The possible cursors are as follows: «bar» ( в”ѓ ), «vintage» ( в–ѓ ), «underscore» ( в–Ѓ ), «filledBox» ( в–€ ), «emptyBox» ( в–Ї ), «doubleUnderscore» ( ‗ )
Property name: cursorShape
Necessity: Optional
Accepts: «bar» , «vintage» , «underscore» , «filledBox» , «emptyBox» , «doubleUnderscore»
Default value: «bar»
Cursor height
This sets the percentage height of the cursor starting from the bottom. This will only work when cursorShape is set to «vintage» .
Property name: cursorHeight
Necessity: Optional
Accepts: Integer from 25-100
Background image
Background image path
This sets the file location of the image to draw over the window background. The background image can be a .jpg, .png, or .gif file. «desktopWallpaper» will set the background image to the desktop’s wallpaper.
Property name: backgroundImage
Necessity: Optional
Accepts: File location as a string or «desktopWallpaper»
Background image stretch mode
This sets how the background image is resized to fill the window.
Property name: backgroundImageStretchMode
Necessity: Optional
Accepts: «none» , «fill» , «uniform» , «uniformToFill»
Default value: «uniformToFill»
 Background image source
Background image alignment
This sets how the background image aligns to the boundaries of the window.
Property name: backgroundImageAlignment
Necessity: Optional
Accepts: «center» , «left» , «top» , «right» , «bottom» , «topLeft» , «topRight» , «bottomLeft» , «bottomRight»
Default value: «center»
 Background image source
Background image opacity
This sets the transparency of the background image.
Property name: backgroundImageOpacity
Necessity: Optional
Accepts: Number as a floating point value from 0-1
Default value: 1.0
Acrylic
Enable acrylic
When this is set to true , the window will have an acrylic background. When it’s set to false , the window will have a plain, untextured background. The transparency only applies to focused windows due to OS limitations.
Property name: useAcrylic
Necessity: Optional
Accepts: true , false
Default value: false

Acrylic opacity
When useAcrylic is set to true , this sets the transparency of the window for the profile. This accepts floating point values from 0-1.
Property name: acrylicOpacity
Necessity: Optional
Accepts: Number as a floating point value from 0-1
Default value: 0.5

Window
Padding
This sets the padding around the text within the window. This will accept three different formats: «#» and # set the same padding for all sides, «#, #» sets the same padding for left-right and top-bottom, and «#, #, #, #» sets the padding individually for left, top, right, and bottom.
Property name: padding
Necessity: Optional
Accepts: Values as a string in the following formats: «#» , «#, #» , «#, #, #, #» or value as an integer: #
Default value: «8, 8, 8, 8»
Scrollbar visibility
This sets the visibility of the scrollbar.
Property name: scrollbarState
Necessity: Optional
Accepts: «visible» , «hidden»
Color settings
Tab color
This sets the color of the profile’s tab. Using the tab color picker will override this color.
Property name: tabColor
Necessity: Optional
Accepts: Color as a string in hex format: «#rgb» or «#rrggbb»
Foreground color
This changes the foreground color of the profile. This overrides foreground set in the color scheme if colorScheme is set.
Property name: foreground
Necessity: Optional
Accepts: Color as a string in hex format: «#rgb» or «#rrggbb»
Background color
This changes the background color of the profile with this setting. This overrides background set in the color scheme if colorScheme is set.
Property name: background
Necessity: Optional
Accepts: Color as a string in hex format: «#rgb» or «#rrggbb»
Selection background color
This sets the background color of a selection within the profile. This will override the selectionBackground set in the color scheme if colorScheme is set.
Property name: selectionBackground
Necessity: Optional
Accepts: Color as a string in hex format: «#rgb» or «#rrggbb»
Cursor color
This sets the cursor color of the profile. This will override the cursorColor set in the color scheme if colorScheme is set.
Property name: cursorColor
Necessity: Optional
Accepts: Color as a string in hex format: «#rgb» or «#rrggbb»
Unfocused appearance settings
Unfocused appearance settings (Preview)
An object you can add to a profile that applies settings to the profile when it is unfocused. This setting only accepts appearance settings.
Property name: unfocusedAppearance
Necessity: Optional
Accepts: backgroundImage , backgroundImageAlignment , backgroundImageOpacity , backgroundImageStretchMode , cursorHeight , cursorShape , cursorColor , colorScheme , foreground , background , selectionBackground , experimental.retroTerminalEffect , experimental.pixelShaderPath
Example:
This feature is only available in Windows Terminal Preview.
Pixel shader effects
This setting allows a user to specify the path to a custom pixel shader to use with the terminal content. This is an experimental feature and its continued existence is not guaranteed. For more details on authoring custom pixel shaders for the terminal, see this documentation.
If set, this will override the experimental.retroTerminalEffect setting.
Property name: experimental.pixelShaderPath
Necessity: Optional
Accepts: A path to an .hlsl shader file, as a string


