- Cisco packet tracer linux установка
- Установка Cisco Packet Tracer на Debian (или Ubuntu)
- Возможные проблемы
- Как установить Cisco Packet Tracer 7.3.0 в Ubuntu 19.10?
- Преимущества Packet Tracer
- Что нового в Cisco Packet Tracer 7.3.0?
- Доработка протоколов и программного обеспечения
- Новые устройства в Packet Tracer 7.3.0
- Как установить Cisco Packet Tracer 7.3.0
- Install Packet Tracer on Ubuntu 18.04 LTS
- Downloading Packet Tracer:
- Installing Packet Tracer on Ubuntu 18.04 LTS:
- Using Packet Tracer 7.2:
Cisco packet tracer linux установка
В этой статье мы рассмотрим как установить последнюю версию Cisco Packet Tracer 7.2.2 (на данный момент) на дистрибутив Debian 10. А так же разберем некоторые проблемы при установке и их решение.
Установка Cisco Packet Tracer на Debian (или Ubuntu)
Открываем терминал, переходим в директорию с скачанным файлом и делаем его исполняемым
$ chmod +x PacketTracer-7.2.2-ubuntu-setup.run
Установка проста. Жмем Next, Next, принимаем условия использования ПО и снова Next, потом Install. Вводим пароль пользователя с правами root. Через несколько секунд установка будет закончена и остается нажать Finish. Находим в системе ярлык Cisco Packet Tracer и запускаем его. Или же в терминале можно запустить так:
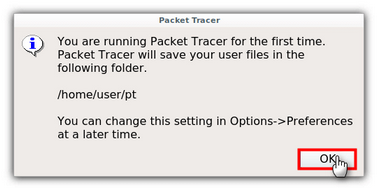
Если все установилось правильно и всех компонентов хватает (обычно так на Ubuntu), то увидите окно программы
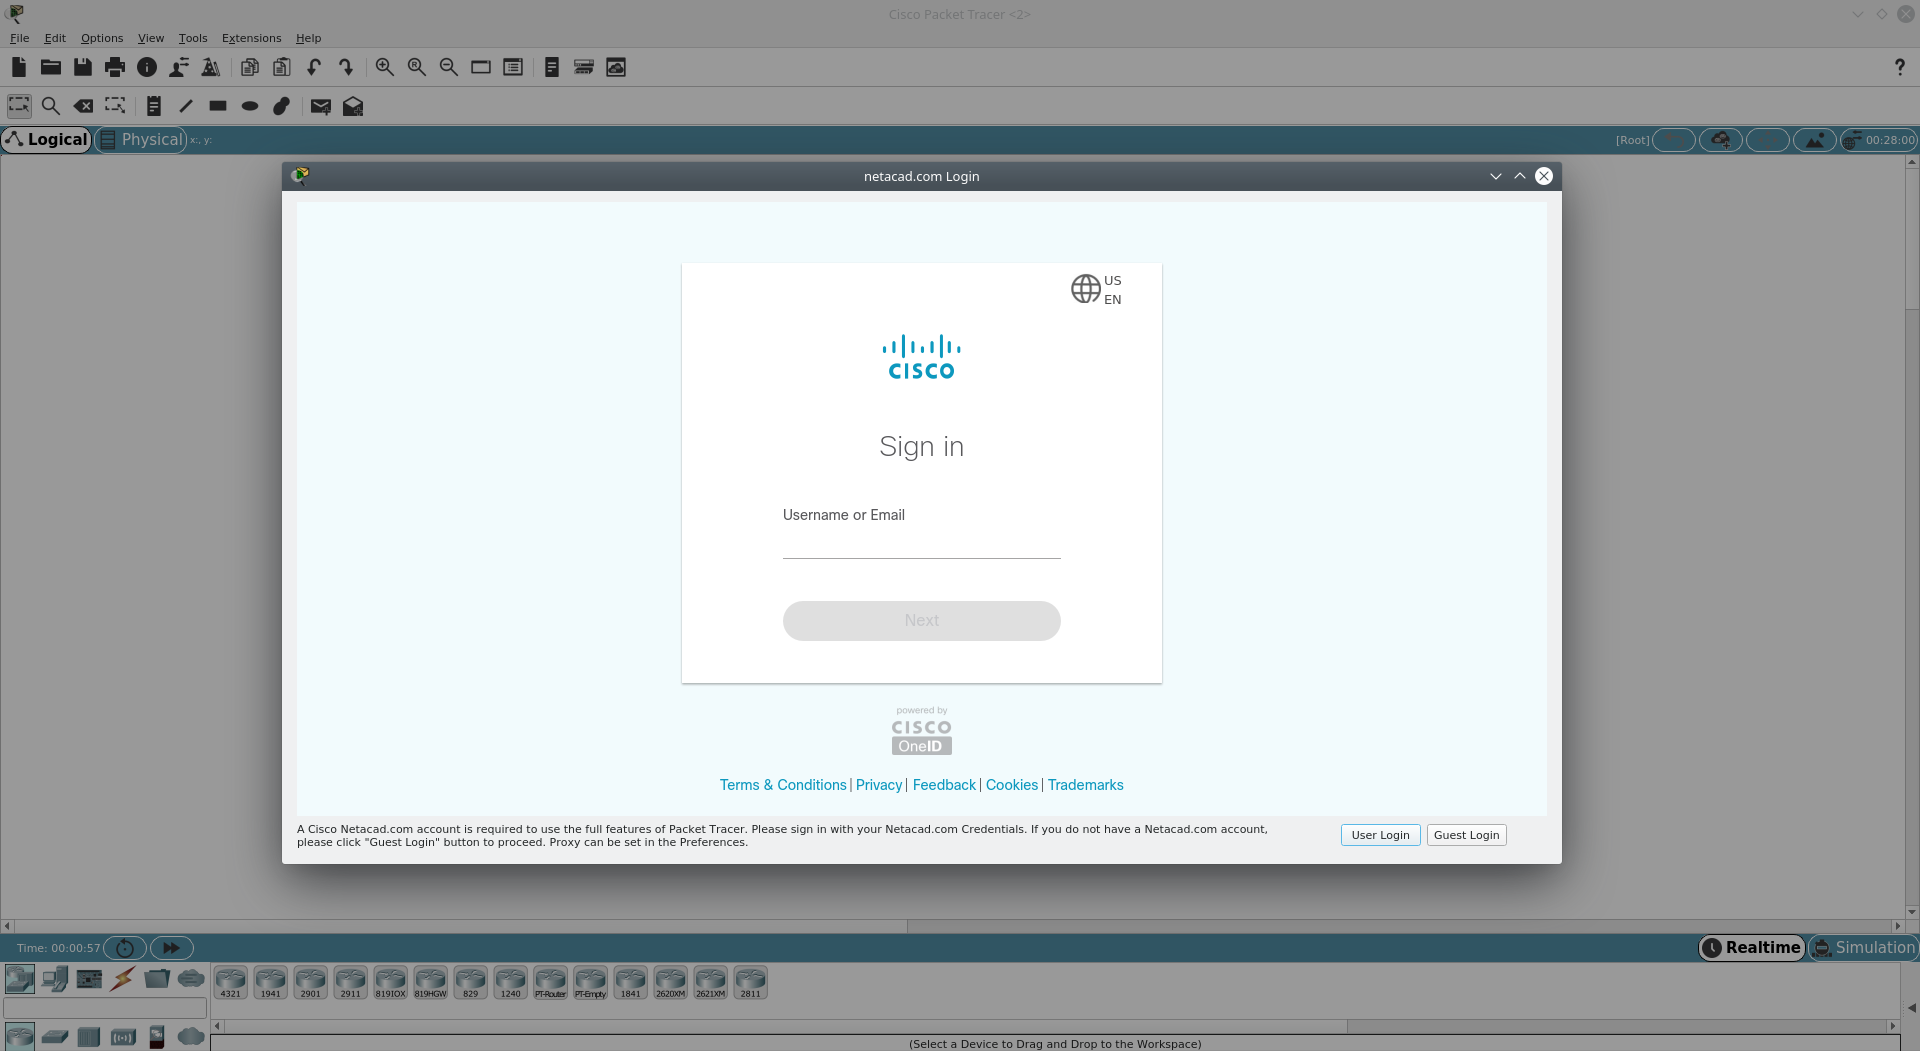
Жмем ОК и попадаем на страницу авторизации. Там можно зайти по учетным данным Cisco или как гость (Guest Login)
Поздравляю. Если Вы запускаете Cisco Packet Tracer, но ничего не происходит… читайте дальше.
Возможные проблемы
Если после запуска ничего не происходит, скорее всего у Вас описанная выше ошибка. Чтобы проверить попробуйте из терминала выполнить
Необходимо скачать и установить пакет с недостающей библиотекой. Но сначала установим зависимость
$ sudo apt-get install multiarch-support
А теперь скачаем баблиотеку и установим
$ cd /tmp
$ wget http://ftp.us.debian.org/debian/pool/main/libp/libpng/libpng12-0_1.2.50-2+deb8u3_amd64.deb
$ sudo dpkg -i libpng12-0_1.2.50-2+deb8u3_amd64.deb
Возможно при установке вы словите следующую ошибку
$ sudo mkdir cpt; sudo dpkg -x libpng12-0_1.2.50-2+deb8u3_amd64.deb ./cpt
$ sudo cp ./cpt/lib/x86_64-linux-gnu/libpng12.so.0 /opt/pt/bin/
И теперь все должно запуститься. Пробуем
Иногда не хватает пакета libqt5webkit5
Источник
Как установить Cisco Packet Tracer 7.3.0 в Ubuntu 19.10?
Cisco Packet Tracer — это программа для студентов которые проходят обучение по сетевым технологиям, приложение предлагает уникальные возможности реалистичного моделирования и визуализации, возможностей оценки и разработки сетей (топологий). Инновационные функции Packet Tracer помогут учащимся и преподавателям совместно решать проблемы и изучать концепции в увлекательной и динамичной социальной среде.
Преимущества Packet Tracer
- Обеспечивает реалистичную среду моделирования и визуализации, дополняющую учебное оборудование, включая возможность видеть в реальном времени внутренние процессы, которые обычно скрыты на реальных устройствах.
- Обеспечивает многопользовательское взаимодействие в режиме реального времени и динамическое обучение.
- Позволяет создавать и локализовать структурированные учебные процессы, такие как лабораторные работы, демонстрационные работы, викторины, соревнования или экзамены.
- Позволяет студентам изучать концепции, проводить эксперименты и проверять свое понимание построения сети.
- Позволяет учащимся и преподавателям проектировать, строить, настраивать и устранять неполадки в сложных сетях с использованием виртуального оборудования.
- Поддерживает различные возможности преподавания и обучения, такие как лекции, групповые и индивидуальные занятия, домашние задания, игры и конкурсы.
- Поддержка расширенных функций с помощью внешних приложений с использованием API для расширения функциональных возможностей Cisco Packet Tracer в таких областях, как создание учебных программ и оценок, доступность и взаимодействие с реальным оборудованием.
Что нового в Cisco Packet Tracer 7.3.0?
- Поддержка пакета CCNA 7;
- Новая тема (оформление);
- Возможность управления позиционированием объектов(устройств) в рабочей области;
- Возможность развертывания сетевых устройств в определенной стойке;
- Обновлена поддержка новых устройств;
- Возможность переименования стойки.
Доработка протоколов и программного обеспечения
- IP OSPF точка-точка на интерфейсе Ethernet;
- IPv6 OSPF точка-точка на интерфейсе Ethernet;
- Динамическая проверка ARP;
- WLC GUI исправления и улучшения;
- Исправления и улучшения отслеживания DHCP;
- Модификатор вывода раздела для команд show;
- Улучшения доступности, безопасности и удобства использования и оптимизации для всех платформ;
- Модернизированная поддержка PTSA и PTMO;
- Различные улучшения существующих протоколов.
Новые устройства в Packet Tracer 7.3.0
- Маршрутизатор с интегрированными сервисами Cisco 4331
- Контроллер беспроводной локальной сети Cisco 3504
Как установить Cisco Packet Tracer 7.3.0
Достаточно скачать пакет Cisco Packet Tracer 7.3.0 после перейти в домашнюю директорию в папку Загрузки и выполнить в терминале команды:
При установке пакета PacketTracer_730_amd64.deb у вас запросят дать соглашение на установку, жмем по клавише Tab на клавиатуре и выбираем ok.

После аналогично соглашаемся с установке выбирая пункт «Да».

В том случае если у вас при попытке установки будет писать ошибку невозможности скачать пакет (qt-at-spi_0.4.0-9_amd64.deb), тогда каждый по отдельности скачайте в папку загрузки, после просто с терминала перейдите в папку загрузки:
Далее установятся все зависимости и вы сможете запустить приложение Cisco Packet Tracer 7.3.0 .

При первом запуске вас попросят авторизоваться с помощью своей учетной записи netcad авторизуйтесь и работайте в приложении. Можно конечно авторизоваться и гостем в данном приложении нажав на кнопку Guest Login и через 15 секунд вас пустит в приложение, просто подтвердите вход нажав на кнопку Confirm Guest.


сдавайте зачеты или что вам нужно (практикуйтесь, настраивайте новые топологии).
Источник
Install Packet Tracer on Ubuntu 18.04 LTS
Cisco Packet Tracer is a network simulation software for simulating Cisco networking devices. You can use Cisco Packet Tracer to design simple to pretty complex network topologies. You can also configure the virtual computers, routers, switches etc in Packet Tracer to test your network topology.
Cisco Packet Tracer can also be used to simulate wireless networks, IP telephony networks (VoIP) and many more.
If you’re aiming for Cisco certification such as CCENT, CCNA etc, then you can use Cisco Packet Tracer to learn to configure Cisco networking devices (such as Switches and Routers) using Cisco IOS commands.
In this article, I will show you how to install and use Cisco Packet Tracer on Ubuntu 18.04 LTS. Let’s get started.
Downloading Packet Tracer:
You can download and use Cisco Packet Tracer for free. You need a Cisco Network Academy account in order to download and use Cisco Packet Tracer. You can create a Cisco Network Academy account for free.
To create a Cisco Network Academy account, visit https://www.netacad.com/courses/packet-tracer from any web browser of your choice and you should see the following page. Now click on Enroll to download Packet Tracer as marked in the screenshot below.
You should see the following page. Now click on Sign up today! as marked in the screenshot below.
Now click on English.
A sign up page should open. Fill in the details and click on Create Account as marked in the screenshot below.
Once you’ve signed up and verified your account, go to https://www.netacad.com/ and you should see the following page. Click on Log In as marked in the screenshot below.
Now type in your email and password and click on Log In.
Once you’re logged in, click on Resource > Download Packet Tracer as marked in the screenshot below.
Now navigate to the Download section. At the time of this writing, Packet Tracer 7.2 is the latest version. From the Linux Desktop Version 7.2 English section, click on 64 Bit Download link as marked in the screenshot below.
Your browser should prompt you to download Packet Tracer. Click on Save File and click on OK.
Your download should start.
Installing Packet Tracer on Ubuntu 18.04 LTS:
Now that Packet Tracer is downloaded. It’s time to install it.
First, navigate to the
/Downloads directory of your Ubuntu 18.04 LTS machine with the following command:
As you can see, Packet Tracer archive is available here.
Now make a new directory (Let’s call it PT72Installer) to extract the installer from the Packer Tracer archive you just downloaded.
Now extract the Packet Tracer archive with the following command:
All the files are extracted to PT72Installer directory.
Now navigate to the PT72Installer/ directory with the following command:
Now start the installer with the following command:
Press a few more times.
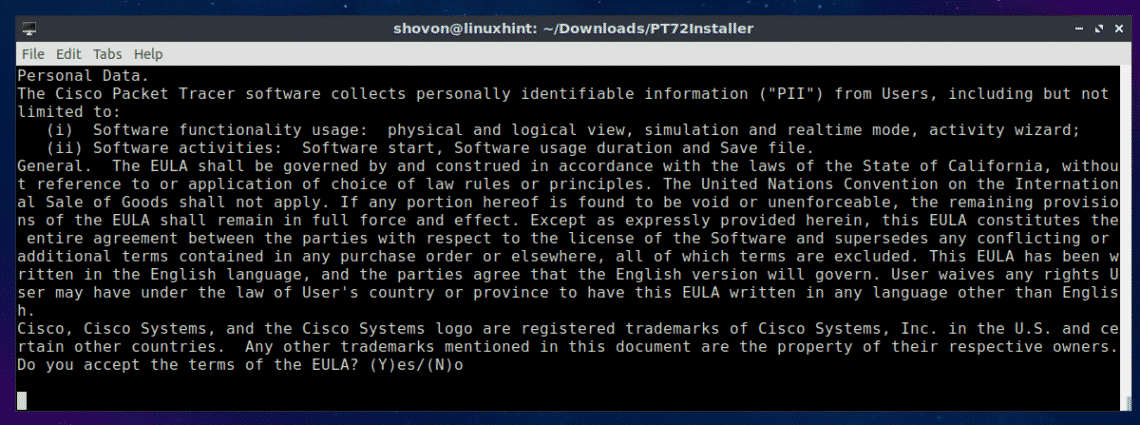
At the end of the License agreement, press y and then press .
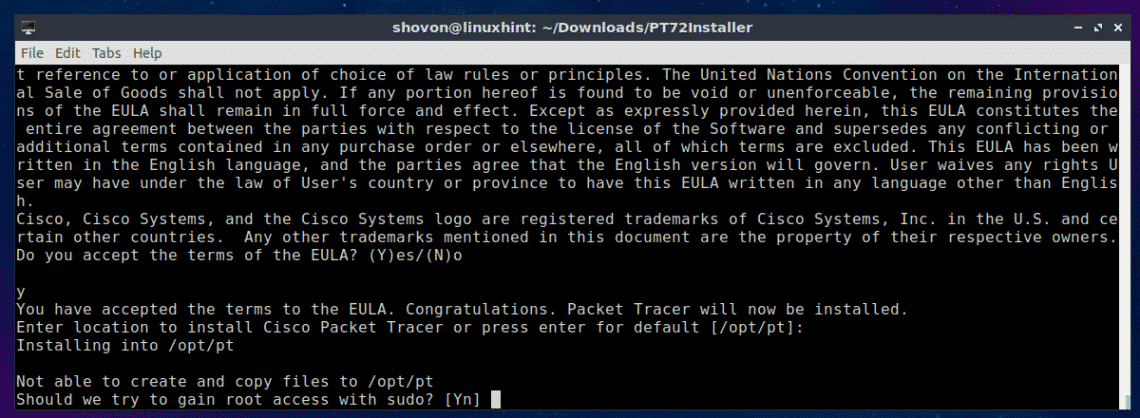
Leave the default and press .
Press y and then press .
Press y and then press to continue.
Packet Tracer 7.2 should be installed.
Now restart your computer with the following command:
Once your computer starts, navigate to the Packet Tracker directory /opt/pt/bin with the following command:
Now if you try to start Packet Tracer, you should see the following error. It means, libpng12.so.0 library file is not available in your computer. The library file is not available in the Ubuntu 18.04 LTS package repository as well. But you can download and install the library package from Debian Jessie package repository. It should solve our problem.
First, navigate to the /tmp directory with the following command:
To download the libpng12-0 library package from Debian Jessie package repository, run the following command:
libpng12-0 should be downloaded.
Now, install libpng12-0 with the following command:
libpng12-0 should be installed.
Now go back to the Packet Tracer directory (/opt/pt/bin) with the following command:
If you try to run Packet Tracer, you may still get some errors! The required Qt libraries are not installed.
To install all the required Qt libraries, run the following command:
Now press y and then press .
The Qt libraries should be installed.
Now try to run Packet Tracer again.
We got a prompt! Click on OK.
Now you should see the following window. Login to your Cisco Network Academy account.
Packet Tracer 7.2 should start.
You can also start Packet Tracer 7.2 with the following command:
Using Packet Tracer 7.2:
In this section, I will design a simple network topology and show you how Packet Tracer works.
First, start Packet Tracer 7.2. Now click on Network Devices icon and then click on Switches icon as marked in the screenshot below.
Now click and drag one of the switches to the project window.
Now click on the End Devices icon. As you can see, a lot of end devices such as PC, Laptop, Server etc are listed.
Now drag and drop 2 PCs to the project window.
Now click on the Cable icon.
Then click on a PC and then on the Switch in your project window. They should be connected.
Connect the other PC to the switch the same way.
Now double click on any of the PC and you should see the following window. Go to the Desktop tab.
Now click on Configuration.
Now, fill in the IPv4 details as follows in one of the PCs and click on the X button once you’re done.
The same way, fill in the IPv4 details as follows in the other PC:
Now click on the Command Prompt icon on one of the PCs.
The command prompt should start. Now try to ping one PC from the other.
As you can see, the ping is working.
As you can see, the ping is working both ways. I can connect to one PC from the other.
You can also login to the IOS console of your CISCO Switch. Just double click on the Switch in your project window and go to the CLI tab.
So that’s how you install and use Packet Tracer on Ubuntu 18.04 LTS. Thanks for reading this article.
Источник


