- How to Clean uPVC Window Frames and Sills
- How to clean uPVC window frames
- Equipment that you will need:
- The best way to clean uPVC window frames:
- How to rejuvenate uPVC window frames
- What to avoid when cleaning uPVC surfaces?
- How to clean uPVC window sills
- Window sills cleaning tools:
- How to remove stains from uPVC window sills:
- How to clean mould off your uPVC frames and sills
- Equipment for cleaning black mould on uPVC window frames:
- Cleaning uPVC window frames mould in 7 simple steps:
- Takeaways
- How to Clean Window Frames and Runners in 4 Steps
- Step 1 — Vacuum
- Step 2 — Initial Clean
- Step 3 — Secret Ingredient
- Step 4 — Final Wipe Down
- Enjoy the Results
- How to clean windows
- Choose your time
- Tackle mildew on frames
- Give glass a going over
- Show sills some love
- Don’t neglect window screens
How to Clean uPVC Window Frames and Sills
One of the most common types of window frames nowadays is the uPVC. According to the British Plastics Federation, in the UK over 85% of the window replacement projects include uPVC materials. People prefer them more than any other type of window frames because of their durability and easy maintenance. The most popular colour choice for households in the UK are the white uPVC windows mainly because of the lower price. However, they have one fault: the white frames and sills need to be cleaned a lot more often than the darker ones because of how visible all the spots are in comparison. Be that as it may, the occasional cleaning and rejuvenation is not a difficult task to accomplish, it doesn’t take a lot of time and efforts. Yet, it’ll make a major difference in the way your windows and the facade of your home look.
It’s advisable to clean your windows every two or three months. However, in case the window frames are visibly covered in dust and smeared, then you can wash them by following our step-by-step guide and practical tips. Keep in mind that if you regularly clean the uPVC windows, you’ll prolong their lifespan and efficiency.
How to clean uPVC window frames
Equipment that you will need:
- Old towels/ dust sheet;
- Ladder/ step stool;
- Vacuum cleaner/ extendable feather duster/ old paintbrush;
- Spray bottle;
- Hot water;
- Vinegar;
- Microfiber/ cotton cloth;
- uPVC Cleaner.
The best way to clean uPVC window frames:
- Lay down old towels or a dust sheet on the sill and on the floor to limit any damages.
- Step on a ladder or use a step stool to reach higher spots.
- Vacuum or brush with an extendable feather duster in every nook, around the hinge and the opening mechanism. Use the vacuum attachment with the soft brush to reduce the risk of scratching the uPVC frame. Or in case you don’t have one, use an old paintbrush to loosen any dust, dirt and cobwebs from the corners, then use the hose on the vacuum cleaner to clear it all away.
- Mix 1 cup of vinegar with 4 cups of hot water in a clean spray bottle.
- Spray the uPVC frames with the solution and leave it for 10 – 15 minutes to disintegrate the accumulated dirt.
- Wipe off the grime with clean microfiber cloths.
- Wipe off any excess water from the glass panel with lint-free cotton or microfiber cloth.
- Apply uPVC cleaner to polish the frames and restore their shiny look.
How to rejuvenate uPVC window frames
To revive your weathered uPVC windows colour back to white you will need:
- uPVC Restorer;
- Microfiber cloths;
- Sponge cloth;
- Bucket;
- Water.
If you have recently cleaned your window frames, but you still feel the need to polish and rejuvenate them, follow these steps:
- Wipe off any surface debris with a wet microfiber or sponge cloth before applying the uPVC Restorer. In case you haven’t thoroughly cleaned the frames from grease and dirt beforehand, then follow the foregoing cleaning procedure.
- Pour the uPVC Restorer onto a dampened cloth and work it into the surface. Apply to one single section at a time. Polish off with a clean and dry microfiber cloth.
- Clean off any stains left from the uPVC Restorer on the glass around the frames by using a clean wet microfiber cloth.
What to avoid when cleaning uPVC surfaces?
- Avoid using coloured synthetic cloths because you’re risking of colouring the plastic surface when applying the cleaning solution. Forget about using any caustic cleaning agents or abrasive creams, sponges and scouring pads.
- You should never use bleach because it will discolour the uPVC window frames. Even small doses will cause a chemical reaction with the glossy surface of the plastic, creating a dull matt effect that can never be undone.
- Another thing that will immediately ruin your frames are cellulose thinners because they will melt the plastic. Another product not suitable for the purpose is WD40, along with nail polish remover, methylated spirits and white spirits.
How to clean uPVC window sills
In case it’s been some time since you last cleaned your window sills and you need a more thorough technique, here is what you can do:
Window sills cleaning tools:
- Vacuum cleaner;
- Baking soda;
- A spoon;
- White vinegar;
- Toothbrush;
- Paper towels;
- Spraying bottle;
- Lukewarm water;
- Dish soap;
- 2 microfiber clothes.
How to remove stains from uPVC window sills:
- Vacuum any debris from every nook and cranny using the appropriate vacuum cleaner attachment suitable for narrow spaces.
- Sprinkle the baking soda along the window sill. Make sure to get it in all of the corners where dirt accumulates the most. Apply as much of the soda as necessary and try to cover the whole surface of the sill. Use a spoon so you can distribute it evenly.
- Gently pour the white vinegar down into the window sill. The acid in the vinegar will quickly react with the baking soda. Leave it for two minutes so that the mixture will have time to disintegrate the accumulated grime.
- Start scrubbing the sill with the toothbrush to loosen up the dirt. Don’t forget to scrub into the corners because there always are stubborn stains that need more special attention.
- Soak up all of the dirty liquid with paper towels.
- Add a spoon of dish soap into a spray bottle filled with lukewarm water. Apply the mixture along the sill to clean up the extra dirt left behind. Wipe it with a microfiber cloth and polish off with another clean cloth.
Check all of the window cleaning solutions we offer by visiting our main website.
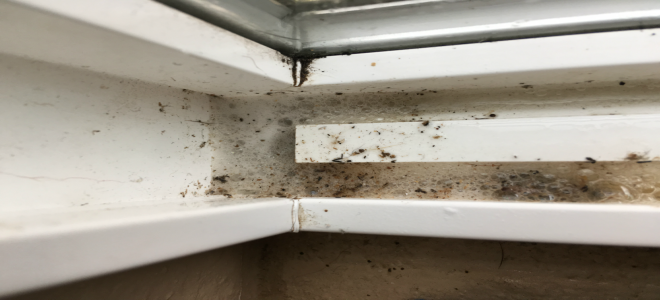
How to clean mould off your uPVC frames and sills
Mould is extremely hazardous for your health. It is a major risk for:
- Babies, children and elderly people;
- People with respiratory problems like allergies and asthma;
- Those with existing skin disorders, such as eczema;
- People with a weakened immune system, such as those having chemotherapy.
The danger is quite real as it’s enough to only inhale or touch mould spores in order to get an allergic reaction or an asthma attack. Specialists advise all people vulnerable to mould and damp exposure to stay away from such places.
One of the most common areas where we see mould build-up is on and around the windows. Many people struggle with this problem, so here are the steps on how to remove mould from your uPVC window frames and sills.
Equipment for cleaning black mould on uPVC window frames:
- Plastic dust sheet;
- Safety goggles;
- Gloves;
- Dust mask;
- Vacuum cleaner;
- Rubbing alcohol;
- Cleaning cloths;
- White vinegar;
- Baking soda.
Cleaning uPVC window frames mould in 7 simple steps:
- Cover the sills and the floor with a plastic dust sheet to catch any falling mould spores. Then open the window for better ventilation.
- Put on safety goggles, gloves and a dust mask to protect yourself from any released spores in the air.
- In case the window frames and sills are dry, remove any loose spores with a vacuum cleaner by steadily running the nozzle of the hose over the glass, the frames and the sill. When finished, sanitize the vacuum cleaner extension with rubbing alcohol.
- If the area affected by black mould is wet, wipe the frames and sills with a dampened cloth to remove the excess spores.
- Spray the frames and sills with white vinegar and leave it for at least 5 minutes.
- Sprinkle baking soda on a cleaning cloth and rub it in the areas affected by the mould. The acidity of the vinegar and the abrasiveness of the soda will kill the spores and clean them from your uPVC windows.
- Wipe the surface with a clean dry cloth.
Takeaways
Here are some final thoughts and takeaways to consider when cleaning uPVC window frames and sills:
- Avoid using strong chemical solutions and abrasive materials. The best way to wash uPVC window frames is by mixing your own homemade window cleaner using only water and white vinegar.
- Vacuum at least twice a month your window sills to prevent the accumulation of dirt and save more time when doing your seasonal window cleaning.
- Always use protective gear when cleaning mould off window frames to prevent any allergic reactions and poisoning.
- To remove mildew from uPVC windows use vinegar and baking soda instead of strong chemicals to prevent any damages to the windows.
Image source: Depositphotos/ shutterstock_evgeniy@mail.ru
If you know other methods for cleaning uPVC window frames and sills, please do share in the comment section. That way you may help others who are searching for the appropriate cleaning solution.
Enjoyed this article? Share with your friends!
How to Clean Window Frames and Runners in 4 Steps
Besides the glare of grime that has built up since your last window wash, it’s likely that the tracks of your windows and sliding glass doors have become encrusted with dirt, debris, and even mold. But don’t avoid them. Begin fresh with these easy steps to clean your window and sliding glass door frames.
Step 1 — Vacuum
If you’ve accumulated everything in your window tracks from pet hair to Christmas tree pine needles, an easy way to start the cleaning process is by vacuuming out any loose debris in the track. The slotted wand tool is handy for getting into the grooves. Don’t worry about spending too much time on this step since even the crevice tool often doesn’t do a great job of sucking the gunk out of those tight spaces.
Step 2 — Initial Clean
With the larger particles out of the way, it’s time to dig into the dirt. Use your favorite multi-purpose cleaner to spray the area. Allow a few minutes for it to work the debris loose while you vacuum out the next window frame. Then, use a cloth to wipe away the residue. This is just a quick wipe down to take off the top layer.
Step 3 — Secret Ingredient

To further release the buildup in your window frame runner, try this handy cleaning secret. First, sprinkle the area with baking soda. A light layer is all you need. Next, dribble white vinegar over the baking soda. You could also apply the vinegar using a spray bottle. You will notice the mixture begin to bubble as it deep cleans. Avoid using a large amount of soda and vinegar so that you have less to clean up. Only a small amount is needed. Allow the mixture to sit for five or more minutes. After all, the more work it does, the less you have to do. Once the bubbles die down, you are ready for the next step.
Step 4 — Final Wipe Down

Grab an old toothbrush and scrub out the corners. It’s amazing how much filth hides out where you couldn’t even see it! Finally, use a rag to once again to wipe out the runner. Because there are so many small areas that can gather dirt and debris, use a sharp tool such as a knife, pencil, or screwdriver to guide the cloth across the dirt. This helps pick up grime from all the surfaces. Just make sure that your cloth is absorbent so that you are not just pushing the muck around. Cotton swabs or Q-tips are great for getting into nooks and crannies, too. They are small and do not absorb very much though, so save them for the really detailed work. Paper towels are an absorbent and disposable choice as well.
Enjoy the Results
While cleaning windows is a typical part of seasonal cleaning, letting the light shine through might just make your gunky window frames even more obvious. Even though it only takes a few minutes, cleaning the tracks of your windows and doors has a huge impact on the general feeling of cleanliness in your room. Plus, it pushes away the dread and gives you a little boost each time you open the window to let in the fresh spring air. As a bonus, taking the time to clean your window and door tracks makes them work more efficiently, too!
How to clean windows
This is how to get your windows gleaming

Cleaning the windows can be a task people easily miss off their to-do list, as it is a somewhat arduous chore. But, if you aim to clean them a couple of times a year, you’ll be rewarded by more light being allowed into your home.
Forget the old advice about scrunched-up newspaper. In the past, papers were printed with petroleum-based oil ink, which is what gave windows their shine. Then, in the 1980s, this was switched to soy ink for environmental and cost reasons — and it doesn’t have the same effect on glass.
Whilst it may be a hated household chore, it doesn’t have to take up hours of your time. Here’s how to get your windows looking shiny and clean again in no time.
Choose your time
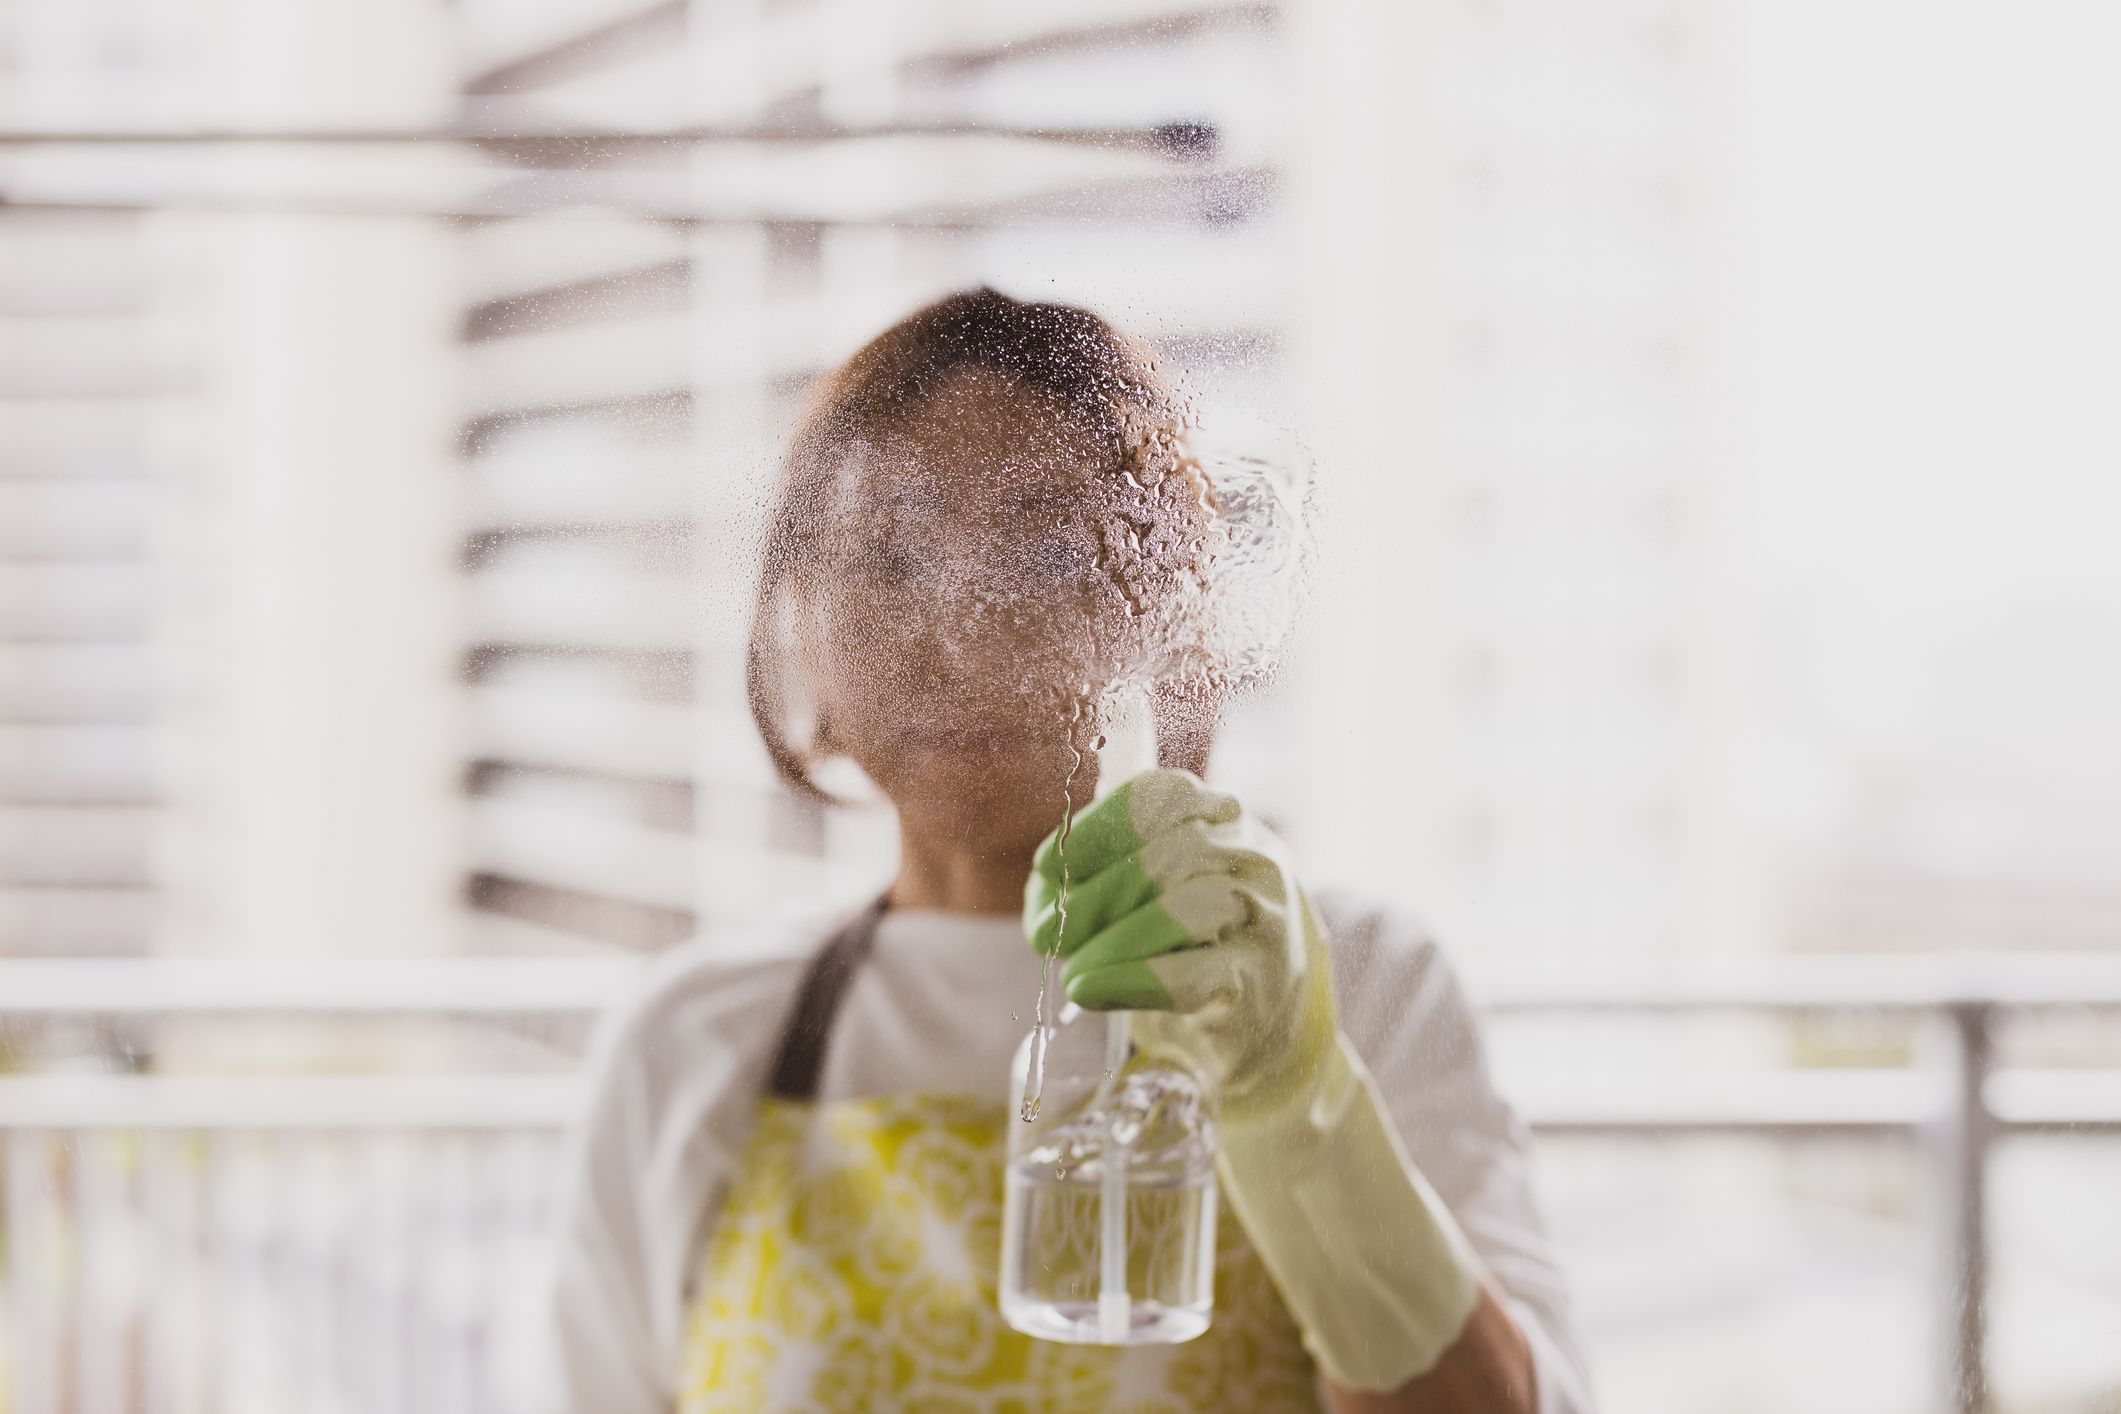
Like with a car, avoid cleaning your windows on very sunny days — the heat will make the glass dry too quickly and cause smears undoing all your hard work.
To do a proper job, take down curtains and blinds and clear windows and sills of any bits and bobs. Use a dustpan and brush or your vacuum’s upholstery tool to remove any loose debris before washing to avoid a muddy mess.
Tackle mildew on frames
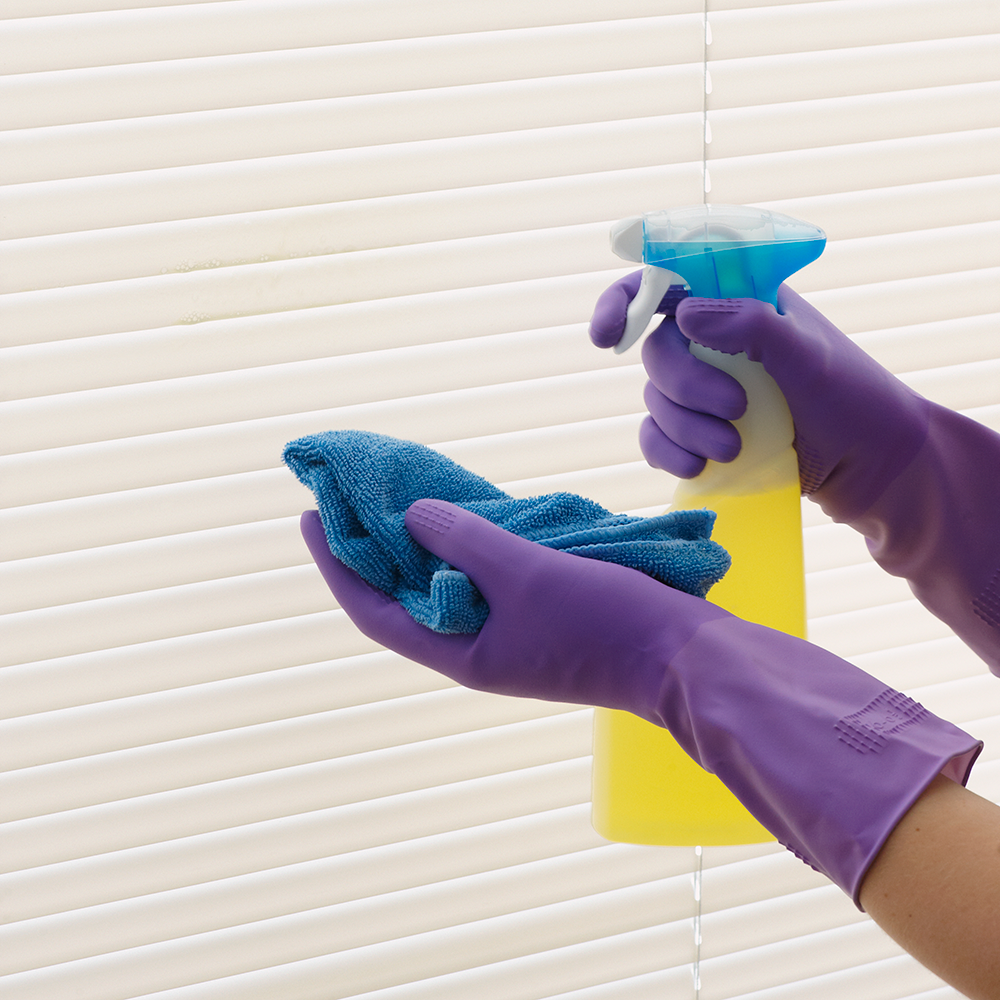
You’ll want to put on an old pair of washing-up gloves before you tackle any window frames. Then, clean off mildew with an old lint-free cloth.
Dip the cloth in a branded mould remover to give your window frames a thorough clean or a weak solution of household bleach. The GHI recommends the HG Mould Spray.

Give glass a going over
Use a branded window cleaner or create your own with a solution of one part distilled white vinegar to nine parts water into an old spray bottle. Use a lint-free cloth to wipe them down and then a chamois leather to buff them to a brilliant shine.
Vinegar is an age-old wonder and has the added benefit of being non-toxic and antibacterial, so a very handy product to have in your cupboard — and not just for your chips! You could also try adding dishwasher rinse aid to water when you wash your windows, for ensuring a streak-free finish.

Alternatively, the GHI also highly rates the e-cloth Window Pack, which is a microfibre cloth. Simply add water, no chemicals required.
If you have large areas of glass to clean, such as a conservatory or patio doors, it’s worth considering a window vacuum, to save you the energy. Once you’ve cleaned your windows, they vacuum up the remaining water in one sweep, making them far less messy than a squeegee which will result in water dripping onto your floors!

Show sills some love
Dust the internal sills regularly, taking time to get into any nooks or crannies that may need extra attention.
Check external sills regularly for rot, and replace any crumbling putty with the correct type for either timber or metal. Repaint as necessary.

Don’t neglect window screens
If you have metal window screens, write a number on each window in erasable pencil. Write a corresponding number on the screen before removing it from the window so you know which screen goes back where.
Remove the screens and dust the mesh and frame with the soft brush attachment of a vacuum cleaner. Scrub both sides of the screen with a stiff brush dipped in detergent solution (if you are doing this in the bath, line it with towels to prevent scratching the finish). Rinse using a shower attachment or the fine spray nozzle of a hosepipe. Leave to dry thoroughly in a sunny spot before refitting to the window.


