- How to Clear, Delete or Disable Windows 10 File Explorer Search History
- Clear File Explorer Search History
- Disable File Explorer Search History
- How to Clear all type of Cache in Windows 10 PC
- Delete Temporary catched files on your Windows PC
- Delete Prefetch Files from Windows PC
- Delete Unnecessary files Cache on your System
- Clean temp files through Windows 10 storage sense
- 2- Browser Cache
- 4- Clear Windows Store Cache
- Clear Your DNS Cache on Windows 10
- How to Clear All Event Logs in Windows 10
- How to Clear Event Logs
- 1. Clear Events Manually
- 2. Clear Events from Command Prompt
- 3. Clear All Events using Command Prompt
- 4. Clear All Events using PowerShell
How to Clear, Delete or Disable Windows 10 File Explorer Search History


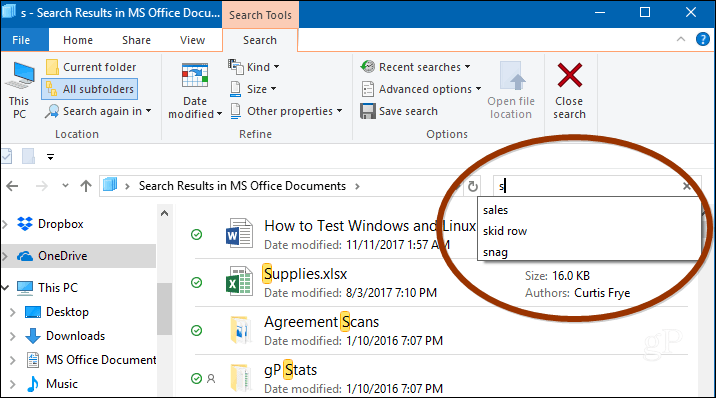
Windows will keep a history of the items you have searched over time. So, each time you type in a search query, you will see a list of recently searched items. You might want to clear this from time to time, especially if you’re on a shared PC or if you just want a fresh start. We already showed you how to turn off autocomplete in File Explorer. And for even more control over file navigation, here is a look at how to clear recent File Explorer search history or disable it altogether.
Clear File Explorer Search History
You can simply clear your recent search history by selecting the Search tab in File Explorer and going to Recent Searches > Clear search History.
![]()
Disable File Explorer Search History
If you don’t want to clear your history all the time, you can completely disable it from keeping track of your searches. In Windows 10 Pro, you can turn off search history in Group Policy, but for Windows 10 Home, you need to do a bit of tweaking in the Registry.
In Windows 10 Pro
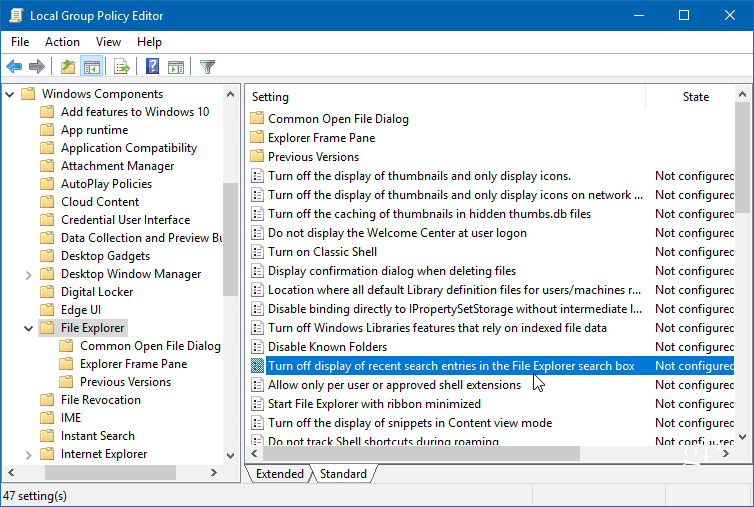
If you’re running Windows 10 Professional, you can turn it off via Group Policy. Hit the keyboard combo Windows Key + R and type: gpedit.msc in the Run dialog and hit Enter or click OK.

Then navigate to the following path:
Double-click on “Turn off display of recent search entries in the File Explorer search box” policy in the right pane and set it to Enabled, click OK, and close out of Group Policy Editor.
In Windows 10 Home
Hit Windows Key + R and type: regedit in the Run line and hit Enter or click OK.

Then head to the following location:
Right-click in the right pane and create a new DWORD (32-bit) Value and name it DisableSearchBoxSuggestions and give it a value of 1.
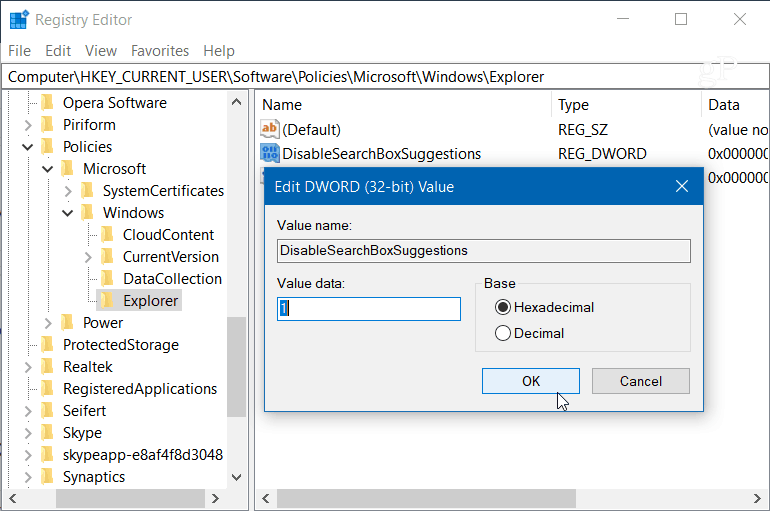
After you’re done, close out of the Registry and you will need to log off or restart your system before you will see the change. You will no longer see the history of past searches in File Explorer. If you want to enable it later, just go back and change the value of DisableSearchBoxSuggestions to 0.
What are some of the ways you tweak File Explorer in Windows 10? Leave a comment below or join our Windows 10 Forums for more discussion and troubleshooting help.
How to Clear all type of Cache in Windows 10 PC
February 1, 2021 By Admin
How to Clear all kinds of Windows cache. This article shows you steps to clear all type of cache present in Windows 10 Computer. Microsoft’s new installment in its long running Windows Operating System ,is the new windows 10.The new Operating System is a huge improvement compared to its predecessors.
Windows 10, stores significant amounts of cache to make the system faster and more responsive compared to previous versions, this indeed is very efficient if you have tons of Free storage and free ram to work with, or a high performance cpu. Unless you have a considerable amount of free memory, you will eventually run into problems that will slow down your Pc , cause it to lag and maybe even hang if you load it with lot of tasks.
Fear not, I will now show you, how to clear the 4 types of cache in Windows 10
Delete Temporary catched files on your Windows PC
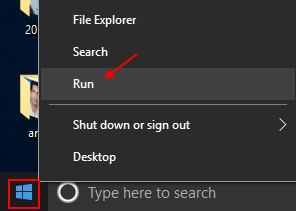
Step 1 – Right Click on Windows icon on bottom left of your PC screen.
Step 2 -Now, click on run .
Note: – Alternatively you can also press windows key + R together to bring RUN command box.
Step 3 – Now, write %temp% in it and hit enter.
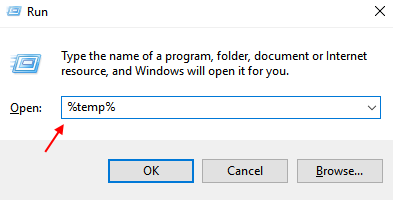
Step 4 – Now, delete all the files in the folder.
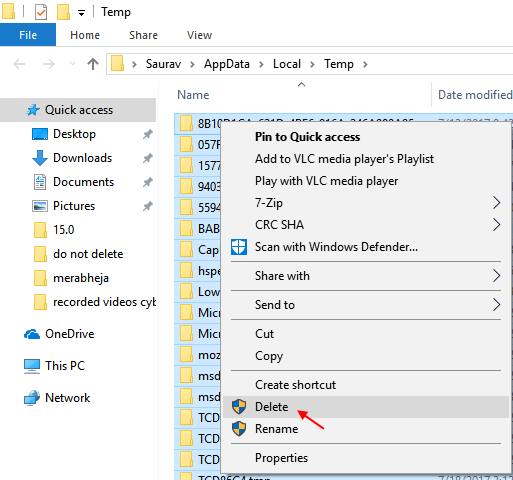
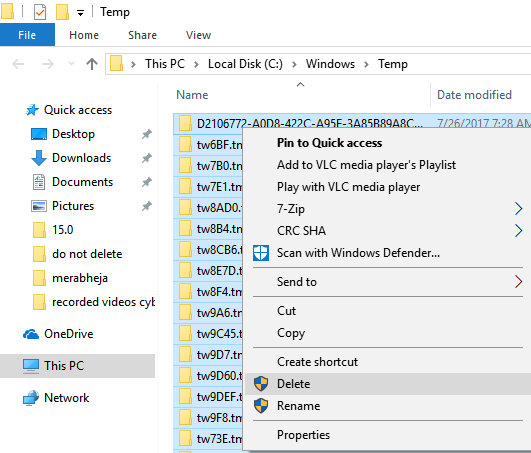
Step 4 – Now, again Open run command box and write temp in it and hit enter.
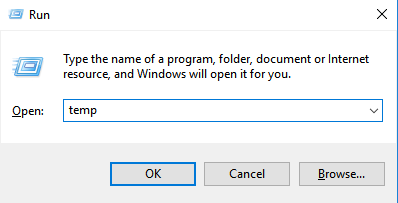
Step 5 – Now, delete all files in the folder.
Step 6 – Now, again right click on windows key and click on run .
Step 7 – Now, type temp in run command box and hit enter.
Step 8 – Now, delete all the files in this temp folder also.
Delete Prefetch Files from Windows PC
Step 1 – Right click on windows icon on bottom left and click on run from the menu
Step 2 – Now, type prefetch in the text field and hit enter.
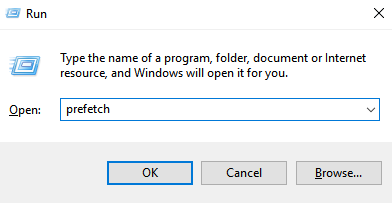
Step 3 – Now, delete all the files in this folder also.
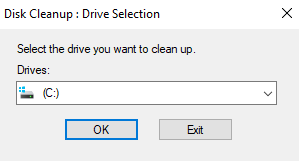
Delete Unnecessary files Cache on your System
This is the cache stored by your local and downloaded applications for a prompt and speedy response. Over time the cache data can be replaced by new one without getting rid of the older ones, by apps not configured to do so. You may thus eventually in some time ahead have to clean your cache manually.
To do so, simply..
a) Click on Start .
b) Search for Cleanmgr

c) Cleanmanager is used to clean unnecessary files in drive.
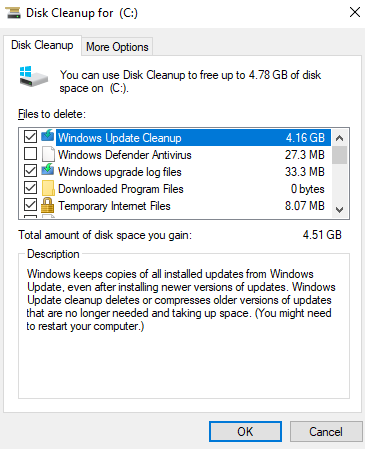
d) Manually Select the various hard drives you have installed eg: C:, D: etc. ONE by ONE and click Ok.
![]()
e) Select the various file types you want to clean up in the next window. Select all if you want to flush them all.
f) Now click on Clean Up System Files at the bottom of the window.
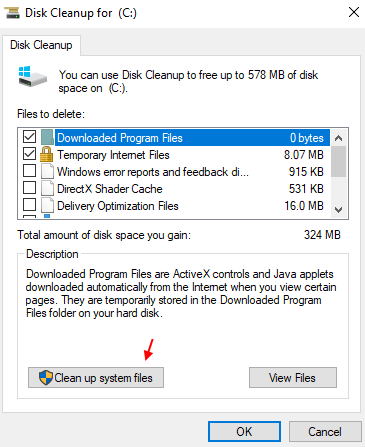
g) Click on Ok again.
h) Wait for few seconds .
Now, select all the cached items which you want to delete from your PC.
You have now cleared your cache.
Clean temp files through Windows 10 storage sense
Step 1 – Open settings by clicking on windows start button in the taskbar and then clicking on Gear icon.
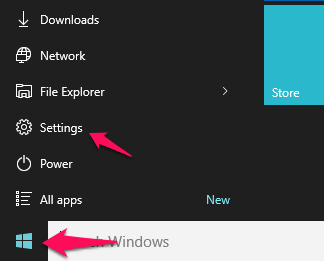
Step 2 – Now, click on system.

Step 3 – Now, click on storage from the left menu.
Step 4 – After that, click on Configure storage sense or run it now from the right.
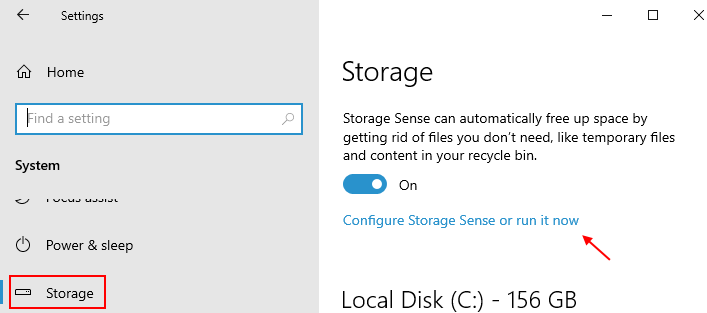
Step 5 – Now, click on Clean now .
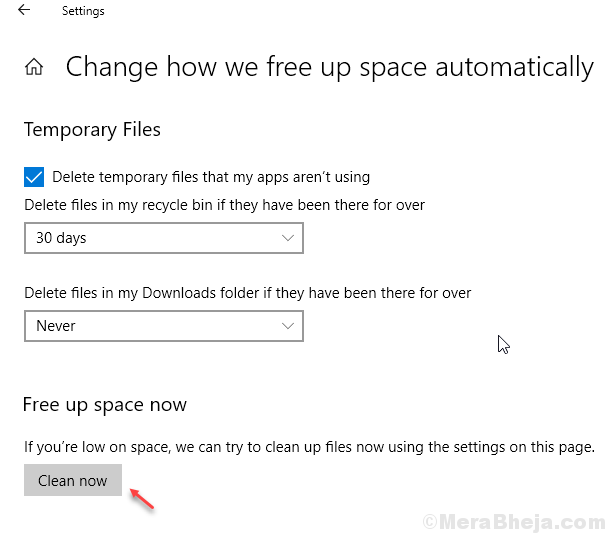
wait for some time and the system will clean the temp unused files from your PC.
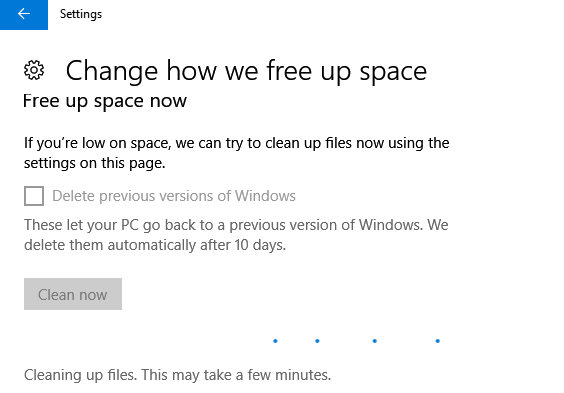
After few seconds, it will show you how much space has been saved on your system
2- Browser Cache
a) Click on three dots at top right of the edge browser window.
b) Click on settings
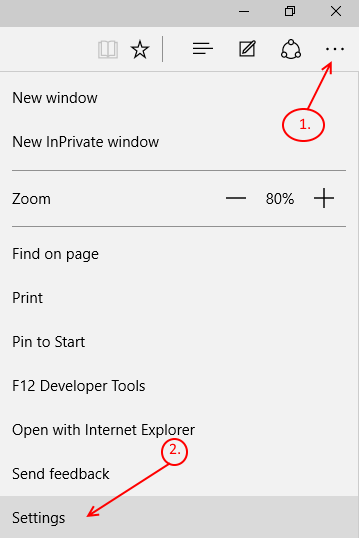
c) Now, click on choose what to clea r .
![]()
d) Now, choose what all you have to clear. for clearing all, just select all and click clear .
![]()
Clear Internet Explorer cache
a) Open the file explorer.
b) In the menu bar, Click on View and select Options.
c) In the next window open the General tab.
d) Under the sub-heading Privacy , click on Clear .
e) Click on Ok .
You have now cleared File Explorer History.
4- Clear Windows Store Cache
Windows store because of being in its beta stages, is bound to store a lot of data as its cache, and is the likely culprit for your system’s performance issues. Windows cache can be deleted using the following method.
a) Press the Windows key + R to open the run command window.
b) Type WSReset.exe and press Enter.
![]()
This will clear the store cache.
You can also clear your Location Data stored locally by following the steps listed below-
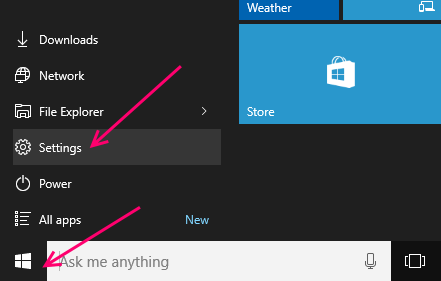
a) Click on Start key at bottom left end of your computer window.
b) Select and open Settings .
c) Click on Privacy .
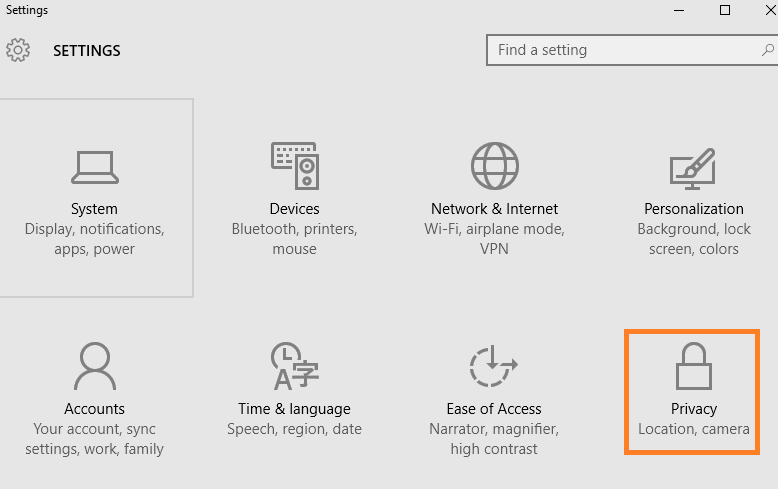
d) In the left tab, find and click on Location .
e) Now on the right side hit clear to clear the location data.
![]()
This will clear your location history .
Clear Your DNS Cache on Windows 10
Tip: You can flush your DNS if you find problems with your browsing experience.
To do so, follow these steps.
a) Go to search box in windows 10 taskbar.
b) Search for Command Promp t or CMD and open it.
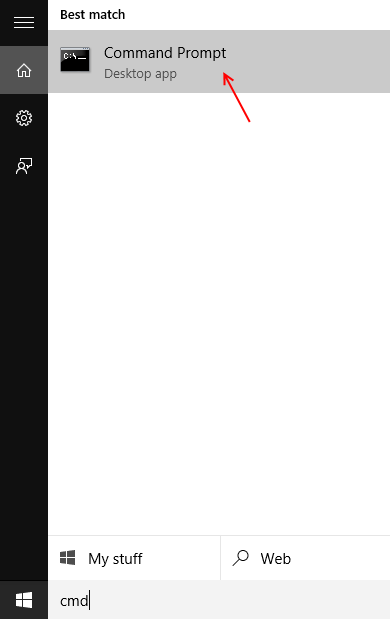
c) When the Command Prompt window opens, type-
ipconfig/flushDNS
![]()
This will clear your DNS cache 🙂

Saurav is associated with IT industry and computers for more than a decade and is writing on The Geek Page on topics revolving on windows 10 and softwares.
How to Clear All Event Logs in Windows 10
August 13, 2018 By Ansh R
Event Logs are exactly what its name says. It keeps records of everything that takes place on the computer. When you or any other user had logged in on your computer, when an app was opened or when an error or app crash occurred, every event is recorded in the Event Logs.
Event Logs can be easily accessed using Event Viewer. So, if some error or any issue has happened on your computer, you can easily check its details from the Event Viewer. This helps a lot while troubleshooting any problems that have occurred on the computer.
Many people may want to clear an event or all events from the Event Logs. It can be done pretty easily. There are a number of ways to clear an event and all events from the Event Logs. If you are also looking for a way to do that, simply follow the methods mentioned below.
How to Clear Event Logs
Clearing the events from Event Logs is very easy. Perform the methods to do so.
Note: To access and delete Event Logs, you have to be logged in as administrator on the computer. If you are not logged in as the administrator, you will not be able to perform these methods. So, before following the methods, make sure you are logged in as administrator.
1. Clear Events Manually
In the first method, we will show you how to clear events from Event Logs manually. Here, we will delete the records of events right from the Event Viewer. Follow the steps to perform this method.
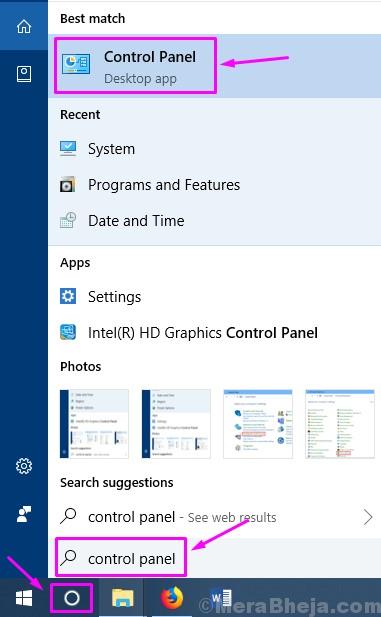
Step 1. Open Control Panel. To do this, go to Cortana and type Control Panel in the search area. Select Control Panel from search results.
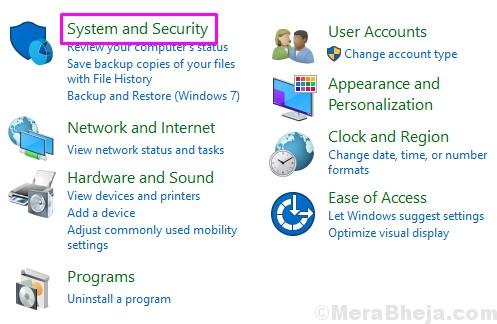
Step 2. Now in the Control Panel, click on System and Security.
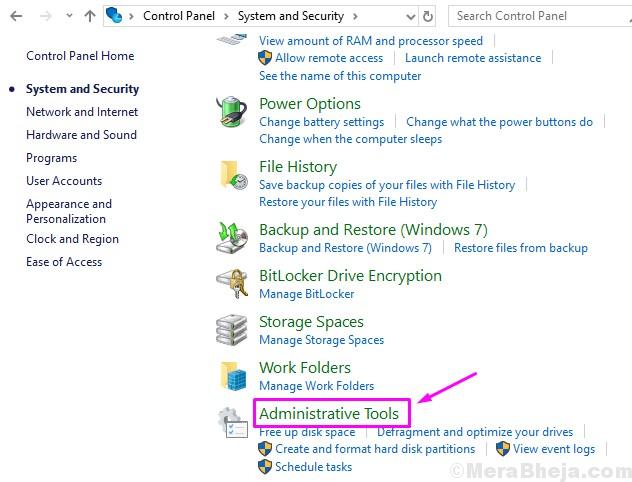
Step 3. Here, look for Administrative Tools and open it.
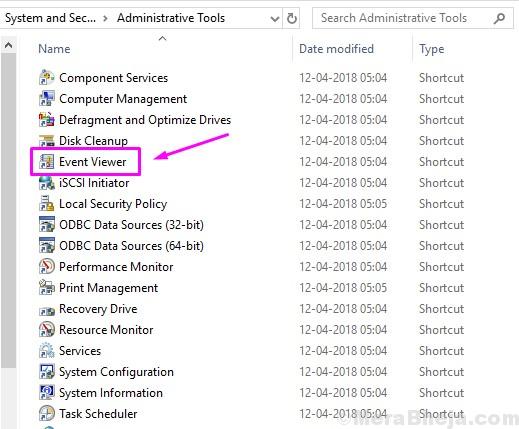
Step 4. The last page will open an explorer window full of Administrative Tools. Now, locate Event Viewer and double-click on it to open it.
Step 5. In the Event Viewer window, you will see the different set of events. If you want to delete an event, simply expand the event sets to find the particular event and then right-click on the event. Now select Clear log. When you are done, close the Event Viewer.
![]()
If you want to delete more events, simply perform the last step as many times as you want.
2. Clear Events from Command Prompt
In this method, we will show you how to clear events from Command Prompt. Here, you will be able to clear an event one by one. Follow the steps to perform this method.
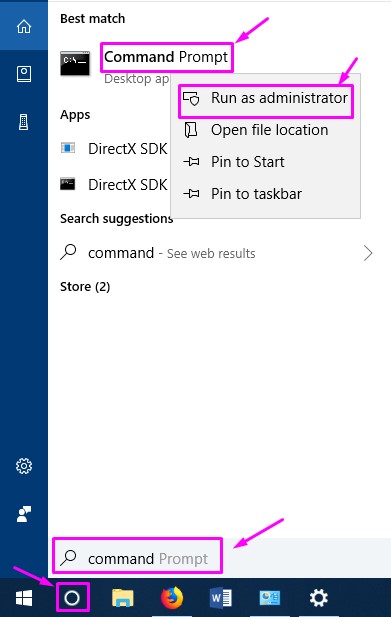
Step 1. Open Command Prompt as Administrator. To do this, go to Cortana and type Command Prompt in the search area. Now, right-click on Command Prompt from search results and select Run as administrator.
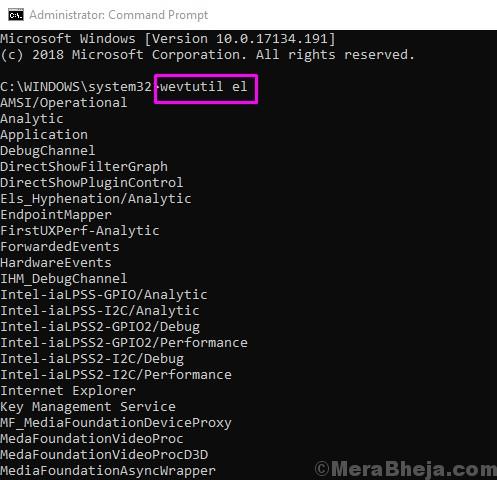
Step 2. Now, in the Command Prompt window, type the following command and press Enter.
wevtutil el
Step 3. After the last step, a list of events will show up on the Command Prompt window. Here, look for the ones you want to delete.
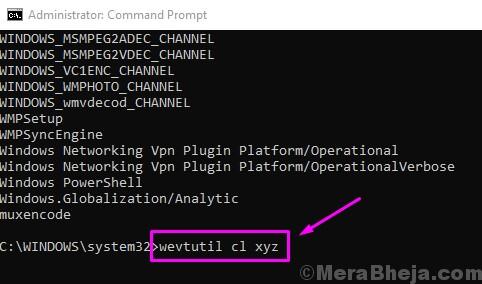
Step 4. After the selecting an event you want to delete, type the following command and press Enter to delete the event.
wevtutil cl xyz
Here “xyz” is the name of the event you want to delete. Simply replace “xyz” with the event name you wish to clear from Event Logs.
That’s it. The event you wanted to delete, is no more mentioned in the Event Logs. To clear more events, simply repeat the last step with that event name in the command.
3. Clear All Events using Command Prompt
Clearing all the events using the Command Prompt is easy as well. In this method, we will use a .cmd file. Everything is explained below in the steps. Follow the steps to perform this method.
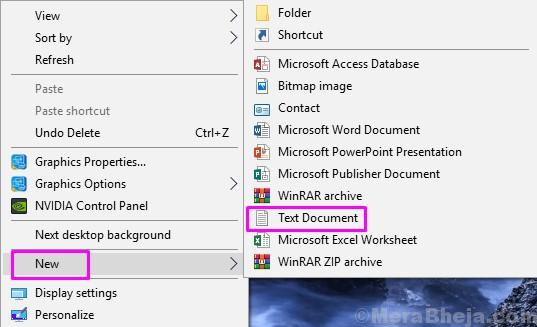
Step 1. First, we will have to create a .cmd file with some commands. To do this, go to your desktop and right-click on empty space. Here, go to New and then select Text document from the list of options that opens.
Step 2. Now, go back to Desktop and double-click on New text document to open the text document file you have just created.
Step 3. In the text document, copy and paste the following text.
@echo off
FOR /F “tokens=1,2*” %%V IN (‘bcdedit’) DO SET adminTest=%%V
IF (%adminTest%)==(Access) goto noAdmin
for /F “tokens=*” %%G in (‘wevtutil.exe el’) DO (call :do_clear “%%G”)
echo.
echo Event Logs have been cleared!
goto theEnd
:do_clear
echo clearing %1
wevtutil.exe cl %1
goto :eof
:noAdmin
echo You must run this script as an Administrator!
echo.
:theEnd
Step 4. Now, from the top left side of the window, open the File drop-down menu and select Save as….
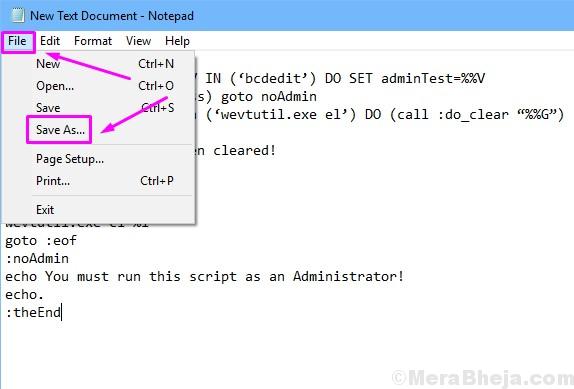
Step 5. In the File name section, type ClearLog.cmd and click on Save. This will save the file with .cmd extension and with file name as ClearLog.
![]()
Step 6. Look for the file ClearLog fileon your desktop. You have to open it as administrator. To do that, right-click on it and select Run as administrator.
![]()
Now, you don’t have to anything. The Command Prompt window will open and it will clear all the events from Event Logs automatically.
4. Clear All Events using PowerShell
Windows PowerShell is another powerfull tool to execute commands. In this method, we will delete all the events using Windows PowerShell. Follow the steps to perform this method.
Step 1. Open Windows PowerShell as Administrator. To do this, go to Cortana and type powershell in the search area. Now, right-click on Windows PowerShell from search results and select Run as administrator..

Step 2. Now in the Windows PowerShell window, enter any one of the following commands and press Enter.
wevtutil el | Foreach-Object
OR
Get-EventLog -LogName * | ForEach
Step 3. The command will now clear all the events from Event Logs. Now simply type Exit and press Enter to close Windows PowerShell.
We hope we were able to help you clear events from Event Logs. If you have any questions, or if had any problem performing any of the methods, please mention them below in comments.


