- Как отформатировать USB-накопители и SD-карту в Linux
- How to Format USB Drives and SD Cards on Linux
- В этом руководстве мы покажем вам, как отформатировать USB-накопитель или SD-карту в Linux с помощью parted утилиты.
- Установка parted
- Установить parted на Ubuntu и Debian
- Установить parted на CentOS и Fedora
- Определение имени USB или SD-карты
- Безопасное стирание данных (необязательно)
- Создание раздела и форматирование
- Форматировать с помощью FAT32
- Формат с EXT4
- Вывод
- Форматирование флешки в Linux
- Форматируем флешку в Linux
- Способ 1: Gparted
- Способ 2: Управление дисками (Только для Gnome)
- How to Format a Bootable USB to Normal
- Content
- 1. Looking for the problem
- Check the partitions of your USB drive
- What is the problem?
- Find the name of the device in Disks
- Find the name of the device in the Terminal
- 2. Format a bootable USB to normal
- Wipe the filesystem from your flash drive
- Create the new partition using the command line
- Format the USB drive with FAT
- Create the partition using a graphical tool
- 3. Testing the USB flash device
- One more solution to format a bootable USB to normal
- CONCLUSION
Как отформатировать USB-накопители и SD-карту в Linux
How to Format USB Drives and SD Cards on Linux
В этом руководстве мы покажем вам, как отформатировать USB-накопитель или SD-карту в Linux с помощью parted утилиты.
Прежде чем вы сможете использовать SD-карту или USB-накопитель, его необходимо отформатировать и разбить на разделы. Как правило, большинство USB-накопителей и SD-карт предварительно отформатированы с использованием файловой системы FAT и их не нужно форматировать «из коробки». Однако в некоторых случаях вам может потребоваться отформатировать диск.
В Linux вы можете использовать графический инструмент, такой как GParted, или инструменты командной строки, такие как fdisk или, parted чтобы отформатировать диск и создать необходимые разделы.
Важно отметить, что форматирование — это разрушительный процесс, и он удалит все существующие данные. Если у вас есть данные на диске UDS или на SD-карте, обязательно сделайте резервную копию.
Установка parted
GNU Parted — это инструмент для создания и управления таблицами разделов. Пакет parted предустановлен в большинстве дистрибутивов Linux. Вы можете проверить, установлен ли он в вашей системе, набрав:
Если parted он не установлен в вашей системе, вы можете установить его с помощью менеджера пакетов вашего дистрибутива.
Установить parted на Ubuntu и Debian
Установить parted на CentOS и Fedora
Определение имени USB или SD-карты
Вставьте флэш-накопитель USB или SD-карту в компьютер с Linux и найдите имя устройства с помощью lsblk команды:
Команда выведет список всех доступных блочных устройств:
В приведенном выше примере имя устройства SD есть /dev/sdb , но оно может различаться в вашей системе.
Вы также можете использовать dmesg команду, чтобы найти имя устройства:
После того, как вы подключите устройство, dmesg отобразится имя устройства:
Безопасное стирание данных (необязательно)
Перед форматированием диска вы можете безопасно стереть с него все данные, перезаписав весь диск случайными данными. Это гарантирует, что данные не могут быть восстановлены никаким инструментом восстановления данных.
Вы должны полностью стереть данные, только если устройство будет отдано. В противном случае вы можете пропустить этот шаг.
Будьте очень осторожны перед выполнением следующей команды и безвозвратно сотрите данные с диска. of=. Часть dd команды должна указывать на целевой диск.
В зависимости от размера диска процесс может занять некоторое время.
Как только диск будет удален, dd команда выведет «Нет свободного места на устройстве»:
Создание раздела и форматирование
Наиболее распространенными файловыми системами являются exFAT и NTFS в Windows, EXT4 в Linux и FAT32, которые можно использовать во всех операционных системах.
Мы покажем вам, как отформатировать USB-накопитель или SD-карту в FAT32 или EXT4. Используйте EXT4, если вы собираетесь использовать диск только в системах Linux, в противном случае отформатируйте его в FAT32. Для большинства случаев достаточно одного раздела.
Форматировать с помощью FAT32
Сначала создайте таблицу разделов, выполнив следующую команду:
Создайте раздел Fat32, который занимает все пространство:
Отформатируйте загрузочный раздел в FAT32:
После этого используйте команду ниже, чтобы распечатать таблицу разделов и убедиться, что все настроено правильно:
Вывод должен выглядеть примерно так:
Это все! Вы отформатировали свое устройство.
Формат с EXT4
Создайте таблицу разделов GPT, выполнив:
Выполните следующую команду, чтобы создать раздел EXT4, который занимает все пространство:
Отформатируйте раздел в ext4:
Проверьте это, распечатав таблицу разделов:
Вывод должен выглядеть примерно так:
Вывод
Форматирование USB-накопителя или SD-карты в Linux — довольно простой процесс. Все, что вам нужно сделать, это вставить диск, создать таблицу разделов и отформатировать ее в FAT32 или предпочитаемой файловой системе.
Источник
Форматирование флешки в Linux
Большинство пользователей активно задействуют съемные накопители, поэтому логично, что иногда возникает надобность форматировать их. Такая задача считается достаточно простой и может быть выполнена разными методами, однако у неопытных юзеров операционных систем, основанных на базе ядра Linux, иногда возникают трудности. Сегодня мы бы хотели показать, как осуществляется процедура форматирования флешки разными методами. Приведенные ниже инструкции универсальны и подойдут для каждого дистрибутива.
Форматируем флешку в Linux
Существует большое количество дополнительных программ и утилит для управления накопителями, но разбирать их все просто не имеет смысла, ведь уже давно одни из них стали фаворитами, значительно превосходя конкурентов. Поэтому давайте остановимся на двух простых способах, а для начала упомянем стандартное средство. Оно используется редко, поскольку по своей функциональности уступает другим методам, но определенной категории пользователей такой вариант может пригодиться.
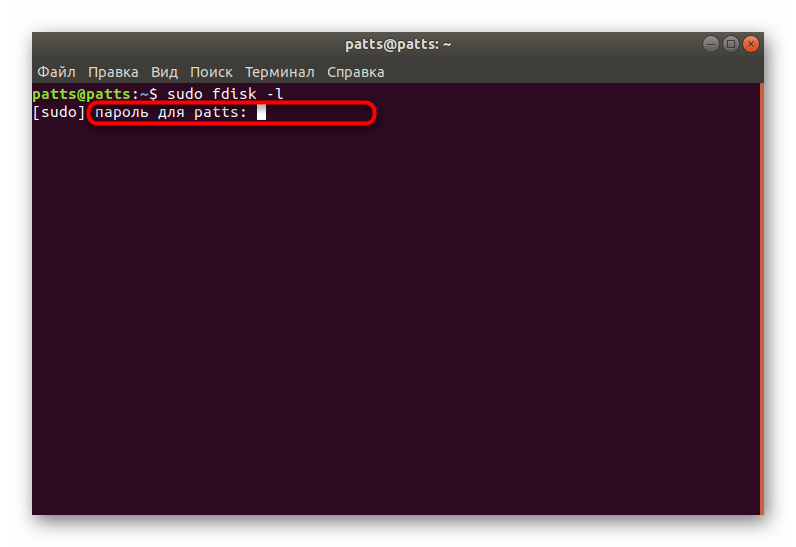
- Запустите консоль и введите там sudo fdisk -l . Такая команда поможет определить название флешки, чтобы выполнить ее форматирование.

Ознакомьтесь со списком накопителей. Найти необходимый пункт можно по его размеру.

Смонтированный флеш-накопитель форматировать не получится, для начала размонтируйте его командой sudo umount /dev/sdb1 , где /dev/sdb1 — название флешки.


Как видите, утилита mksf подходит для форматирования, но осуществлять эту задачу через нее не очень удобно. Если вам такой метод не подходит или кажется сложным, советуем обратиться к следующим инструкциям.
Способ 1: Gparted
Дополнительное программное обеспечение под названием Gparted считается одним из лучших для работы с разделами жестких дисков или флешек. Доступен этот инструмент во всех дистрибутивах, но сначала его нужно установить.
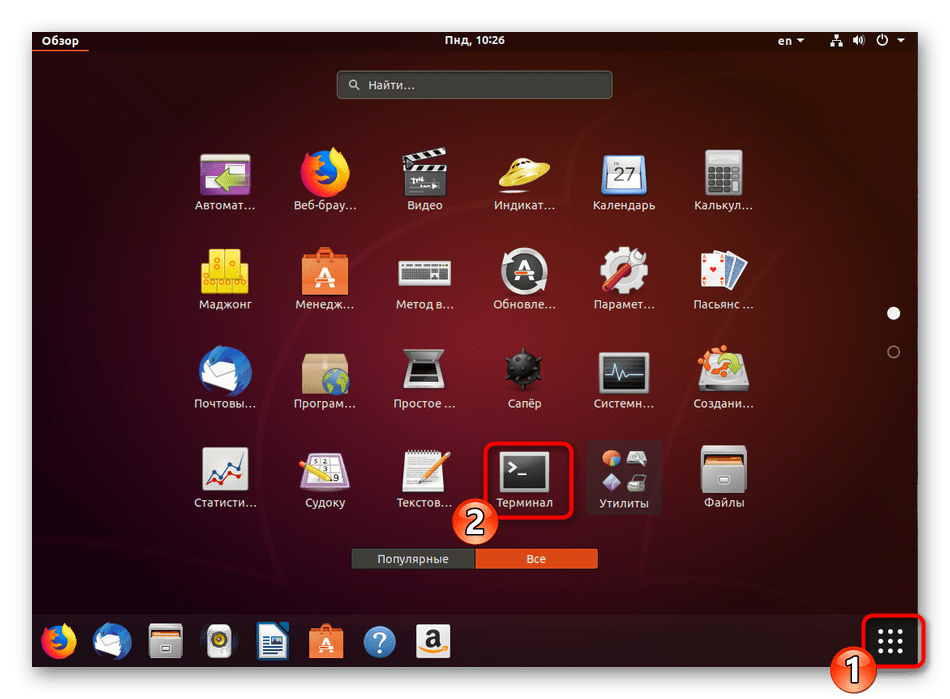
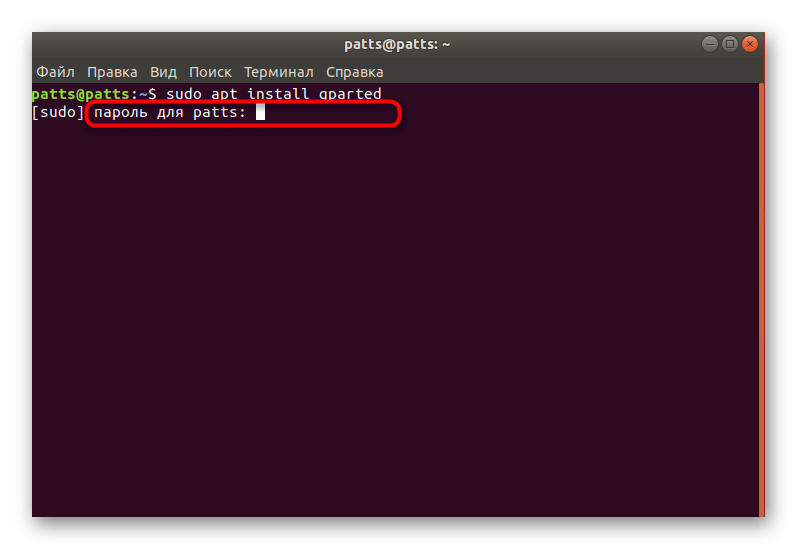
- Запустите «Терминал», например, через меню или зажав горячую клавишу Ctrl + Alt + T.
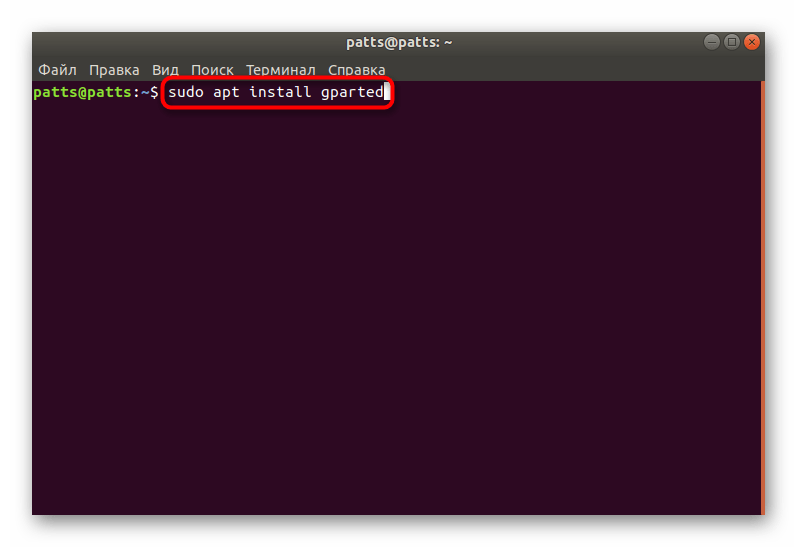
Выполнение инсталляции будет запущено только после подтверждения подлинности суперпользователя. При вводе пароля символы в строке не отображаются.
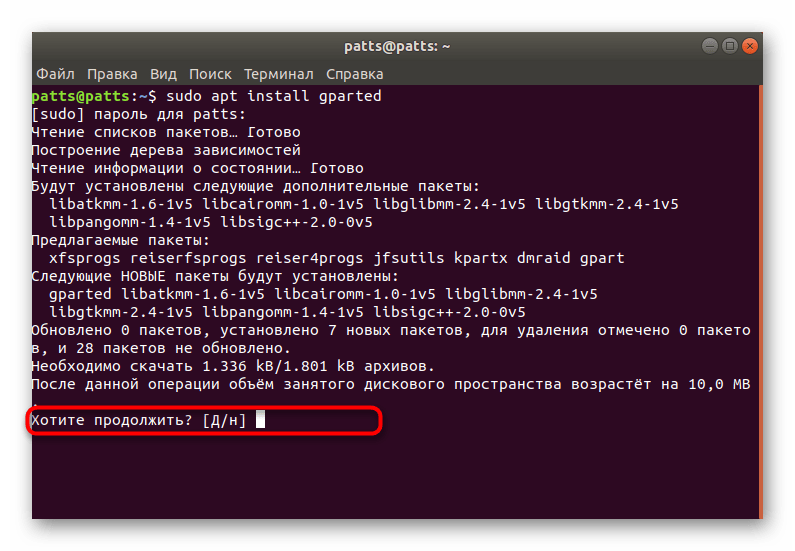
Подтвердите добавление новых пакетов, нажав Д.
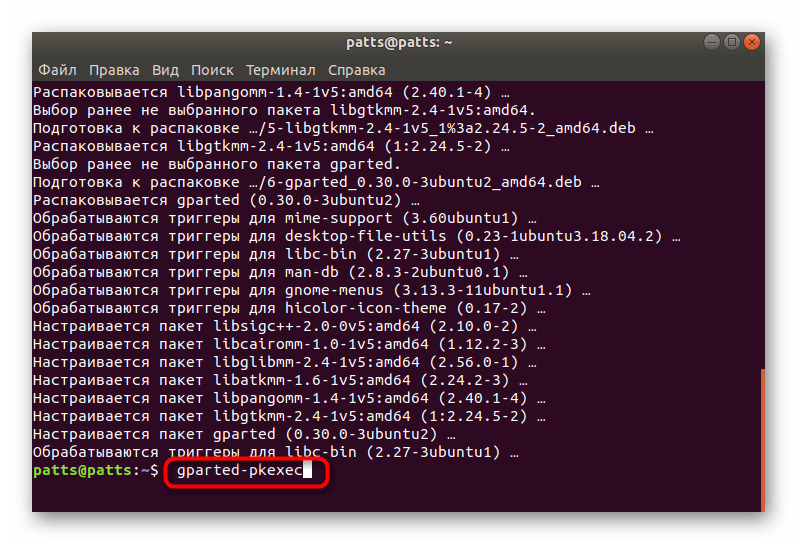
Запустите инструмент через меню или вписав команду gparted-pkexec .
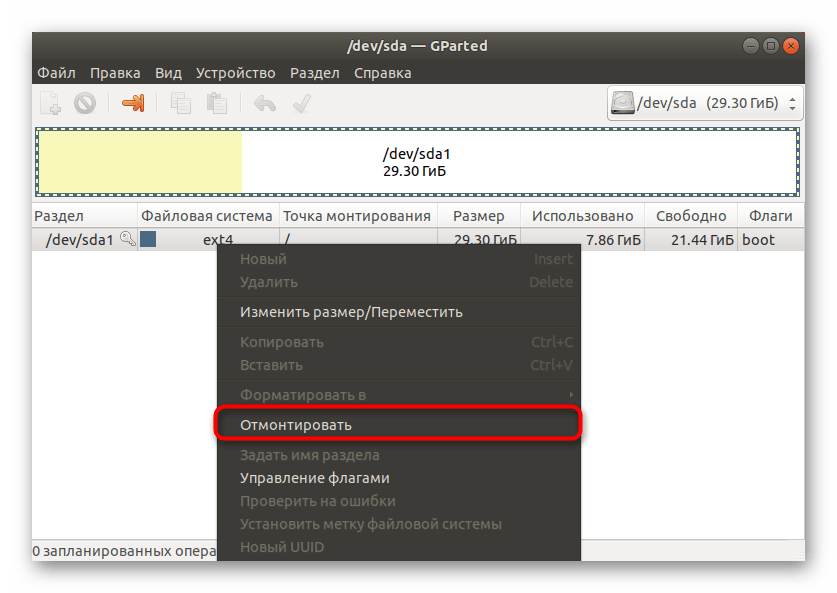
В графическом интерфейсе инструмента для начала осуществляется переключение между накопителями. Выберите подходящий вариант из всплывающего меню.

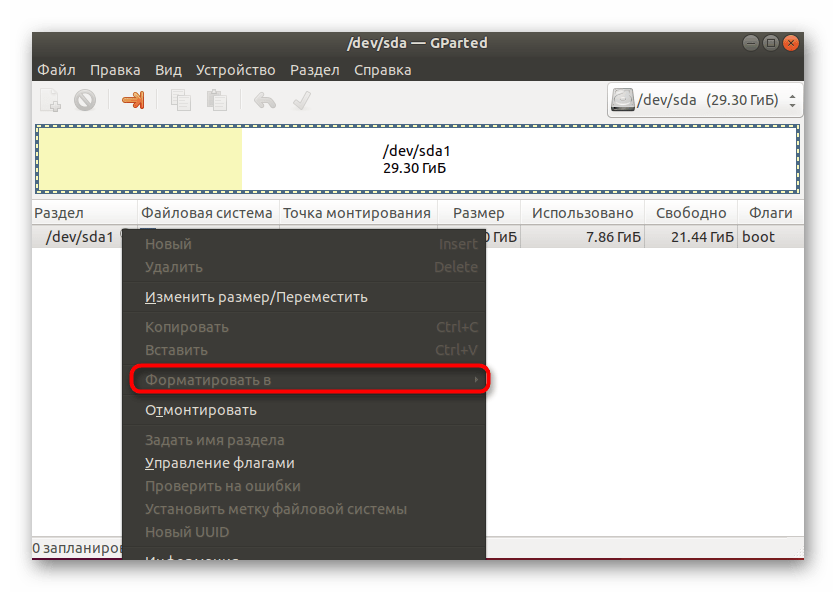
Другие действия с флешкой станут доступны только после ее размонтирования. Поэтому щелкните по ней ПКМ и выберите пункт «Отмонтировать».
Осталось только щелкнуть на пункте «Форматировать в» и выбрать подходящую файловую систему.
После завершения форматирования флешки она станет не только полностью свободна, но и приобретет указанный ранее формат файловой системы, что будет полезно при дальнейшей работе с ней. Единственный недостаток этого варианта заключается в том, что программа Gparted не входит в стандартный набор обеспечения, а для ее установки потребуется активное подключение к интернету.
Способ 2: Управление дисками (Только для Gnome)
Одной из самых популярных графических оболочек считается Gnome. В ней присутствует множество самых разнообразных инструментов, позволяющих совершать управление системой. Доступен и инструмент по взаимодействию с подключенными накопителями. К сожалению, такой способ подойдет только тем, у кого установлена Gnome, этим юзерам следует выполнить такие действия:
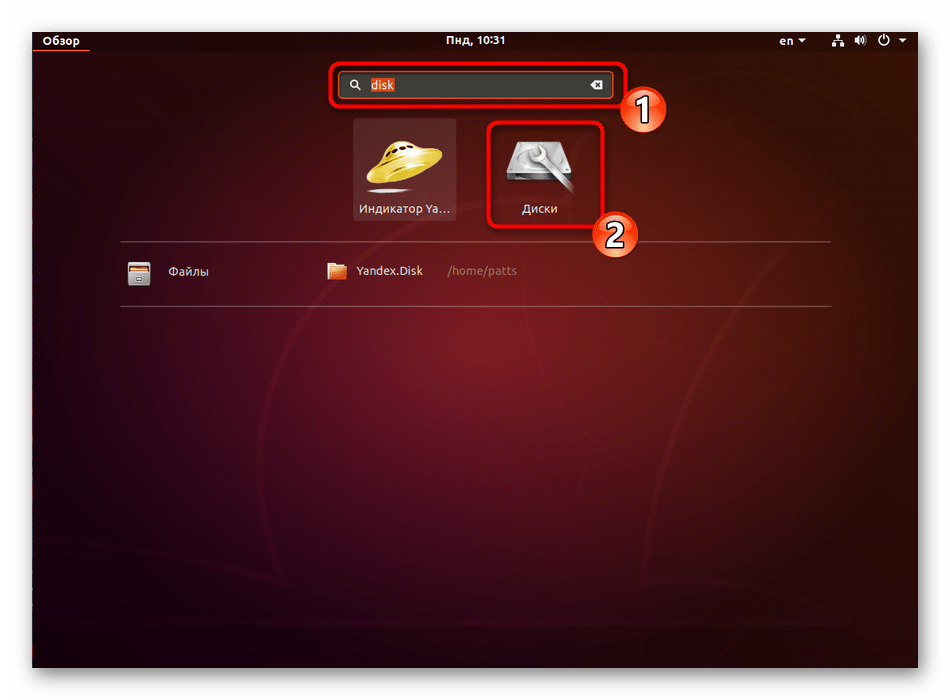
- Откройте меню и через поиск найдите инструмент «Диски» или «Disk Utility». Запустите программу двойным щелчком ЛКМ по ее значку.
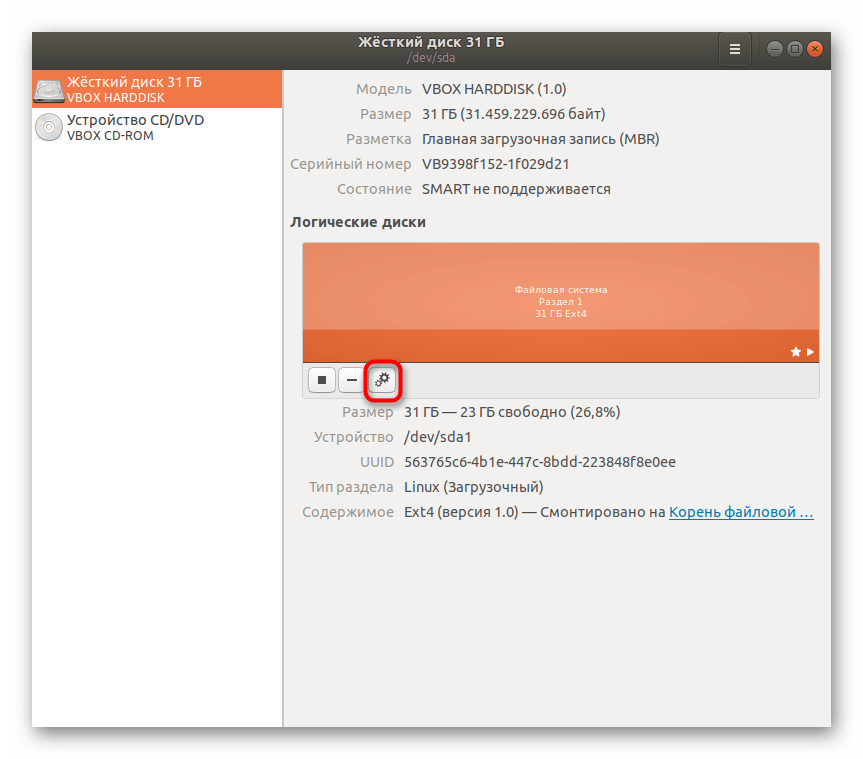
В меню слева выберите необходимое устройство и нажмите на кнопку в виде шестеренок.
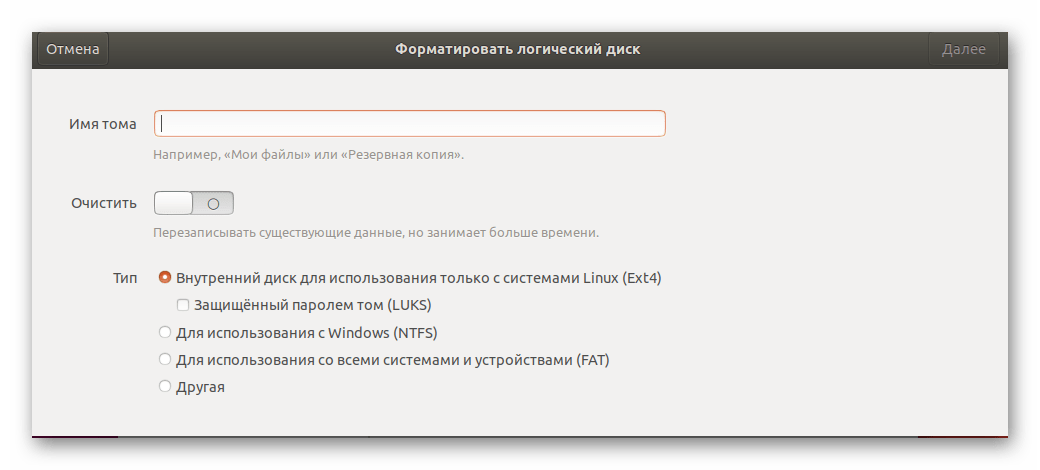
Кликните на пункте «Форматировать раздел».
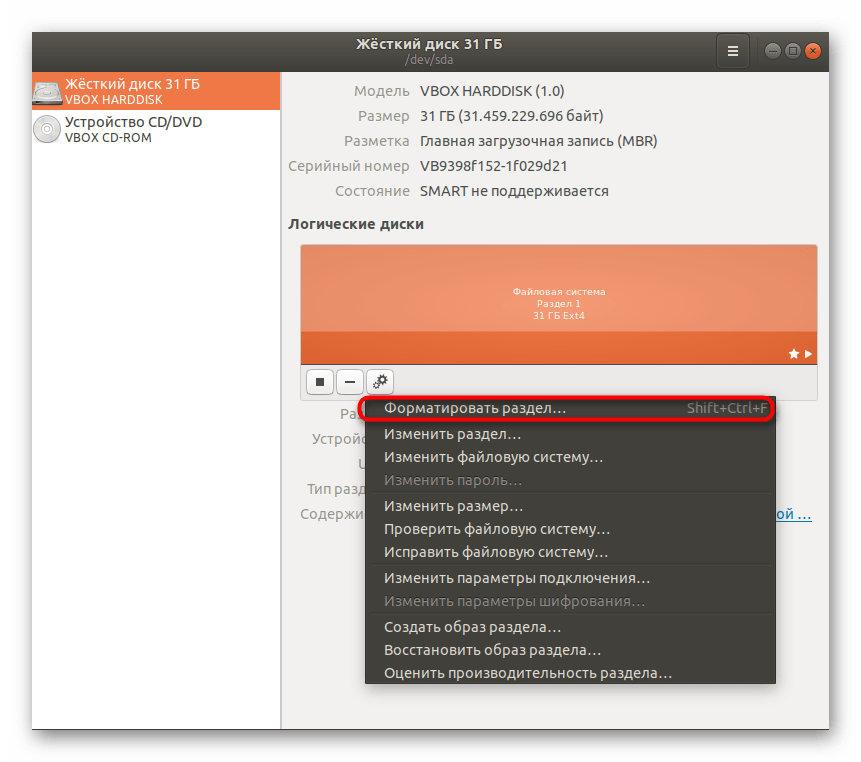
Осталось только выбрать файловую систему, задать дополнительные параметры и запустить процедуру очистки.
Как видите, все приведенные выше методы имеют отличия и будут максимально полезны в определенных ситуациях. Перед выполнением форматирования настоятельно рекомендуем проверять содержимое флешки, чтобы случайно не удалить нужную информацию.Это обусловлено тем, что не всегда восстановление удаленных файлов дает положительный результат, из-за чего данные можно потерять навсегда.
Помимо этой статьи, на сайте еще 12315 инструкций.
Добавьте сайт Lumpics.ru в закладки (CTRL+D) и мы точно еще пригодимся вам.
Отблагодарите автора, поделитесь статьей в социальных сетях.
Источник
How to Format a Bootable USB to Normal
You have finally installed your Linux from a bootable USB flash drive. But there is an unexpected problem. Something happened to your flash drive. The flash drive just misbehaves and you do not know what to do. Do not get upset. This post will help you to format a bootable USB drive to normal. You can also use this method to recover any other USB flash drive which stopped working or does not work correctly
Content
After installing Linux from a bootable USB, the USB drive is likely not to work correctly. For example, you copied some files there and they disappear or you can connect your flash drive to Linux but it does not work on Windows. This is due to incorrect partitioning when a bootable flag is added to a USB flash drive. However, it is easy to fix.
So, let us fix that problem.
1. Looking for the problem
Check the partitions of your USB drive
To show you where the problem is, I will open GNOME Disk Utility. You can use any other partition manager. For example, you can use KDE partition manager, Gparted or some of the command line utilities.
So, in Linux Mint and Ubuntu, GNOME Disk Utility is simply called Disks. Open it.
In the left panel, you can see all the hard drives.
My flash drive is a 16 Gb Samsung flash drive, which I have just used as a bootable USB flash drive to install Ubuntu or another Linux distribution.
What is the problem?
You can see that there is an Ubuntu image written to a drive. This is where the problem. Because this is a flash drive, normally it should have just one partition but when you write an ISO image to a flash drive it creates several partitions which are defined in the ISO image.
For example, in the case of Ubuntu, there are two partitions, and some free space left. This is not a normal configuration of a flash drive. That is why it is not recognized by many systems or it is recognized incorrectly.
This happens because it is a bootable USB flash drive it has a bootable flag. So, many systems will just see this flash drive as the drive with a bootable system not just as the flash drive to store information.
Do not worry it can be fixed very easily, you just need to run one simple command in the terminal and format your bootable USB to normal. But before you start doing that I would like to remind you that in Linux every hard drive has a specific name assigned to it.
Find the name of the device in Disks
You can find it in the Disks program.
So, my flash drive has the name sbd .
Depending on how many drives you have in your system, your flash drive name can differ. The name can also change depending on the order you connect your drives. So, it is very important to check your USB flash drive name every time you are about to do anything with its file system.
Find the name of the device in the Terminal
You can also check it this name in the command line too. Just need to run this command:
You will see all the partitions of your system as output of this command. So, you need to find your flash drive based on its size. For example, I know that my flash drive is 15 Gbs so it has the name sdb .
2. Format a bootable USB to normal
Now that the problems have been identified, it is possible to start with the solution.
It basically consists of deleting the entire file system from the USB device and then formatting it with a new filesystem.
Wipe the filesystem from your flash drive
First, you need to completely wipe the filesystem from your flash drive to restore it to its original state. You run this command to wipe the filesystem from your flash drive:
Note: You need to type the name of your flash drive here. So be very CAREFUL that you type the name correctly. Because if you wipe the filesystem of your main hard drive you may DESTROY your whole system.
Now, the filesystem has been wiped and the flash drive is completely clean. You can check that with:
You should see that the USB flash device has no partition. You need to create one.
For this there are two options, you can use the terminal or a graphical application. I will show you how to do it both ways.
Create the new partition using the command line
Let us first do the command-line way. For this, I will use the cfdisk tool. So, you need to run this command:
Again, sdb is the name of my flash drive. Replace it with yours.
First, you need to select dos option and press Enter.
Next, press Enter on the new option to create a partition.
Next, you have to define the size. By default, it suggests creating the maximum possible size. So, this is what we want:
Then, select the primary option to make the partition primary.
Now, apply the changes by selecting and pressing Enter on the Write option:
In the end, the program will ask you for confirmation. Type yes and press Enter.
After the program has finished the process, select quit and press Enter to close the program.
Now, we have a flash drive with a new partition table.
Format the USB drive with FAT
We only need to format this partition with a file system that can be used cross-platform. The FAT filesystem is the most suitable for this purpose.
To do the formatting with FAT, run this command:
Let me explain the command briefly:
- mkfs.vfat will create a partition with FAT as the file system.
- ‘ALU’ is the label. You can replace it with whatever you prefer. It is optional.
- /dev/sdb1 is the device. sdb is the name of the device but sdb1 refers to the first partition of that device.
Now, a bootable USB is formatted to normal and it is ready to use. Open the file manager, and you can write information into it. If you do not find it in the file manager, disconnect and connect your USB drive, it should appear in the left panel of your file manager after that.
And that is it. Your bootable USB is ready to work.
Create the partition using a graphical tool
Now I will teach you how to format a bootable USB to normal using a graphical tool. I recommend using the tool GParted. It is a well known and reliable program to manage partitions.
Note: If you have already done the steps above, you do not need to do these. I only show this as alternative to the command line way.
If you do not have GParted on your system, you can install it. It should be available in any Linux system. Just search for it in your software manager. So, open GParted:
Once the program has started, in the right corner you need to select your flash drive which is sdb in my case.
And you see there is no allocated space in the device. So, go to the Device menu -> Create Partition Table.
Select msdos type. Then, apply the changes.
When the changes are finished, it is time to create the partition. To do this click with the right mouse button on the device and select the New option.
I will put the maximum space. For the file system, it is better to use the FAT file system because it is compatible with any system, for example, if you use Windows you can open without any problems. Next, you can give it a label too. So, you can use your name. Then, click on Add .
So you just need to click on this icon and apply all the changes. It will take some time to reformat the flash drive.
If everything has finished successfully, you will see this image.
3. Testing the USB flash device
Now, your flash drive is ready for use. Open the file manager and try to create a new file in it with the right click of a mouse. Alternatively, you can simply copy some file to it.
After you placed some files on your flash drive disconnect and connect your flash drive. If the newly placed files are there, congratulations! Your flash drive is like new and can be used again.
One more solution to format a bootable USB to normal
If you did either of two ways to recover your device and it did not work for you, and your flash drive is still not recognized by your system or does not work correctly, there is one last thing you can try to format a bootable USB to normal.
First, make sure that your flash drive is not mounted:
Remember, sdb1 is for the partition name. After that, you can completely overwrite all the blocks of your flash drive with zeros. This will be kind of complete refreshment of your flash drive.
In the unmount command, I used sdb1 because it was a partition. But in this command, you do not need to specify any number, you need to provide the name of a drive, which is sdb .
Note: Again, make sure that this is the name of your flash drive. Also, writing zeros to a flash drive takes quite a lot of time. And if your flash drive is big it takes a really long time.
So, when everything is finished successfully and there were no errors, you can create a new partition table on your flash drive and format it with the FAT filesystem as I showed above. Hopefully, after that, your first drive will be working like a new one.
CONCLUSION
Now you know how to format a bootable USB to normal but you can use this method to recover any other USB flash drive which stopped working or does not work correctly most likely you will be able to restore this flash drive to its normal state and it will start working as a new.
You may also be interested in reading my post about encrypting a flash drive in Linux.
Источник


