- How to Automatically Clear RAM cache Memory in Windows 10
- Make your computer automatically clear RAM cache memory-
- Очистка кэша оперативной памяти в Windows 10
- Способ 1: Перезагрузка компьютера
- Способ 2: ATM
- Способ 3: RAMMap
- Способ 4: Системные средства
- How to clear Windows 10 memory cache and buffers?
- 7 Ways to Clear Memory and Boost RAM on Windows
- Why Computers Slow Down
- 1. RAM Hogs: Low Hanging Fruit
- 2. Clean Up Startup Programs
- 3. Clear Page File at Shutdown
- 4. Check for Device Driver Issues
- 5. Reduce Windows Visual Effects
- 6. Flush Memory Cache
- 7. Add More RAM
- Memory Is Important
How to Automatically Clear RAM cache Memory in Windows 10
August 27, 2020 By Sambit Koley
The cache memory of RAM is a very small portion of the standard memory of your system, but the cache memory operates at a very high speed, allowing the applications/ programs to utilize its speed to run its users faster. But, sometimes due to memory leak or some bad exe files the amount of free cache memory can decrease, which eventually slows down your computer.
Make your computer automatically clear RAM cache memory-
Follow these easy steps to free cache memory on your system-
1. Download EmptyStandbyList on your computer.
2. Choose a particular place and then click on “Save” to save the application.
![]()
Close the browser window.
3. Click on the Search box beside Windows icon and type “Task Scheduler“.
4. Click on “Task Scheduler” from the elevated Search result to open Task Scheduler.
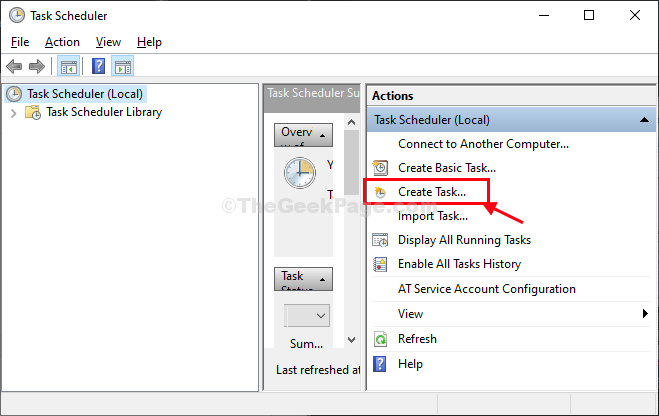
5. In the Task Scheduler window, on the right-hand side, click on “Create Task…“.
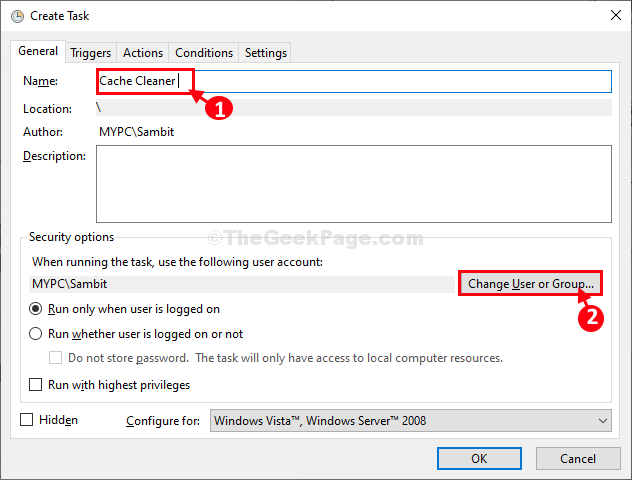
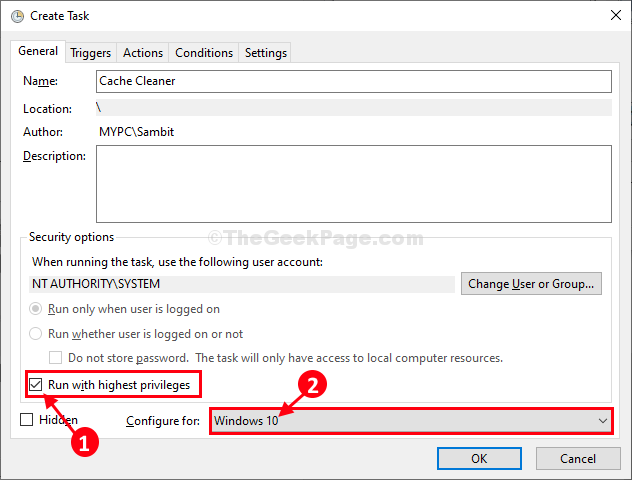
6. In Create Task window, name the task “Cache Cleaner“.
7. Now, click on “Create User or Groups…“.
8. Click on “Advanced“.
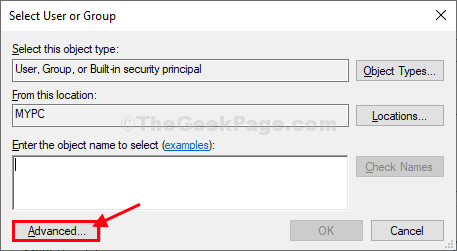
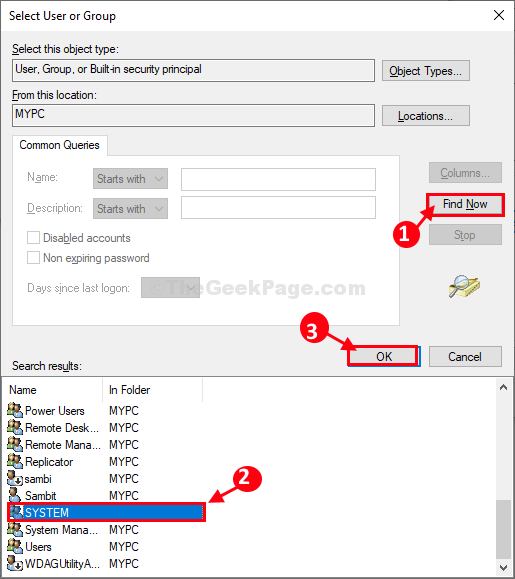
9. In Select User or Groups window, click on “Find Now“.
10. In the Search results: scroll down and then select “SYSTEM“.
11. Finally, click on “OK” to save the changes.
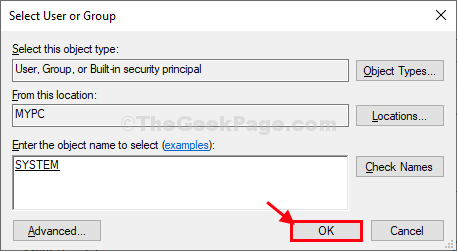
12. Now, click on “OK” to save the changes.
13. Coming back to Create Task window, check the option “Run with highest privileges“.
14. Click on the drop-down beside ‘Configure for:’ and select “Windows 10“.
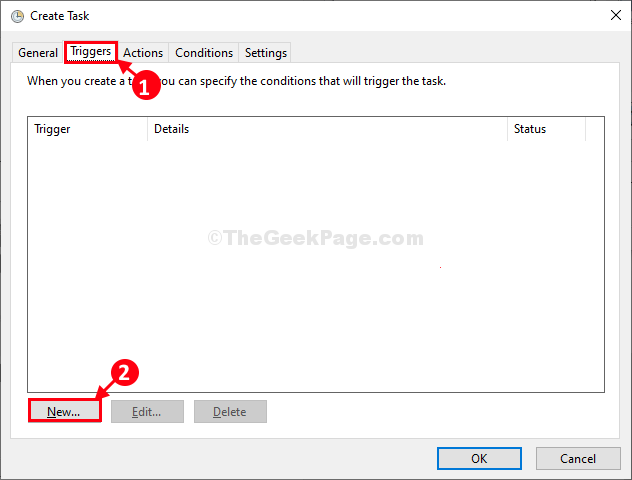
15. Now, go to the “Triggers” tab.
16. Click on “New…“.
17. In the New Trigger window, under ‘Advanced settings‘ set the ‘Repeat task every:’ to “5 minutes“.
18. And set ‘for a duration of:‘ to “Indefinitely“.
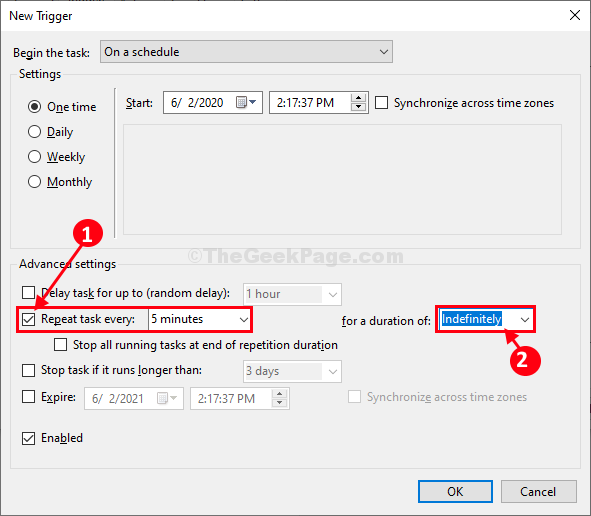
19. In the same window, check the option “Enabled“.
20. Click on “OK” to save the trigger settings.

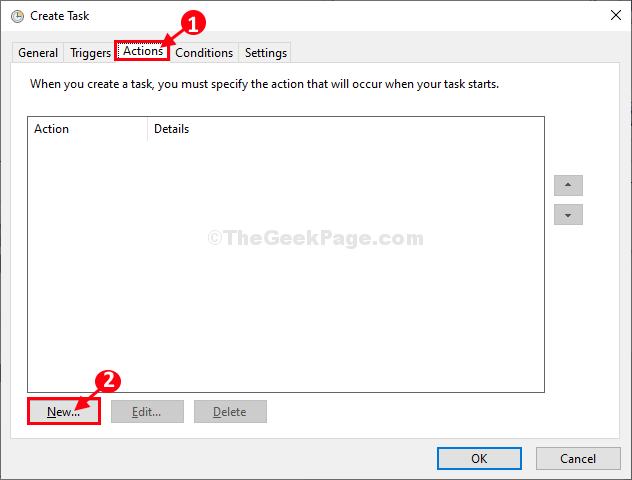
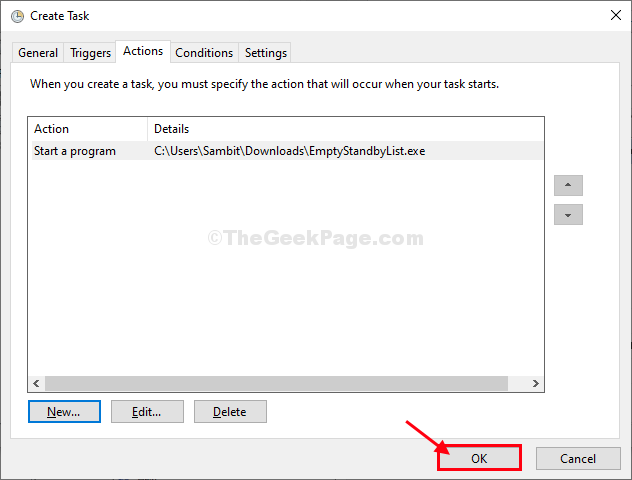
21. Now, go to the “Actions” tab.
22. Then, click on “New…“.
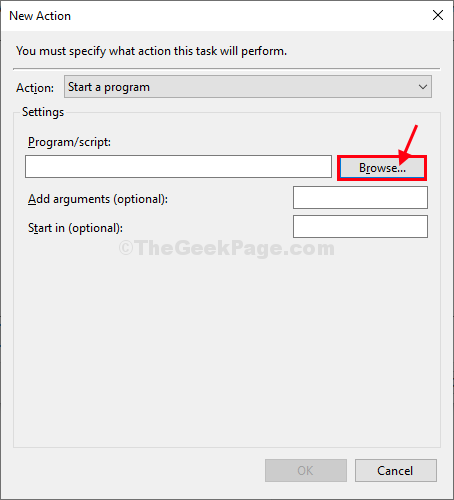
23. In the New Action window, click on “Browse“.
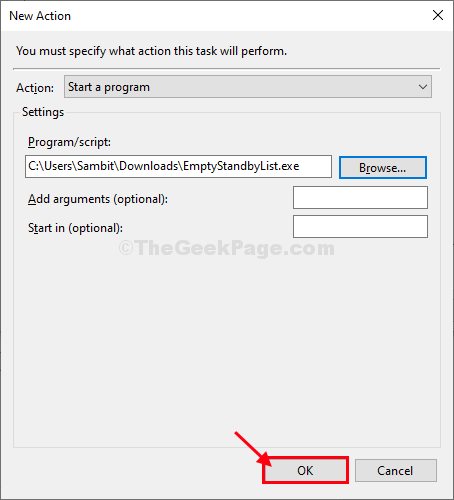
24. Now, navigate to the location where you have downloaded the ‘EmptyStandbyList‘ application.
25. Select the application and then click on “Open“.
![]()
26. Now, click on “OK” to save the action.
27. Coming back to the “Create Task” window, click on “OK” to save the task.
28. In the Task Scheduler window, click on “Refresh” to refresh the tasks list.
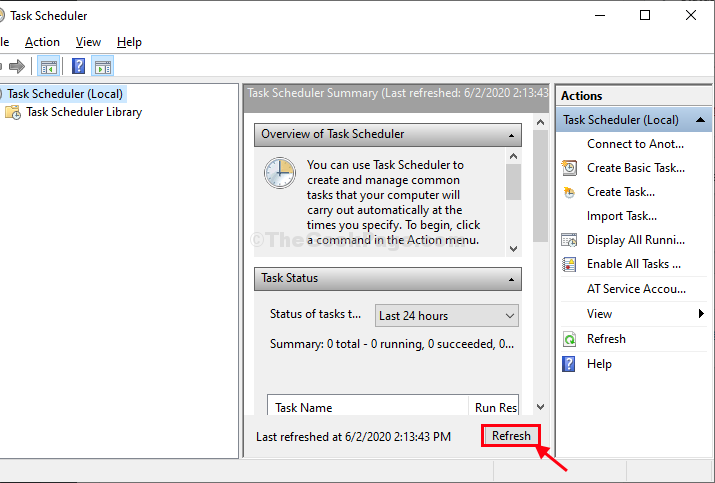
That’s it! From now on at a regular interval of 5 minutes, this ‘Cache Cleaner‘ task will automatically run on your computer to clean cache memory.
NOTE–
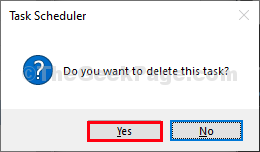
In case if you want to delete this task, follow these simple steps to do so-
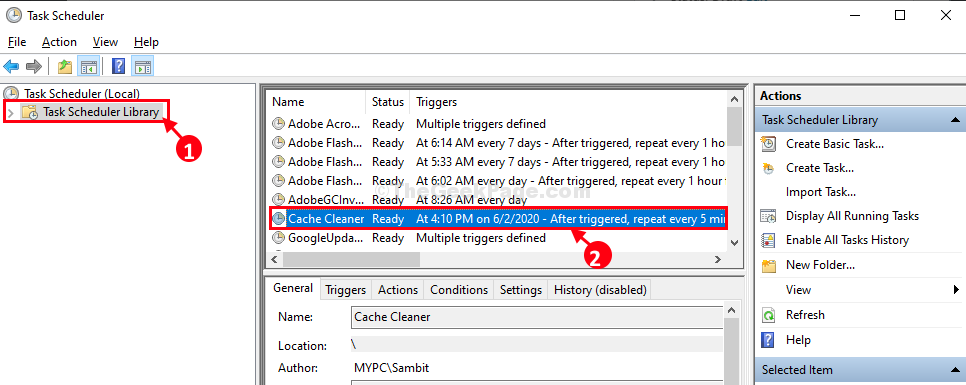
1. In the Task Scheduler window, on the left hand, select “Task Scheduler Library“.
2. On the right-hand side of the same window, scroll down to see the task “Cache Cleaner“.
3. Now, right-click on “Cache Cleaner“.
4. Then, click on “Delete” to delete the task from your computer.
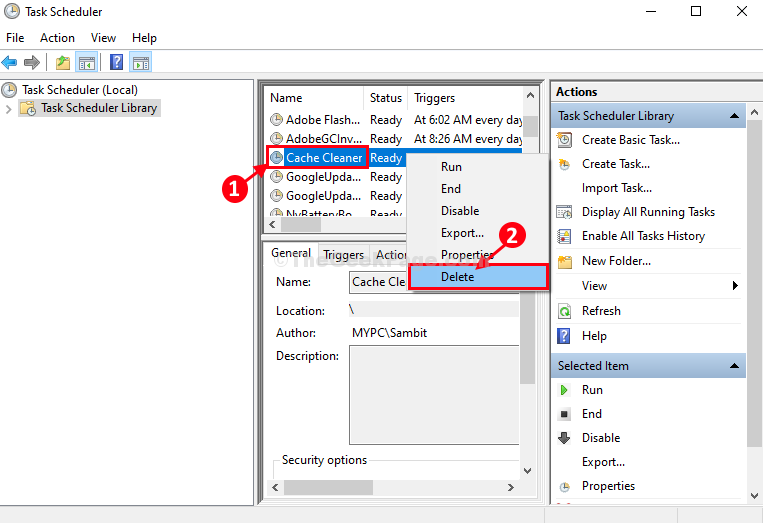
5. Click on “Yes” when you will be asked for confirmation.
The ‘Cache Cleaner‘ task will be deleted from your computer.

Sambit is a Mechanical Engineer By qualification who loves to write about Windows 10 and solutions to weirdest possible problems.
Очистка кэша оперативной памяти в Windows 10
Способ 1: Перезагрузка компьютера
Самый простой вариант решения озвученной задачи заключается в банальной перезагрузке компьютера, поскольку во время неё модули RAM кратковременно обесточиваются, что и удаляет кэшированное содержимое. Несмотря на свою простоту, этот метод доступен далеко не всегда, поэтому если рестарт компьютера невозможен, воспользуйтесь одним из способов ниже.
Способ 2: ATM
Следующий метод очистки кэша RAM заключается в использовании сторонних решений, одним из которых является программа ATM.
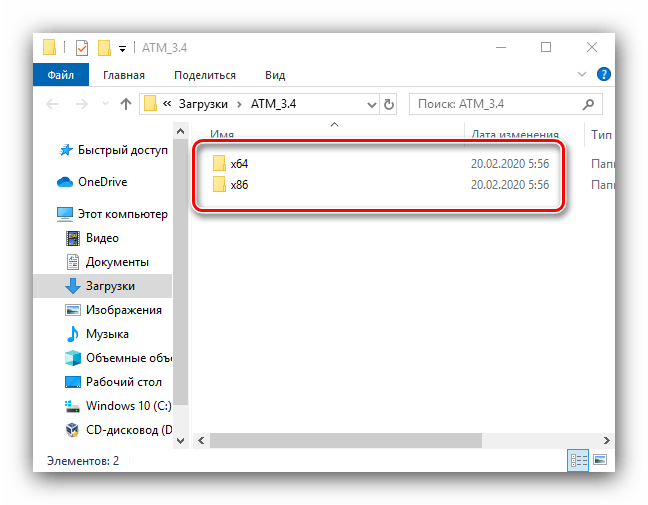
- Загрузите приложение, воспользовавшись ссылкой «Download ATM».

Его не нужно устанавливать на компьютер – достаточно просто распаковать ZIP-архив. Там есть две папки, «x64» и «x86», воспользуйтесь последней, поскольку 64-разрядная версия работает нестабильно.
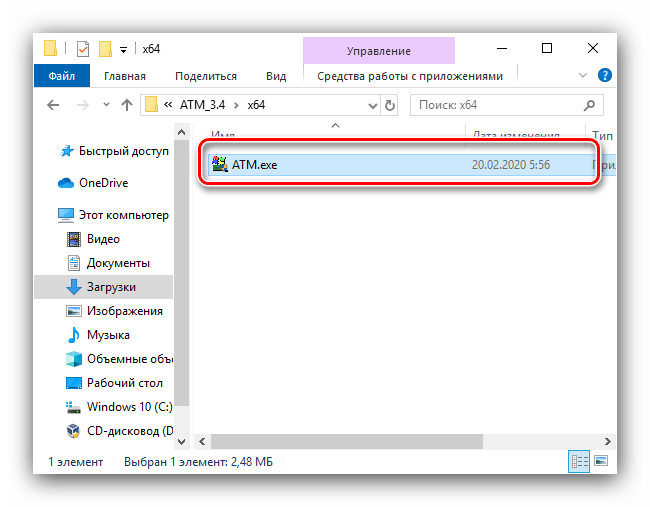
Запустите исполняемый файл с именем ATM.exe.

Рассмотренная утилита хорошо решает поставленную нами задачу, но обладает довольно громоздким интерфейсом и не имеет локализации на русский язык.
Способ 3: RAMMap
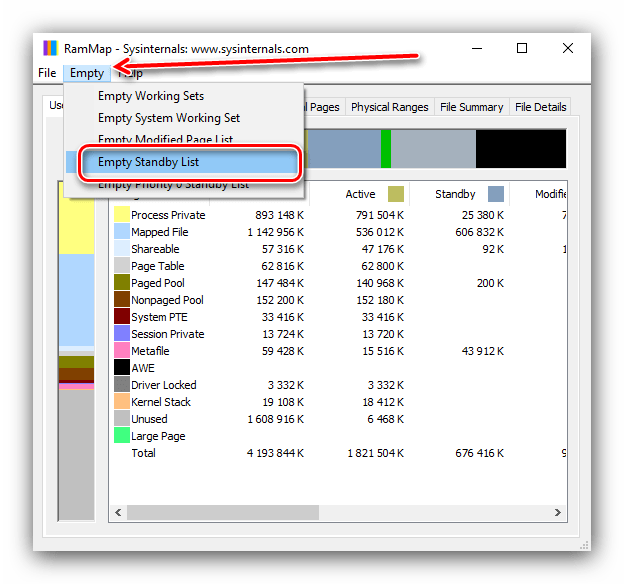
Компания Майкрософт знает о случаях бесконтрольной утечки пространства ОЗУ в кэш, поэтому создала приложение для решения этой проблемы, которое называется RAMMap.
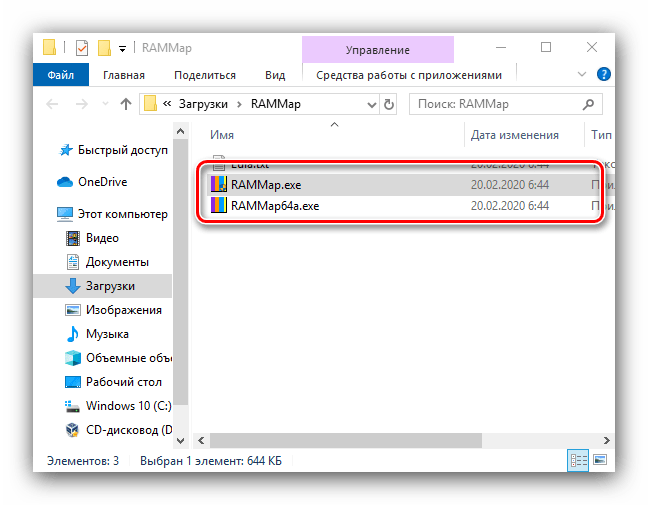
- Как и в случае первой упомянутой программы, РАММап не требуется устанавливать на компьютер, для работы нужно запустить один из исполняемых файлов.
Способ 4: Системные средства
Очистку кэша ОЗУ можно произвести и системными средствами, с помощью одной из системных утилит.
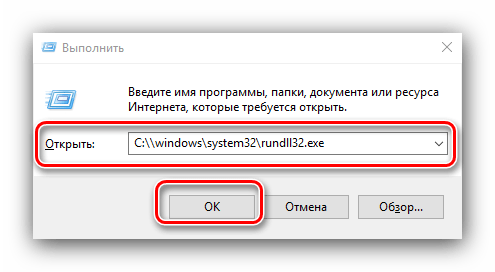
- Вызовите окно «Выполнить» комбинацией клавиш Win+R. Когда оно появится, введите запрос:
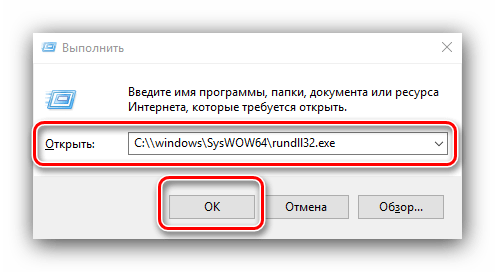
Для 64-разрядных версий «десятки» запрос выглядит так:
Проверьте правильность ввода и нажмите «ОК».
Запущенное средство работает в фоновом режиме без каких-либо уведомлений, поэтому нужно подождать около 10 секунд, после чего кэш должен быть очищен.
Системные средства довольно эффективны, и обычно не возникает потребности в установке сторонних программ.
Мы рассказали вам о методах очистки кэша оперативной памяти в Windows 10.
How to clear Windows 10 memory cache and buffers?
The ability to manually clear memory cache and buffers is critical and essential when switching from one major intensively memory workload to another, else you’d have to depend on Windows somehow understanding that recent files and applications would never be used again (asking the impossible) and use its own garbage collection algorithm.
Manually clearing memory cache and buffers enables the User to continue to work without rebooting.
With Win7 and earlier, the following typically could be used to clear memory cache and buffers
I have determined that the above command which works for Win7 and earlier does not do anything in Win10. Using Task Manager on a 12GB RAM machine, I can see that shortly after boot about 3.1GB is committed, after a major workload is about 6.7 GB (This touches on a major complaint of mine, it appears that Win10 and likely Win8 divide the memory map into what can be used by WinRT and legacy Desktop Windows apps, approximately half each no matter whether the load). Because of the way the memory map is likely divided, committed RAM does not often exceed that amount. Now, after running the above command which has worked for Win7 and earlier, the committed and cached memory values do not change.
Also, since most major apps are still legacy Desktop type apps, I’m more interested in clearing the memory space those apps use compared to RT type apps.
After finding nothing for weeks using various Internet searches, I looked specifically for TechNet and MSDN articles which also turned up nothing, although there is a «cache» class which might be experimented with.
7 Ways to Clear Memory and Boost RAM on Windows
Plus the reason why computers slow down
There are few things quite as annoying as a computer that’s starting to run slow.
As good as the Windows 10 operating system is, Windows computers still have the problem of running much more slowly over time.
In this article, you’ll learn seven of the most effective ways to clear out old memory and boost available RAM in a Windows machine that’s suffering from performance issues.
Also, if you want a quick run-down, check out our YouTube video from our sister site, Online Tech Tips. If you like the video, make sure to subscribe to the channel!
Why Computers Slow Down
If you’ve owned your computer for a while, there are any number of issues that can cause it to slow down. Many of these are out of your control, but a few aren’t.
These issues include:
- Memory leaks from software you’ve installed
- Power surges and normal usage degrading system components
- Bad hard drive sectors or bad memory chips due to age and use
- Not installing enough RAM
- Excessive software launching at startup
- Malware and viruses consuming system resources
Even though you can’t control the effects of normal aging, there’s a lot you can do to speed up your computer. These include things like defragmenting your hard drive, performing virus scans, and disabling the User Account Control (UAC).
However, the most significant effect you can have on system performance is making sure your memory usage is fully optimized.
1. RAM Hogs: Low Hanging Fruit
The fastest and easiest way to clear up memory that’s being used is to make sure there are no system processes consuming all the system resources.
This is an easy problem to develop over time, especially if you’re in the habit of installing a lot of software. There’s also a very easy solution.
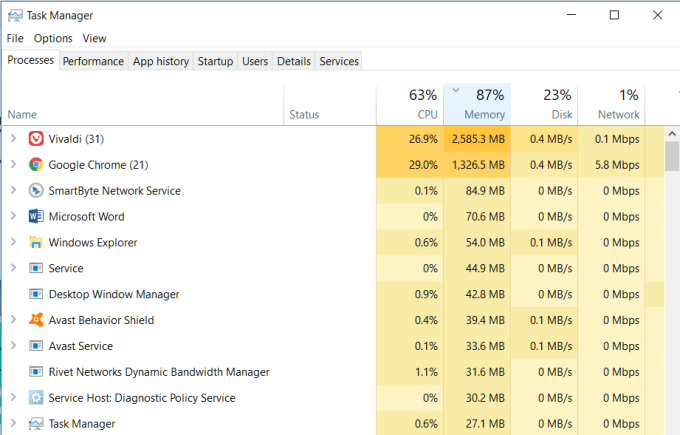
Check the system processes listed in the Task Manager and look for problem applications you don’t recognize that are consuming excessive RAM.
- Right click the Windows task bar and select Task Manager.
- Click on the Processes tab.
- Sort the processes by Memory and look for programs at the top of the list that you don’t recognize.
If you spot any problem applications, go into the Control Panel, click on Programs and Features, and uninstall those problem applications.
2. Clean Up Startup Programs
Unfortunately, resolving memory issues and freeing up your RAM is not usually that easy. Over time, software you’ve installed and forgotten about can get embedded into your system but may not consume RAM constantly.
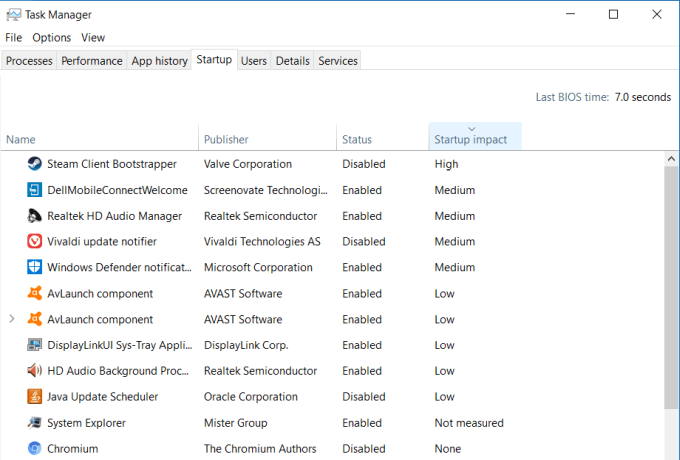
In these cases, these programs won’t show up at the top of the list in the Task Manager. However, they are part of the list of programs that launch every time your computer starts and contribute to chewing away at your available RAM.
- Still in the Task Manager, click on the Startup tab.
- Sort the list by the Startup impact field.
- Identify applications you don’t recognize or don’t need.
- Right-click on the application and select Disable.
When each of these programs launch, they devour a bit of memory individually. They all run in the background and consume your RAM. Disabling them from running at startup prevents this from happening.
3. Clear Page File at Shutdown
![]()
Whenever you shut down your computer, the system RAM is always cleared. However, the page file that’s stored on the hard drive isn’t.
The page file is an area of the physical hard drive that the operating system uses as extra RAM when the physical RAM is full. Ensuring that the page file is cleared just like RAM is will keep things clean and efficient the next time you start your computer.
You can enable this by setting the ClearPageFileAtShutdown registry key to 1. Windows 10 has this set to 0 by default. Enabling this is easy.
- Click the start menu and type Regedit. Click on the Regedit run command.
- This will open the Registry Editor. Navigate to HKEY_LOCAL_MACHINE\SYSTEM\CurrentControlSet\Control\Session Manager\Memory Management.
- Double-click on the ClearPageFileAtShutdown key on the right.
- Set the Value data field to 1 and click OK.
The next time you restart your computer, the page file will clear.
4. Check for Device Driver Issues
Over time, device drivers become updated, and various Windows updates could lead to corrupt driver files or driver conflicts. These issues can sometimes lead to memory leaks and the longer your computer is running, could lead to excessive RAM consumption.
It’s important to make sure your system is clear of device driver issues. You can check this quickly by using the Device Manager.
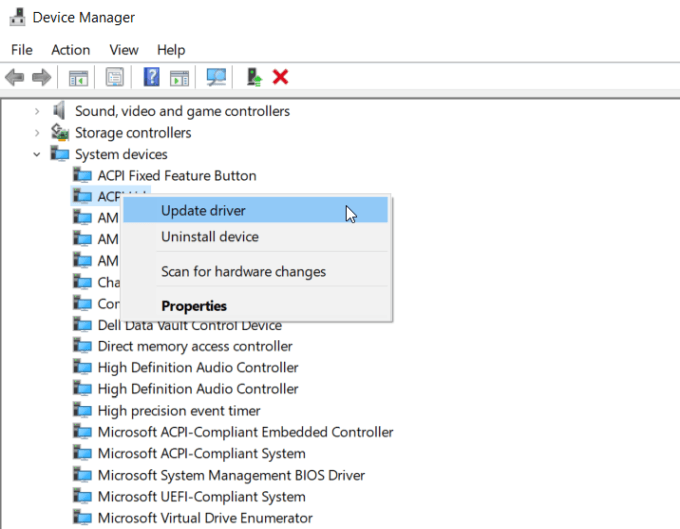
- Open the Control Panel and double click Device Manager.
- Expand each branch inside the Device Manager and look for a yellow explanation mark icon. This is an alert for a driver issue.
- If you see an alert, right click on the device and select Update driver.
Try to let the system look for latest drivers online if you can. Otherwise you’ll need to visit the manufacturer website and download the latest driver.
Keeping any device issues clear and all your drivers updated will ensure your system is running smoothly and drivers aren’t causing memory issues.
5. Reduce Windows Visual Effects
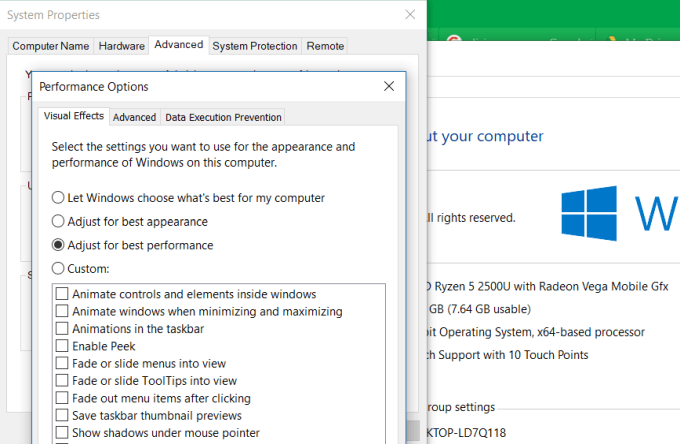
Windows 10 comes with a lot of busy visual effects for windows, menus, tooltips and more. If you have plenty of RAM, these visual effects aren’t an issue.
But if you’re running with a bare minimum of available RAM, disabling these effects can significantly increase available memory.
To disable Windows visual effects:
- Open File Explorer, right-click on This PC, and click on Properties.
- On the left side of this window, click on Advanced system settings.
- In the Performance section, click the Settings button.
- In the Performance Options window, select Adjust for best performance.
You’ll notice that all the animated features are disabled with this setting. If you want, you can instead select Custom, and then enable any of the visual effects that you can’t live without.
6. Flush Memory Cache

When you open and close applications frequently, sometimes certain programs don’t properly release system memory when closing. Over time, these orphan threads consume RAM and lead to slow system performance.
There is a very simple shortcut you can create that’ll flush the memory cache and clean out all those old cobwebs of lost memory.
This shortcut is:
If you’re not sure how to configure this shortcut, you can read a guide to flushing the memory cache that’ll walk you through all of the steps.
7. Add More RAM

Of course, one of the easiest ways to free up more memory is to boost the existing amount of RAM you have.
If you’re not sure what kind of memory your computer takes, you can use the Crucial Advisor to run a scan on your PC and find the best memory to buy.
Scans are fast and easy, and the resulting web page will list all memory cards that are available for your system.
Memory Is Important
Of all the things you can do to boost your old computer’s performance, there is nothing as effective as clearing out or boosting your available RAM.
The less your computer needs to rely on your hard drive and the page file because the physical RAM is full, the faster your computer will behave.
Ryan has been writing how-to and other technology-based articles online since 2007. He has a BSc degree in Electrical Engineering and he’s worked 13 years in automation engineering, 5 years in IT, and now is an Apps Engineer. Read Ryan’s Full Bio


