- 25 Run Commands in Windows You Should Memorize
- How to open the Run dialog?
- #1. Access System Configuration — “msconfig”
- #2. Access Resource Monitor — “resmon”
- #3. Open System Information — “msinfo32”
- #4. Access Backup and Restore window — “sdclt”
- #5. Access mouse properties — “main.cpl”
- #6. Open Windows Registry — “regedit”
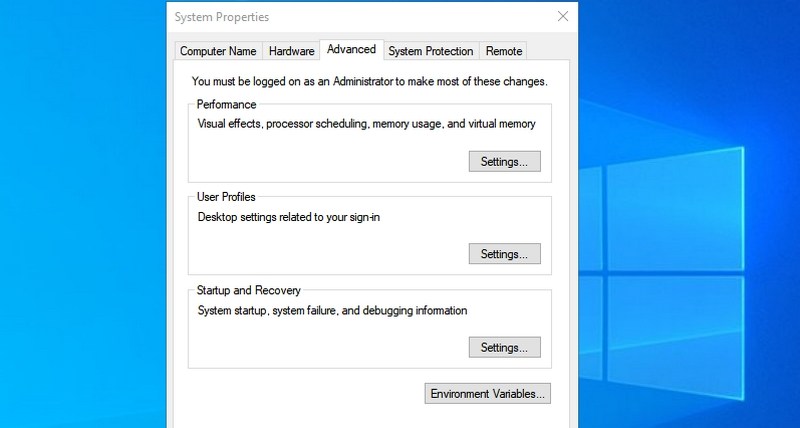
- #7. Access System Properties — “sysdm.cpl”
- #8. Manage Windows Power options — “powercfg.cpl”
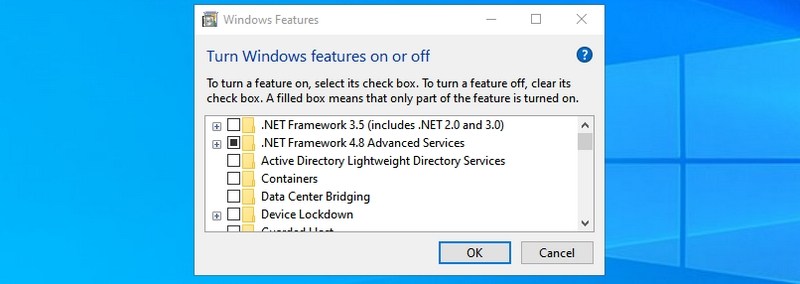
- #9. Open Windows Features — “optionalfeatures”
- #10. Open Magnifier — “magnify”
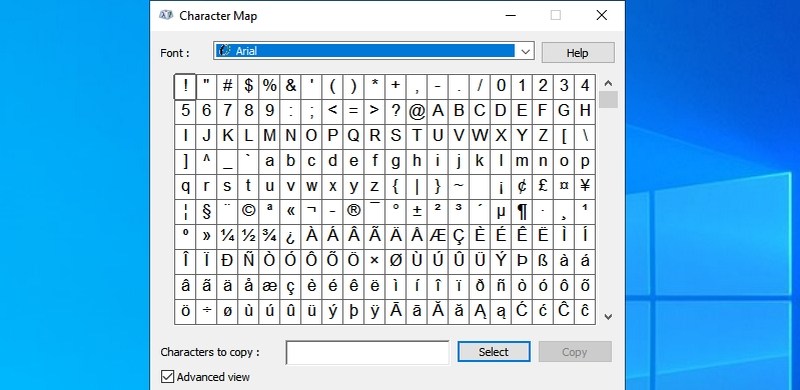
- #11. Open Character Map app — “charmap”
- #12. Access Network Connections — “ncpa.cpl”
- #13. Run Malicious Software Removal Tool — “mrt”
- #14. Open Device Manager — “devmgmt.msc”
- #15. Manage User Accounts — “netplwiz”
- #16. Open Services app — “services.msc”
- #17. Access Programs and Features window — “appwiz.cpl”
- #18. Open Control Panel — “control”
- #19. Open current user folder — “.” (period)
- #20. Open On-Screen Keyboard — “osk”
- #21. Open Snipping Tool — “snippingtool”
- #22. Open Windows Memory Diagnostic — “mdsched”
- #23. Open any website — “Insert website URL”
- #24. Open Remote Desktop Connection — “mstsc”
- #25. Open Command Prompt — “cmd”
- Wrapping up
- How to use the Windows command line (DOS)
- Get into the Windows command line
- Understanding the prompt
- Key tips
- Listing the files
- Moving into a directory
- Understand the files
- Moving back a directory
- Creating a directory
- Switching drives
- Creating a new file
- Creating a new batch file
- Moving and copying a file
- Rename a file
- Deleting a file
- Renaming a directory
- Removing a directory
- Running a program
- How to list available commands
- Closing or exiting the command line window
- In conclusion
25 Run Commands in Windows You Should Memorize
![]()
Using Run commands in Windows is a very efficient way to access different Windows settings and apps directly.
If you memorize Run commands, you can access a particular app in just 2 steps instead of many clicks.
I personally don’t like frequently reaching out for the mouse; therefore, I have memorized all the required keyboard shortcuts and commands to minimize my interaction with the mouse. And Run commands are core for my day-to-day PC usage to accesses different Windows settings and apps efficiently.
If you are looking to be productive, then I will recommend you to memorize Run commands. To get you started, I will list some of the frequently used commands that I find most useful for day-to-day use.
How to open the Run dialog?
To use Run commands, you need to know how to open the Run dialog to enter the commands. There are two ways to access the Run dialog in Windows 10.
You can either press the Windows+R keys on the keyboard or right-click on the start menu and select Run from the menu.
I will recommend you to use the keyboard shortcut as it’s much faster and you won’t have to use the mouse. Once the Run dialog is open, enter any of the below mentioned commands and press the Enter key or click on the OK button to execute it.
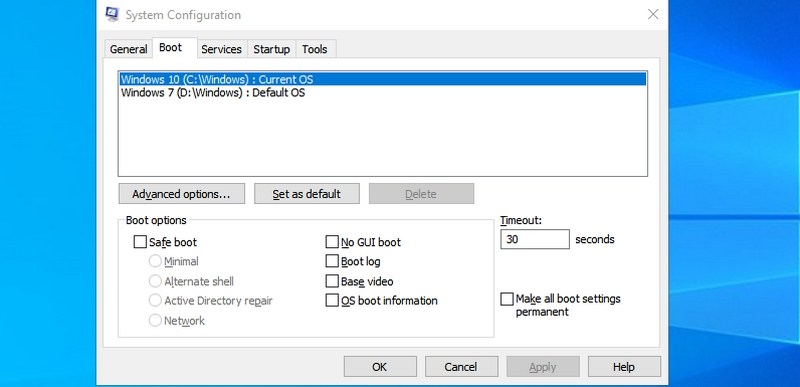
#1. Access System Configuration — “msconfig”
Starting with my favorite command, the System Configuration window consists of multiple tabs to manage boot settings and background services.
If you have a dual boot setup or often need to access safe mode, you will often need to access these settings. Don’t forget to check its Tools section for convenient access to some of the most powerful Windows tools.
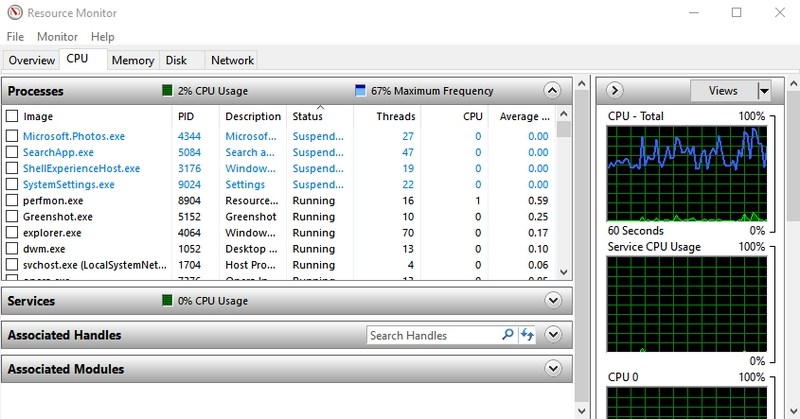
#2. Access Resource Monitor — “resmon”
A very powerful app to see real-time information about your system resources like CPU, RAM, disk, and network. For any computer hanging or performance-related issues, this is the best tool to get the information you need.
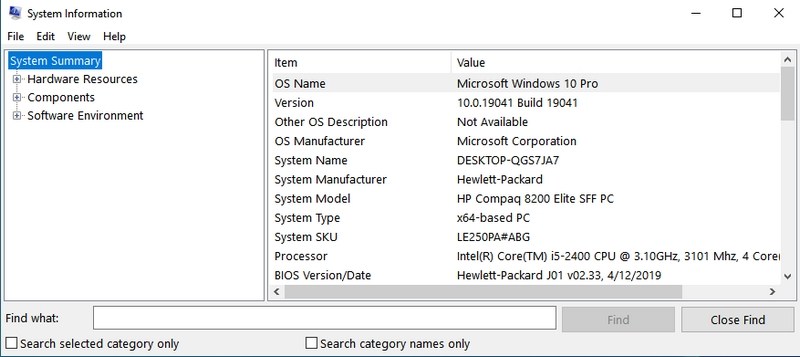
#3. Open System Information — “msinfo32”
System Information app offers extensive information about both the hardware and software of your PC. It’s a must-know command if you need to see the specs of any PC. The information is well laid out using dedicated categories, and you can export the information to a file to share with anyone — perfect for getting online tech assistance.
#4. Access Backup and Restore window — “sdclt”
It opens the backup and restores window where you can either set up a backup of your PC or restore it from an old backup if there is a problem with your PC.
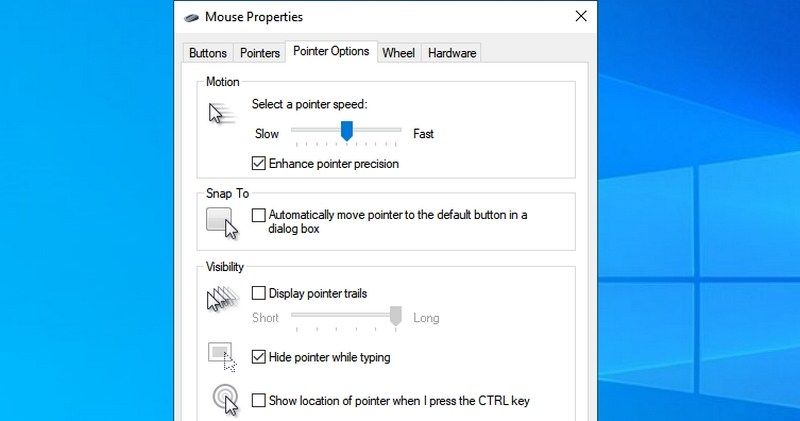
#5. Access mouse properties — “main.cpl”
You can control all the settings related to your computer mouse here. This includes mouse speed, buttons, wheel, and pointer, etc.
#6. Open Windows Registry — “regedit”
If you ever need to access the Windows registry to tweak something, this is the easiest way to do it. I didn’t even know other ways to access the Registry until recently, and I often mess around in the Registry. Other ways are simply too cumbersome to use.
#7. Access System Properties — “sysdm.cpl”
Another powerful settings window to manage system protection and remote connection features. I personally access it often to manage the Performance settings under the Advanced tab. You can manage some interesting performance-boosting options there.
#8. Manage Windows Power options — “powercfg.cpl”
You will find all the options to manage your PC’s power options here. There are a plethora of options to both save power or get better performance. Check this guide to optimize the power options as you find best.
#9. Open Windows Features — “optionalfeatures”
Here you can disable/enable some of the most advanced features of Windows. I wouldn’t recommend you to mess around here if you don’t know what you are doing. You will need to use this window if you ever need to enable features like Telnet client or Hyper-V.
#10. Open Magnifier — “magnify”
This opens the Windows magnifier to magnify the content on the screen up to 1600% if needed. It also has a screen reader built-in to read aloud text on the screen.
#11. Open Character Map app — “charmap”
Windows Character Maps lets you access All the characters in the font of your choice to easily use anywhere you like. You can either copy the character or learn its Alt code to enter anywhere you like. Using the search bar is the easiest way to find the character you need.
#12. Access Network Connections — “ncpa.cpl”
Here you can manage your current network connection and fix any problem with the network device. You can enable/disable the network, check the current status, bridge connections, or see your Wi-Fi password.
#13. Run Malicious Software Removal Tool — “mrt”
It’s an on-demand virus removal tool provided by Microsoft to scan your PC and find any malicious software. If you think your PC got infected by a virus, you can quickly launch this tool to scan your PC.
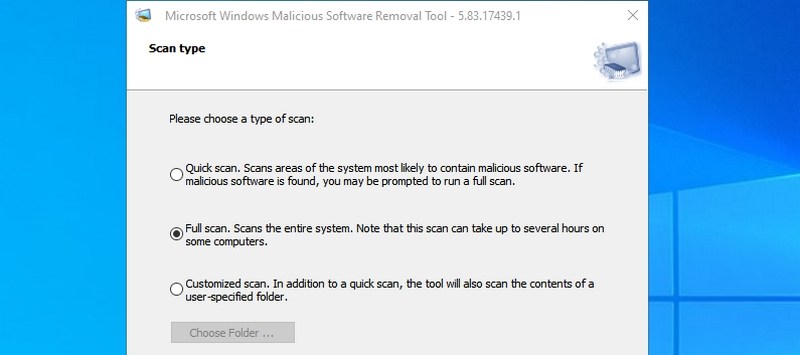
You can also consider installing antivirus software to keep your Windows computer safe.
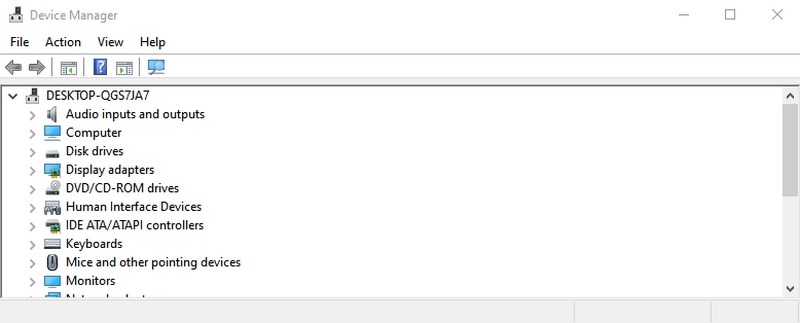
#14. Open Device Manager — “devmgmt.msc”
Device Manager is the go-to place to manage everything related to your hardware components and their drivers. You can enable/disable hardware components or manage their drivers, like uninstalling or updating them.
#15. Manage User Accounts — “netplwiz”
You can quickly manage user accounts here, such as adding a new account or user account types like Administrator or Standard. You can also change the user accounts password here and manage their security.
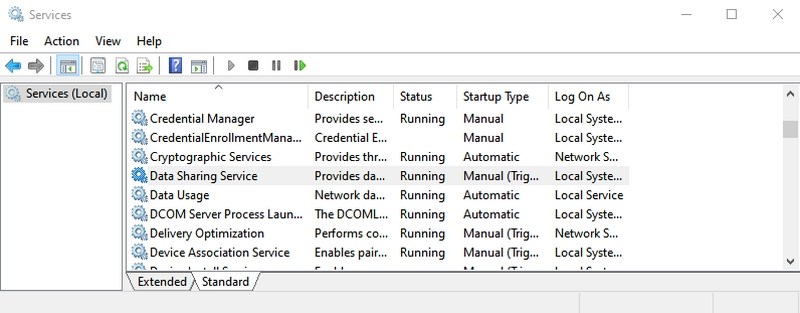
#16. Open Services app — “services.msc”
This app lists all the services that work in the background without an interface and make all the features work in Windows. Again, you shouldn’t mess with any services if you don’t know what you are doing. However, you can click on a service to learn what it does in the left panel. There are many services that you can enable/disable depending on your need. For example, I have disabled the Bluetooth service as I don’t use it.
#17. Access Programs and Features window — “appwiz.cpl”
Although Windows 10 has its own setting to uninstall an app, I still use this command as it only shows third-party apps. The default Windows uninstaller shows all apps, including built-in apps, which are 30+. It can be difficult to always go through so many apps to uninstall a recently installed app. This command makes the process a snap.
#18. Open Control Panel — “control”
This command didn’t hold much value in the older version of Windows as you could easily access Control Panel using different ways. However, in Windows 10, Microsoft promotes the new Settings over the old Control Panel, so it doesn’t offer an easy way to access the Control Panel. This simple command lets you easily access it.
#19. Open current user folder — “.” (period)
We have to access the user folder quite often in Windows, but going through the explorer to access it isn’t needed. Just type a period in the Run dialog, and the current user’s folder will open up.
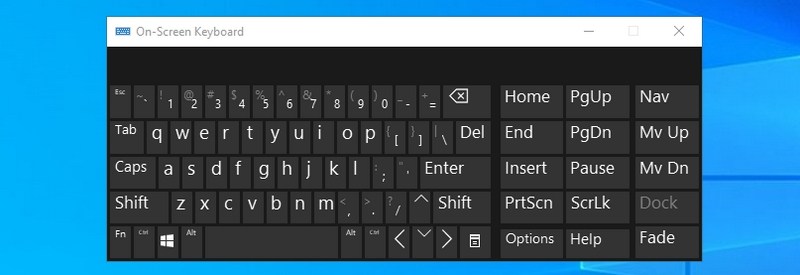
#20. Open On-Screen Keyboard — “osk”
If you want to use the on-screen keyboard, then using the Run command is one of the quickest ways to do it.
#21. Open Snipping Tool — “snippingtool”
Snipping Tool is still the go-to tool for taking screenshots in Windows 10 without using a third-party app. If you use the Snipping Tool for taking screenshots, then this Run command will make it easier.
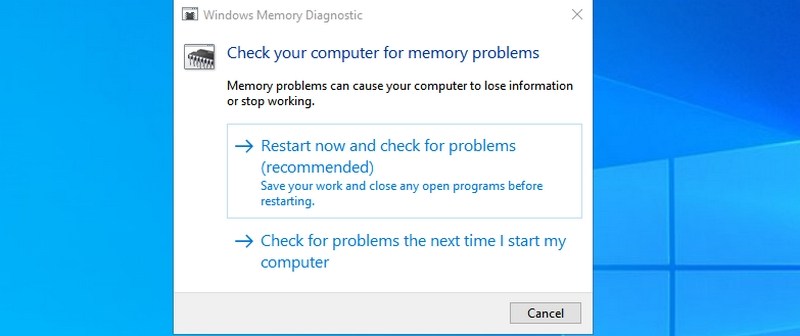
#22. Open Windows Memory Diagnostic — “mdsched”
If you think there is a problem with your RAM, this tool can check your RAM and possibly fix the problem or let you know there is an issue. If you start seeing sudden freezes or crashes, it could mean there is a problem with your RAM.
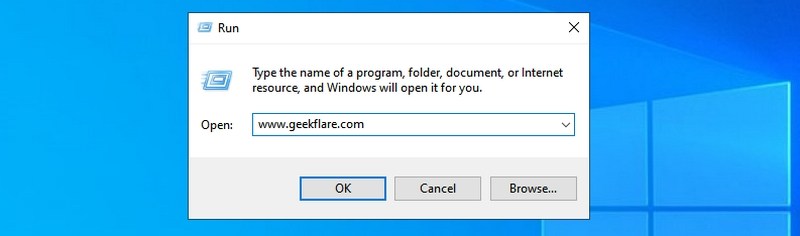
#23. Open any website — “Insert website URL”
You can also enter the URL of any website in the Run dialog, and it will open it in your default browser. For example, if you type www.geekflare.com in the Run command, it will open the Geekflare home page in your default browser.
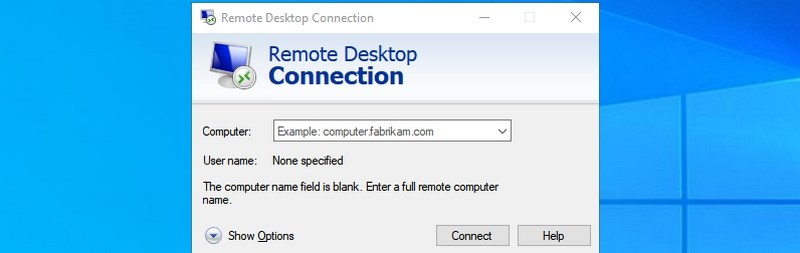
#24. Open Remote Desktop Connection — “mstsc”
You can use this feature to remotely connect to another PC and take full control over it. You’ll have to set up both PCs for the remote connection first, though. This Run command just makes the process easier.
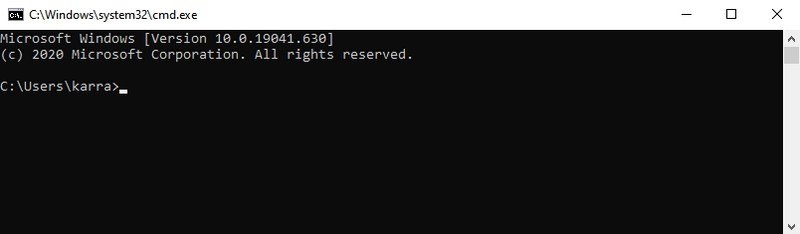
#25. Open Command Prompt — “cmd”
Unlike PowerShell, you can’t access the Command Prompt by right-clicking on the start menu anymore. If you prefer using the Command Prompt over PowerShell to execute commands, this is one of the easier ways to open the Command Prompt.
Wrapping up
The cool thing about Run is that it remembers all the commands you type in it. Therefore, you will only have to type the first letter to enter the command in the future.
I also believe Run commands are more important in Windows 10 as it heavily promotes the use of its default Settings app. Most of the settings and apps that I have mentioned above are more difficult to access Windows 10.
Next, explore some of the best NirSoft utilities for Windows.
How to use the Windows command line (DOS)

This page covers the basics of navigating and using the Microsoft Windows command line. On this page, you learn how to move around in the command line, find files, manipulate files, and other important commands. Keep in mind that there are over 100 different commands used in MS-DOS and the Windows command line. If you are interested in learning about the command line in more detail, see our DOS and command prompt overview, which gives a description and example for every command.
Get into the Windows command line
Open a Windows command line window by following the steps below. If you need additional information or alternative methods for all versions of Windows, see: How to get to an MS-DOS prompt or Windows command line.
- Click Start.
- In the Search or Run line, type cmd (short for command), and press Enter .
Understanding the prompt
After following the steps above, the Windows command line should be shown (similar to the example below). Windows often starts you at your user directory. In the example below, the user is Mrhope. So, C:\Users\Mrhope> is our prompt. This prompt shows that we’re in the C: drive (default hard drive letter) and currently in the Mrhope directory, a subdirectory of the Users directory.

Key tips
- MS-DOS and the Windows command line are notcase sensitive.
- The files and directories shown in Windows are also found in the command line.
- When working with a file or directory with a space, surround it in quotes. For example, the directory My Documents would be «My Documents» when typed.
- File names can have a long file name of 255 characters and a three character file extension.
- When a file or directory is deleted in the command line, it is not moved into the Recycle Bin.
- If you need help with any of command, type /? after the command. For example, dir /? would give the options available for the dir command.
Listing the files
Let’s learn your first command. Type dir at the prompt to list files in the current directory. You should get an output similar to the example image below. Without using any dir options, this is how dir output appears. As shown, you are given lots of useful information including the creation date and time, directories ( ), and the name of the directory or file. In the example below, there are 0 files listed and 14 directories, indicated by the status message at the bottom of the output.

Every command in the command line has options, which are additional switches and commands that can be added after the command. For example, with the dir command, you can type dir /p to list the files and directories in the current directory one page at a time. This switch is useful to see all the files and directories in a directory with dozens or hundreds of files. Each of the command options and switches is listed in our DOS command overview. We offer guides for individual commands, as well. For example, if you want to see all the options for the dir command, refer to our dir command overview for a complete option listing.
The dir command can also be used to search for specific files and directories using wildcards. For example, to list files or directories that begin with the letter «A» you could type dir a* to list only the AppData directory, in this above example. See the wildcard definition for other examples and help with using wildcards.
Moving into a directory
Now that we’ve seen a list of directories (shown below) in the current directory, move into one of those directories. To move into a directory, we use the cd command, so to move into the Desktop type cd desktop and press Enter . Once you’ve moved into a new directory, the prompt changes. So, in our example, the prompt is now C:\Users\Mrhope\Desktop>. You can see what files are found in this directory by typing the dir command again.

Understand the files
In the Desktop directory, as shown in the above example, there are 23 files and 7 directories, representing different file types. In Windows, you are familiar with files having icons that help represent the file type. In the command line, the same thing is accomplished by the file extensions. For example, «forum posts.txt» is a text file because it has a .txt file extension. Time.mp3 is an MP3 music file and minecraft.exe is an executable file.
Most users are only concerned with executable files, which as mentioned above, are files ending with .exe, .com, and .bat. When the file name is typed in the command line, the program runs, which is the same as double-clicking a file in Windows. For example, if we wanted to run minecraft.exe, typing minecraft at the prompt runs that program.
Keep in mind that if the executable file you are trying to run is not in the current directory, you get an error. Unless you have set a path for the directory with the executable file, which is how the command line finds external commands.
If you want to view the contents of a file, most versions of the command line use the edit command. For example, if we wanted to look at the log file hijackthis.log, we would type edit hijackthis.log at the prompt. For 64-bit versions of Windows that do not support this command, you can use the start command (e.g., type start notepad hijackthis.log) to open the file in Notepad. Additional information about opening and editing a file from the command line is available on the page linked below.
Moving back a directory
You learned earlier the cd command can move into a directory. This command also allows you to go back a directory by typing cd.. at the prompt. When this command is typed, you’ll be moved out of the Desktop directory and back into the user directory. To move back to the root directory type cd\ to get to the C:\> prompt. If you know the name of the directory you want to move into, you can also type cd\ and the directory name. For example, to move into C:\Windows>, type cd\windows at the prompt.
Creating a directory
Now with your basic understanding of navigating the command line, let’s start creating new directories. To create a directory in the current directory, use the mkdir command. For example, create a directory called «test» by typing mkdir test at the prompt. If created successfully, you are returned to the prompt with no error message. After the directory is created, move into that directory with the cd command.
Switching drives
In some circumstances, you may want to copy or list files on another drive. To switch drives in the Windows command line, type the drive letter of the drive followed by a colon. For example, if your CD-ROM drive is the D drive, you would type d: and press Enter . If the drive exists, the prompt changes to that drive letter. If the drive does not exist or is not accessible (e.g., no disc in CD-ROM drive), you get an error.
Creating a new file
You can create a new file from the command line using the edit command, copy con command, or using the start command to open a file.
Creating a new batch file
In the new test directory, let’s create your first file. In most circumstances, you never need to create any file at the command line, but it is still good to understand how files are created. In this example, we are creating a batch file. A batch file is a file that ends with .bat and helps automate frequently used commands in the command line. We are calling this batch file example, so type edit example.bat at the prompt. As mentioned in the document on creating a file, if the edit command does not work, use the start command to open the batch file in Notepad. To perform this action, you type start notepad example.bat into the prompt.
Both of the commands above open a new blank example.bat window. In the file, type the three lines below, which clear the screen with the cls command and run the dir command.
After these three lines are typed into the file, save, and exit the file. If you are in the edit command, click File (or press Alt + F ) and then Save. After the file is saved and you are back at the command prompt, typing dir displays the «example.bat» file in the test directory.
Now, run the batch file to get a better understanding of what a batch file does. To run the batch file, type example at the prompt, which executes the batch file, clears the screen, and runs the dir command.
Moving and copying a file
Now that we’ve created a file, let’s move it into an alternate directory. To help make things easier, create another directory for the files. So, type mkdir dir2 to create a new directory in the test directory called dir2. After the new directory is created, use the move command to move the example.bat file into that directory. To do this, type move example.bat dir2 at the prompt. If done successfully, you get a message indicating the file was moved. You could also substitute the move command for the copy command to copy the file instead of moving it.
Rename a file
After the file is moved into the dir2 directory, move into that directory with the cd command to rename the file. In the dir2 directory, use the rename command to rename the example file into an alternate name. Type rename example.bat first.bat at the prompt to rename the file to «first.bat.» Now, when using the dir command, you see «first.bat» as the only file.
When renaming any file, make sure the file has the same file extension. If you were to rename the .bat file to a .txt file, it is no longer an executable file only a text file. Also, keep in mind that renaming the file to a different file extension does not convert the file. For example, if you renamed the file as an .MP3, it may look like an MP3 in Windows, but it’s not going to play music.
Deleting a file
Now that we’ve had our fun with our new file, delete the file with the del command. Type del first.bat to delete the first.bat file. If successful, you are returned to the prompt with no errors, and the dir command shows no files in the current directory.
When deleting files, you can also use wildcards to delete multiple files at once. For example, if the directory contained several .GIF image files you could type del *.gif to delete all files ending with the .gif file extension.
Renaming a directory
Go back one directory to get back to the test directory using the cd.. command mentioned earlier. Now, rename our dir2 directory to something else using the same rename command we used earlier. At the prompt, type rename dir2 hope to rename the directory to «hope.» After this command is completed, type dir and you see one directory called «hope.»
Removing a directory
While still in the test directory, remove the hope directory using the rmdir command. At the prompt, type rmdir hope to remove the hope directory.
If the directory you are trying to remove contains any files or directories, you’ll receive an error. To prevent this error, use the /s option. For example, if the hope directory still had the first.bat file, you would need to type rmdir /s hope at the prompt.
Running a program
Any executable file can run from the command line by typing the name of the file. For example, if you listed files using the dir command and see a file named «myfile.exe,» typing «myfile» at the command line runs that program.
How to list available commands
After getting a good understanding of using the command line from the steps shown above, you can move on to other available commands by typing help at the command line. Typing «help» displays a list of available commands with a brief description of each command.
Closing or exiting the command line window
After you are done with the Windows command line, you can type exit to close the window.
In conclusion
Now you have a good understanding of how to navigate the command line, create directories and files, rename directories and files, and delete. As mentioned earlier, there are hundreds of other commands you can use at the command line. If you want to expand your knowledge further, we recommend looking at the options available for each command above and reviewing our commands overview page. You can also use our search to find any command by the name of the command or by the action it performs.


