- Windows commands
- Prerequisites
- Command shell overview
- Command-line reference A-Z
- 25 Run Commands in Windows You Should Memorize
- How to open the Run dialog?
- #1. Access System Configuration — “msconfig”
- #2. Access Resource Monitor — “resmon”
- #3. Open System Information — “msinfo32”
- #4. Access Backup and Restore window — “sdclt”
- #5. Access mouse properties — “main.cpl”
- #6. Open Windows Registry — “regedit”
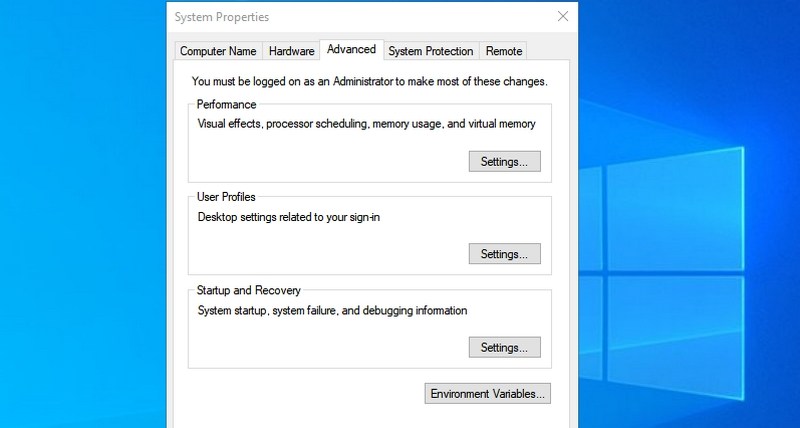
- #7. Access System Properties — “sysdm.cpl”
- #8. Manage Windows Power options — “powercfg.cpl”
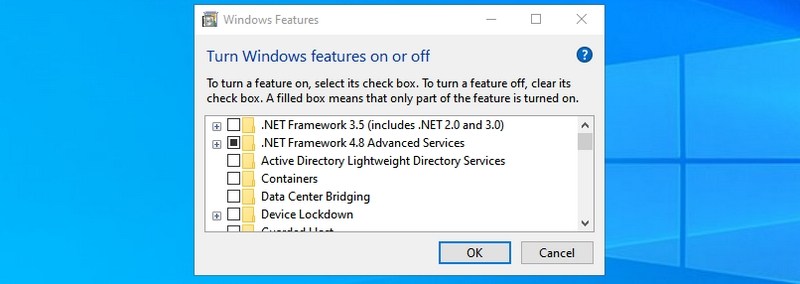
- #9. Open Windows Features — “optionalfeatures”
- #10. Open Magnifier — “magnify”
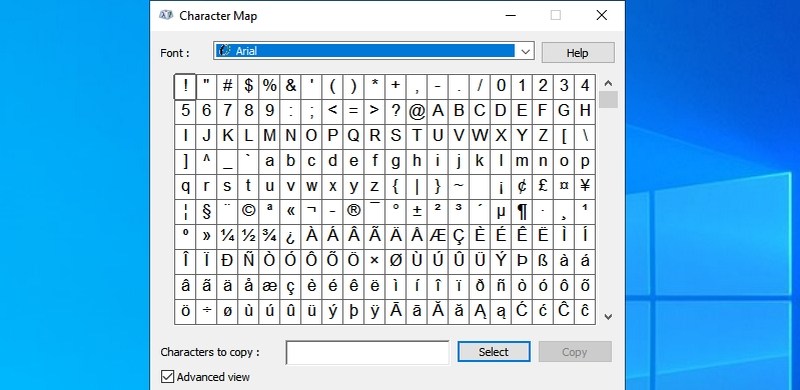
- #11. Open Character Map app — “charmap”
- #12. Access Network Connections — “ncpa.cpl”
- #13. Run Malicious Software Removal Tool — “mrt”
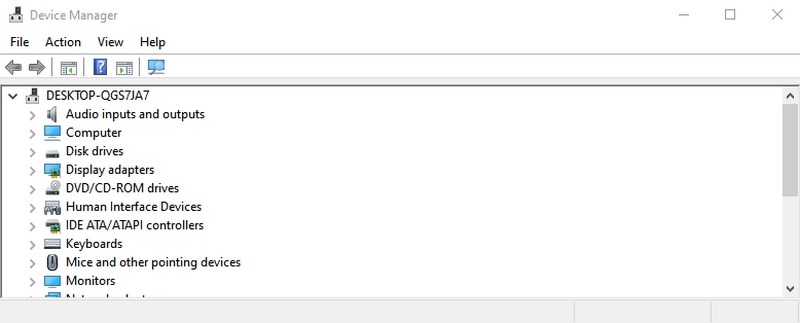
- #14. Open Device Manager — “devmgmt.msc”
- #15. Manage User Accounts — “netplwiz”
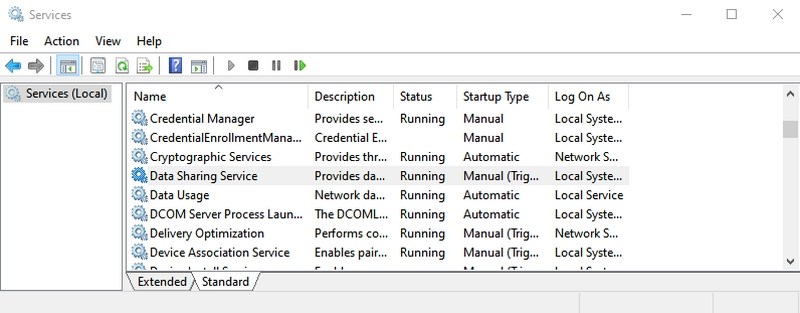
- #16. Open Services app — “services.msc”
- #17. Access Programs and Features window — “appwiz.cpl”
- #18. Open Control Panel — “control”
- #19. Open current user folder — “.” (period)
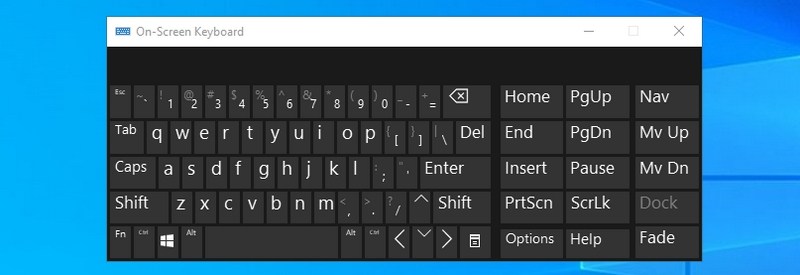
- #20. Open On-Screen Keyboard — “osk”
- #21. Open Snipping Tool — “snippingtool”
- #22. Open Windows Memory Diagnostic — “mdsched”
- #23. Open any website — “Insert website URL”
- #24. Open Remote Desktop Connection — “mstsc”
- #25. Open Command Prompt — “cmd”
- Wrapping up
- 6.1.5.4 Lab – Common Windows CLI Commands Answers
- 6.1.5.4 Lab – Common Windows CLI Commands Answers
- Lab – Common Windows CLI Commands ( Answers Version )
- Introduction
- Recommended Equipment
- Step 1: Access the Windows command prompt.
- Step 2: Display command help from the command prompt.
- Step 3: Create and change directories.
- Step 4: Create text files.
- Step 5: Copy, delete, and move files.
- Step 6: Use the xcopy command.
- Step 7: Delete directories.
- Reflection
Windows commands
All supported versions of Windows (server and client) have a set of Win32 console commands built in.
This set of documentation describes the Windows Commands you can use to automate tasks by using scripts or scripting tools.
Prerequisites
The information that is contained in this topic applies to:
- Windows Server 2019
- Windows Server (Semi-Annual Channel)
- Windows Server 2016
- Windows Server 2012 R2
- Windows Server 2012
- Windows Server 2008 R2
- Windows Server 2008
- Windows 10
- Windows 8.1
Command shell overview
The Command shell was the first shell built into Windows to automate routine tasks, like user account management or nightly backups, with batch (.bat) files. With Windows Script Host you could run more sophisticated scripts in the Command shell. For more information, see cscript or wscript. You can perform operations more efficiently by using scripts than you can by using the user interface. Scripts accept all Commands that are available at the command line.
Windows has two command shells: The Command shell and PowerShell. Each shell is a software program that provides direct communication between you and the operating system or application, providing an environment to automate IT operations.
PowerShell was designed to extend the capabilities of the Command shell to run PowerShell commands called cmdlets. Cmdlets are similar to Windows Commands but provide a more extensible scripting language. You can run Windows Commands and PowerShell cmdlets in Powershell, but the Command shell can only run Windows Commands and not PowerShell cmdlets.
For the most robust, up-to-date Windows automation, we recommend using PowerShell instead of Windows Commands or Windows Script Host for Windows automation.
You can also download and install PowerShell Core, the open source version of PowerShell.
Incorrectly editing the registry may severely damage your system. Before making the following changes to the registry, you should back up any valued data on the computer.
To enable or disable file and directory name completion in the Command shell on a computer or user logon session, run regedit.exe and set the following reg_DWOrd value:
To set the reg_DWOrd value, use the hexadecimal value of a control character for a particular function (for example, 0 9 is Tab and 0 08 is Backspace). User-specified settings take precedence over computer settings, and command-line options take precedence over registry settings.
Command-line reference A-Z
To find information about a specific command, in the following A-Z menu, click the letter that the command starts with, and then click the command name.
25 Run Commands in Windows You Should Memorize
![]()
Using Run commands in Windows is a very efficient way to access different Windows settings and apps directly.
If you memorize Run commands, you can access a particular app in just 2 steps instead of many clicks.
I personally don’t like frequently reaching out for the mouse; therefore, I have memorized all the required keyboard shortcuts and commands to minimize my interaction with the mouse. And Run commands are core for my day-to-day PC usage to accesses different Windows settings and apps efficiently.
If you are looking to be productive, then I will recommend you to memorize Run commands. To get you started, I will list some of the frequently used commands that I find most useful for day-to-day use.
How to open the Run dialog?
To use Run commands, you need to know how to open the Run dialog to enter the commands. There are two ways to access the Run dialog in Windows 10.
You can either press the Windows+R keys on the keyboard or right-click on the start menu and select Run from the menu.
I will recommend you to use the keyboard shortcut as it’s much faster and you won’t have to use the mouse. Once the Run dialog is open, enter any of the below mentioned commands and press the Enter key or click on the OK button to execute it.
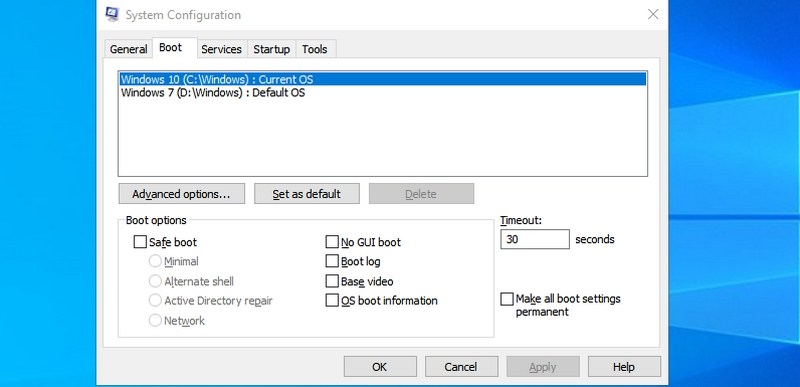
#1. Access System Configuration — “msconfig”
Starting with my favorite command, the System Configuration window consists of multiple tabs to manage boot settings and background services.
If you have a dual boot setup or often need to access safe mode, you will often need to access these settings. Don’t forget to check its Tools section for convenient access to some of the most powerful Windows tools.
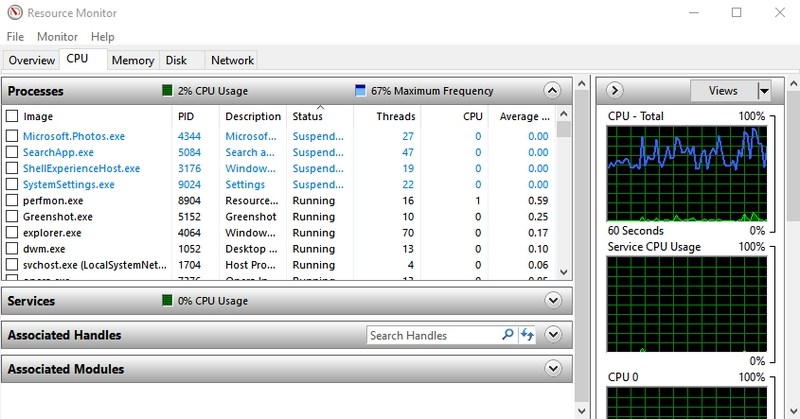
#2. Access Resource Monitor — “resmon”
A very powerful app to see real-time information about your system resources like CPU, RAM, disk, and network. For any computer hanging or performance-related issues, this is the best tool to get the information you need.
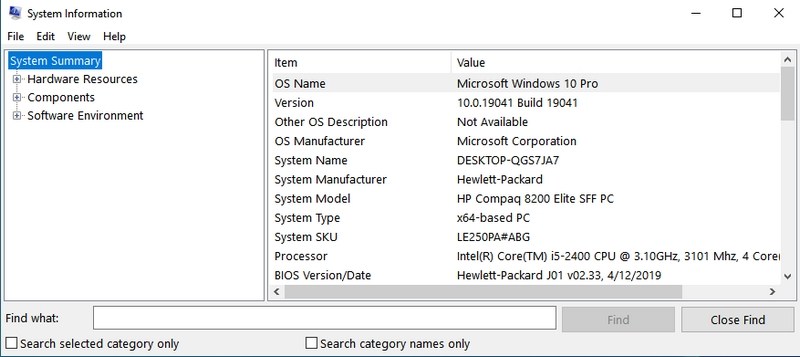
#3. Open System Information — “msinfo32”
System Information app offers extensive information about both the hardware and software of your PC. It’s a must-know command if you need to see the specs of any PC. The information is well laid out using dedicated categories, and you can export the information to a file to share with anyone — perfect for getting online tech assistance.
#4. Access Backup and Restore window — “sdclt”
It opens the backup and restores window where you can either set up a backup of your PC or restore it from an old backup if there is a problem with your PC.
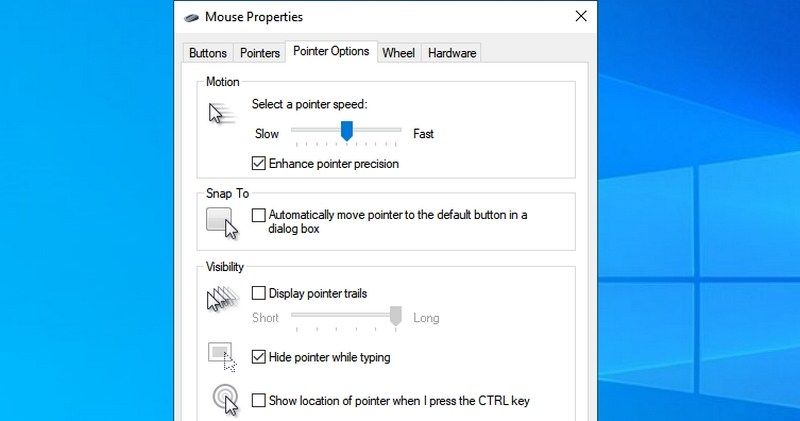
#5. Access mouse properties — “main.cpl”
You can control all the settings related to your computer mouse here. This includes mouse speed, buttons, wheel, and pointer, etc.
#6. Open Windows Registry — “regedit”
If you ever need to access the Windows registry to tweak something, this is the easiest way to do it. I didn’t even know other ways to access the Registry until recently, and I often mess around in the Registry. Other ways are simply too cumbersome to use.
#7. Access System Properties — “sysdm.cpl”
Another powerful settings window to manage system protection and remote connection features. I personally access it often to manage the Performance settings under the Advanced tab. You can manage some interesting performance-boosting options there.
#8. Manage Windows Power options — “powercfg.cpl”
You will find all the options to manage your PC’s power options here. There are a plethora of options to both save power or get better performance. Check this guide to optimize the power options as you find best.
#9. Open Windows Features — “optionalfeatures”
Here you can disable/enable some of the most advanced features of Windows. I wouldn’t recommend you to mess around here if you don’t know what you are doing. You will need to use this window if you ever need to enable features like Telnet client or Hyper-V.
#10. Open Magnifier — “magnify”
This opens the Windows magnifier to magnify the content on the screen up to 1600% if needed. It also has a screen reader built-in to read aloud text on the screen.
#11. Open Character Map app — “charmap”
Windows Character Maps lets you access All the characters in the font of your choice to easily use anywhere you like. You can either copy the character or learn its Alt code to enter anywhere you like. Using the search bar is the easiest way to find the character you need.
#12. Access Network Connections — “ncpa.cpl”
Here you can manage your current network connection and fix any problem with the network device. You can enable/disable the network, check the current status, bridge connections, or see your Wi-Fi password.
#13. Run Malicious Software Removal Tool — “mrt”
It’s an on-demand virus removal tool provided by Microsoft to scan your PC and find any malicious software. If you think your PC got infected by a virus, you can quickly launch this tool to scan your PC.
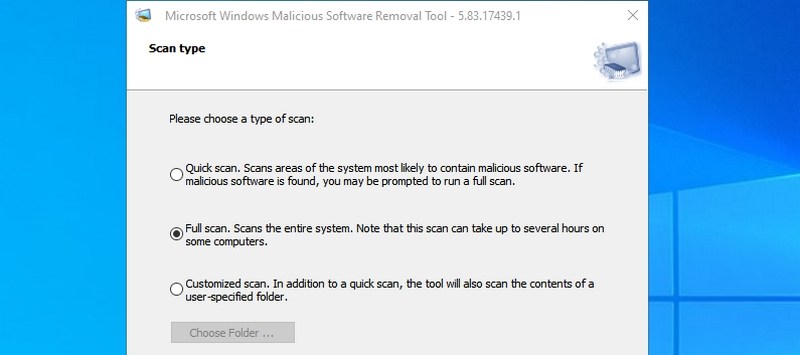
You can also consider installing antivirus software to keep your Windows computer safe.
#14. Open Device Manager — “devmgmt.msc”
Device Manager is the go-to place to manage everything related to your hardware components and their drivers. You can enable/disable hardware components or manage their drivers, like uninstalling or updating them.
#15. Manage User Accounts — “netplwiz”
You can quickly manage user accounts here, such as adding a new account or user account types like Administrator or Standard. You can also change the user accounts password here and manage their security.
#16. Open Services app — “services.msc”
This app lists all the services that work in the background without an interface and make all the features work in Windows. Again, you shouldn’t mess with any services if you don’t know what you are doing. However, you can click on a service to learn what it does in the left panel. There are many services that you can enable/disable depending on your need. For example, I have disabled the Bluetooth service as I don’t use it.
#17. Access Programs and Features window — “appwiz.cpl”
Although Windows 10 has its own setting to uninstall an app, I still use this command as it only shows third-party apps. The default Windows uninstaller shows all apps, including built-in apps, which are 30+. It can be difficult to always go through so many apps to uninstall a recently installed app. This command makes the process a snap.
#18. Open Control Panel — “control”
This command didn’t hold much value in the older version of Windows as you could easily access Control Panel using different ways. However, in Windows 10, Microsoft promotes the new Settings over the old Control Panel, so it doesn’t offer an easy way to access the Control Panel. This simple command lets you easily access it.
#19. Open current user folder — “.” (period)
We have to access the user folder quite often in Windows, but going through the explorer to access it isn’t needed. Just type a period in the Run dialog, and the current user’s folder will open up.
#20. Open On-Screen Keyboard — “osk”
If you want to use the on-screen keyboard, then using the Run command is one of the quickest ways to do it.
#21. Open Snipping Tool — “snippingtool”
Snipping Tool is still the go-to tool for taking screenshots in Windows 10 without using a third-party app. If you use the Snipping Tool for taking screenshots, then this Run command will make it easier.
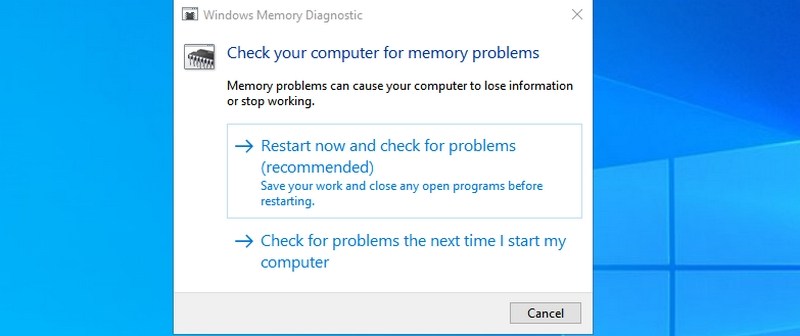
#22. Open Windows Memory Diagnostic — “mdsched”
If you think there is a problem with your RAM, this tool can check your RAM and possibly fix the problem or let you know there is an issue. If you start seeing sudden freezes or crashes, it could mean there is a problem with your RAM.
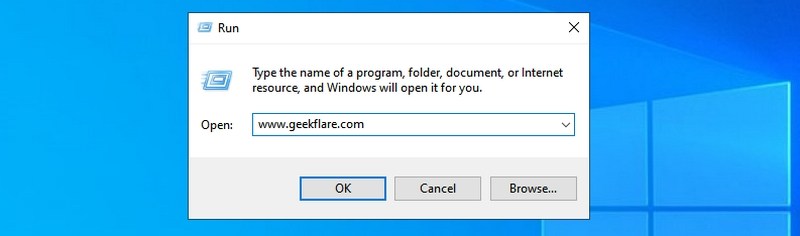
#23. Open any website — “Insert website URL”
You can also enter the URL of any website in the Run dialog, and it will open it in your default browser. For example, if you type www.geekflare.com in the Run command, it will open the Geekflare home page in your default browser.
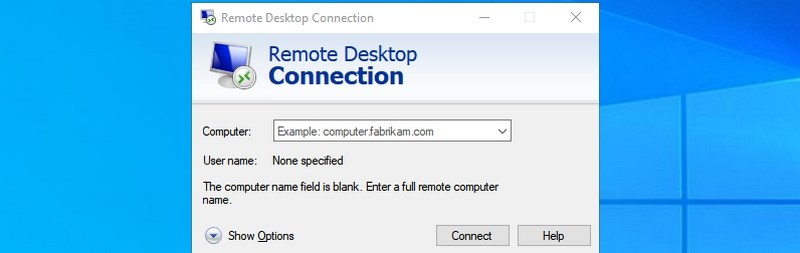
#24. Open Remote Desktop Connection — “mstsc”
You can use this feature to remotely connect to another PC and take full control over it. You’ll have to set up both PCs for the remote connection first, though. This Run command just makes the process easier.
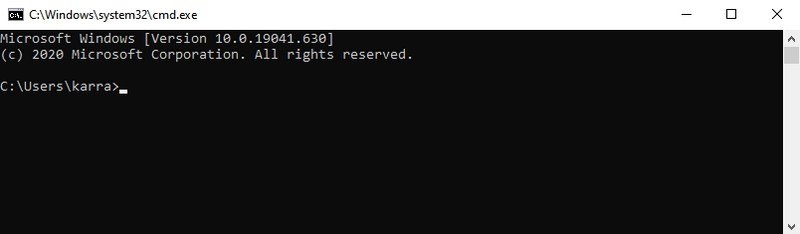
#25. Open Command Prompt — “cmd”
Unlike PowerShell, you can’t access the Command Prompt by right-clicking on the start menu anymore. If you prefer using the Command Prompt over PowerShell to execute commands, this is one of the easier ways to open the Command Prompt.
Wrapping up
The cool thing about Run is that it remembers all the commands you type in it. Therefore, you will only have to type the first letter to enter the command in the future.
I also believe Run commands are more important in Windows 10 as it heavily promotes the use of its default Settings app. Most of the settings and apps that I have mentioned above are more difficult to access Windows 10.
Next, explore some of the best NirSoft utilities for Windows.
6.1.5.4 Lab – Common Windows CLI Commands Answers

6.1.5.4 Lab – Common Windows CLI Commands Answers
Lab – Common Windows CLI Commands ( Answers Version )
Introduction
In this lab, you will use CLI commands to manage files and folders in Windows.
Recommended Equipment
Answers Note: The students can complete this lab from any of the four Windows operating systems. Also, students may need to change the example directory letter C if a different letter is used on the lab computers.
Step 1: Access the Windows command prompt.
- Log on to a computer as a user with administrative privileges. The account ITEUser is used as the example user account throughout this lab.
- To access the Windows command prompt in Windows 8, navigate to the Start screen and type Command Prompt. Click Command Prompt.
In Windows 7, click Start and type Command Prompt in the Search programs and files field. Click Command Prompt to continue.
In Windows Vista, click Start and type Command Prompt in the Start Search field. Click Command Prompt to continue.
Step 2: Display command help from the command prompt.
You can display command line help using the help command. For more information on a specific command, type the command followed by /?.
- At the command prompt, type help and press Enter. A list of commands is displayed.

6.1.5.4 Lab – Common Windows CLI Commands Answers 01
- Using the information displayed by the help command, explain the functions of the following commands:
| Command | Function |
| CD | Displays the name of or changes the current directory. |
| CHKDSK | Checks a disk and displays a status report. |
| COPY | Copies one or more files to another location. |
| DEL | Deletes one or more files. |
| DIR | Displays a list of files and subdirectories in a directory. |
| DISKPART | Displays or configures Disk Partition properties. |
| EXIT | Quits the CMD.EXE program. |
| FORMAT | Formats a disk for use with Windows. |
| GPRESULT | Displays Group Policy information for machine or user. |
| MD | Creates a directory. |
| TASKLIST | Display all currently running tasks including services. |
| RD | Removes a directory |
| ROBOCOPY | (Note, this command only works in Windows 7 and Vista): Advanced utility to copy files and directory trees. |
| SHUTDOWN | Allows proper local or remote shutdown of machine. |
| XCOPY | Copies files and directory trees. |

6.1.5.4 Lab – Common Windows CLI Commands Answers 02
Step 3: Create and change directories.
In this step, you will use the change directory (cd), make directory (md), and directory (dir) commands.
Note: A directory is another word for folder. Directory and folder are used interchangeably throughout this lab.
- Type cd at the command prompt. What is the current directory?____________________________________________________________________________________
Answers may vary. The current directory is C:\Users\ITEUser in this example. - Type dir at the command prompt to list the files and folders that are in the current folder.

6.1.5.4 Lab – Common Windows CLI Commands Answers 03

6.1.5.4 Lab – Common Windows CLI Commands Answers 04
Step 4: Create text files.
- Navigate to the C:\Users\ITEUser\ITEfolder1 directory. Type cd ITEfolder1 at the prompt.
- Type echo This is doc1.txt > doc1.txt at the command prompt. The echo command is used to display a message at the command prompt. The > is used to redirect the message from the screen to a file. For example, in the first line, the message This is doc1.txt is redirected into a new file named doc1.txt. Use the echo command and > redirect to create these files: doc2.txt, file1.txt, and file2.txt.

6.1.5.4 Lab – Common Windows CLI Commands Answers 05

6.1.5.4 Lab – Common Windows CLI Commands Answers 06
Step 5: Copy, delete, and move files.
- At the command prompt, type move doc2.txt C:\Users\ITEUser\ITEfolder2 to move the file doc2.txt to the C:\Users\ITEUser\ITEfolder2 directory.

6.1.5.4 Lab – Common Windows CLI Commands Answers 07

6.1.5.4 Lab – Common Windows CLI Commands Answers 08

6.1.5.4 Lab – Common Windows CLI Commands Answers 09
Step 6: Use the xcopy command.
In this step, the xcopy command is used to copy all the content in a directory and delete the empty directory.
- Verify the content of ITEfolder3. Type dir ..\ITEfolder3.

- Verify the content in ITEfolder1. Move all the files in this folder to ITEfolder2. Type move doc*.txt ..\ITEfolder2 to move the files.
- Type xcopy ..\ITEfolder3 . at the prompt to copy the content of ITEfolder3 to ITEfolder1. Note the . at the end of the command. It is a shortcut for the current directory.
- At the prompt, type dir to display the content of ITEfolder1. Only the files in the ITEfolder3 were copied into ITEfolder1. The directory ITEfolder4 was not copied into ITEfolder3.
- Use help xcopy to determine which switch would allow the xcopy command to copy all the files and directories.
- Because ITEfolder4 is an empty folder, /E is needed to copy all the content of ITEfolder3 and the empty subfolder.
Type xcopy /E ..\ITEfolder3 . at the prompt to copy the files. When prompted, type a to allow overwriting the existing files. - Verify the ITEfolder4 was also copied in ITEfolder1.


Step 7: Delete directories.
In this step, you will delete an empty and a non-empty directory using the rd command.
- Navigate to the C:\Users\ITEUser\ITEfolder3 directory.
- Use the rd ITEfolder4 to delete the empty directory. Verify the directory removal using the dir command.
- Navigate to C:\Users\ITEUser folder.
- Use the rd ITEfolder2 to delete the non-empty directory. The message indicates that the directory is not empty and cannot be deleted.
- Use rd /? command to determine the switch that allows the deletion of a non-empty directory.
- Type rd /S ITEfolder2 to delete this folder. When prompted, type y to delete the directory. Use dir to verify that ITEfolder2 was deleted.
- Type exit to close the command prompt window.


Reflection
What are the advantages of using CLI vs. GUI?
Answers may vary. For example, the commands in the CLI in Windows have not changed in the different Windows versions. The GUI interfaces in different Windows versions have changed dramatically.


