- Compiling command line Linux program on Windows [duplicate]
- 4 Answers 4
- Linux-разработка в Windows с WSL и Visual Studio Code Remote
- Первым делом: установка необходимых компонентов
- Windows Subsystem for Linux
- Visual Studio Code
- На старт, внимание, Linux!
- Это не просто изолированный Python, вы можете использовать VSCode Remote и WSL в любом Linux-проекте
- compiling+distributing Linux code on Windows
- 1 Answer 1
- getopt.h: Compiling Linux C-Code in Windows
- 9 Answers 9
- Приступая к работе с Visual Studio Code с подсистемой Windows для Linux Get started using Visual Studio Code with Windows Subsystem for Linux
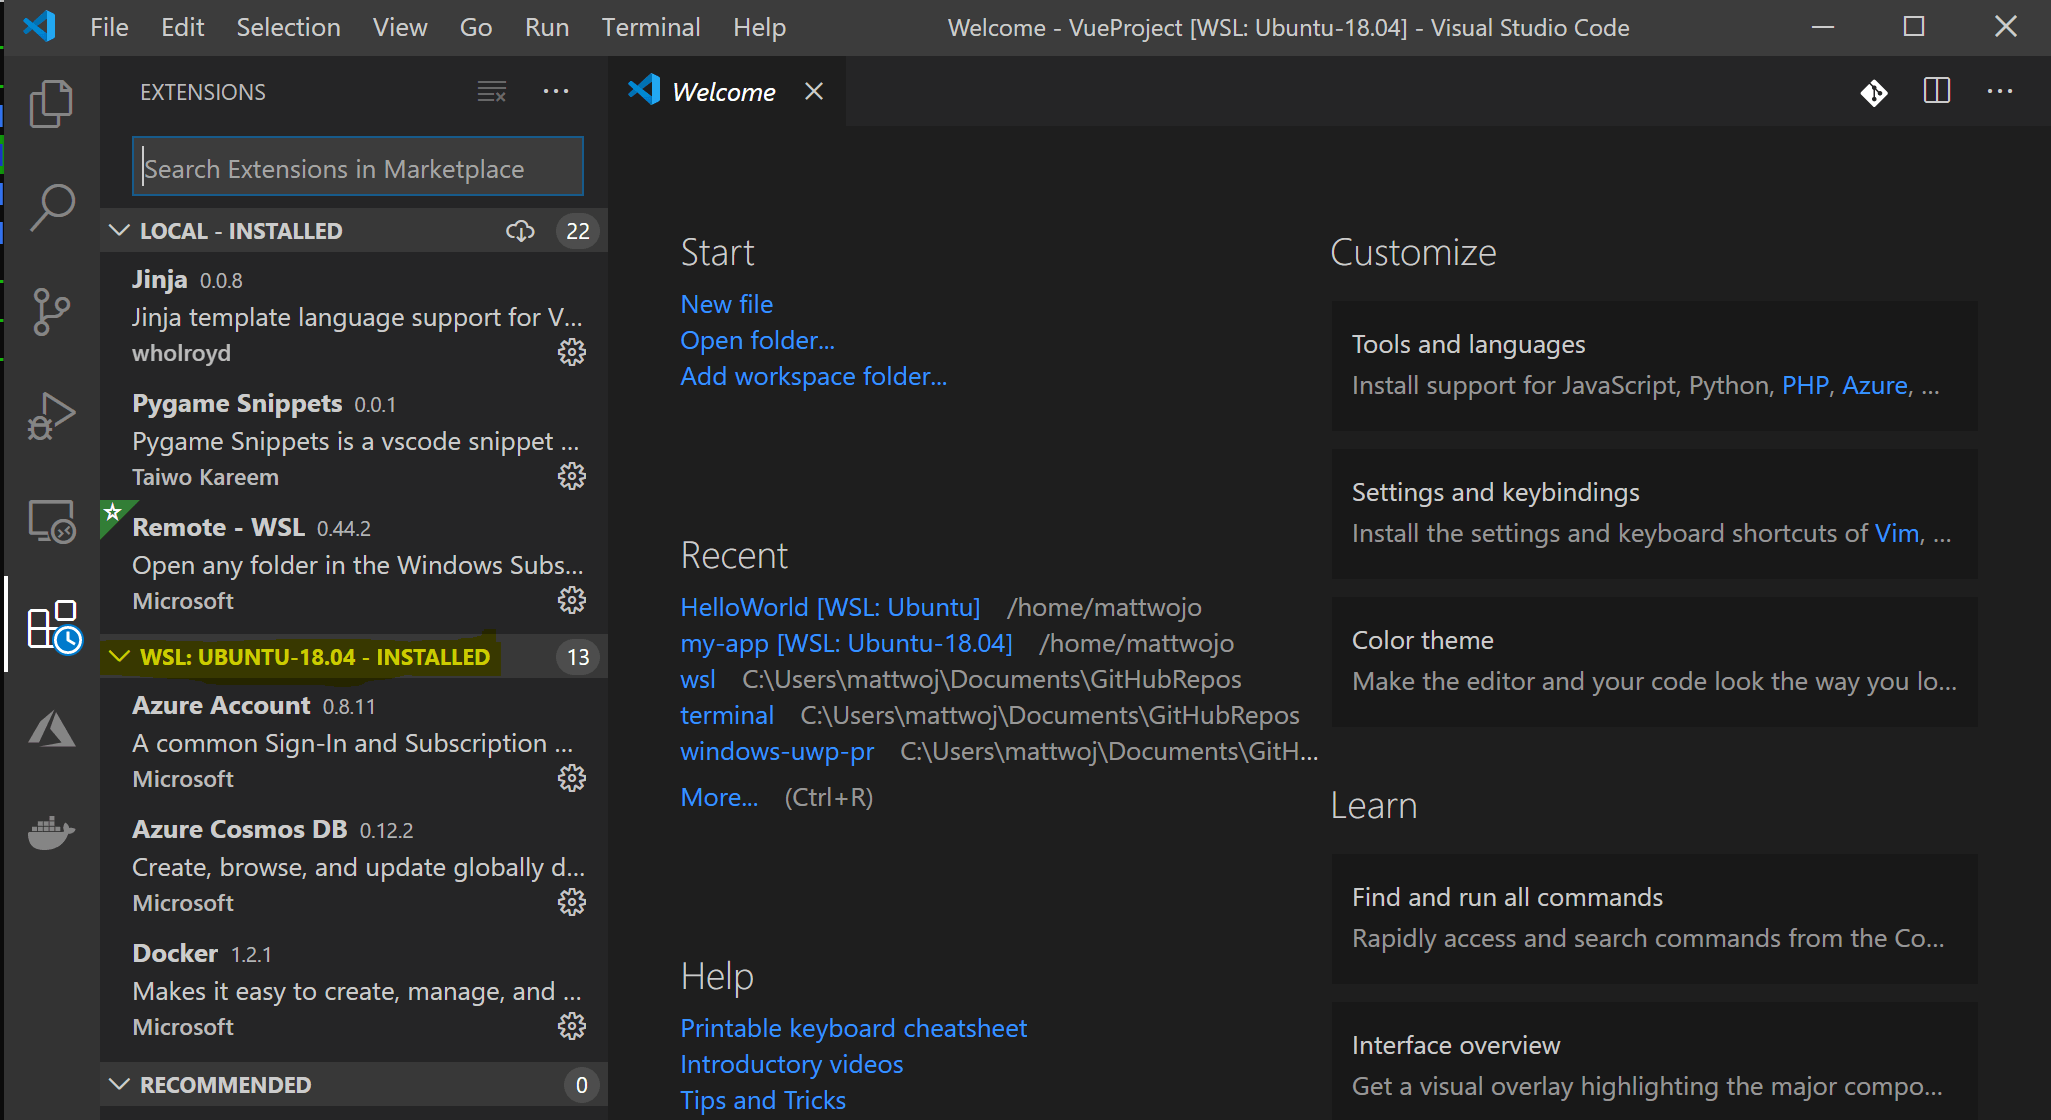
- Установка VS Code и расширения Remote WSL Install VS Code and the Remote WSL extension
- Обновление дистрибутива Linux Update your Linux distribution
- Откройте проект WSL в Visual Studio Code Open a WSL project in Visual Studio Code
- Из командной строки From the command-line
- Из VS Code From VS Code
- Расширения в VS Code Remote Extensions inside of VS Code Remote
- Установка Git (необязательно) Install Git (optional)
- Установка Терминала Windows (необязательно) Install Windows Terminal (optional)
- Дополнительные ресурсы Additional Resources
Compiling command line Linux program on Windows [duplicate]
I need to write a relatively simple command line C++ program to be run a Linux environment. However, I would like to code as well as compile this on Windows. The reason I don’t want to port it to Linux is because it requires MySQL interactions, and that would require some messy porting (IMO). It does not have to run on Windows; I just want to compile it on Windows because I want to use my preferred IDE’s.
I’ve looked up on Cygwin for this task, but I haven’t been able to find any documentation to do what I’m trying to do.

4 Answers 4
(I’m assuming «..don’t want to port it to Linux..» is a typo for «..from Linux» and that you want the code to run in Linux as you said in your first sentence. This means cygwin or mingw would only be used as cross compilers and aren’t going to be very useful.)
This program already builds and works (or mostly works) on Linux, right? No reason to change that. Use your preferred editor (probably the one in your IDE) to edit the files and then just run the build system (probably make) in a Linux system (possibly in a VM). Export the files using a samba share (especially easy from a VM) so you can edit and automatically save remotely.
Note that you seem fine ditching every other feature of your IDE (debugger and compiler, mainly) and just using the editor part anyway.
Ah, are you not starting from any existing project and want to write this from scratch? If so, porting doesn’t make any sense. You want to write cross-platform code. (Cross-platform or «portable code» being related to, but different than, the act of «porting code» from one platform to another.)
The code is then both «Windows code» and «Linux code» at the same time, and you can use any compiler on Windows that can accept the code. Usually this happens by you sticking to standard libraries and other portable libraries, or writing shims for non-portable libraries to give them a portable interface, with the compiler supporting the C++ Standard.
You can use your preferred IDE’s compiler and debugger in this case, and don’t need cygwin or mingw. (Unless they’re used by your preferred IDE. :P)
Linux-разработка в Windows с WSL и Visual Studio Code Remote
Работа с VS Code Remote и Windows Subsystem for Linux (WSL) дает возможность использовать полнофункциональную среду разработки Linux на ноутбуке или десктопе с предустановленной Windows. В этом материале рассмотрим то, как использовать эти инструменты для разработки приложений на Python в Linux.

Первым делом: установка необходимых компонентов
Чтобы выполнить все действия описанные в данной статье, вам понадобятся WSL и VS Code с установленным расширением VS Code Remote — WSL. Давайте быстро рассмотрим, что это такое и как это установить.
Windows Subsystem for Linux
Инструмент Windows Subsystem for Linux, сокращённо WSL, позволяет запускать неизмененные двоичные файлы Linux непосредственно в Windows. Это означает, что вы можете использовать ваши любимые инструменты Linux, приложения командной строки и рабочие процессы на вашем компьютере с Windows, без необходимости использовать сложные настройки, такие как Dual Boot. А лучше всего то, что WSL является тесно интегрированным решением между Windows и Linux. Иначе говоря, если вы любите Linux, то вы можете получить доступ ко всем файлам и исполняемым файлам Windows прямо из оболочки bash, а если вы любите Windows, то вы можете легко получить доступ к двоичным файлам и файлам Linux из PowerShell или CMD.
Если вы новичок в WSL и хотите узнать больше, то можете пройти наш полный курс: Начало работы с подсистемой Windows для Linux, либо ознакомиться только с инструкцией по установке в документации WSL.
Visual Studio Code
Visual Studio Code является легким, но мощным редактором кода, который работает на десктопе и доступен на Windows, macOS и Linux. Он поставляется со встроенной поддержкой JavaScript, TypeScript и Node.js, а также имеет богатую экосистему расширений для других языков (таких как C++, C#, Java, Python, PHP, Go) и сред выполнения (таких как .NET и Unity). Загрузите и начните свое путешествие с VS Code.
Вам также потребуется расширение VS Code Remote — WSL, которое позволяет использовать контейнер, удаленный компьютер или Windows Subsystem for Linux (WSL) в качестве полнофункциональной среды разработки. Чтобы узнать больше и начать работу, посетите страницу с документацией по VS Code Remote.
На старт, внимание, Linux!
Вместо написания длинного раздела по началу работы с VS Code Remote в WSL, мы решили снять это небольшое видео, демонстрирующее ведение разработки на Python в WSL, с использованием VS Code Remote.
Это не просто изолированный Python, вы можете использовать VSCode Remote и WSL в любом Linux-проекте
При использовании VS Code Remote в WSL команды и расширения запускаются непосредственно в дистрибутиве Linux, поэтому вам не нужно беспокоиться о проблемах двоичной совместимости или других проблемах, связанных с кросс-ОС. Вы можете использовать VS Code в WSL так же, как и в Windows.
VS Code Remote и WSL меняют правила игры, когда дело доходит до разработки под Linux на Windows. Эти инструменты позволяют разрабатывать, запускать и отлаживать тонны приложений Linux непосредственно на вашем компьютере с Windows, предоставляя вам лучшее из среды Windows и Linux.
Если вы желаете узнать больше о Windows Subsystem for Linux и все о командной строке Windows, то следите за обновлениями в этом блоге! А если вам интересно узнать больше о VS Code Remote, вы можете прочитать статью в блоге здесь и обширную документацию, охватывающую архитектуру, здесь.
Мы рады представить вам мощную комбинацию из VS Code Remote и WSL!
compiling+distributing Linux code on Windows
I have a larger code running in Linux, written in c++ (c++11) and python and using numerous libraries (VTK, boost, pyqt, OpenGL) and compiles to python extension modules (and plugins of those modules) and pure python modules (the main program is a python script). The code is cross-platform (with a few exceptions, like dlopen , gettimeofday which can be replaced by windows equivalents via #ifdef’s) and compiler-agnostic (it compiles with -ansi , and a few compiler-specific things like __attribute__ can also be, hopefully, replaced, if needed).
I am cosindering attempting compilation on Windows, but I am totally lost on how should I proceed (I am fairly experienced with development in Linux, but I have not used Windows since late 90s).
Should I go for mingw or MSVC compiler? Would I be better of to cross-compile? Do I need to install dependencies «by hand» by downloading installers from the web; do I need to compile those as well? Are there standard paths for include files, or are all of them to be detected? If I ever manage to compile it, how can make some sort of package (it is a bundle of pure-python modules and shared libs)?
I assume I am not the first one who is trying to see how it works under Windows (I reckon I am spoiled by package managers and all dev-friendly things in Linux), perhaps there is a helpful reference somewhere.
1 Answer 1
I think your choice here depends on your goals for compiling under Windows. Are you preparing to involve other developers that can choose their development platform? Do you want to use a different compiler for additional warnings generation? Are you looking to deploy the application on the windows platform? Asking these kinds of questions should help you make a more informed decision.
Here are some suggestions.
- It doesn’t hurt to try MSVC. The 2010 express edition is the last free edition to support standard C++ development. Future express editions are for «Metro» apps only. I would weigh that against your goals for Windows development and choose accordingly.
- For a cross platform build, see if you can implement a standardized build system such as CMake or SCons.
- I wouldn’t ship with dependencies, regardless of the final decision. It is standard practice for Open Source to require developers to download dependencies individually. Just be sure to include version information for anything where the current stable release is not backwards compatible with your application. (Or even better, FIX those problems so you get the benefit of the latest fixes in 3rd party code.) Python, at the very least, should be the responsibility of the developer. It is meant to be installed, and pywin32 extensions will register COM items in the system registry on a Windows installation.
- As far as recruiting Open Source developers, you may find that requiring MinGW to be installed on a developer’s machine will discourage some of the dedicated MSVC users from working on the project.
getopt.h: Compiling Linux C-Code in Windows
I am trying to get a set of nine *.c files (and nine related *.h files) to compile under Windows.
The code was originally designed in Linux to take command line arguments using the standard GNU-Linux/C library «getopt.h». And that library does not apply to building the C-code in Windows.
I want to ignore what my code does right now and ask the following question. For those of you familiar with this C-library «getopt.h»: will it be possible to build and run my code in Windows if it depends on POSIX-style command-line arguments? Or will I have to re-write the code to work for Windows, passing input files differently (and ditching the «getopt.h» dependency)?
9 Answers 9
You are correct. getopt() is POSIX, not Windows, you would generally have to re-write all command-line argument parsing code.
Fortunately, there is a project, Xgetopt, that is meant for Windows/MFC classes.
If you can get this working in your project, it should save you a fair bit of coding and prevent you from having to rework all parsing.
Additionally, it comes with a nice GUI-enabled demo app that you should find helpful.

getopt() is actually a really simple function. I made a github gist for it, code from here is below too

There is a possibilty to use code from MinGW runtime (by Todd C. Miller):
I have created a small library with these files and CMake script (can generate a VS project):
I did compile the getopt code under windows.
I did this as I wanted to explicilty use its command line parsing functionality in a windows (command line) app.
I successfully did this using VC2010 .
As far as I remember I ran into no significant issues doing so.

if you just want getopt to be used in visual c++ without other dependences, I have port the getopt.c from latest gnu libc 2.12, with all new features.The only difference is you have to use TCHAR instead of char,but This is very common in windows.
simply download the source, make, copy libgetopt.lib and getopt.h getopt_int.h to your project.
you can also make it using CMakeList.txt in the root dir.
You might try looking into glib-2.0 as an alternative. It would be a bit large for just needing an option parser. The up side would be having access to all the other wonderful toys in the glib.
Just to be honest, I haven’t tried getting this to work (I stick mostly to Linux), so YMMV.
Getting glib to work in windows: HowTo
Oh, you might explore using mingw for the build environment, and visual studio for your IDE.
Anywho, hope this helps.
The getopt.h exists in git, I have download it and it works for me:

From my reading of the documentation the header file getopt.h is specific to the GNU C library as used with Linux (and Hurd). The getopt function itself has been standardised by POSIX which says it should be declared, along with optind optarg etc. in unistd.h
I can’t try this on Visual Studio myself but it would be worth checking if unistd.h exists and declares this function as Visual Studio does provides some other POSIX functions.
If not, then I’d definitely grab an implementation of getopt rather than re-write the argument parsing to work without it. Getopt was written to make things easier for the programmer and more consistent for user of programs with command line arguments. Do check the license, though.
Приступая к работе с Visual Studio Code с подсистемой Windows для Linux Get started using Visual Studio Code with Windows Subsystem for Linux
Visual Studio Code, вместе с расширением Remote-WSL, позволяет использовать WSL в качестве среды разработки для полной времени непосредственно из VS Code. Visual Studio Code, along with the Remote — WSL extension, enables you to use WSL as your full-time development environment directly from VS Code. Вы можете: You can:
- Разработка в среде под управлением Linux develop in a Linux-based environment
- Использование цепочек инструментов и служебных программ для Linux use Linux-specific toolchains and utilities
- Запуск и отладка приложений Linux с помощью Windows с сохранением доступа к средствам повышения производительности, таким как Outlook и Office run and debug your Linux-based applications from the comfort of Windows while maintaining access to productivity tools like Outlook and Office
- Использование встроенного терминала VS Code для запуска дистрибутива Linux по выбору use the VS Code built-in terminal to run your Linux distribution of choice
- Воспользуйтесь преимуществами VS Code функций, таких как завершение кода IntelliSense, linting, Поддержка отладки, фрагменты кодаи модульное тестирование . take advantage of VS Code features like Intellisense code completion, linting, debug support, code snippets, and unit testing
- Простота управления версиями с помощью встроенной поддержки Git VS Code easily manage your version control with VS Code’s built-in Git support
- выполнение команд и VS Code расширений непосредственно в проектах WSL run commands and VS Code extensions directly on your WSL projects
- Измените файлы в Linux или смонтированной файловой системе Windows (например,/МНТ/к), не беспокоясь о проблемах с путями, двоичной совместимости или других задачах, связанных с разными операционными системами. edit files in your Linux or mounted Windows filesystem (for example /mnt/c) without worrying about pathing issues, binary compatibility, or other cross-OS challenges
Установка VS Code и расширения Remote WSL Install VS Code and the Remote WSL extension
Перейдите на страницу установки VS Code и выберите двоичный установщик 32 или 64. Visit the VS Code install page and select the 32 or 64 bit installer. Установите Visual Studio Code в Windows (не в файловой системе WSL). Install Visual Studio Code on Windows (not in your WSL file system).
При появлении запроса на Выбор дополнительных задач во время установки обязательно установите флажок Добавить в путь , чтобы можно было легко открыть папку в WSL с помощью команды Code. When prompted to Select Additional Tasks during installation, be sure to check the Add to PATH option so you can easily open a folder in WSL using the code command.
Установите Пакет расширений для удаленной разработки. Install the Remote Development extension pack. Этот пакет расширений включает расширение Remote-WSL в дополнение к расширениям Remote-SSH и Remote-Container, что позволяет открывать любую папку в контейнере, на удаленном компьютере или в WSL. This extension pack includes the Remote — WSL extension, in addition to the Remote — SSH, and Remote — Containers extensions, enabling you to open any folder in a container, on a remote machine, or in WSL.
Чтобы установить расширение Remote-WSL, потребуется версия 1,35 или более поздняя VS Code. In order to install the Remote-WSL extension, you will need the 1.35 May release version or later of VS Code. Не рекомендуется использовать WSL в VS Code без расширения Remote-WSL, так как будет потеряна поддержка автоматического завершения, отладки, linting и т. д. Забавный факт. это расширение WSL устанавливается в $HOME/.вскоде/екстенсионс (введите команду ls $HOME\.vscode\extensions\ в PowerShell). We do not recommend using WSL in VS Code without the Remote-WSL extension as you will lose support for auto-complete, debugging, linting, etc. Fun fact: this WSL extension is installed in $HOME/.vscode/extensions (enter the command ls $HOME\.vscode\extensions\ in PowerShell).
Обновление дистрибутива Linux Update your Linux distribution
В некоторых дистрибутивах WSL Linux отсутствуют библиотеки, необходимые для запуска сервера VS Code. Some WSL Linux distributions are lacking libraries that are required by the VS Code server to start up. Вы можете добавить дополнительные библиотеки в дистрибутив Linux с помощью диспетчера пакетов. You can add additional libraries into your Linux distribution by using its package manager.
Например, чтобы обновить Debian или Ubuntu, используйте: For example, to update Debian or Ubuntu, use:
Чтобы добавить wget (для получения содержимого с веб-серверов) и CA-Certificates (чтобы разрешить приложениям на основе SSL проверять подлинность SSL-соединений), введите: To add wget (to retrieve content from web servers) and ca-certificates (to allow SSL-based applications to check for the authenticity of SSL connections), enter:
Откройте проект WSL в Visual Studio Code Open a WSL project in Visual Studio Code
Из командной строки From the command-line
Чтобы открыть проект из дистрибутива WSL, откройте командную строку распространения и введите: code . To open a project from your WSL distribution, open the distribution’s command line and enter: code .

Из VS Code From VS Code
Кроме того, можно получить доступ к дополнительным VS Code удаленным параметрам с помощью ярлыка: CTRL+SHIFT+P в VS Code, чтобы открыть палитру команд. You can also access more VS Code Remote options by using the shortcut: CTRL+SHIFT+P in VS Code to bring up the command palette. Если затем ввести, Remote-WSL вы увидите список доступных VS Code удаленных параметров, что позволит повторно открыть папку в удаленном сеансе, указать, какое распространение следует открыть в, и многое другое. If you then type Remote-WSL you will see a list of the VS Code Remote options available, allowing you to reopen the folder in a remote session, specify which distribution you want to open in, and more.

Расширения в VS Code Remote Extensions inside of VS Code Remote
Расширение Remote-WSL разделяет VS Code в архитектуру «клиент-сервер» с помощью клиента (пользовательского интерфейса), работающего на компьютере Windows, и сервера (код, Git, подключаемые модули и т. д.), запускаемые удаленно. The Remote-WSL extension splits VS Code into a “client-server” architecture, with the client (the user interface) running on your Windows machine and the server (your code, Git, plugins, etc) running remotely.
При запуске VS Code удаленно на вкладке «расширения» отобразится список расширений, разделенных между локальным компьютером и дистрибутивом WSL. When running VS Code Remote, selecting the ‘Extensions’ tab will display a list of extensions split between your local machine and your WSL distribution.
Установка локального расширения, например темы, должна быть установлена только один раз. Installing a local extension, like a theme, only needs to be installed once.
Некоторые расширения, такие как расширение Python или все, что обрабатывает такие действия, как linting или Отладка, должны устанавливаться отдельно на каждом удаленном распределении WSL. Some extensions, like the Python extension or anything that handles things like linting or debugging, must be installed separately on each remote WSL distributions. VS Code отобразит значок предупреждения ⚠ , а также зеленую кнопку «установить в WSL», если установлено локальное расширение, которое не установлено на удаленном компьютере WSL. VS Code will display a warning icon ⚠, along with a green «Install in WSL» button, if you have an extension locally installed that is not installed on your WSL Remote.
Дополнительные сведения см. в VS Code документах: For further information, see the VS Code docs:
При запуске VS Code Remote в WSL сценарии запуска оболочки запускаться не будут. When VS Code Remote is started in WSL, no shell startup scripts are run. Дополнительные сведения о выполнении дополнительных команд или изменении среды см. в этой статье о сценариях расширенной настройки среды . See this advanced environment setup script article for more info on how to run additional commands or modify the environment.
Возникли проблемы при запуске VS Code из командной строки WSL? Having problems launching VS Code from your WSL command line? В этом руководство по устранению неполадок содержатся советы по изменению переменных пути, устранению ошибок расширения, связанных с отсутствием зависимостей, устранению проблем с завершением строк Git, установке локального VSIX на удаленном компьютере, запуску окна браузера, порту localhost для блокировки, веб-сокеты не работают, ошибки при хранении данных расширения и многое другое. This troubleshooting guide includes tips on changing path variables, resolving extension errors about missing dependencies, resolving Git line ending issues, installing a local VSIX on a remote machine, launching a browser window, blocker localhost port, web sockets not working, errors storing extension data, and more.
Установка Git (необязательно) Install Git (optional)
Если вы планируете работать совместно с другими пользователями или размещать проект на сайте с открытым исходным кодом (например, GitHub), примите во внимание, что VS Code поддерживает управление версиями с помощью Git. If you plan to collaborate with others, or host your project on an open-source site (like GitHub), VS Code supports version control with Git. Вкладка системы управления версиями в VS Code отслеживает все изменения и содержит общие команды Git (добавление, фиксация, принудительная отправка, извлечение) прямо в пользовательском интерфейсе. The Source Control tab in VS Code tracks all of your changes and has common Git commands (add, commit, push, pull) built right into the UI.
Установка Терминала Windows (необязательно) Install Windows Terminal (optional)
Новый терминал Windows включает несколько вкладок (для быстрого переключения между командной строкой, PowerShell или несколькими дистрибутивами Linux), настраиваемыми пользовательскими привязками клавиш (создайте собственные сочетания клавиш для открытия и закрытия вкладок, копирования и вставки и т. д.), эмодзи ☺ и пользовательские темы (цветовые схемы, стили и размеры шрифтов, фоновое изображение, размытие и прозрачность). The new Windows Terminal enables multiple tabs (quickly switch between Command Prompt, PowerShell, or multiple Linux distributions), custom key bindings (create your own shortcut keys for opening or closing tabs, copy+paste, etc.), emojis ☺, and custom themes (color schemes, font styles and sizes, background image/blur/transparency). Дополнительные сведения см. в документации по терминалу Windows. Learn more in the Windows Terminal docs.
Скачайте Терминал Windows из Microsoft Store: При установке через магазин обновления выполняются автоматически. Get Windows Terminal in the Microsoft Store: By installing via the store, updates are handled automatically.
После установки откройте Терминал Windows и щелкните Параметры, чтобы настроить Терминал использовать файл profile.json . Once installed, open Windows Terminal and select Settings to customize your terminal using the profile.json file.
Дополнительные ресурсы Additional Resources
К дополнительным рекомендуемым расширениям относятся следующие: A few additional extensions you may want to consider include:
- Раскладки клавиатуры других редакторов — эти расширения позволят использовать необходимую раскладку при переходе в другой текстовый редактор (например, Atom, Sublime, Vim, eMacs, Notepad++ и т. п.). Keymaps from other editors: These extensions can help your environment feel right at home if you’re transitioning from another text editor (like Atom, Sublime, Vim, eMacs, Notepad++, etc).
- Расширение синхронизации параметров — позволяет синхронизировать параметры VS Code в разных установках, используя GitHub. Settings Sync: Enables you to synchronize your VS Code settings across different installations using GitHub. Если вы работаете на разных компьютерах, это обеспечит согласованность среды между ними. If you work on different machines, this helps keep your environment consistent across them.
- Отладчик для Chrome: после завершения разработки на стороне сервера с Linux необходимо разработать и протестировать клиентскую часть. Debugger for Chrome: Once you finish developing on the server side with Linux, you’ll need to develop and test the client side. Это расширение интегрирует редактор VS Code со службой отладки браузера Chrome, что увеличивает эффективность выполнения операций. This extension integrates your VS Code editor with your Chrome browser debugging service, making things a bit more efficient.
—>


