- Export and copy Group Policy settings to another Windows 10 PC
- Exporting Group Policy settings in Windows 10-
- 3 Methods to Backup/Copy User Profile in Windows 10
- The need to backup user profile Windows 10
- Way 1. Backup user profile Windows 10 via Windows backup utility
- To backup user profile in Windows 10 with Backup and Restore utility:
- Restore the user profile in Windows 10:
- Way 2. Copy user profile Windows 10 with advanced system properties
- Steps to copy user profile Windows 10 to another computer/user:
- Way 3. Backup user profile in Windows 10 with free backup software
- To backup user profile in Windows 10 with AOMEI Backupper:
- Conclusion
- Как исправить неработающую функцию копирования и вставки в Windows 10?
- 1. Перезапустите rdpclip.exe
- 2. Перезапустите Explorer.exe
- 3. Исправить проблему с копированием в конкретном приложении
- 4. Очистить историю буфера обмена
- How to Copy Region and Language Settings in Windows 10
- About Sergey Tkachenko
- 3 thoughts on “ How to Copy Region and Language Settings in Windows 10 ”
Export and copy Group Policy settings to another Windows 10 PC
August 14, 2020 By Sambit Koley
If you want to import or export Group policies from another computer to your own system, here is the simplest process you are looking for. Importing or exporting Group policies will save you a lot amount of time and effort, as simply copy-pasting these policies on your target pc will allow you to retain the same Group Policy on all of your Windows 10 devices.
Exporting Group Policy settings in Windows 10-
You will need an additional USB drive to move the files from one computer to another.
1. At first, you will need to plug in the USB drive to your computer.
2. Press Windows key+R to launch Run window on your computer.
3. In Run window, copy-paste or type this folder location and then hit Enter.
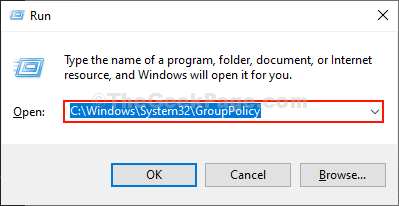
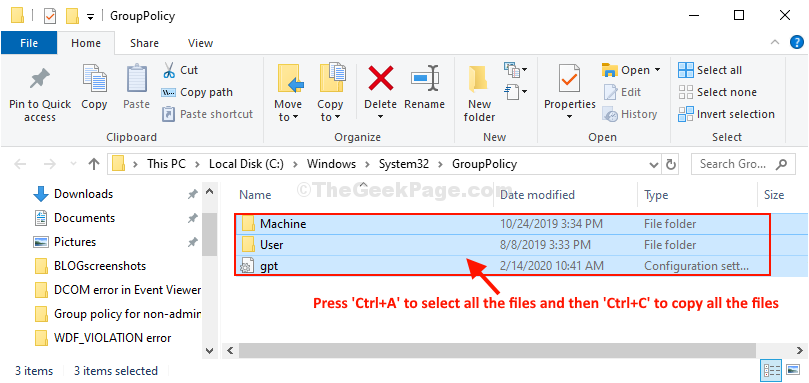
Group Policy folder will be opened.
4. Now, press Ctrl+A to select all the files of the Group Policy folder and then press Ctrl+C to copy all of the files to the USB drive.
5. Then, eject out the USB drive from your computer.
Now, go to the target computer and plug in the USB drive.
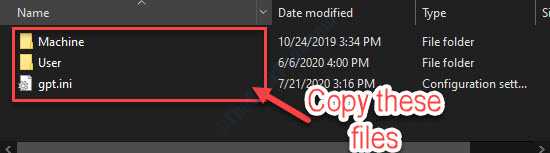
6. Open the USB drive on this computer. Now, copy the files from the USB drive.
7. In the target computer, press Windows key+R to launch the Run window on your computer.
8. In the Run window, type this folder location and then hit Enter.
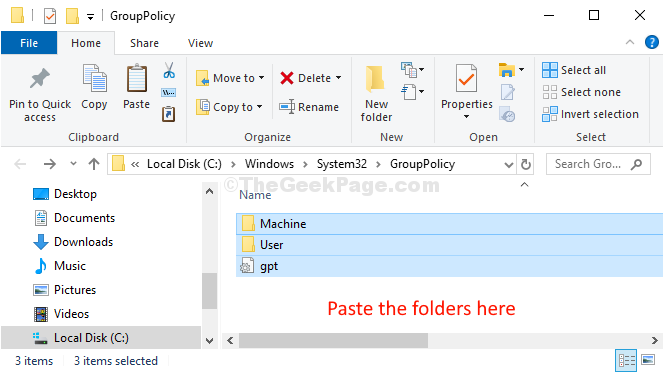
Group Policy folder will be opened in the target pc.
9. Now, press Ctrl+V to paste the folders at the destination location.
Now, you have to force Group Policy Update on your target computer in order to let the changes take effect.
10. Search “cmd” in the Search box beside the Windows icon.
11. Then, right-click on “Command Prompt” in the elevated search result and choose “Run as administrator“.
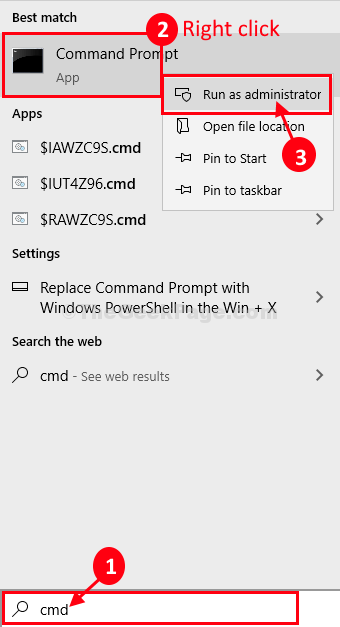
Command Prompt with administrative rights will be opened.
8. To force update the Group Policy services, copy-paste this command in Command Prompt window, and hit Enter.

9. Group Policy will be updated.
Upon the completion of force adaptation of Group Policy, this message will appear-
Updating Policy…The User Policy update has completed successfully. The computer Policy update has completed successfully.
10. Restart your computer to save the changes on your computer.
That’s it! You have similar Group Policy settings on both of your computers.

Sambit is a Mechanical Engineer By qualification who loves to write about Windows 10 and solutions to weirdest possible problems.
3 Methods to Backup/Copy User Profile in Windows 10
Don’t want to spend hours customizing the new Windows 10 computer? This guide will tell you how to backup and restore user profile in Windows 10.

By AOMEI  / Last Updated March 16, 2021
The need to backup user profile Windows 10
The user profile is a record of user-specific data that define the user’s working environment. It stores various settings and information related to the user account, such as the display settings, application settings, network connections, etc. Since the user profile has all your important documents and configurations, it’s necessary to make a backup.
◉ On the one hand, when you perform a Windows 10 update, there are chances that some folder will get re-written abnormally. Besides, some unexpected issues like ransomware virus may prevent you from accessing the user profile. Therefore, in any matters, you should have your users’ data backed up.
в—‰ On the other hand, when you buy a new computer or fresh install Windows on a new hard disk drive (HDD) or solid state drive (SSD). It may take considerable time to customize a new Windows 10 computer to exactly the way you want it. To avoid that, you can choose to backup and restore user profile in Windows 10.
To help you finish the job, we will introduce 3 methods in this post toВ help you backup user profile in Windows 10, and also the approach toВ copy user profile in Windows 10 to another computer/user.
Way 1. Backup user profile Windows 10 via Windows backup utility
In Windows 10, you can use the old Backup and Restore (Windows 7) tool to backup your data including user profile. It is recommended to backup to network drive, external hard drive or other offsite location. If you want to directly migrate user profile in Windows 10 to another user or computer, please move to method 2.
To backup user profile in Windows 10 with Backup and Restore utility:
1. Navigate to Control PanelВ > System and Security > Backup and Restore (Windows 7).
2. In the Backup and Restore (Windows 7) window, click Set up backup on the right.
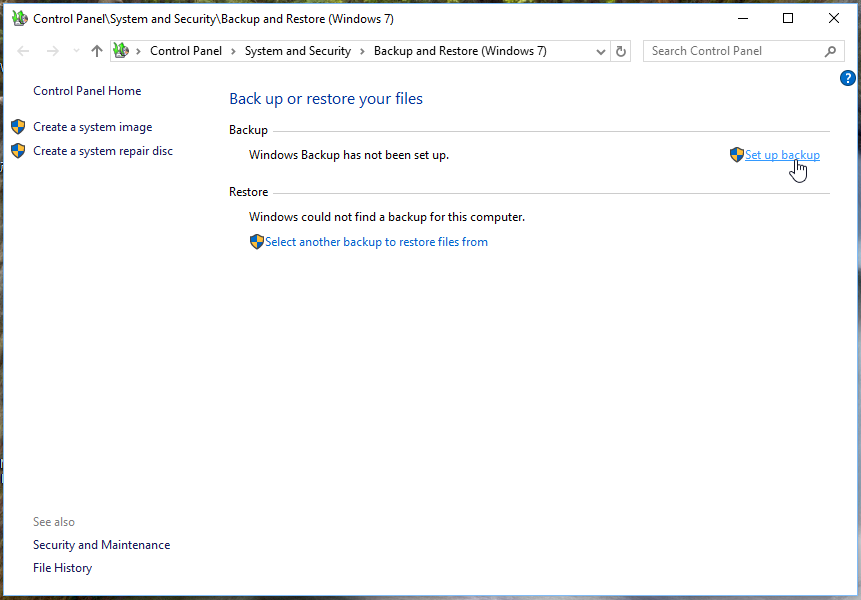
Note: If you’ve already set up a backup schedule, you will see a different window. In that case, click the Options button and choose Change backup settings to make it.
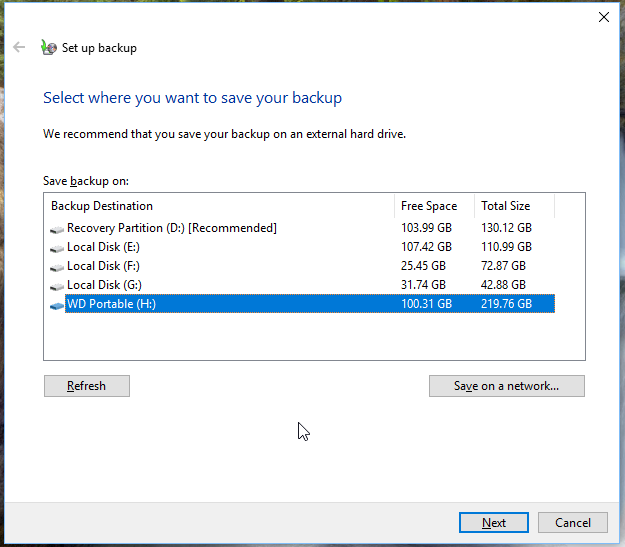
3. Select the location to save the Windows 10 user profile backup and click Next to continue. If you want to backup computer to external hard drive in Windows 10, select the external drive at this step.
4. In the next screen, select Let me choose and click Next.
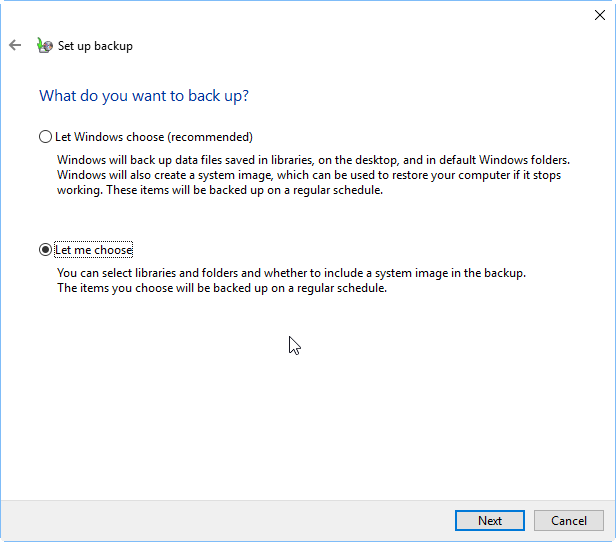
5. By default, it has selected all the of created users profiles and system drive(s). If you only want to backup user profile, uncheck the option “Include a System Image ”.
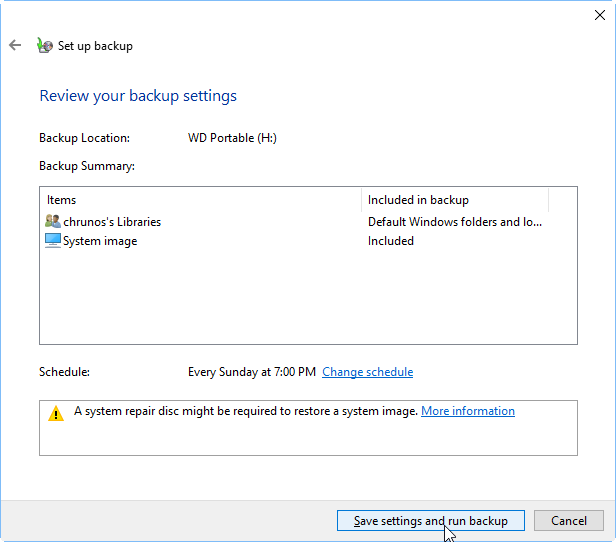
6. In the next screen, it will give you a summary of this backup operation. If no issues, click Save settings and run backup.
Restore the user profile in Windows 10:
1.В Plug in the storage device with the user profile.
2.В Go to Control Panel> System and Security> Backup and Restore (Windows 7).
3.В Click Select another backup to restore files fromВ > choose the right backup > click Next.
4.В Click Browse for foldersВ to select your user profile folder.
5. Finally, choose the location to restore the user profile. Please make sure to tick “In the original location” and click Restore to make it.
Way 2. Copy user profile Windows 10 with advanced system properties
Windows provides a built-in tool copy, delete or move a user profile. If you do not need an image file and just want to copy user profile in Windows 10 to another hard drive,В to another computer or to another user, you can try this method, which is much simpler.
Steps to copy user profile Windows 10 to another computer/user:
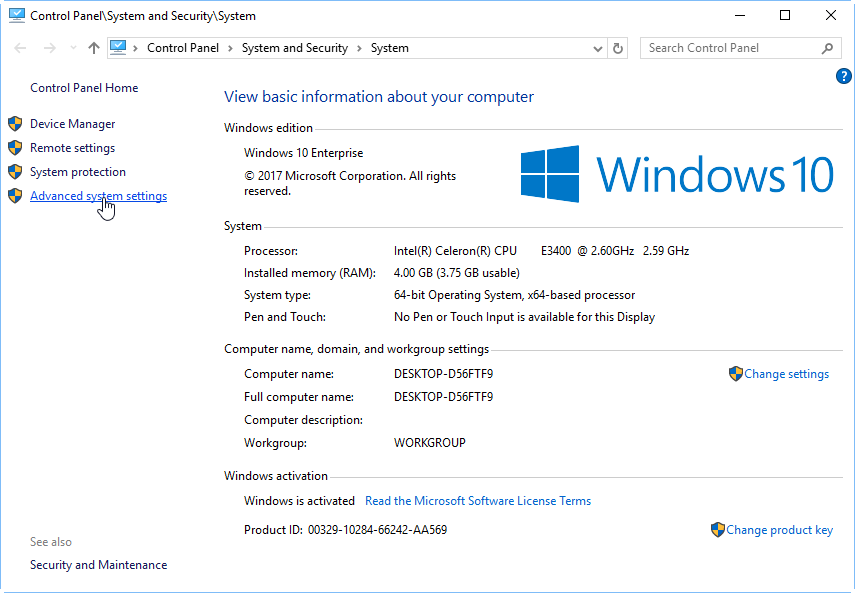
1. Right click on This PC and select Properties, and then select Advanced system settings.
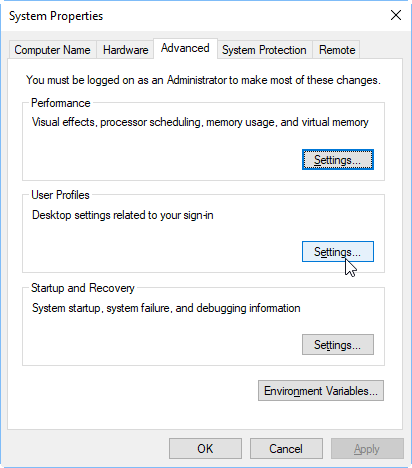
2. Click the Settings button under User Profiles.
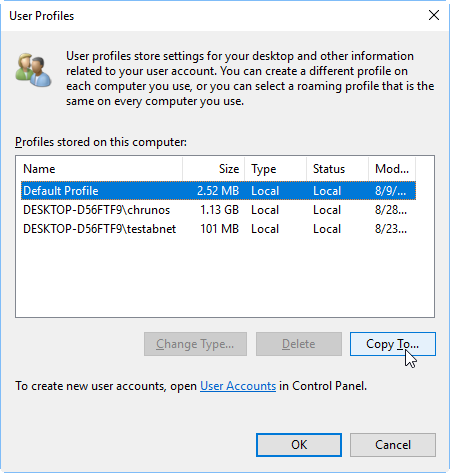
3. In a popup window, all the user profiles will be listed. You can select any user profile to copy to another location by clicking Copy To.
Way 3. Backup user profile in Windows 10 with free backup software
If you want to continuously backup user profile without taking much disk space, you can use free backup software AOMEI Backupper Standard. It allows you to backup Windows 10 user profile daily/weekly/daily. In addition, you can also performВ incremental and differential backups, get notified by email when a backup is completed,В and more.
To backup user profile in Windows 10 with AOMEI Backupper:
1. Download and install this free backup software.
2. In the main interface, click Backup and select File Backup.

3. Click Add Folder to include the user profile folders into the backup.

4. Click to specify where you want to save the image backup.

5. Click Schedule to configure fequency or intervals if you want it to run automatically. Under the Advanced tab, you can also specify how the backup to be performed, incremental, differential, or full backup.В

6. Click Start Backup and choose a way («Add the schedule and start backup now» or «Only add the schedule») to run the backup.
After the first full backup, all the continuous scheduled backup will be performed as incremental backups by default to save disk space.
Notes:
If you want to restore the backup, please go to Home > find the backup task > click more options tab and click Restore to make it.
If you need to move the entire hard drive including the operating system and everything to another hard drive or SSD, you can use its Disk Clone feature. It allows you to clone large disk to smaller disk as well as clone MBR disk to GPT disk.
If you need to move customized system including user data to another computer, you can create a full system backup of the current computer and then restore to your new computer withВ AOMEI Backupper Professional.
To save storage space, you can also set up a SchemeВ (supported by Pro edition) to auto delete old backups.
Conclusion
That’s all for how to backup/copy user profile in Windows 10. You can choose one solution according to your situation.
If you want to backup and restore user profile in Windows 10, please let Windows backup utility to help you.
If you prefer to copy user profile to another computer/user, just go to Advanced System Properties to make it.
If you want a continual backup for the user profile, then AOMEI Backupper is the way to go. In addition, it can also help you transfer any file from one computerВ to another one.
Как исправить неработающую функцию копирования и вставки в Windows 10?
Копирование и вставка — это две основные функции, которые мы используем в повседневной жизни при использовании компьютера или смартфона. При использовании Windows 10 очень редко пользователь сталкивается с проблемой копирования и вставки. В основном это происходит, если в любом обновлении Windows 10 есть нежелательная ошибка. Ошибка очень разочаровывает, поскольку копирование-вставка — это то, что мы все используем. Если в Windows 10 возникла такая проблема, вы можете проверить следующие исправления. Есть много сторонних приложений, которые могут помочь вам избавиться от этой раздражающей ошибки. Проверьте возможные способы исправления ошибки Copy-Paste в Windows 10.
- Вы можете перезапустить процесс explorer.exe
- Переустановка программы, в которой Copy-Paste не работает, также может решить вашу проблему.
- Очистить историю буфера обмена
- Запустите SFC и DISM
- Еще одним важным методом является устранение неполадок в чистом состоянии загрузки
- Используйте инструмент вернуть компьютер в исходное состояние.
1. Перезапустите rdpclip.exe
Перезапустить rdpclip.exe можно из диспетчера задач. Щелкните правой кнопкой мыши на панели задач и выберите диспетчер задач.
Из списка процессов найдите процесс rdclip.exe. Далее щелкните правой кнопкой мыши по нему и выберите опцию Завершить процесс. Теперь нажмите File, а затем перейдите к Run New Task. Введите rdpclip.exe и нажмите Enter. Этот шаг можно использовать для решения проблемы копирования и вставки при подключении к удаленному рабочему столу.
2. Перезапустите Explorer.exe
3. Исправить проблему с копированием в конкретном приложении
4. Очистить историю буфера обмена
Иногда данные в буфере обмена часто создают проблемы такого типа. Чтобы очистить историю буфера обмена, откройте командную строку от имени администратора. Затем введите следующую команду и нажмите Enter после этого.
How to Copy Region and Language Settings in Windows 10
In Windows 10, it is possible to copy your customized region and language settings from your personal user account to new user accounts and welcome screen. Here is how it can be done.
You can change the region and language settings per account. The operating system also supports changing the display language. For example, if you have a PC with an English version of Windows 10, but your native language is not English, you can convert the operating system into your native language without reinstalling. By installing one or several language packs, you can switch your Windows display language on-the-fly. It is also possible to configure your locale settings using the Language options page in Settings and in the classic Control Panel.
Once you have finished configuring your region and language options, you might want to make them default for new user accounts and also apply them to your welcome screen in order to have its messages in your native language. Here is how.
To copy region and language settings in Windows 10, do the following.
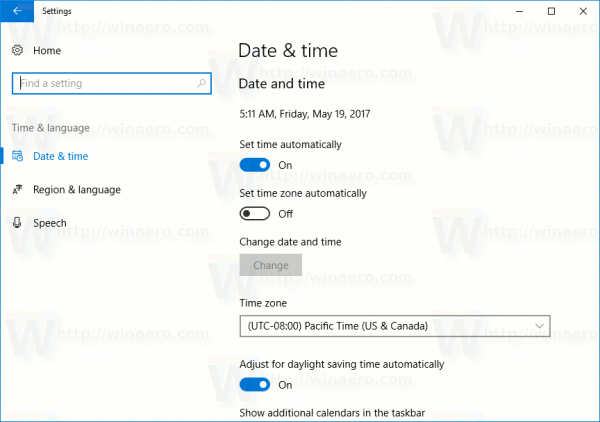
- Open Settings.

- Go to Time & Language.
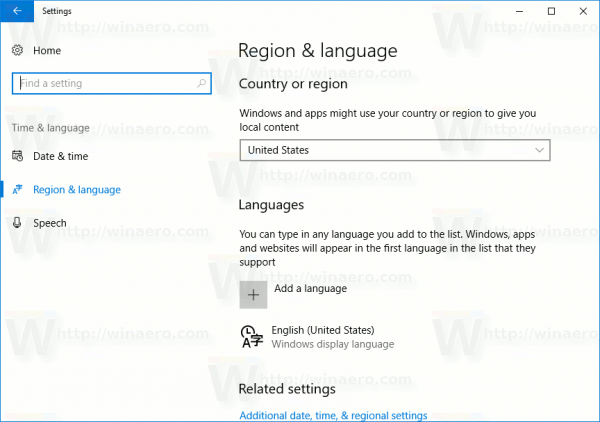
- On the left, click on the Region & Language.
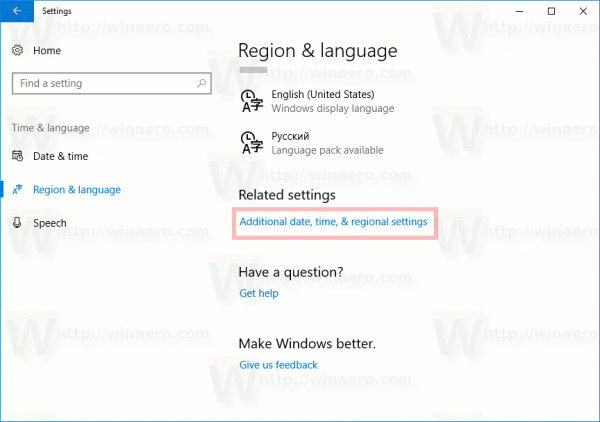
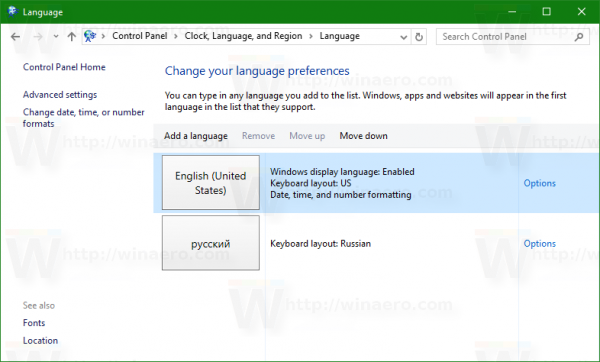
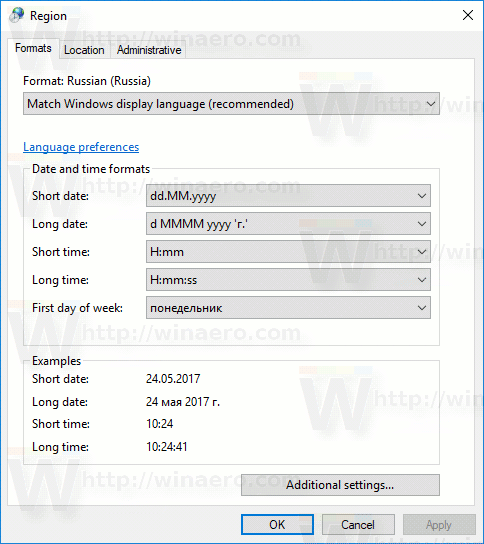
- Click on the link Additional date, time & regional settings.
The following window will appear: - Click the Region icon:
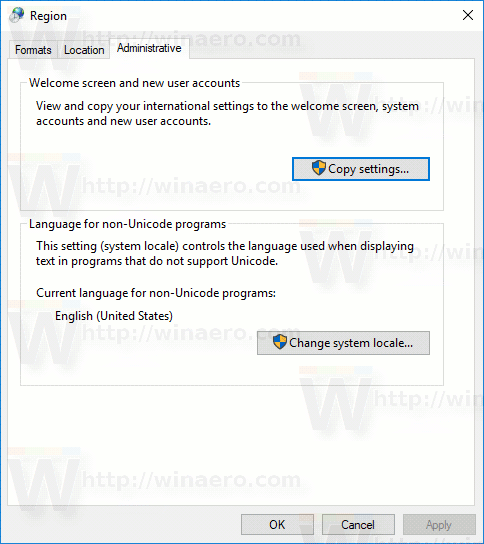
- The following window will appear:
Switch to the Administrative tab. - Under Welcome screen and new user accounts, click on the Copy settings button.
- The following window will be opened.There, tick the required options.
Welcome screen and system accounts — this will apply your locale options to all system accounts and the Welcome screen.
New user accounts — all new user accounts will have region and language options as you. - Restart Windows 10 when prompted.

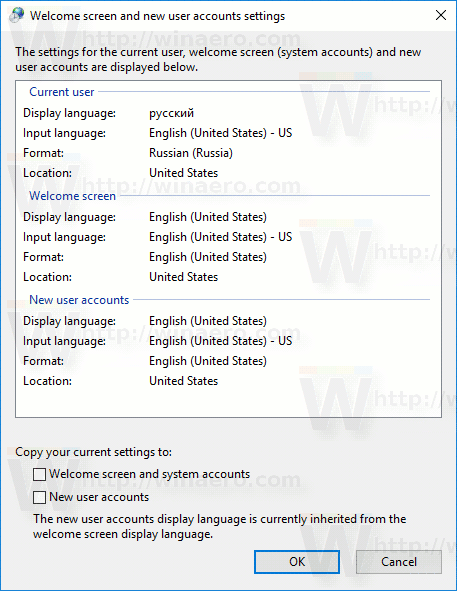 There, tick the required options.
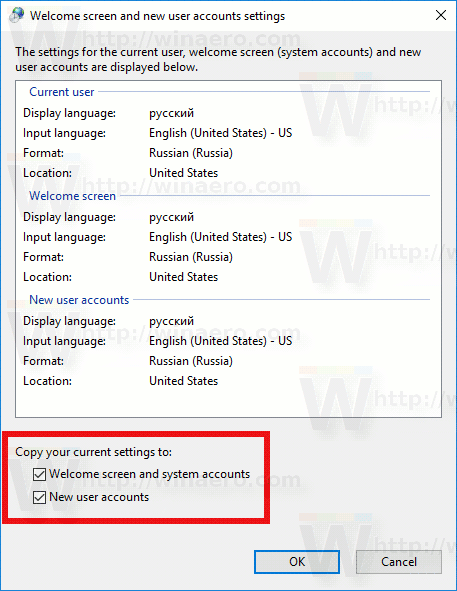
Winaero greatly relies on your support. You can help the site keep bringing you interesting and useful content and software by using these options:
Share this post
About Sergey Tkachenko
Sergey Tkachenko is a software developer from Russia who started Winaero back in 2011. On this blog, Sergey is writing about everything connected to Microsoft, Windows and popular software. Follow him on Telegram, Twitter, and YouTube.
3 thoughts on “ How to Copy Region and Language Settings in Windows 10 ”
Thanks for sharing!
Any idea how to do all this from command line?
Take care,
Vic
AFAIK it is possible to apply a registry tweak to change these settings.
Тысячу машин руками ковырять. Команду напиши.


