- Создание файла CFG
- Варианты создания файла конфигурации
- Способ 1: Notepad++
- Способ 2: Easy Config Builder
- Способ 3: Блокнот
- Способ 4: Microsoft WordPad
- Configuring Apps by using Configuration Files
- Configuration File Format
- Machine Configuration Files
- Application Configuration Files
- Security Configuration Files
- In This Section
- Пошаговое руководство. Использование файла конфигурации для определения источника данных Walkthrough: Using a configuration file to define a data source
- Предварительные требования Prerequisites
- Добавление к проекту файла app.config Add an app.config file to the project
- Определение настраиваемого раздела конфигурации Define a custom configuration section
- Добавление настраиваемого раздела конфигурации в файл app.config To add the custom configuration section to the app.config file
- Определение строк подключения Define connection strings
- Определение строк подключения To define connection strings
- Определение источников данных Define data sources
- Определение источников данных To define data sources
- Создание модульного теста, использующего источники данных, определенные в файле app.config Create a unit test that uses data sources defined in app.config
- Создание источника данных Microsoft Access To create a Microsoft Access data source
- Создание источника данных Microsoft Excel To create a Microsoft Excel data source
- Создание модульного теста с помощью источников данных файла app.config To create a unit test using the app.config data sources
Создание файла CFG

CFG (Configuration File) – формат файлов, несущих в себе информацию о конфигурациях ПО. Используется он в самых разнообразных приложениях и играх. Файл с расширением CFG можно создать и самостоятельно, воспользовавшись одним из доступных способов.
Варианты создания файла конфигурации
Мы рассмотрим только варианты создания CFG-файлов, а их содержимое будет зависеть уже от ПО, к которому будет применена Ваша конфигурация.
Способ 1: Notepad++
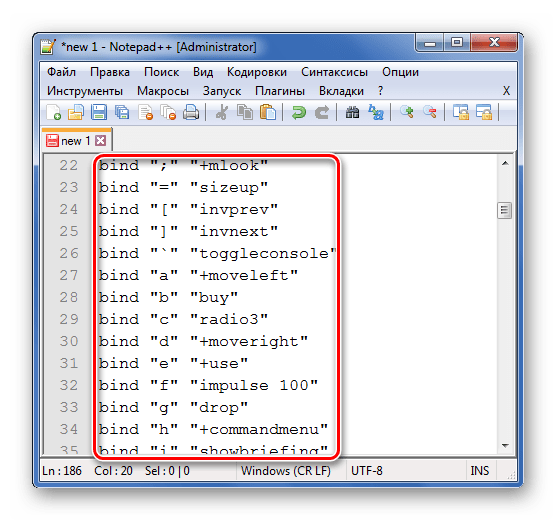
С помощью текстового редактора Notepad++ можно легко создать файл в нужном формате.
- При запуске программы сразу же должно появиться поле для ввода текста. Если в Notepad++ открыт другой файл, то несложно создать новый. Откройте вкладку «Файл» и нажмите «Новый» (Ctrl+N).
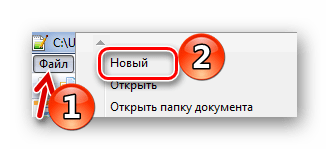
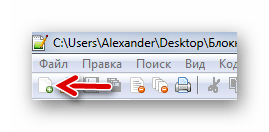
А можно просто воспользоваться кнопкой «Новый» на панели.
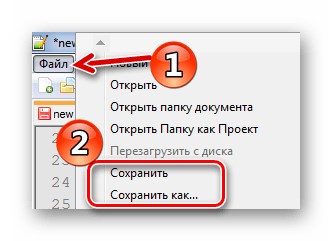
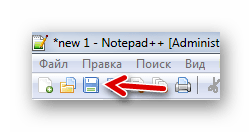
Снова откройте «Файл» и нажмите «Сохранить» (Ctrl+S) или «Сохранить как» (Ctrl+Alt+S).
Или используйте кнопку сохранения на панели.
Способ 2: Easy Config Builder
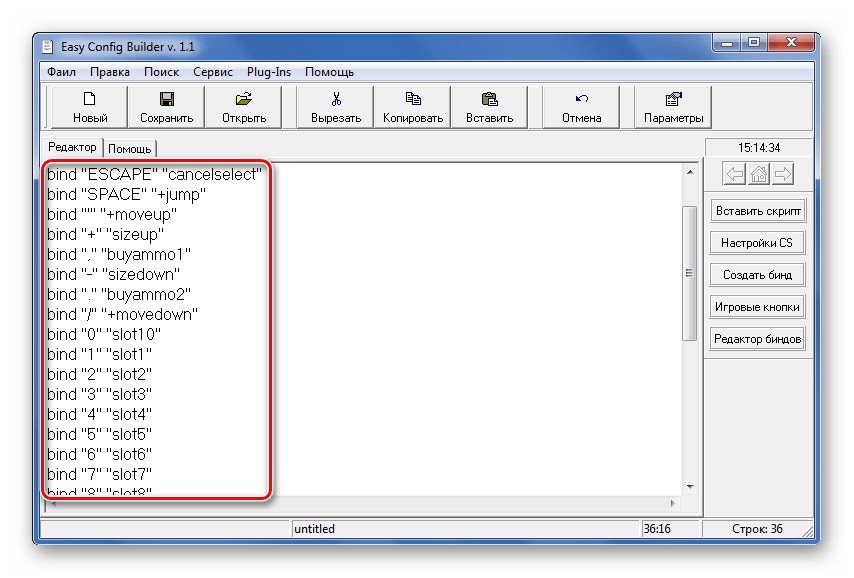
Для создания файлов конфигурации существуют и специализированные программы, например, Easy Config Builder. Она разрабатывалась для создания файлов CFG игры Counter Strike 1.6, но и для остального ПО этот вариант также приемлем.
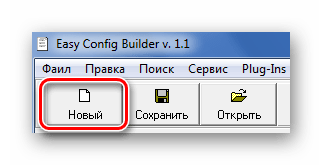
- Откройте меню «Файл» и выберите пункт «Создать» (Ctrl+N).

Или используйте кнопку «Новый».
Введите нужные параметры.
Разверните «Файл» и нажмите «Сохранить» (Ctrl+S) или «Сохранить как».
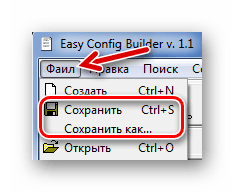
Для этих же целей на панели имеется соответствующая кнопка.

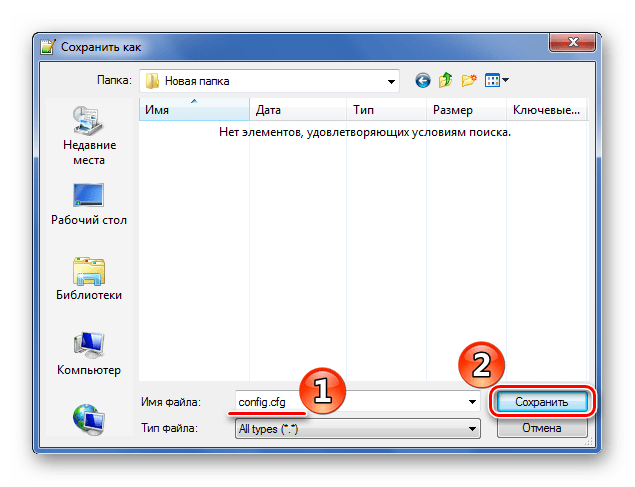
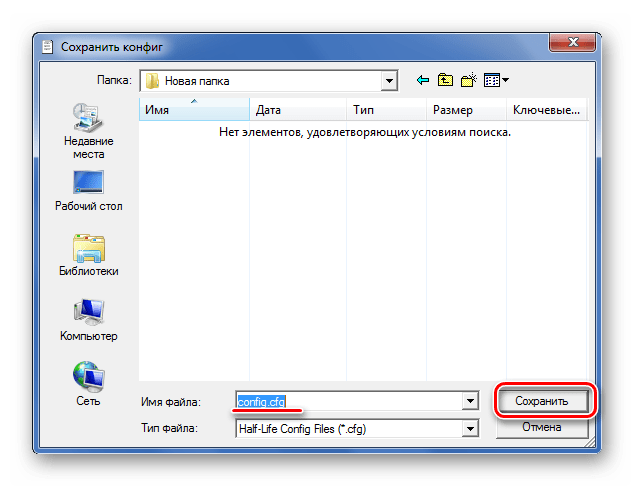
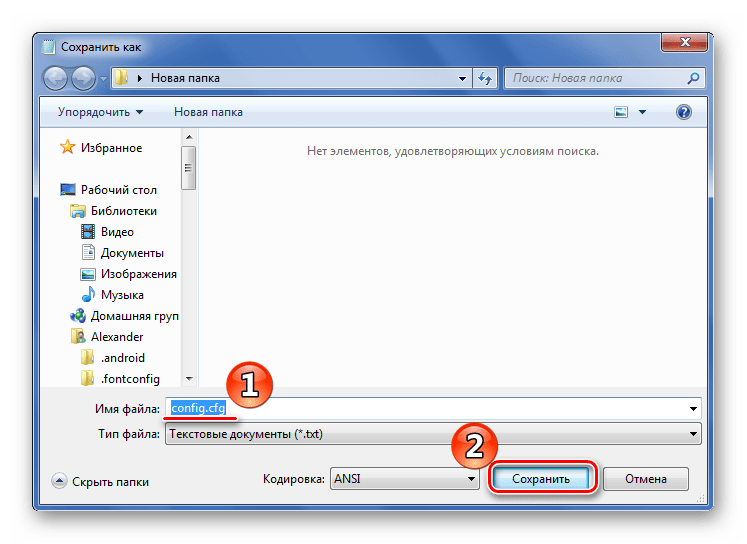
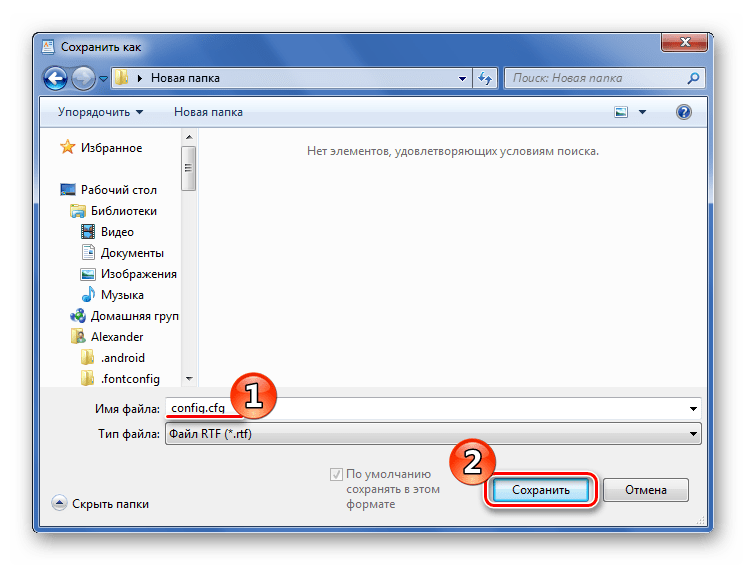
Откроется окно Проводника, где нужно перейти в папку сохранения, указать имя файла (по умолчанию будет «config.cfg») и нажать кнопку «Сохранить».
Способ 3: Блокнот
Создать CFG можно и через обычный Блокнот.
- При открытии Блокнота можно сразу вводить данные.
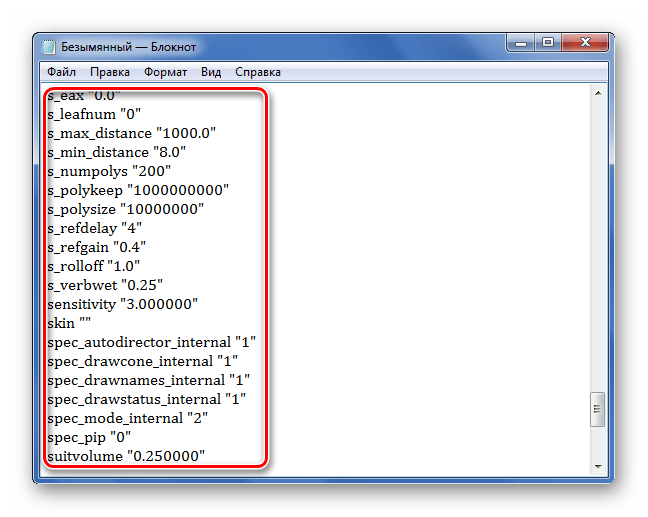
Когда Вы прописали всё что нужно, откройте вкладку «Файл» и выберите один из пунктов: «Сохранить» (Ctrl+S) или «Сохранить как».
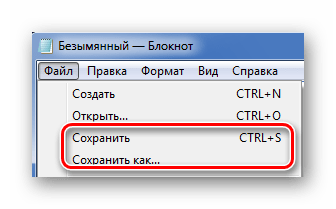
Откроется окно, в котором следует перейти в директорию для сохранения, указать имя файла и самое главное – вместо «.txt» прописать «.cfg». Нажмите «Сохранить».
Способ 4: Microsoft WordPad
Последней рассмотрим программу, которая также обычно предустановлена в Windows. Microsoft WordPad станет отличной альтернативой всем перечисленным вариантам.
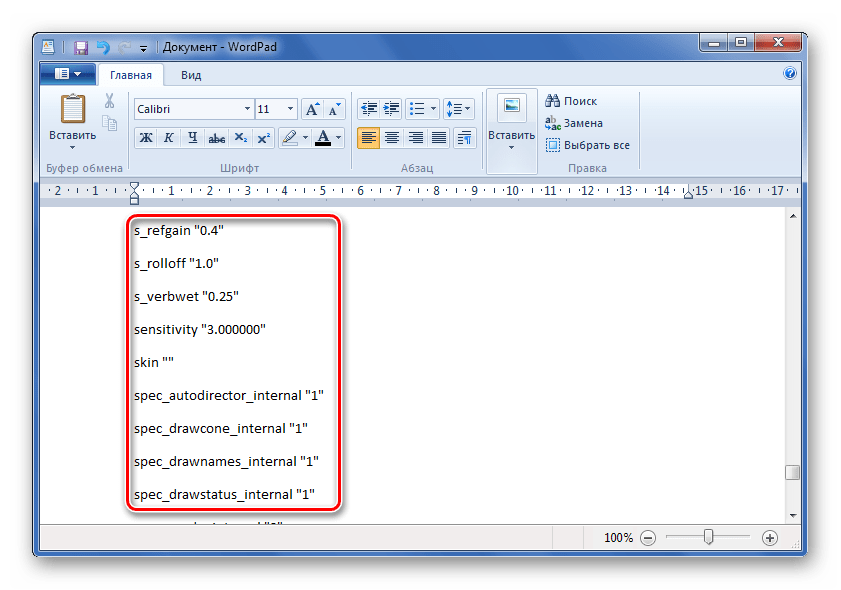
- Открыв программу, Вы сразу можете прописать необходимые параметры конфигурации.
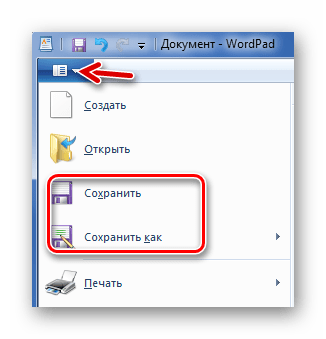
Разверните меню и выберите любой из способов сохранения.
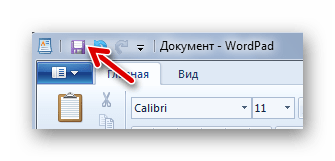
Или можно нажать специальный значок.
Так или иначе, откроется окно, в котором выбираем место для сохранения, прописываем имя файла с расширением CFG и жмём «Сохранить».
Как видите, любой из способов предполагает схожую последовательность действий для создания CFG-файла. Через эти же программы его можно будет открыть и внести правки.
Configuring Apps by using Configuration Files
The .NET Framework, through configuration files, gives developers and administrators control and flexibility over the way applications run. Configuration files are XML files that can be changed as needed. An administrator can control which protected resources an application can access, which versions of assemblies an application will use, and where remote applications and objects are located. Developers can put settings in configuration files, eliminating the need to recompile an application every time a setting changes. This section describes what can be configured and why configuring an application might be useful.
Managed code can use the classes in the System.Configuration namespace to read settings from the configuration files, but not to write settings to those files.
This topic describes the syntax of configuration files and provides information about the three types of configuration files: machine, application, and security.
Configuration File Format
Configuration files contain elements, which are logical data structures that set configuration information. Within a configuration file, you use tags to mark the beginning and end of an element. For example, the element consists of child elements . An empty element would be written as or .
As with all XML files, the syntax in configuration files is case-sensitive.
You specify configuration settings using predefined attributes, which are name/value pairs inside an element’s start tag. The following example specifies two attributes ( version and href ) for the element, which specifies where the runtime can locate an assembly (for more information, see Specifying an Assembly’s Location).
Machine Configuration Files
The machine configuration file, Machine.config, contains settings that apply to an entire computer. This file is located in the %runtime install path%\Config directory. Machine.config contains configuration settings for machine-wide assembly binding, built-in remoting channels, and ASP.NET.
The configuration system first looks in the machine configuration file for the element and other configuration sections that a developer might define. It then looks in the application configuration file. To keep the machine configuration file manageable, it is best to put these settings in the application configuration file. However, putting the settings in the machine configuration file can make your system more maintainable. For example, if you have a third-party component that both your client and server application uses, it is easier to put the settings for that component in one place. In this case, the machine configuration file is the appropriate place for the settings, so you don’t have the same settings in two different files.
Deploying an application using XCOPY will not copy the settings in the machine configuration file.
For more information about how the common language runtime uses the machine configuration file for assembly binding, see How the Runtime Locates Assemblies.
Application Configuration Files
An application configuration file contains settings that are specific to an app. This file includes configuration settings that the common language runtime reads (such as assembly binding policy, remoting objects, and so on), and settings that the app can read.
The name and location of the application configuration file depend on the app’s host, which can be one of the following:
These apps have two configuration files: a source configuration file, which is modified by the developer during development, and an output file that is distributed with the app.
When you develop in Visual Studio, place the source configuration file for your app in the project directory and set its Copy To Output Directory property to Copy always or Copy if newer. The name of the configuration file is the name of the app with a .config extension. For example, an app called myApp.exe should have a source configuration file called myApp.exe.config.
Visual Studio automatically copies the source configuration file to the directory where the compiled assembly is placed to create the output configuration file, which is deployed with the app. In some cases, Visual Studio may modify the output configuration file; for more information, see the Redirecting assembly versions at the app level section of the Redirecting Assembly Versions article.
For more information about ASP.NET configuration files, see ASP.NET Configuration Settings.
Internet Explorer-hosted app.
If an app hosted in Internet Explorer has a configuration file, the location of this file is specified in a
tag with the following syntax:
In this tag, location is a URL to the configuration file. This sets the app base. The configuration file must be located on the same website as the app.
Security Configuration Files
Security configuration files contain information about the code group hierarchy and permission sets associated with a policy level. We strongly recommend that you use the Code Access Security Policy tool (Caspol.exe) to modify security policy to ensure that policy changes do not corrupt the security configuration files.
Starting with the .NET Framework 4, the security configuration files are present only if security policy has been changed.
The security configuration files are in the following locations:
Enterprise policy configuration file: %runtime-install-path%\Config\Enterprisesec.config
Machine policy configuration file: %runtime-install-path%\Config\Security.config
User policy configuration file: %USERPROFILE%\Application data\Microsoft\CLR security config\vxx.xx\Security.config
In This Section
How to: Locate Assemblies by Using DEVPATH
Describes how to direct the runtime to use the DEVPATH environment variable when searching for assemblies.
Redirecting Assembly Versions
Describes how to specify the location of an assembly and which version of an assembly to use.
Specifying an Assembly’s Location
Describes how to specify where the runtime should search for an assembly.
Configuring Cryptography Classes
Describes how to map an algorithm name to a cryptography class and an object identifier to a cryptography algorithm.
How to: Create a Publisher Policy
Describes when and how you should add a publisher policy file to specify assembly redirection and code base settings.
Configuration File Schema
Describes the schema hierarchy for startup, runtime, network, and other types of configuration settings.
Пошаговое руководство. Использование файла конфигурации для определения источника данных Walkthrough: Using a configuration file to define a data source
В этом пошаговом руководстве демонстрируется использование источника данных, определенного в файле app.config, для модульного тестирования. This walkthrough illustrates how to use a data source defined in an app.config file for unit testing. Вы узнаете, как создать файл app.config, определяющий источник данных, который может использоваться классом DataSourceAttribute. You will learn how to create an app.config file that defines a data source that can be used by the DataSourceAttribute class. В данном пошаговом руководстве представлены следующие задачи: Tasks presented in this walkthrough include the following:
создание файла app.config; Creating an app.config file.
определение настраиваемого раздела конфигурации; Defining a custom configuration section.
определение строк подключения; Defining connection strings.
определение источников данных; Defining the data sources.
доступ к источникам данных с помощью класса DataSourceAttribute. Accessing the data sources using the DataSourceAttribute class.
Предварительные требования Prerequisites
Для выполнения данного пошагового руководства требуется: To complete this walkthrough, you need:
Visual Studio Enterprise Visual Studio Enterprise
Microsoft Access или Microsoft Excel для предоставления данных хотя бы для одного из методов теста; Either Microsoft Access or Microsoft Excel to provide data for at least one of the test methods.
решение Visual Studio, содержащее тестовый проект. A Visual Studio solution that contains a test project.
Добавление к проекту файла app.config Add an app.config file to the project
Если файл app.config уже существует в тестовом проекте, переходите к разделу Определение настраиваемого раздела конфигурации. If your test project already has an app.config file, go to Define a custom configuration section.
Щелкните тестовый проект правой кнопкой мыши в обозревателе решений и выберите Добавить > Новый элемент. Right-click your test project in Solution Explorer, and then select Add > New Item.
Откроется окно Добавление нового элемента. The Add New Item window opens.
Выберите шаблон Файл конфигурации приложения и нажмите кнопку Добавить. Select the Application Configuration File template and click Add.
Определение настраиваемого раздела конфигурации Define a custom configuration section
Просмотрите файл app.config. Examine the app.config file. Он содержит как минимум объявление XML и корневой элемент. It contains at least the XML declaration and a root element.
Добавление настраиваемого раздела конфигурации в файл app.config To add the custom configuration section to the app.config file
Корневым элементом файла app.config должен быть элемент configuration. The root element of app.config should be the configuration element. Создайте элемент configSections в элементе configuration. Create a configSections element within the configuration element. configSections должен быть первым элементом в файле app.config. The configSections should be the first element in the app.config file.
В элементе configSections создайте элемент section. Within the configSections element, create a section element.
В элементе section добавьте атрибут с именем name и задайте для него значение microsoft.visualstudio.testtools . In the section element, add an attribute called name and assign it a value of microsoft.visualstudio.testtools . Добавьте еще один атрибут с именем type и задайте для него значение Microsoft.VisualStudio.TestTools.UnitTesting.TestConfigurationSection, Microsoft.VisualStudio.TestPlatform.TestFramework.Extensions . Add another attribute called type and assign it a value of Microsoft.VisualStudio.TestTools.UnitTesting.TestConfigurationSection, Microsoft.VisualStudio.TestPlatform.TestFramework.Extensions .
Элемент section должен принять следующий вид: The section element should look similar to this:
Имя сборки должно соответствовать версии, которую вы используете. The assembly name must match the version that you are using.
Определение строк подключения Define connection strings
Строки подключения определяют сведения, относящиеся к конкретному поставщику, для доступа к источникам данных. The connection strings define provider-specific information for accessing data sources. Строки подключения, определенные в файлах конфигурации, предоставляют сведения о поставщике данных для повторного использования в приложении. Connection strings defined in configuration files provide reusable data provider information across an application. В этом разделе создайте две строки подключения, которые будут использоваться источниками данных, определенными в настраиваемом разделе конфигурации. In this section, you create two connection strings that will be used by data sources that are defined in the Custom Configuration Section.
Определение строк подключения To define connection strings
После элемента configSections создайте элемент connectionStrings. After the configSections element, create a connectionStrings element.
В элементе connectionStrings создайте два элемента add. Within the connectionStrings element, create two add elements.
В первом элементе add создайте следующие атрибуты и значения для подключения к базе данных Microsoft Access: In the first add element, create the following attributes and values for a connection to a Microsoft Access database:
| attribute Attribute | Значения Values |
|---|---|
| name | «MyJetConn» |
| connectionString | «Provider=Microsoft.Jet.OLEDB.4.0; Data Source=C:\testdatasource.accdb; Persist Security Info=False;» |
| providerName | «System.Data.OleDb» |
Во втором элементе add создайте следующие атрибуты и значения для подключения к таблице Microsoft Excel: In the second add element, create the following attributes and values for a connection to a Microsoft Excel spreadsheet:
| attribute Attribute | Значения Values |
|---|---|
| name | «MyExcelConn» |
| connectionString | «Dsn=Excel Files;dbq=data.xlsx;defaultdir=.\; driverid=790;maxbuffersize=2048;pagetimeout=5» |
| providerName | «System.Data.Odbc» |
Элемент connectionStrings должен принять следующий вид: The connectionStrings element should look similar to this:
Определение источников данных Define data sources
Раздел источников данных содержит четыре атрибута, которые используются тестовой подсистемой для получения данных из источника данных. The data sources section contains four attributes that are used by the test engine to retrieve data from a data source.
name определяет удостоверение, используемое DataSourceAttribute для указания источника данных для использования. name defines the identity used by the DataSourceAttribute to specify which data source to use.
connectionString определяет строку подключения, созданную в предыдущем разделе «Определение строк подключения». connectionString identifies the connection string created in the previous Define Connection Strings section.
dataTableName определяет таблицу или лист, которые содержат данные, используемые в тесте. dataTableName defines the table or sheet that holds the data to use in the test.
dataAccessMethod определяет способ доступа к значениям данных в источнике данных. dataAccessMethod defines the technique for accessing data values in the data source.
В этом разделе мы определим два источника данных для использования в модульном тесте. In this section, you’ll define two data sources to use in a unit test.
Определение источников данных To define data sources
После элемента connectionStrings создайте элемент microsoft.visualstudio.testtools. After the connectionStrings element, create a microsoft.visualstudio.testtools element. Этот раздел файла был создан в разделе «Определение настраиваемого раздела конфигурации». This section was created in Define a Custom Configuration Section.
В элементе microsoft.visualstudio.testtools создайте элемент dataSources. Within the microsoft.visualstudio.testtools element, create a dataSources element.
В элементе dataSources создайте два элемента add. Within the dataSources element, create two add elements.
В первом элементе add создайте следующие атрибуты и значения для источника данных Microsoft Access: In the first add element, create the following attributes and values for a Microsoft Access data source:
| attribute Attribute | Значения Values |
|---|---|
| name | «MyJetDataSource» |
| connectionString | «MyJetConn» |
| dataTableName | «MyDataTable» |
| dataAccessMethod | «Sequential» |
Во втором элементе add создайте следующие атрибуты и значения для источника данных Microsoft Excel: In the second add element, create the following attributes and values for a Microsoft Excel data source:
| attribute Attribute | Значения Values |
|---|---|
| Name | «MyExcelDataSource» |
| connectionString | «MyExcelConn» |
| dataTableName | «Sheet1$» |
| dataAccessMethod | «Sequential» |
Элемент microsoft.visualstudio.testtools должен принять следующий вид: The microsoft.visualstudio.testtools element should look similar to this:
Окончательный файл app.config должен принять следующий вид: The final app.config file should look similar to this:
Создание модульного теста, использующего источники данных, определенные в файле app.config Create a unit test that uses data sources defined in app.config
Определив файл app.config, мы создадим модульный тест, использующий данные, находящиеся в источниках данных, которые определены в файле app.config. Now that an app.config file has been defined, you will create a unit test that uses data located in the data sources that are defined in the app.config file. В этом разделе мы рассмотрим: In this section, we will:
создание источников данных, определенных в файле app.config; Create the data sources found in the app.config file.
использование источников данных в двух методах теста, сравнивающих значения в каждом источнике данных. Use the data sources in two test methods that compare the values in each data source.
Создание источника данных Microsoft Access To create a Microsoft Access data source
Создайте файл базы данных Microsoft Access с именем testdatasource.accdb. Create a Microsoft Access database named testdatasource.accdb.
Создайте таблицу с именем MyDataTable в testdatasource.accdb. Create a table and name it MyDataTable in testdatasource.accdb.
Создайте два поля в таблице MyDataTable с именем Arg1 и Arg2 , используя тип данных Number . Create two fields in MyDataTable named Arg1 and Arg2 using the Number data type.
Добавьте пять сущностей в таблицу MyDataTable со следующими значениями для Arg1 и Arg2 соответственно: (10,50), (3,2), (6,0), (0,8) и (12312,1000). Add five entities to MyDataTable with the following values for Arg1 and Arg2 , respectively: (10,50), (3,2), (6,0), (0,8) and (12312,1000).
Сохраните и закройте базу данных. Save and close the database.
Измените строку подключения так, чтобы она указывала на расположение базы данных. Change the connection string to point to the location of the database. Измените значение Data Source так, чтобы оно отражало расположение базы данных. Change the value of Data Source to reflect the location of the database.
Создание источника данных Microsoft Excel To create a Microsoft Excel data source
Создайте электронную таблицу Microsoft Excel с именем data.xlsx. Create a Microsoft Excel spreadsheet named data.xlsx.
Создайте лист с именем Sheet1 , если он еще не существует в data.xlsx. Create a sheet named Sheet1 if it does not already exist in data.xlsx.
Создайте на листе Sheet1 два заголовка столбцов и назовите их Val1 и Val2 . Create two column headers and name them Val1 and Val2 in Sheet1 .
Добавьте пять сущностей в таблицу Sheet1 со следующими значениями для Val1 и Val2 соответственно: (1,1), (2,2), (3,3), (4,4) и (5,0). Add five entities to Sheet1 with the following values for Val1 and Val2 , respectively: (1,1), (2,2), (3,3), (4,4) and (5,0).
Сохраните и закройте таблицу. Save and close the spreadsheet.
Измените строку подключения так, чтобы она указывала на расположение таблицы. Change the connection string to point to the location of the spreadsheet. Измените значение dbq так, чтобы оно отражало расположение таблицы. Change the value of dbq to reflect the location of the spreadsheet.
Создание модульного теста с помощью источников данных файла app.config To create a unit test using the app.config data sources
Добавьте модульный тест в тестовый проект. Add a unit test to the test project.
Замените автоматически созданное содержимое модульного теста следующим кодом. Replace the auto-generated contents of the unit test with the following code:
Проверьте атрибуты DataSource. Examine the DataSource attributes. Обратите внимание на имена параметров из файла app.config. Notice the setting names from the app.config file.
Выполните построение решения и запустите тесты MyTestMethod и MyTestMethod2. Build your solution and run MyTestMethod and MyTestMethod2 tests.
Разверните элементы как источники данных, чтобы они были доступны для теста в каталоге развертывания. Deploy items like data sources so that they are accessible to the test in the deployment directory.


