- Исправляем BSOD с кодом «CRITICAL_SERVICE_FAILED» в Windows 10
- Устранение ошибки «CRITICAL_SERVICE_FAILED»
- Способ 1: Проверка диска
- Способ 2: Восстановление при загрузке
- Способ 3: Восстановление из точки
- Способ 4: Удаление обновлений
- Способ 5: Предыдущая сборка
- Способ 6: Возврат ПК к исходному состоянию
- Способ 7: Заводские настройки
- Заключение
- How to Fix a Windows 10 Critical Error
- Perform a System Backup
- Resolving the Windows 10 Critical Error
- Fix #1: Reboot Windows
- Fix #2: Run a System File Check and Repair the Windows Image
- Fix #3: Reinstall the Start Menu App
- Fix #4: Create a New User Account With Administrative Privileges
- Fix #5: Do a Clean Boot
- Fix #6: Update or Uninstall a Third-Party Antivirus
- Fix #7: Download the Microsoft Start Menu Troubleshooter
- Fix #8: Reinstall the Start Menu and Re-register Cortana
- Fix #9: Perform a System Restore
- Fix #10: Reset the Computer
Исправляем BSOD с кодом «CRITICAL_SERVICE_FAILED» в Windows 10
Устранение ошибки «CRITICAL_SERVICE_FAILED»
Дословно перевести текст на синем экране можно как «Критическая ошибка службы». Это может быть сбой в работе сервисов или драйверов, а также их конфликт. Обычно проблема возникает после установки какого-либо ПО или обновлений. Существует и еще одна причина – неполадки с системным жестким диском. С нее и следует начать исправлять ситуацию.
Способ 1: Проверка диска
Одним из факторов возникновения данного BSOD могли стать ошибки на загрузочном диске. Для того чтобы их устранить, следует выполнить проверку встроенной в Windows утилитой CHKDSK.EXE. Если систему удалось загрузить, то вызвать это средство можно непосредственно из графического интерфейса или «Командной строки».
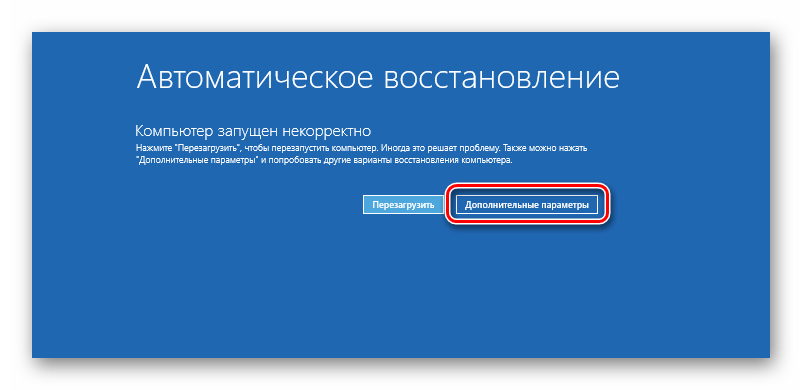
В ситуации, когда загрузка невозможна, следует воспользоваться средой восстановления, запустив в ней «Командную строку». Данное меню откроется после того, как исчезнет синий экран с информацией.
- Жмем кнопку «Дополнительные параметры».
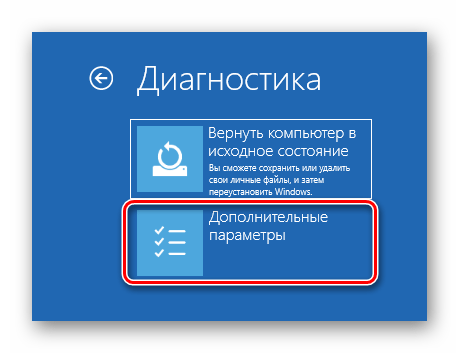
Идем в раздел «Поиска и устранения неисправностей».

Здесь также открываем блок с «Дополнительными параметрами».
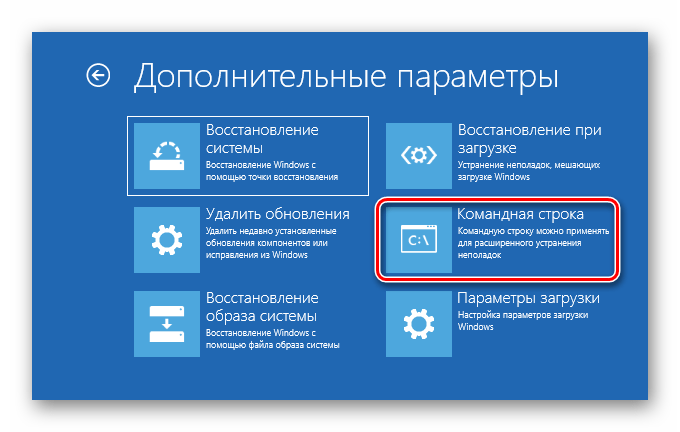
Открываем «Командную строку».
Запускаем консольную дисковую утилиту командой
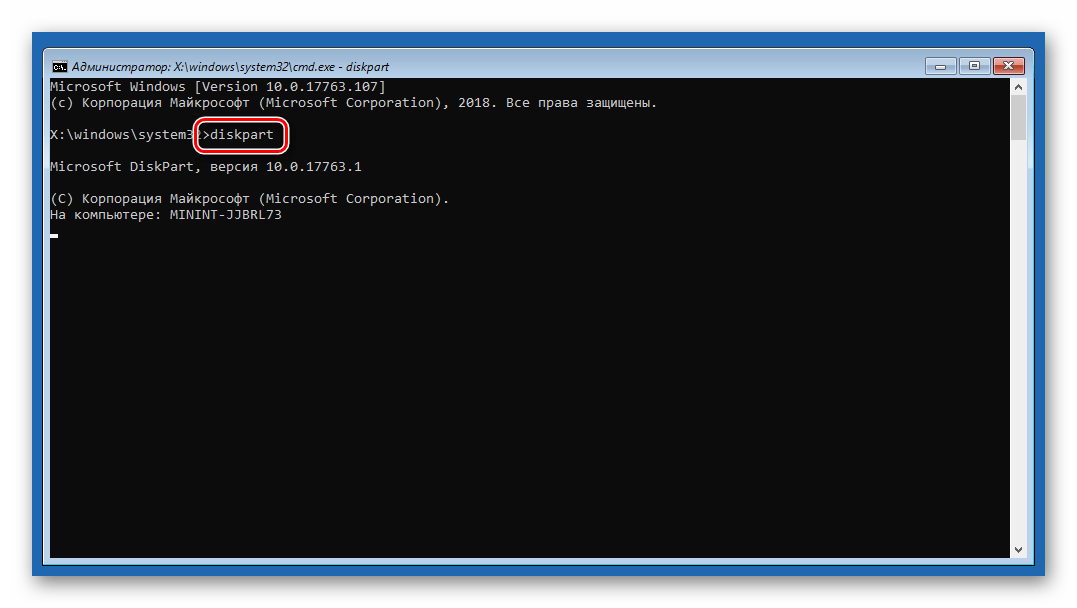
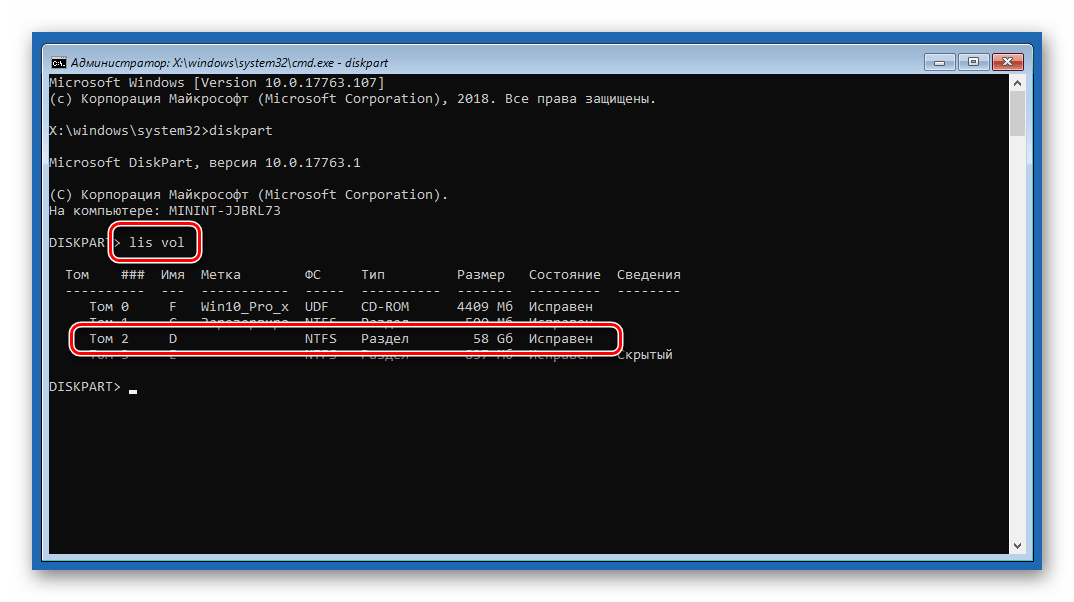
Просим показать нам список всех разделов на дисках в системе.
Ищем системный диск. Поскольку утилита чаще всего меняет букву тома, определить нужный можно только по размеру. В нашем примере это «D:».
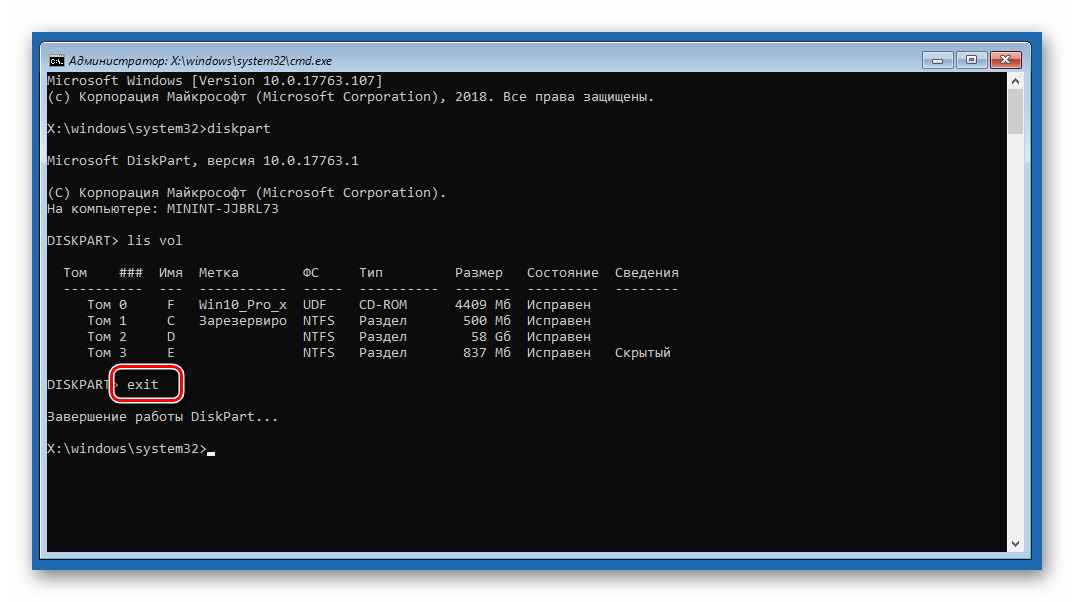
Завершаем работу Diskpart.
Теперь запускаем проверку и исправление ошибок соответствующей командой с двумя аргументами.

Здесь «d:» — литера системного носителя, а /f /r – аргументы, разрешающие утилите исправлять «битые» сектора и программные ошибки.
После того как процесс будет завершен, выходим из консоли.

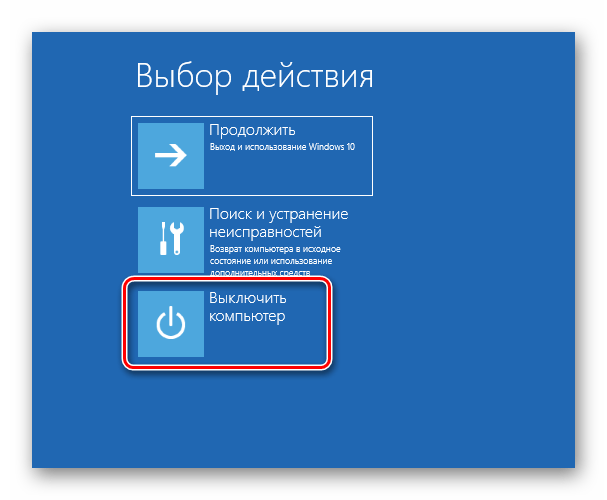
Пробуем запустить систему. Сделать это лучше выключив, а затем снова включив компьютер.
Способ 2: Восстановление при загрузке
Данное средство также работает в среде восстановления, в автоматическом режиме проверяя и исправляя всевозможные ошибки.
- Выполняем действия, описанные в пунктах 1 – 3 предыдущего способа.
- Выбираем соответствующий блок.
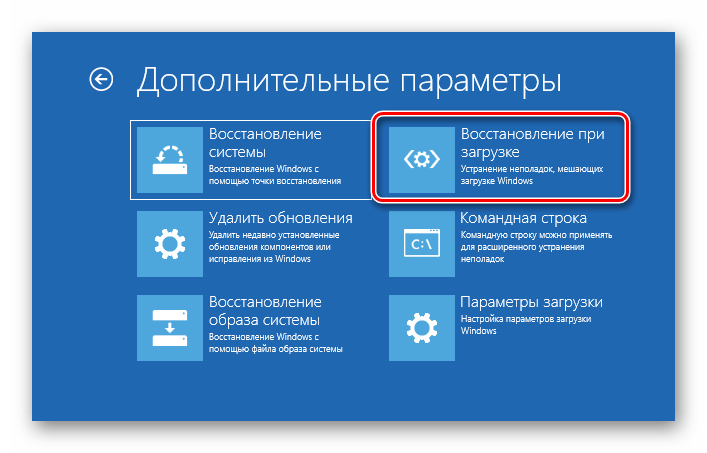
Ждем, пока средство завершит работу, после чего произойдет автоматическая перезагрузка ПК.

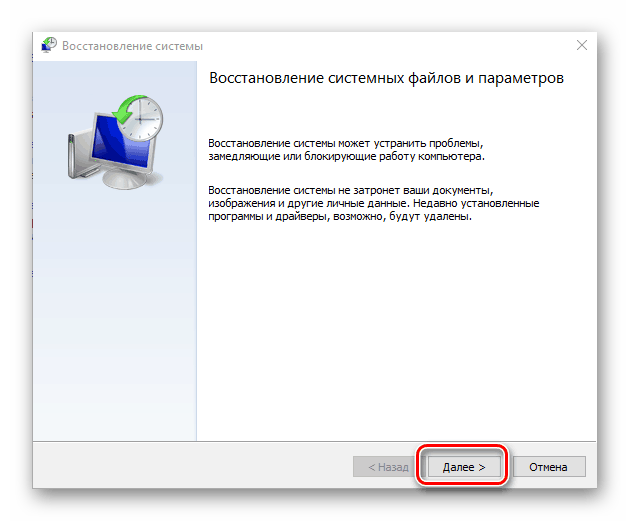
Способ 3: Восстановление из точки
Точки восстановления — это особые записи на диске, содержащие данные о параметрах и файлах Windows. Ими можно воспользоваться в том случае, если была включена защита системы. Эта операция отменит все изменения, которые были сделаны до определенной даты. Это касается установки программ, драйверов и обновлений, а также настроек «винды».
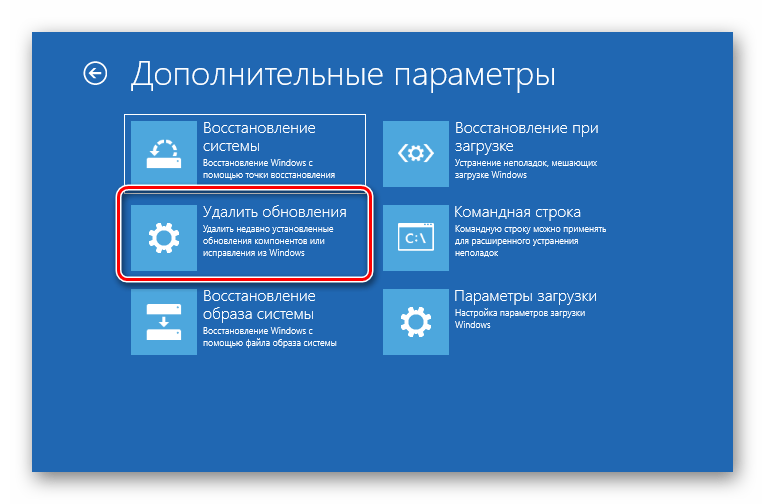
Способ 4: Удаление обновлений
Эта процедура позволяет удалить последние исправления и обновления. Она поможет в тех случаях, когда вариант с точками не сработал или они отсутствуют. Найти опцию можно все в той же среде восстановления.
Обратите внимание, что данные действия лишат вас возможности воспользоваться инструкциями в способе 5, так как будет удалена папка Windows.old.
- Проходим пункты 1 – 3 из предыдущих способов.
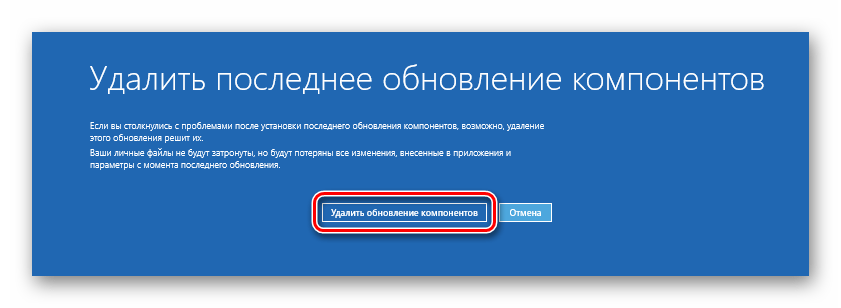
- Жмем «Удалить обновления».
Переходим в раздел, указанный на скриншоте.
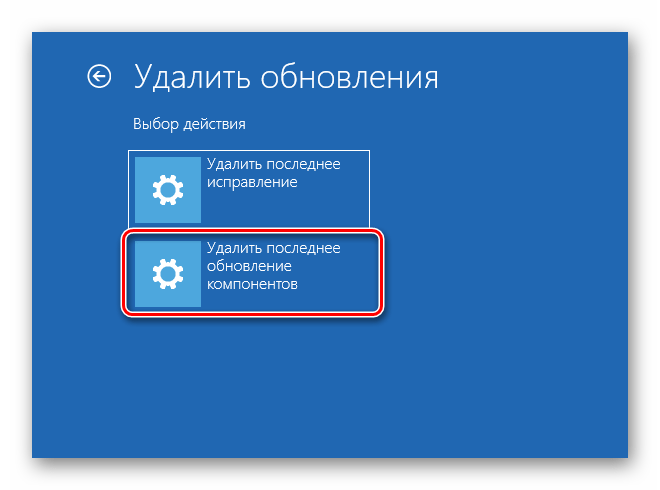
Нажимаем кнопку «Удалить обновление компонентов».

Способ 5: Предыдущая сборка
Данный метод будет эффективен, если сбой происходит периодически, но система загружается и мы имеем доступ к ее параметрам. При этом проблемы стали наблюдаться после очередного глобального обновления «десятки».
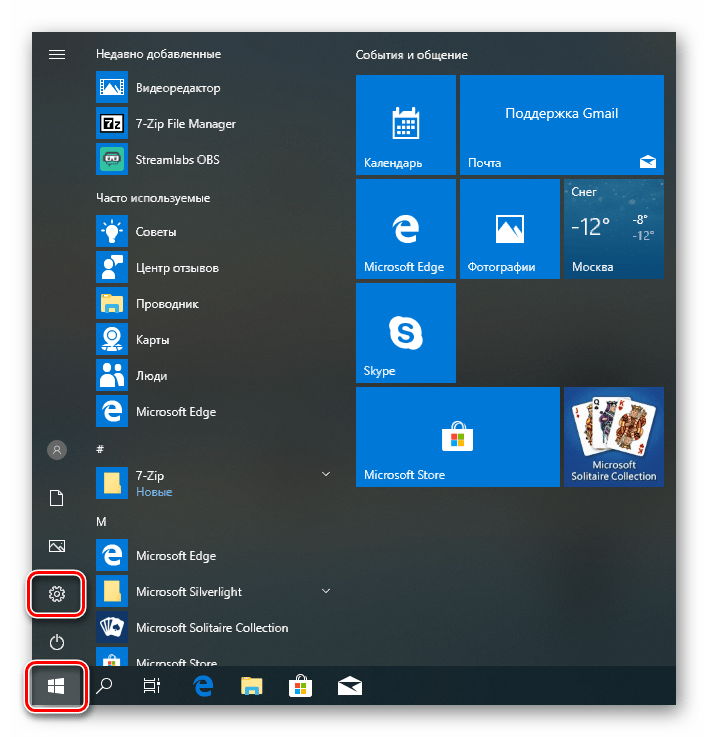
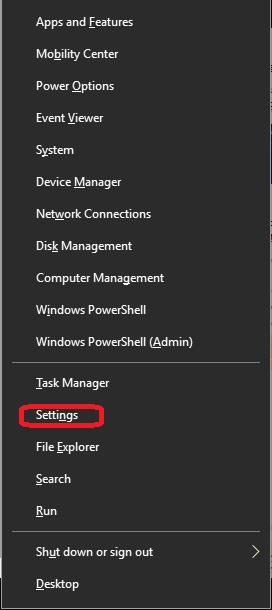
- Открываем меню «Пуск» и переходим к параметрам. Тот же результат даст сочетание клавиш Windows+I.
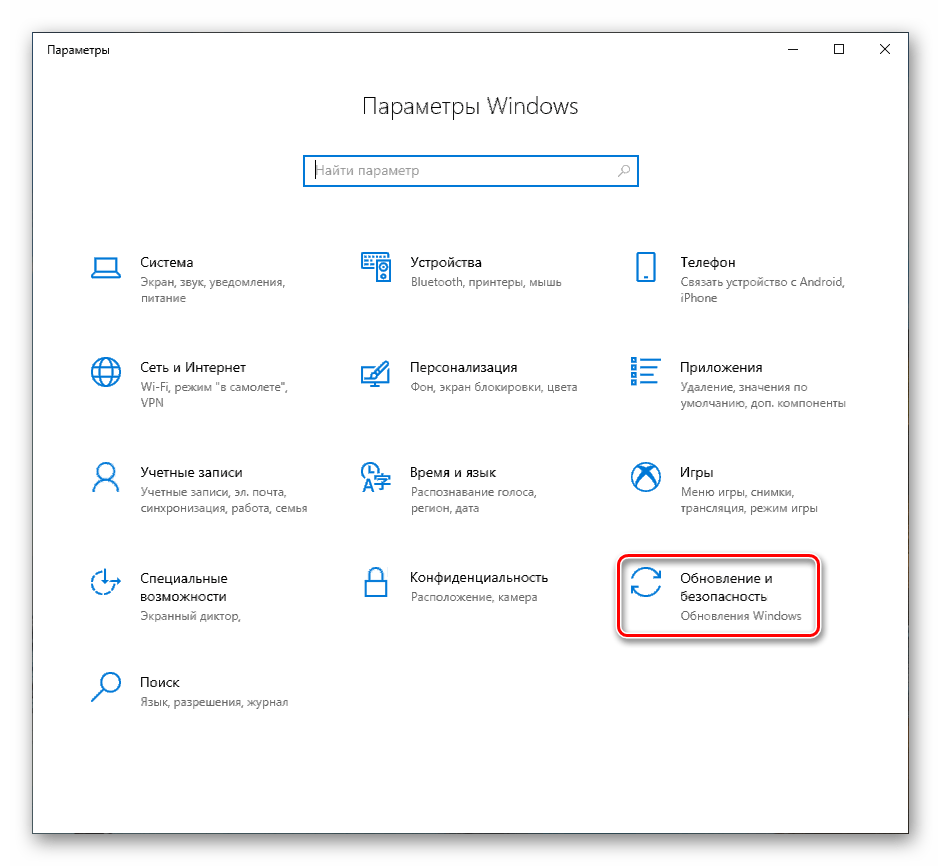
Идем в раздел обновления и безопасности.
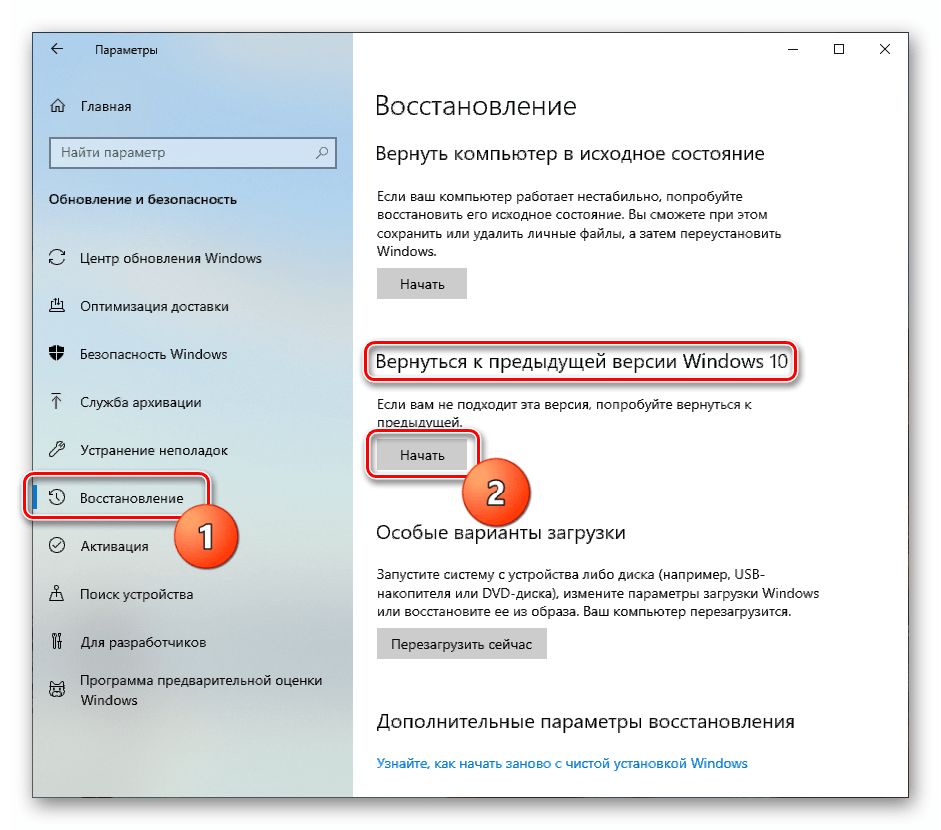
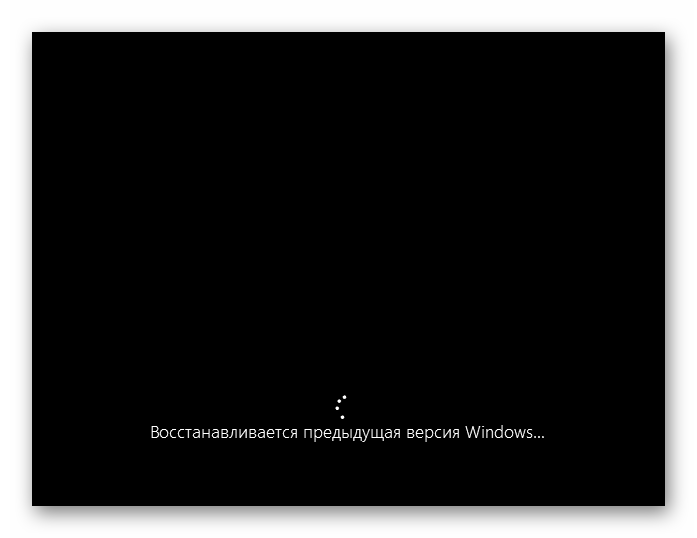
Переходим на вкладку «Восстановление» и жмем кнопку «Начать» в блоке возврата к предыдущей версии.
Начнется непродолжительный процесс подготовки.

Ставим галку напротив предполагаемой причины восстановления. Здесь не важно, что мы выберем: на течении операции это никак не скажется. Жмем «Далее».
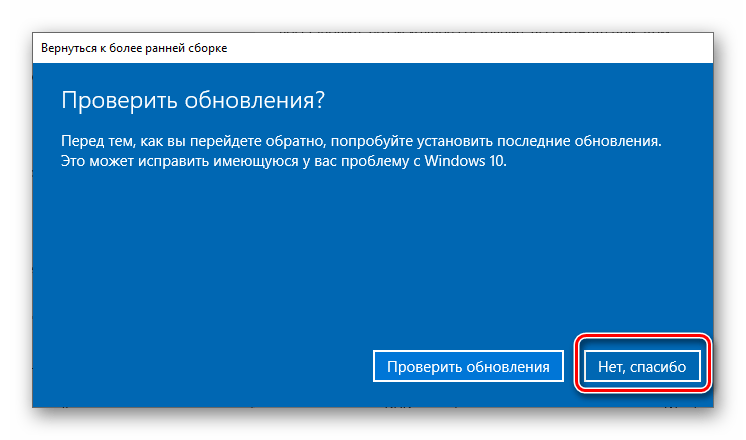
Система предложит проверить обновления. Отказываемся.
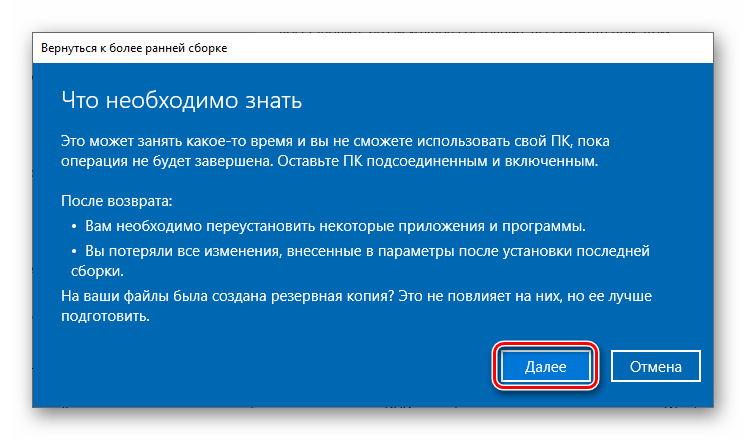
Внимательно читаем предупреждение. Особое внимание стоит уделить резервным копиям файлов.
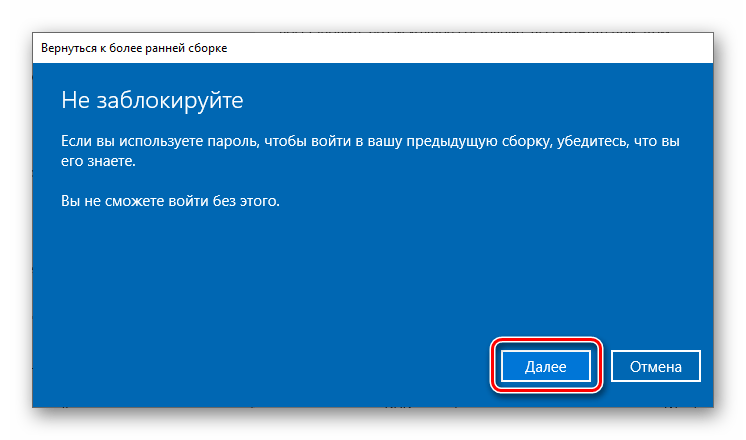
Еще одно предупреждение о необходимости запомнить пароль от своей учетной записи.
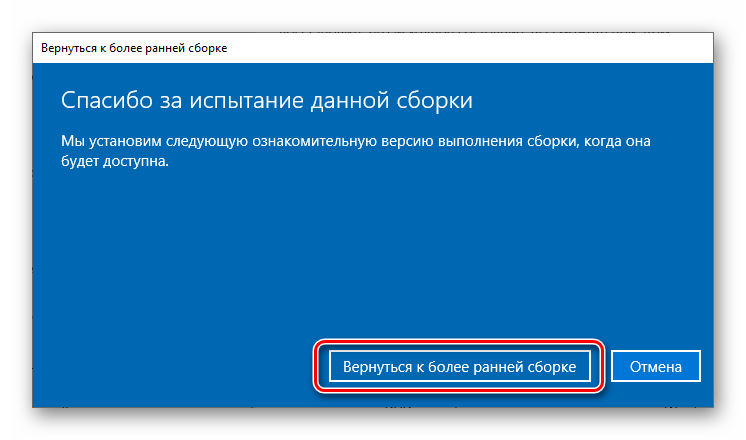
На этом подготовка завершена, нажимаем «Вернуться к более ранней сборке».
Ждем завершения восстановления.
Если средство выдало ошибку или кнопка «Начать» неактивна, переходим к следующему способу.
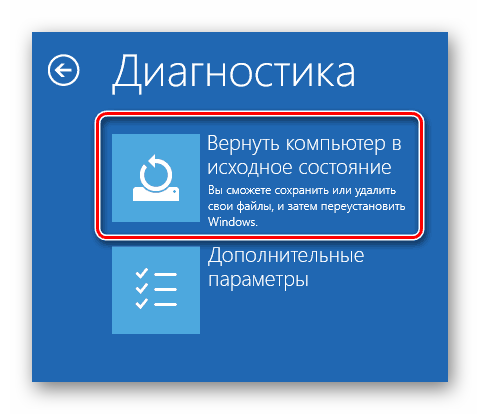
Способ 6: Возврат ПК к исходному состоянию
Под исходным следует понимать то состояние, в котором система была сразу после установки. Запустить процедуру можно как из работающей «винды», так и из среды восстановления при загрузке.
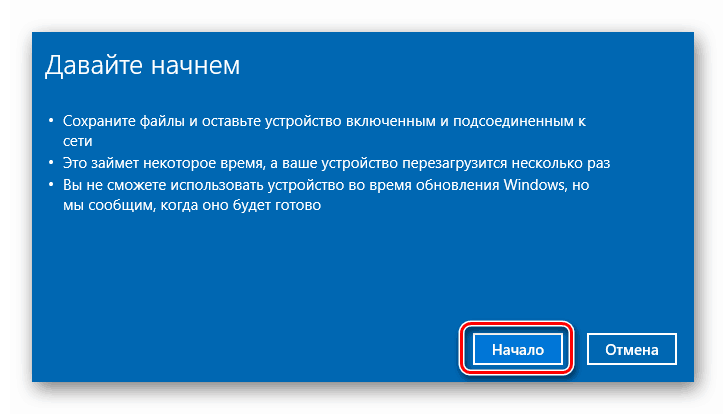
Способ 7: Заводские настройки
Это еще один вариант восстановления Windows. Он подразумевает чистую установку с автоматическим сохранением софта, установленного производителем, и лицензионных ключей.
Заключение
Если применение инструкций, приведенных выше, не помогли справиться с ошибкой, то поможет только новая установка системы с соответствующего носителя.
Кроме того, стоит обратить внимание и на жесткий диск, на который записана Windows. Возможно, он вышел из строя и требует замены.
How to Fix a Windows 10 Critical Error

The Windows 10 Critical error is related to the Start menu not working. It happens when some files become corrupted. Sometimes, the Start menu alone is affected, but other times the search feature, Cortana, and the Start menu are all involved.
To fix various PC problems, we recommend the Restoro PC Repair Tool:
This software will repair common computer errors, protect you from file loss, malware, hardware failure, and optimize your PC for maximum performance. Fix PC issues and remove viruses now in 3 easy steps:
- Download Restoro PC Repair Tool rated Great on TrustPilot.com.
- Click Start Scan to find Windows issues that could be causing PC problems.
- Click Repair All to fix issues with Patented Technologies (patent available here).
Restoro has been downloaded by 14,567 readers this week.
This walkthrough will teach you how to resolve the error. For more methods that deal with a Start menu icon not working, click here.
Perform a System Backup
Before making any changes to your PC, you should always perform a system backup to prevent lost files.
Here is how to backup your computer:
Step #1
Press the [X] and the [Windows] keys on your keyboard at the same time. Choose “Settings” on the menu that appears.
Step #2
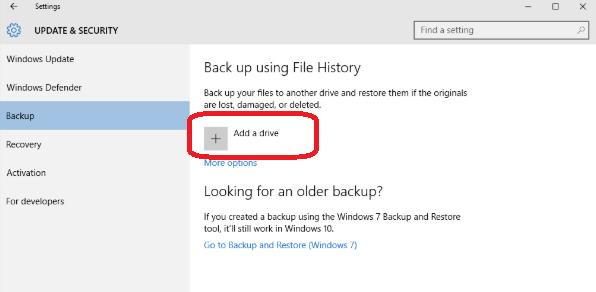
In the Settings window, click on Update & Security. Then select “Backup” from the left panel in the Update & Security window.
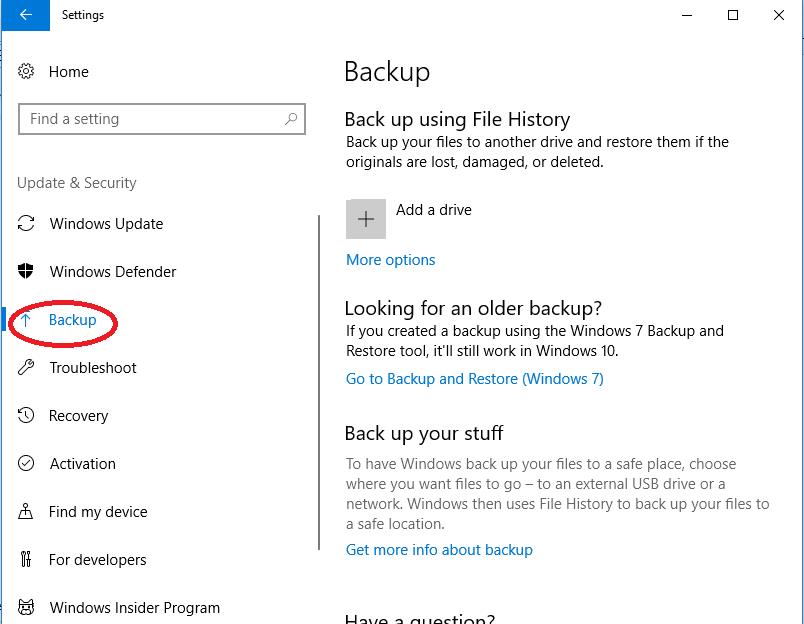
Step #3
Connect an external drive such as a USB drive to your computer. Click “Add a Drive” and then choose the drive you attached.
It may take some time, but Windows will create the backup on the drive for you.
Resolving the Windows 10 Critical Error
Fix #1: Reboot Windows
The easiest way to deal with this issue is to restart your computer.
Step #1
Press the [ctrl], [alt], and [delete] keys on your keyboard at the same time. This opens the Task Manager menu.
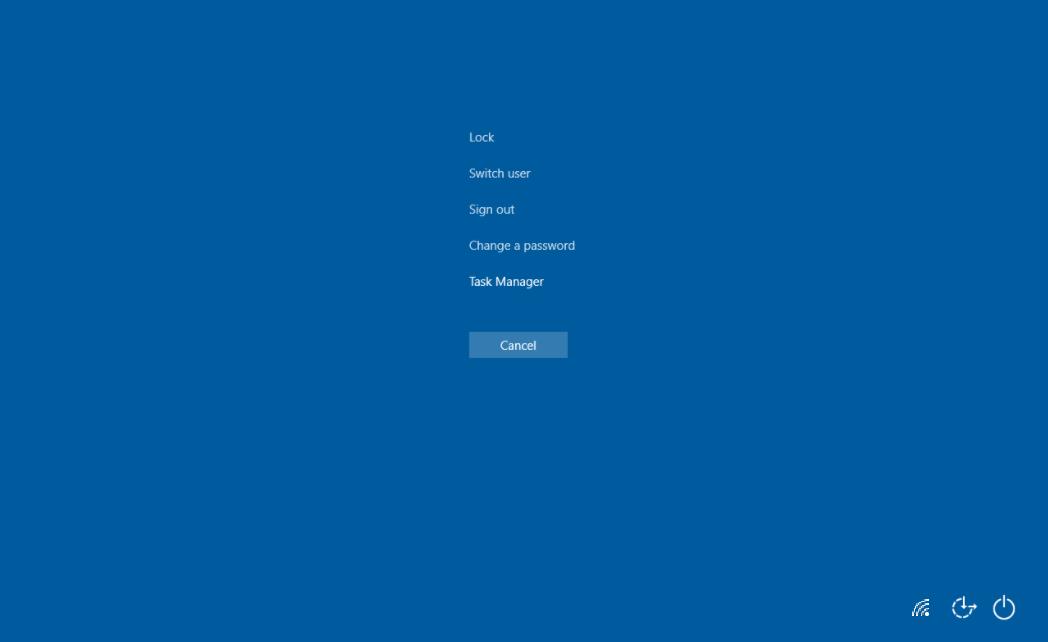
Step #2
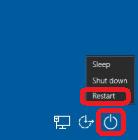
Click the Power icon in the lower right corner. Choose “Restart.”
Once the computer restarts, see if the Critical Error is still present. If it is, continue to the next method.
Fix #2: Run a System File Check and Repair the Windows Image
The system file check is designed to repair and fix corrupt files on your computer automatically. You can access this app through the Command Prompt.
Step #1
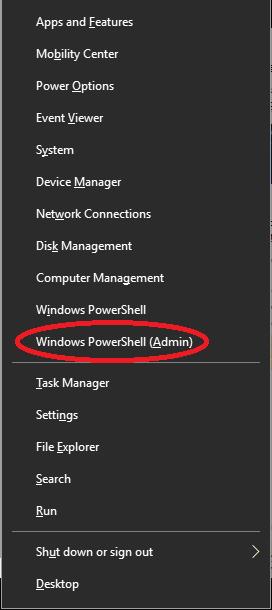
Press the [X] and the [Windows] keys on your keyboard at the same time.
Choose “Windows PowerShell (Admin)” on the menu that appears and choose “Yes” if the system asks if you want to allow that app to make changes.
Step #2
In the PowerShell window that opens, type “sfc /scannow” (without the quotation marks) into it and press [Enter].
Wait until the process is done. It may take some time to complete.

Step #3
When the scan is complete, and you see a new prompt, type “Repair-WindowsImage -RestoreHealth” (without the quotation marks) into it or copy and paste the command.
Press [Enter] when you are done. Again, it may take some time for the repair to finish.

Step #4
When the scan finishes, you must restart your computer.
As before, Press the [ctrl], [alt], and [delete] keys on your keyboard at the same time, click the Power icon, and choose “Restart.”
If you still see the Windows 10 Critical Error, continue to the next method.
Fix #3: Reinstall the Start Menu App
When the Start menu app becomes corrupt, sometimes it is best to reinstall that app as well as other corrupt Microsoft Windows 10 apps that may be interfering with it. To do this, Windows 10 has a command that you can access through the PowerShell.
Step #1
Press the [X] and the [Windows] keys on your keyboard at the same time.
Choose “Windows PowerShell (Admin)” on the menu that appears.
Again, choose “Yes” if the system asks if you want to allow that app to make changes.
Step #2
In the PowerShell window that opens, type or cut and paste the following command:
Get-AppXPackage -AllUsers | Foreach
and press [Enter].
Wait until the process is done. This will take some time to complete.

Step #3
Now, you need to restart your computer again.
Return to the [ctrl], [alt], and [delete] menu by pressing the keys simultaneously on your keyboard, click the Power icon, and choose “Restart.”
If you still see the Windows 10 Critical Error pop-up, continue reading to find another method that will work to resolve your computer’s error.
Fix #4: Create a New User Account With Administrative Privileges
If your settings or any changes that were automatically made to your computer settings cause the Start menu or Cortana to stop working, creating a new user account is the best option for resolving the issue.
Step #1
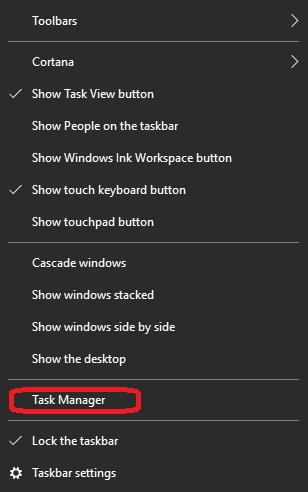
Right-click on the taskbar, and when the menu opens, choose “Task Manager.”
Alternately, you could press the [Ctrl], [Shift], and [Esc] keys at the same time to open it.
Step #2
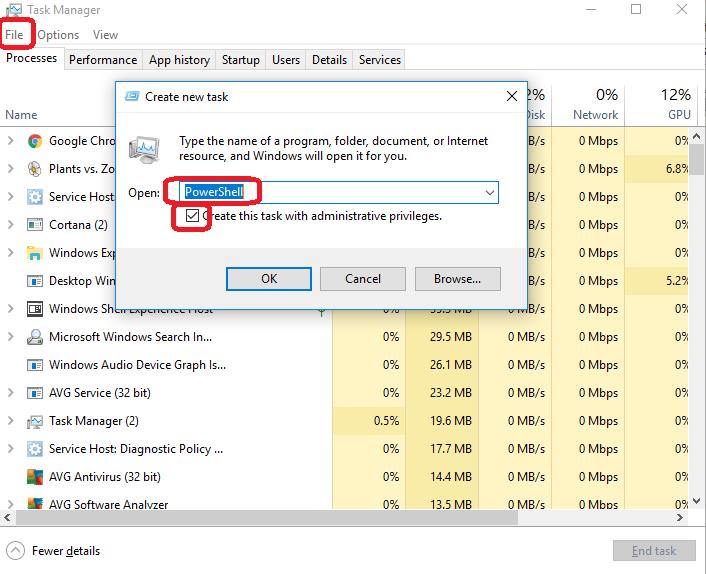
When the Task Manager opens, click “File” in the upper left-hand corner.
Choose “Run new task” from the drop-down menu.
Type “PowerShell” into the window that opens and make sure the “Create this task with administrative privileges” box is checked before clicking “OK.”
Step #3
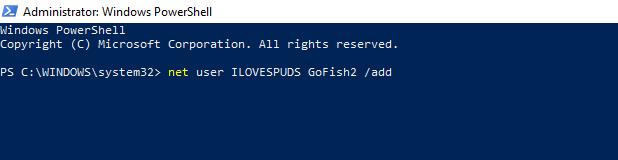
When the PowerShell opens, type
“net user DifferentUsername DifferentPassword /add”
without the quotation marks.
In this case, you should replace DifferentUsername with the actual username you want for the new account.
DifferentPassword is replaced with the password you want to use for the new account.
Neither the password nor the username can contain any spaces, and both will be case-sensitive.
When you have finished typing the command in, press [Enter] to execute it.
Step #4
As with the other methods, you have to restart your computer.
Close the PowerShell window, press the [ctrl], [alt], and [delete] keys simultaneously on your keyboard, click the Power icon, and choose “Restart.”
When the computer restarts, log on to the new user account you created using the new username and password you typed into the PowerShell command.
The Windows 10 Critical Error should be gone when you log in to your new user account. If it is, transfer all your files to your new account and delete the old one.
Otherwise, continue reading for more methods of dealing with this issue.
Fix #5: Do a Clean Boot
Sometimes third-party apps will interfere with the Start menu function. A clean boot starts the computer with only necessary Microsoft apps running. If a third-party app is the cause, you can try updating it or uninstalling it to fix the issue permanently.
Step #1
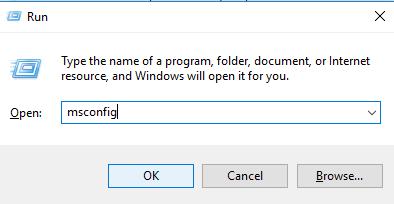
Once you log in as an administrator and see the Critical Error message, press the [R] key and the [Windows] key together to open the Run box.
Type “msconfig” and click “OK.”
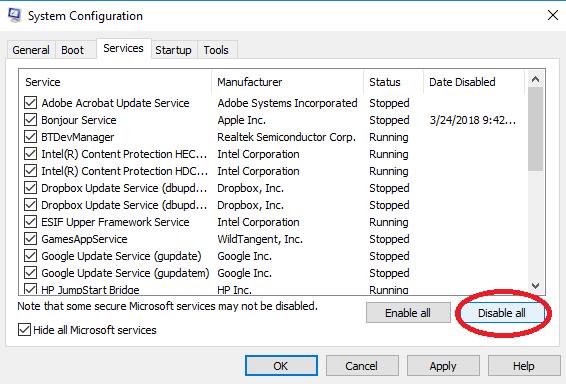
Step #2
The System Configuration window will appear.
Click the services tab.
“Hide all Microsoft services” should have a checkmark next to it. (Click it if it doesn’t.)
Then click “Disable all.”
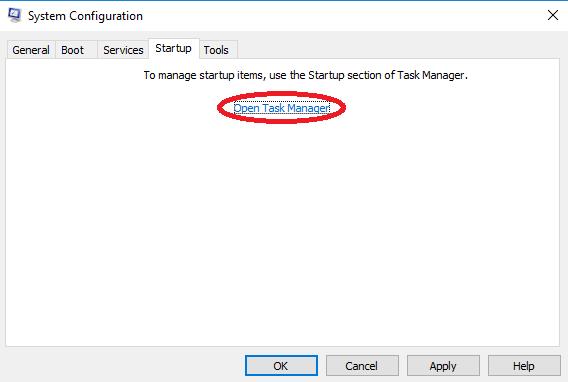
Step #3
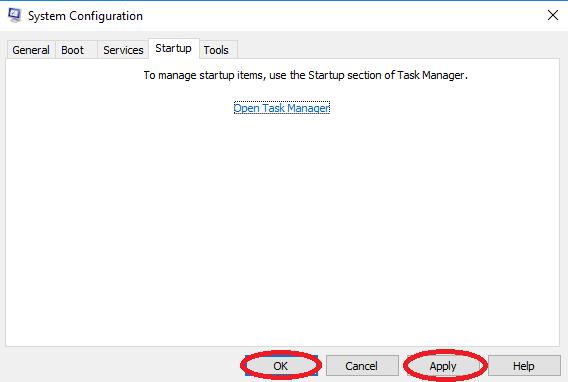
Now, click the “Startup” tab while you are still in the System Configuration window.
Click on “Open Task Manager” there.
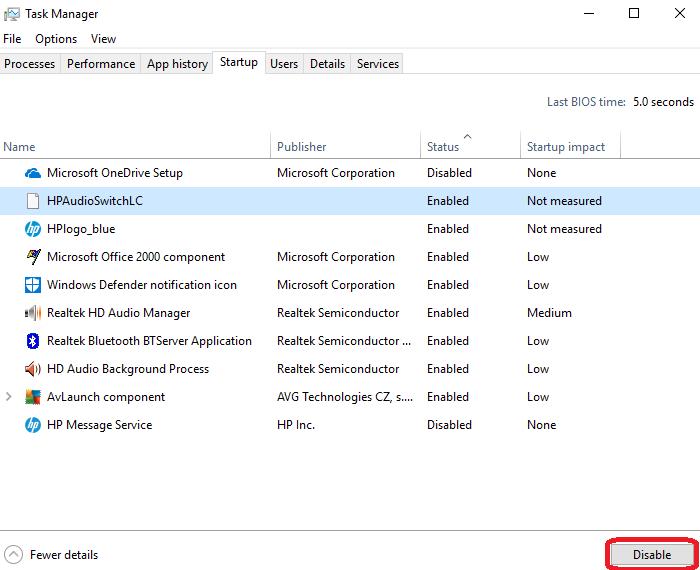
Step #4
The Task Manager will open. Click the tab labeled “Startup.”
Select each item you find there and click the button to “Disable” it if it isn’t already disabled.
Now you can close the Task Manager.
Step #5
On the System Configuration window that is still open, click the “Apply” button and then “OK.”
Step #6
Restart your computer.
As the computer restarts, see if you get the Critical Error message. If the message is gone, repeat the steps above, but this time “enable” each app one at a time until you find the app causing the error.
Until you determine which app is interfering, you will need to use your computer in the Clean Boot state. If this method did not work, continue to the next method.
Fix #6: Update or Uninstall a Third-Party Antivirus
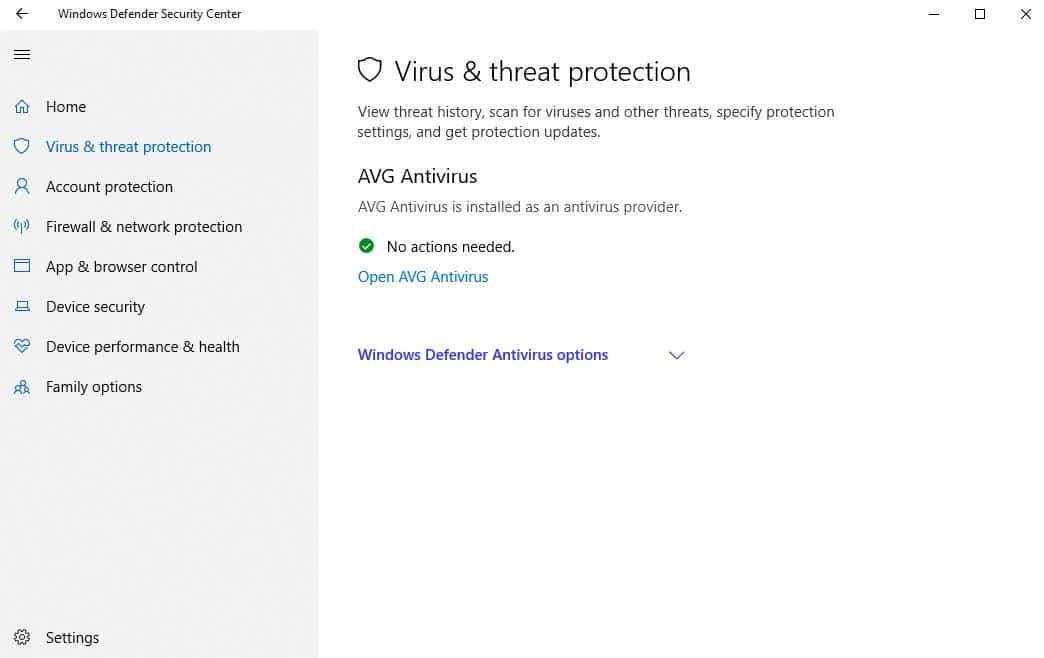
If you are using a third-party antivirus, the antivirus may be interfering with some components of Windows.
Since Windows 10 comes with Windows Defender, first, you should make sure Windows Defender has been deactivated if you are running a third-party antivirus. Running two antivirus programs at the same time can cause problems because the programs interfere with each other.
To find out how to deactivate Windows Defender, click here.
Since each antivirus is different, the instructions below are general and not specific to any one antivirus program. Visit the manufacturer’s website for specific instructions on how to update or uninstall your antivirus.
Step #1
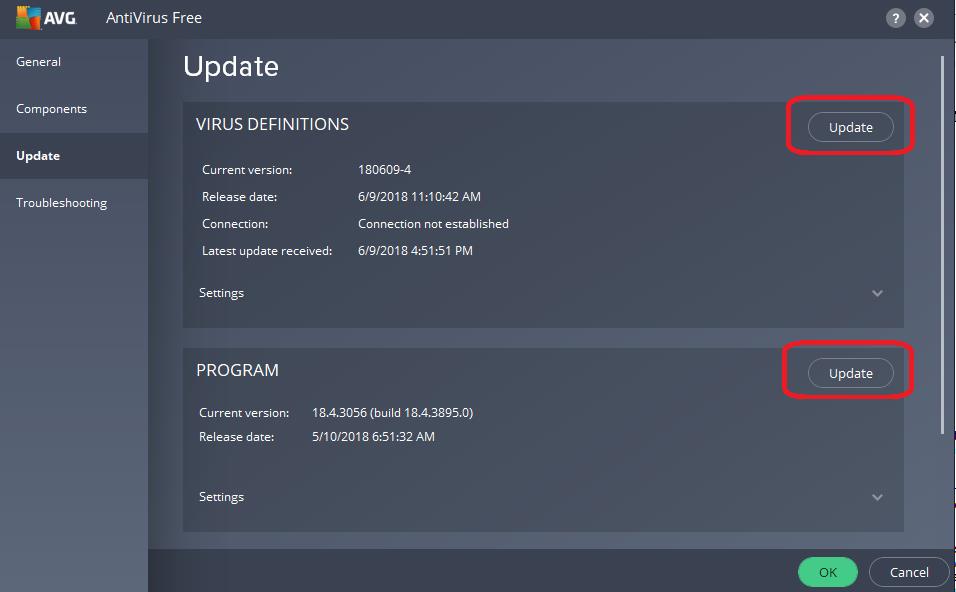
When you open the third-party antivirus program, you should be able to find an “Update” area.
Sometimes, this is located in a “General” folder. In other cases, you might find it under “Settings.”
Click the button to update the program.
Step #2
After you update and restart your computer, if you still see the Critical Error message, you need to uninstall your antivirus software.
Press the [X] and [Windows] keys at the same time. Choose “Settings” from the list.
Step #3
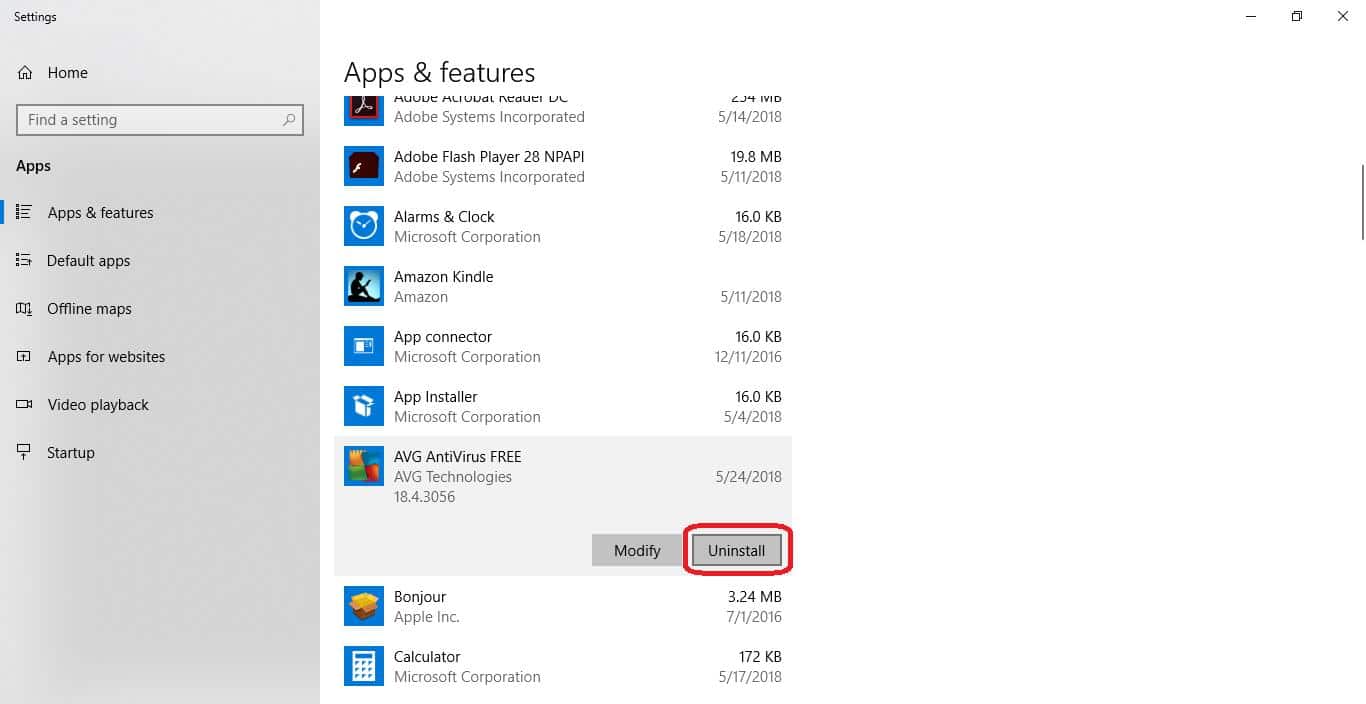
Click “Apps” in the Settings window.
In the “Apps & Features” sub-menu, scroll down until you find your antivirus program.
Click on it and then click the “Uninstall” button.
Step #4
As before restart your computer
If the problem is resolved, you can try reinstalling your third-party antivirus. If the problem appears after you reinstall the antivirus again, you will need to uninstall it and find another one or turn on Windows Defender and use that.
Fix #7: Download the Microsoft Start Menu Troubleshooter
Shortly after Windows 10 came out, it was notorious for having Start menu/ Cortana critical errors. As a result, Microsoft created a special troubleshooter that you can still find here.
This option works best if you think the errors might be related to issues with missed updates. All you need to do is download the Troubleshooter and run it, following the on-screen instructions.
Fix #8: Reinstall the Start Menu and Re-register Cortana
If the Start menu is corrupt or the registration process for Cortana is missing on your computer, this is the best option to fix it.
Also, if you run the Start menu Troubleshooter, and it tells you, “Microsoft.Windows.ShellExperienceHost” and “Microsoft.Windows.Cortana” applications need to be installed correctly; the following directions will resolve the issue.
Step #1
Press the [X] and the [Windows] keys together. Click on “Windows PowerShell (Admin).”
Choose “Yes” if the system wants permission for the app to make changes.
Step #2
In the PowerShell window that opens, type:
Get-AppxPackage Microsoft.Windows.ShellExperienceHost | Foreach
into the PowerShell and press [Enter]. Wait until the process is done.

Step #3
When that finishes, type:
Get-AppxPackage Microsoft.Windows.Cortana | Foreach
into it or copy and paste the command.
Press [Enter] when you are done. Again, it may take some time for the repair to finish.

Step #4
Now, restart your computer.
Fix #9: Perform a System Restore
If you manually created a system restore point before the Start menu stopped working, you can restore your system to that point. Although some of your information might be lost, this method allows you to fix many issues. You can find out how to turn the System Restore feature on and create a restore point here.
Step #1
As mentioned previously, press the [X] and [Windows] keys at the same time.
Choose “Settings” from the menu that appears.
Step #2
Choose “Update & Security.”
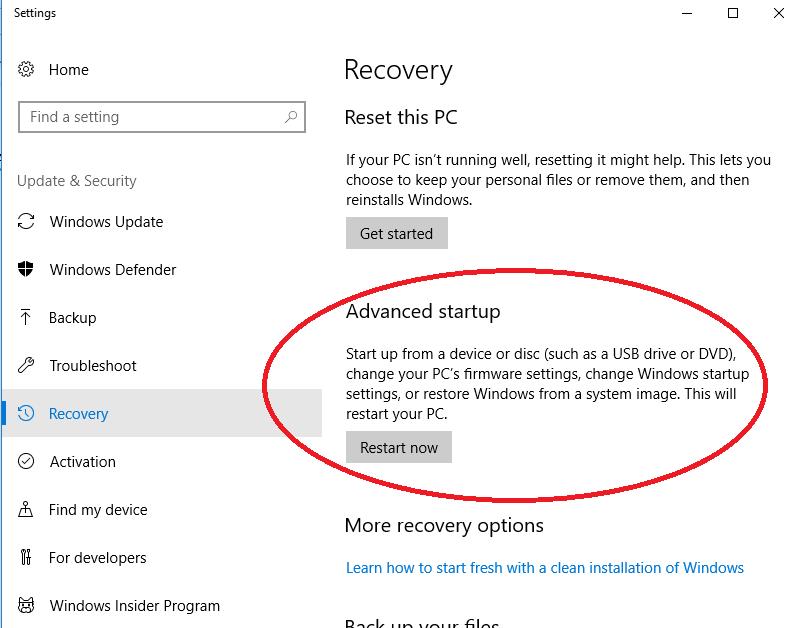
In the Update & Security window, click on “Recovery” on the left side menu.
You should see “Advanced Start-up” on the right, click the “Restart now” button found underneath that.
Step #3
This will cause Windows to restart, and you will see the “Choose an Option” menu.
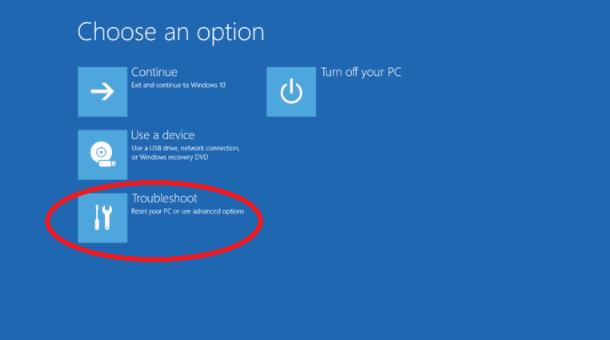
Step #4
Pick “Troubleshoot” and then “Advanced Options.”

Step #5
Choose “System Restore.”

Fix #10: Reset the Computer
If you don’t have a system restore point and if none of the other methods mentioned in this walkthrough work, you will have to reset your computer if you want your Start menu functionality back.
Step #1
Press the [X] and [Windows] keys together.
Choose “Settings” from the menu.
Step #2
Click on “Update & Security.”
Then choose “Recovery” on the left side.
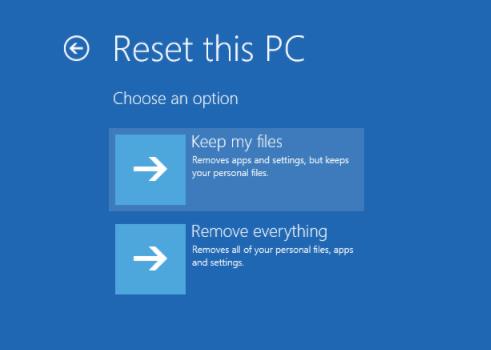
You should see “Reset this PC” on the right, click the “Get started” button found underneath that.
Step #3
Now click “Keep my files” and continue.
The computer will reset to Windows 10 factory conditions.
Hopefully, you have rectified your Windows 10 critical error. If not, check out these posts for more help: Windows 10 taskbar not working, Windows 10 startup folder, the second monitor not detected, and application unable to start correctly.


