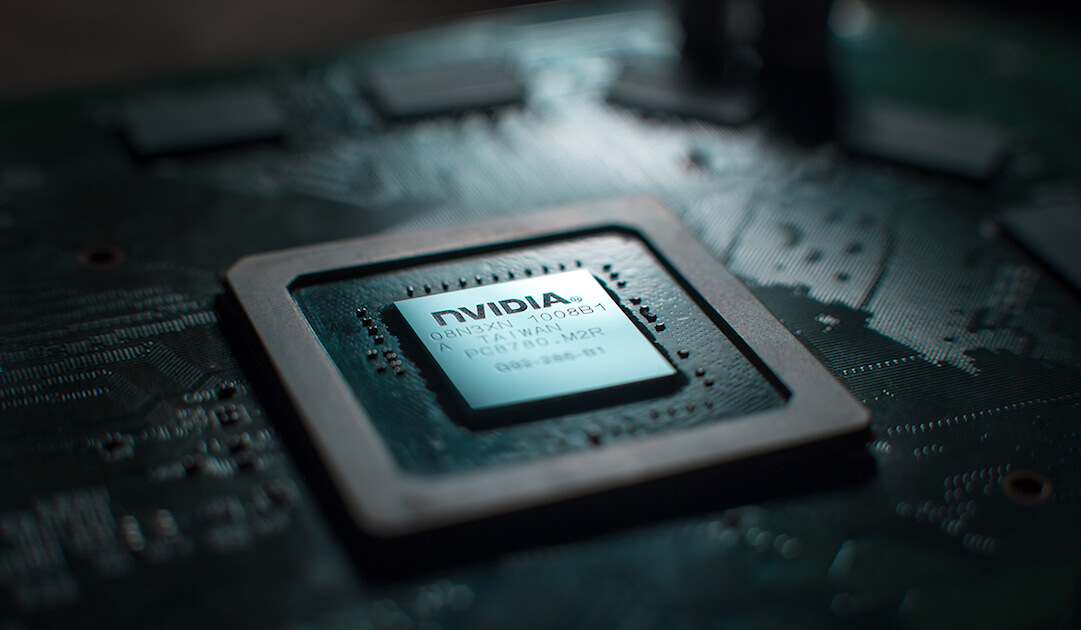
- Nvidia прекращает поддержку CUDA на macOS
- Где получить аппаратное ускорение без CUDA?
- Apple и NVIDIA — всё? CUDA больше не будет поддерживать macOS
- Поддержка CUDA на macOS
- Почему графики NVIDIA нет на Mac
- Cuda mac os driver что это
- 1.1. System Requirements
- 1.2. About This Document
- 2. Prerequisites
- 2.1. CUDA-capable GPU
- 2.2. Mac OS X Version
- Xcode Version
- Command-Line Tools
- 3. Installation
- 3.1. Download
- 3.2. Install
- 3.3. Uninstall
- 4. Verification
- 4.1. Driver
- 4.2. Compiler
- 4.3. Runtime
- 5. Additional Considerations
- Notices
- Notice
- Trademarks
- Copyright
Nvidia прекращает поддержку CUDA на macOS
Производитель графических процессоров NVIDIA отказывается от поддержки CUDA для macOS. Платформа для параллельных вычислений, использующаяся для аппаратного ускорения рендеринга во многих продуктах, «в последний раз» представлена в выпуске CUDA Toolkit 10.2, как сказано в логе изменений.
Новость нельзя назвать большим сюрпризом: Apple не комплектует свои продукты видеокартами NVIDIA последние несколько лет. Для потребительской линейки компания использует интегрированные карты от Intel, а для профессиональных станций, например, Mac Pro, iMac Pro или 16-дюймового MacBook Pro, — карты от AMD.
Однако даже подключить NVIDIA как внешнюю видеокарту (eGPU) стало проблемой, начиная с выхода macOS Mojave (10.14) в прошлом году: для последних карт просто нет драйверов. NVIDIA опубликовали официальное обращение пользователям, где сказали, что ничего с этим не могут сделать:
«Apple полностью контролирует драйверы для Mac OS. К сожалению, на данный момент NVIDIA не может выпустить драйвер без официального разрешения Apple.»
Разработчики Apple дали анонимный комментарий изданию Appleinsider, почему купертинская компания приняла такое решение:
«Речь не идет о том, что в Metal 2 нельзя добавить поддержку NVIDIA — у них отличные инженеры, и с производительностью проблем не будет. Просто кто-то наверху этого не хочет.»
Где получить аппаратное ускорение без CUDA?
Большинство коммерческих движков, включая V-Ray GPU, OctaneRender и Redshift, сейчас работают на CUDA. Фреймворк OptiX от NVIDIA, поддержку которого разработчики сейчас активно добавляют в свои продукты (например, последние версии Blender или V-Ray Next), тоже требует CUDA Toolkit.
Другие рендеры, например, Blender Cycles, поддерживают карты AMD с помощью OpenCL, но Apple прекратили поддержку и этого API, заменив OpenCL на собственный Metal 2.
Получается, что на момент выхода этой новости практически единственный вариант для пользователей Mac, которые хотят продолжать пользоваться аппаратным ускорением, — это AMD с Radeon ProRender. В будущем поддержка Metal API может также появится и в Redshift и OctaneRender.
Источник
Apple и NVIDIA — всё? CUDA больше не будет поддерживать macOS
Apple не привыкать ссориться с поставщиками. Известно несколько случаев, когда отношения между компанией и её партнёрами ухудшались настолько, что в Купертино были вынуждены искать альтернативного поставщика или даже начать разрабатывать нужные запчасти или ПО самостоятельно. Иногда это шло Apple на пользу, позволяя ей начать развиваться более активно, как в случае с Apple Maps или собственными процессорами A-серии, которые устанавливаются в мобильные устройства компании и по сей день являются самыми лучшими. Но, к сожалению, чаще всего, как в случаях с Qualcomm или NVIDIA конфликт выходил Apple и — самое главное — её пользователям боком.
Отношения между Apple и NVIDIA можно официально считать завершёнными
Поддержка CUDA на macOS
NVIDIA прекращает поддержку архитектуры CUDA для macOS, начиная с версии 10.2, которая станет последней совместимой сборкой, говорится на сайте компании. Получается, что все будущие релизы CUDA, которые будут выходить после 10.2, не будут совместимы с операционной системой Apple, по сути, лишая изрядную долю профессиональных пользователей, а также пользователей хакинтошей возможности работать с дискретной графикой NVIDIA. Поэтому единственными ускорителями, которые будут актуальны на маках, отныне будут только решения AMD.
CUDA – программно-аппаратная архитектура параллельных вычислений, которая позволяет существенно увеличить вычислительный потенциал ряда функций при условии использования графических процессоров NVIDIA. Благодаря своей эффективности CUDA широко используется в таких областях, как астрофизика, вычислительная биология и химия, моделирование динамики жидкостей, электромагнитных воздействий, компьютерная томография, сейсмоанализ, а также всевозможных графических редакторах и даже играх.
Несмотря на то что для многих ни сам термин CUDA, ни его предназначение до сих пор остаются неизвестными, факт того, что NVIDIA отказывается от поддержки macOS, говорит о многом. Скорее всего, это терминальная стадия негативных отношений между двумя компаниями, восстановить которые будет весьма проблематично. Ведь если скандал с участием Qualcomm был довольно скоротечным и, по сути, строился на стремлении одной стороны продемонстрировать свою силу другой, то в случае с NVIDIA дела обстояли несколько иначе.
Почему графики NVIDIA нет на Mac
Конфликт между Apple и NVIDIA начался ещё десять лет назад, когда Apple лишилась большого количества заказов на MacBook Pro из-за неудачного графического решения. Тогда в Купертино приняли решение, что полагаться на одного поставщика ускорителей, пусть и имеющего отличную репутацию в отрасли, будет нерационально, и обратили внимание на AMD. С тех пор, несмотря на то, что решения последней уступали решениям NVIDIA, отношения между Apple и AMD шли в гору. При этом сама Apple не спешила отказываться от поддержки графики NVIDIA, позволяя владельцам фирменных компьютеров менять один ускоритель на другой по своему желанию.
Читайте также: Скоро мы можем увидеть 14-дюймовый MacBook Pro
Однако то, что произошло теперь, выглядит как настоящий разрыв и прекращение сотрудничества. Как это отразится на Apple, сказать сложно. С одной стороны, в Купертино и так уже давно не используют графику от NVIDIA в своих компьютерах, а значит, обеспечивать их полную работоспособность в компании и не обязаны вовсе. Но, с другой стороны, это может отпугнуть некоторых пользователей — особенно профессиональных, — для которых важна и графика от NVIDIA, и ускоритель CUDA. А если так пойдёт и дальше, Apple рискует потерять часть платёжеспособной аудитории, что для неё очень нежелательно.
Источник
Cuda mac os driver что это
CUDA В® is a parallel computing platform and programming model invented by NVIDIA. It enables dramatic increases in computing performance by harnessing the power of the graphics processing unit (GPU).
This guide will show you how to install and check the correct operation of the CUDA development tools.
1.1. System Requirements
| Toolchain | Mac OSX Version (native x86_64) | |
|---|---|---|
| Xcode | Apple LLVM | 10.12 |
| 8.3.3 | 8.1.0 | YES |
Before installing the CUDA Toolkit, you should read the Release Notes, as they provide important details on installation and software functionality.
1.2. About This Document
This document is intended for readers familiar with the Mac OS X environment and the compilation of C programs from the command line. You do not need previous experience with CUDA or experience with parallel computation.
2. Prerequisites
2.1. CUDA-capable GPU
To verify that your system is CUDA-capable, under the Apple menu select About This Mac , click the More Info … button, and then select Graphics/Displays under the Hardware list. There you will find the vendor name and model of your graphics card. If it is an NVIDIA card that is listed on the CUDA-supported GPUs page, your GPU is CUDA-capable.
The Release Notes for the CUDA Toolkit also contain a list of supported products.
2.2. Mac OS X Version
The CUDA Development Tools require an Intel-based Mac running Mac OSX v. 10.12. To check which version you have, go to the Apple menu on the desktop and select About This Mac .
Xcode Version
A supported version of Xcode must be installed on your system. The list of supported Xcode versions can be found in the System Requirements section. The latest version of Xcode can be installed from the Mac App Store.
Older versions of Xcode can be downloaded from the Apple Developer Download Page. Once downloaded, the Xcode.app folder should be copied to a version-specific folder within /Applications . For example, Xcode 6.2 could be copied to /Applications/Xcode_6.2.app .
Command-Line Tools
The CUDA Toolkit requires that the native command-line tools are already installed on the system. Xcode must be installed before these command-line tools can be installed.
Note: It is recommended to re-run the above command if Xcode is upgraded, or an older version of Xcode is selected.
3. Installation
Basic instructions can be found in the Quick Start Guide. Read on for more detailed instructions.
3.1. Download
Once you have verified that you have a supported NVIDIA GPU, a supported version the MAC OS, and clang, you need to download the NVIDIA CUDA Toolkit.
The download can be verified by comparing the posted MD5 checksum with that of the downloaded file. If either of the checksums differ, the downloaded file is corrupt and needs to be downloaded again.
3.2. Install
Use the following procedure to successfully install the CUDA driver and the CUDA toolkit. The CUDA driver and the CUDA toolkit must be installed for CUDA to function. If you have not installed a stand-alone driver, install the driver provided with the CUDA Toolkit.
: Specifies a package to install. Can be used multiple times. Options are «cuda-toolkit», «cuda-samples», and «cuda-driver».
—log-file=
: Specify a file to log the installation to. Default is /var/log/cuda_installer.log.
In order to modify, compile, and run the samples, the samples must also be installed with write permissions. A convenience installation script is provided: cuda-install-samples- 9.0 .sh . This script is installed with the cuda-samples- 9 — 0 package.
3.3. Uninstall
The CUDA Driver, Toolkit and Samples can be uninstalled by executing the uninstall script provided with each package:
| Package | Location |
|---|---|
| CUDA Driver | /usr/bin/uninstall_cuda_drv.pl |
| CUDA Toolkit | /Developer/NVIDIA/CUDA- 9.0 /bin/uninstall_cuda_ 9.0 .pl |
| CUDA Samples | /Developer/NVIDIA/CUDA- 9.0 /bin/uninstall_cuda_ 9.0 .pl |
All packages which share an uninstall script will be uninstalled unless the —manifest= flag is used. Uninstall manifest files are located in the same directory as the uninstall script, and have filenames matching .
4. Verification
Before continuing, it is important to verify that the CUDA toolkit can find and communicate correctly with the CUDA-capable hardware. To do this, you need to compile and run some of the included sample programs.
4.1. Driver
4.2. Compiler
The installation of the compiler is first checked by running nvcc -V in a terminal window. The nvcc command runs the compiler driver that compiles CUDA programs. It calls the host compiler for C code and the NVIDIA PTX compiler for the CUDA code.
4.3. Runtime
After compilation, go to bin/x86_64/darwin/release and run deviceQuery . If the CUDA software is installed and configured correctly, the output for deviceQuery should look similar to that shown in Figure 1.

Note that the parameters for your CUDA device will vary. The key lines are the first and second ones that confirm a device was found and what model it is. Also, the next-to-last line, as indicated, should show that the test passed.
Running the bandwidthTest sample ensures that the system and the CUDA-capable device are able to communicate correctly. Its output is shown in Figure 2

Note that the measurements for your CUDA-capable device description will vary from system to system. The important point is that you obtain measurements, and that the second-to-last line (in Figure 2) confirms that all necessary tests passed.
Should the tests not pass, make sure you have a CUDA-capable NVIDIA GPU on your system and make sure it is properly installed.
If you run into difficulties with the link step (such as libraries not being found), consult the Release Notes found in the doc folder in the CUDA Samples directory.
To see a graphical representation of what CUDA can do, run the particles executable.
5. Additional Considerations
Now that you have CUDA-capable hardware and the NVIDIA CUDA Toolkit installed, you can examine and enjoy the numerous included programs. To begin using CUDA to accelerate the performance of your own applications, consult the CUDA C Programming Guide.
A number of helpful development tools are included in the CUDA Toolkit to assist you as you develop your CUDA programs, such as NVIDIA В® Nsightв„ў Eclipse Edition, NVIDIA Visual Profiler, cuda-gdb, and cuda-memcheck.
For technical support on programming questions, consult and participate in the Developer Forums.
Notices
Notice
ALL NVIDIA DESIGN SPECIFICATIONS, REFERENCE BOARDS, FILES, DRAWINGS, DIAGNOSTICS, LISTS, AND OTHER DOCUMENTS (TOGETHER AND SEPARATELY, «MATERIALS») ARE BEING PROVIDED «AS IS.» NVIDIA MAKES NO WARRANTIES, EXPRESSED, IMPLIED, STATUTORY, OR OTHERWISE WITH RESPECT TO THE MATERIALS, AND EXPRESSLY DISCLAIMS ALL IMPLIED WARRANTIES OF NONINFRINGEMENT, MERCHANTABILITY, AND FITNESS FOR A PARTICULAR PURPOSE.
Information furnished is believed to be accurate and reliable. However, NVIDIA Corporation assumes no responsibility for the consequences of use of such information or for any infringement of patents or other rights of third parties that may result from its use. No license is granted by implication of otherwise under any patent rights of NVIDIA Corporation. Specifications mentioned in this publication are subject to change without notice. This publication supersedes and replaces all other information previously supplied. NVIDIA Corporation products are not authorized as critical components in life support devices or systems without express written approval of NVIDIA Corporation.
Trademarks
NVIDIA and the NVIDIA logo are trademarks or registered trademarks of NVIDIA Corporation in the U.S. and other countries. Other company and product names may be trademarks of the respective companies with which they are associated.
Copyright
В© 2009 — 2017 NVIDIA Corporation. All rights reserved.
Источник


