- How To Use Curl with HTTPS Protocol and URLS?
- Install Curl
- Ubuntu, Debian, Mint, Kali:
- Fedora, CentOS, RHEL:
- SSL/TLS Problems
- Allow Insecure Connections
- Provide Site HTTPS Certificate Manually
- Provide a Certificate Authority Certificate Explicitly
- Installing and using cURL
- Using cURL
- Using cURL in Windows
- Replace line-ending backslashes
- Move JSON data to a file
- Installing cURL
- macOS
- Windows 10, version 1803 or later
- Windows
- Testing your cURL installation
- Common cURL flags
- 10 команд curl, которые вам следует знать
- Как пользоваться curl
- Что такое curl?
- Команда curl
- Как пользоваться curl?
- Загрузка файлов
- Ограничение скорости
- Передача файлов
- Отправка данных POST
- Передача и прием куки
- Передача и анализ заголовков
- Аутентификация curl
- Использование прокси
- Выводы
How To Use Curl with HTTPS Protocol and URLS?
Curl is a command line tool and library which implements protocols like HTTP, HTTPS, FTP etc. Curl also supports HTTPS protocol which is secure version of the HTTP. Using curl may create some problems. We will examine how to solve these curl HTTPS related problems.
Install Curl
We will start with the installation of the curl tool with the following command.
Ubuntu, Debian, Mint, Kali:
Fedora, CentOS, RHEL:
SSL/TLS Problems
Especial in self-signed or expired X.509 or SSL/TLS certificates may create problems. The error detail is printed to the terminal. As an example, we will try to access https://www.wikipedia.com and we will get an error like
AND we run following command.
 curl SSL/TLS Problems
Allow Insecure Connections
In order to prevent this error and accept an insecure certificate, we need to provide —insecure This will accept all provided certificates without complaining about it.
 Allow Insecure Connections
Provide Site HTTPS Certificate Manually
If we do not want to use web site provided certificate and provide sites HTTPS certificate manually we can use -E or —cert option with the certificate file. In this example, we will use a certificate named in wk.cert order to connect https://www.wikipedia.com.
Provide a Certificate Authority Certificate Explicitly
In some cases, we may need to use another certificate chain then internet. Certificate chains provide a trust relationship between hierarchical certificates where the leaf is the site certificate we want to navigate. Certificate Authority is the top certificate which is provided by Certification Authority firms. We can provide another certificate authority like our company local certificate authority with the —cacert option.
Installing and using cURL
All the examples in the Zendesk REST API docs use cURL, a lightweight, command-line tool for making HTTP requests without a web browser. cURL lets you try out various API requests in a command-line interface such as the command prompt in Windows or Terminal in macOS. You don’t need to build a working web application just to try out the APIs.
cURL makes HTTP requests just like a web browser. To request a web page from the command line, type curl followed by the site’s URL:

The web server’s response is displayed directly in your command-line interface. If you requested an HTML page, you get the page source — which is what a browser normally sees.

This article covers the following topics:
Using cURL
You can use cURL to inspect and test different Zendesk API requests without having to build a functioning web application. For example, the following cURL statement makes an HTTP request to the List Groups endpoint in the Zendesk API:
The API returns a JSON object that lists the groups in your Zendesk Support instance:
JSON (JavaScript Object Notation) is a lightweight data-interchange format. It’s designed to be easy for humans to read and write, and for machines to parse and generate. To learn more, see Working with JSON.
Using cURL in Windows
You can use the Windows command prompt to run the cURL examples. To start the command prompt, open the Start menu, type cmd in the search box, and press Enter.
cURL isn’t installed in Windows by default. See Installing cURL below to install it on your system.
The examples in the docs have to be modified slightly to work correctly in Windows. First, replace any line-ending backslash (\) character with the caret (^) character. Second, if an example contains JSON data, move the data to a file before running the example. The following sections give more details.
Replace line-ending backslashes
The cURL examples often have a backslash (\) at the end of lines to break up a long statement into easier-to-read lines. The backslash is a line continuation character in UNIX but not in Windows. In Windows, replace any backslash at the end of lines with the caret (^) character, which is an escape character in Windows. Don’t leave any space after any ^ character or it won’t work. The caret will escape the space instead of the new line.
You can paste a multiline statement at the command prompt by clicking the icon in the upper-left corner and selecting Edit > Paste. If you prefer using the keyboard, press Alt+spacebar to open the menu, then press E and P.

Move JSON data to a file
The Windows command prompt doesn’t support single quotes. It’s a problem because cURL statements use single quotes to specify JSON data. Example:
The statement specifies JSON data for creating a group (the -d flag stands for data). Because the JSON is enclosed in single quotes, the statement won’t work on the command line.
To fix the problem, save the JSON in a separate file and import it into the cURL statement. To modify the example above, create a file named json.txt containing the following text:
Next, change the cURL statement to import the JSON data with the @filename syntax:
Before running the statement, use the cd command (for change directory) to navigate to the folder that contains the file. Example:
C:\> cd json_files
Then paste the cURL statement at the command prompt:
An alternative to moving the JSON to a separate file is to use double quotes around the JSON data in the cURL statement and escape the inner ones with backslashes:
It doesn’t end there. The following special characters in strings must be escaped with the caret (^) character: &, \, , ^, | . If the JSON includes HTML, such as when you try to create or update an article in Help Center, you need to find and escape all the angle brackets in the HTML.
This is tedious and error prone. Best to stick with importing the JSON from a file.
Installing cURL
macOS
cURL is installed by default on macOS. To try it out, see Testing your cURL installation below.
Windows 10, version 1803 or later
If you have version 1803 or later of Windows 10, cURL is installed by default. To try it out, see Testing your cURL installation below.
Windows
If you have a version of Windows earlier than Windows 10, version 1803, you can download and install cURL as follows.
In Windows, create a new folder called curl in your C: drive.
Go to http://curl.haxx.se/download.html and download one of the following zip files:
- If you have a Windows 64 system, scroll to the Win64 — Generic section and look for the latest Win64 ia64 zip version with SSL support. It’s normally second in the list. Click the version number to start the download.
- If you have a Windows 32 system, scroll to the Win32 — Generic section and look for the latest Win32 zip version with SSL support. It’s normally second in the list. Click the version number to start the download.
Unzip the downloaded file and move the curl.exe file to your C:\curl folder.
Go to http://curl.haxx.se/docs/caextract.html and download the digital certificate file named cacert.pem.
The PEM file contains a bundle of valid digital certificates. The certificates are used to verify the authenticity of secure websites. They’re distributed by certificate authority (CA) companies such as GlobalSign and VeriSign. The PEM file allows cURL to connect securely to the Zendesk API using the Secure Sockets Layer (SSL) protocol.
Move the cacert.pem file to your C:\curl folder and rename it curl-ca-bundle.crt.
Add the curl folder path to your Windows PATH environment variable so that the curl command is available from any location at the command prompt. Update the variable as follows:
In the Start menu, right-click This PC and select More > Properties.
Note: In Windows 7, right-click Computer and select Properties.
Click Advanced System Settings.
In the Advanced tab, click the Environment Variables button on the lower right side.
Select the «Path» variable in System Variables, and click Edit.
In the Edit environment variable dialog box, click New and add the path to the curl.exe file. Example: C:\curl.

Windows 7: In the Variable Value textbox, append a semicolon to the value, followed by the path to the curl.exe file. Example: ;C:\curl
Keep clicking OK to accept the change and close the dialog box.
Testing your cURL installation
You can test your cURL installation by making a request to the Zendesk API. The test retrieves your Zendesk Support user information.
To test cURL
Paste the following cURL statement into your favorite text editor:
For details on this endpoint, see Show the Currently Authenticated User in the Zendesk API docs.
Replace the placeholders in curly brackets with the information you use to sign in to Zendesk Support. Example:
Launch your command-line interface.
- In Windows, open the Start menu, type cmd in the search box, and press Enter.
- In macOS, double-click the Terminal application in your Applications/Utilities folder.
Copy the cURL statement from your text file and paste it at the command prompt.
Windows users: After copying it to the Clipboard, select Edit > Paste from the context menu in the upper left corner of the window:
Press Enter to run the cURL statement.
The console should display your Zendesk Support user information formatted as a JSON object.

You can pretty print the results to make it easier to read. See Converting JSON to data you can understand.

Common cURL flags
You’ll see the following cURL flags in the examples in the Zendesk REST API docs.
-H
Specifies any extra header content to include in the HTTP request. API requests that submit data to our servers typically include the data’s content type. Example:
Example: -H «Content-Type: application/json» .
-u
Specifies the user name and password to use for server authentication. The user name and password are separated by a colon.
Example: -u myemail@example.com:mypassword
-v
Makes the response more verbose.
-X
Specifies the request method to use when communicating with the HTTP server. Example: PUT or POST .
-G —data-urlencode
Used for API endpoints that send data in a query string, such as the Search API. The —data-urlencode option url-encodes the query string. The -G flag specifies that the url-encoded data is for a GET request rather than a POST request.
For example, suppose you want to run the following search using the List Search Results endpoint:
10 команд curl, которые вам следует знать
Команда Mail.ru Cloud Solutions перевела статью, автор которой составил краткий справочник часто используемых команд curl для протоколов HTTP/HTTPS. Это не замена официального руководства по cURL, скорее, краткий конспект.
cURL (расшифровывается как Client URL) — программное обеспечение, которое предоставляет библиотеку libcurl и инструмент командной строки curl. Возможности cURL огромны, во многих опциях легко потеряться.
curl — инструмент для передачи данных с сервера или на него, при этом используется один из поддерживаемых протоколов: DICT, FILE, FTP, FTPS, GOPHER, HTTP, HTTPS, IMAP, IMAPS, LDAP, LDAPS, POP3, POP3S, RTMP, RTSP, SCP, SFTP, SMB, SMBS, SMTP, SMTPS, TELNET и TFTP. Команда предназначена для работы без взаимодействия с пользователем.
Команда curl запускается из командной строки и предустановлена в большинстве дистрибутивов Linux.
- доступ без браузера;
- внутри shell-скриптов;
- для тестирования API.
В основном я использовал curl для тестирования API, иногда просто вставляя команды, которые нашел в интернете. Но я хочу разобраться в curl и лучше понять его особенности. Так что поделюсь некоторыми командами, с которыми столкнулся во время работы.
Если никакие аргументы не указаны, то команда curl выполняет HTTP-запрос get и отображает статическое содержимое страницы. Оно аналогично тому, что мы видим при просмотре исходного кода в браузере.
Как пользоваться curl
Нам часто приходится загружать различные файлы из интернета, например, исполняемые файлы программ, файлы скриптов, архивы с исходниками. Но не всегда это нужно делать через браузер. Во многих ситуациях гораздо проще выполнить все действия через терминал. Поскольку таким образом вы можете автоматизировать процесс. С другой стороны, веб-мастерам время от времени приходится тестировать доступность веб-сайтов, проверять отправляемые и получаемые заголовки и многое другое.
Для решения таких задач и задач подобного круга можно воспользоваться утилитой curl. Она позволяет решить намного более широкий круг задач, среди которых даже имитация действий пользователя на сайте. В этой статье мы рассмотрим как пользоваться curl, что это такое и зачем нужна эта программа.
Что такое curl?
На самом деле, curl — это больше чем просто утилита командной строки для Linux или Windows. Это набор библиотек, в которых реализуются базовые возможности работы с URL страницами и передачи файлов. Библиотека поддерживает работу с протоколами: FTP, FTPS, HTTP, HTTPS, TFTP, SCP, SFTP, Telnet, DICT, LDAP, а также POP3, IMAP и SMTP. Она отлично подходит для имитации действий пользователя на страницах и других операций с URL адресами.
Поддержка библиотеки curl была добавлена в множество различных языков программирования и платформ. Утилита curl — это независимая обвертка для этой библиотеки. Именно на этой утилите мы и остановимся в этой статье.
Команда curl
Перед тем как перейти к описанию того как может использоваться команда curl linux, давайте разберем саму утилиту и ее основные опции, которые нам понадобятся. Синтаксис утилиты очень прост:
$ curl опции ссылка
Теперь рассмотрим основные опции:
- -# — отображать простой прогресс-бар во время загрузки;
- -0 — использовать протокол http 1.0;
- -1 — использовать протокол шифрования tlsv1;
- -2 — использовать sslv2;
- -3 — использовать sslv3;
- -4 — использовать ipv4;
- -6 — использовать ipv6;
- -A — указать свой USER_AGENT;
- -b — сохранить Cookie в файл;
- -c — отправить Cookie на сервер из файла;
- -C — продолжить загрузку файла с места разрыва или указанного смещения;
- -m — максимальное время ожидания ответа от сервера;
- -d — отправить данные методом POST;
- -D — сохранить заголовки, возвращенные сервером в файл;
- -e — задать поле Referer-uri, указывает с какого сайта пришел пользователь;
- -E — использовать внешний сертификат SSL;
- -f — не выводить сообщения об ошибках;
- -F — отправить данные в виде формы;
- -G — если эта опция включена, то все данные, указанные в опции -d будут передаваться методом GET;
- -H — передать заголовки на сервер;
- -I — получать только HTTP заголовок, а все содержимое страницы игнорировать;
- -j — прочитать и отправить cookie из файла;
- -J — удалить заголовок из запроса;
- -L — принимать и обрабатывать перенаправления;
- -s — максимальное количество перенаправлений с помощью Location;
- -o — выводить контент страницы в файл;
- -O — сохранять контент в файл с именем страницы или файла на сервере;
- -p — использовать прокси;
- —proto — указать протокол, который нужно использовать;
- -R — сохранять время последнего изменения удаленного файла;
- -s — выводить минимум информации об ошибках;
- -S — выводить сообщения об ошибках;
- -T — загрузить файл на сервер;
- -v — максимально подробный вывод;
- -y — минимальная скорость загрузки;
- -Y — максимальная скорость загрузки;
- -z — скачать файл, только если он был модифицирован позже указанного времени;
- -V — вывести версию.
Это далеко не все параметры curl linux, но здесь перечислено все основное, что вам придется использовать.
Как пользоваться curl?
Мы рассмотрели все, что касается теории работы с утилитой curl, теперь пришло время перейти к практике, и рассмотреть примеры команды curl.
Загрузка файлов
Самая частая задача — это загрузка файлов linux. Скачать файл очень просто. Для этого достаточно передать утилите в параметрах имя файла или html страницы:
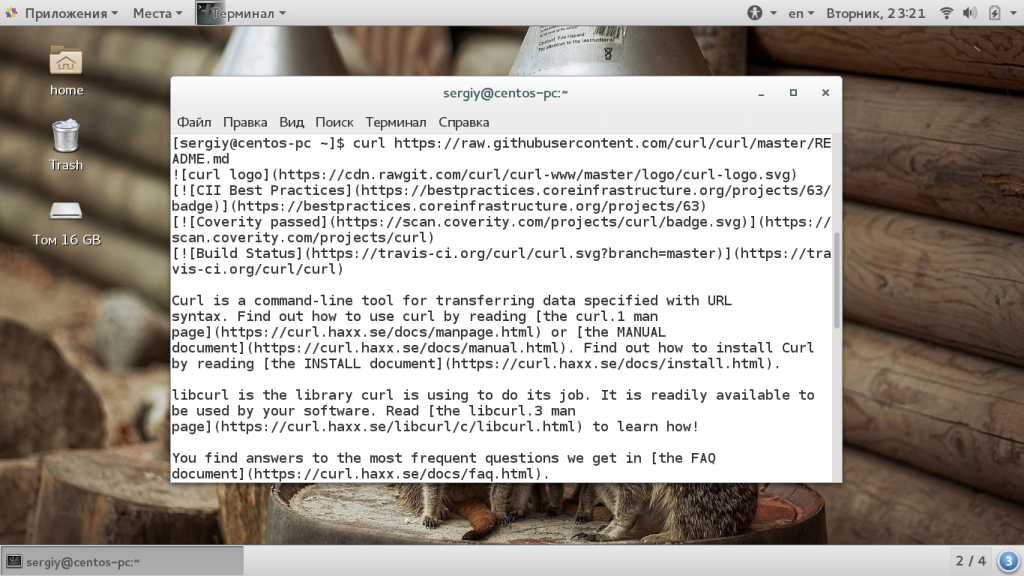
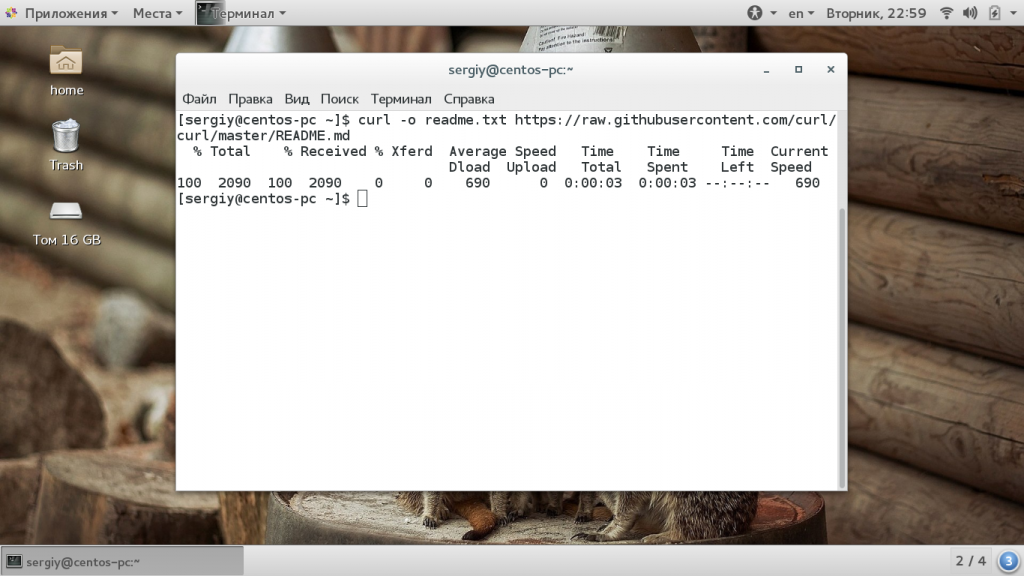
Но тут вас ждет одна неожиданность, все содержимое файла будет отправлено на стандартный вывод. Чтобы записать его в какой-либо файл используйте:
curl -o readme.txt https://raw.githubusercontent.com/curl/curl/master/README.md
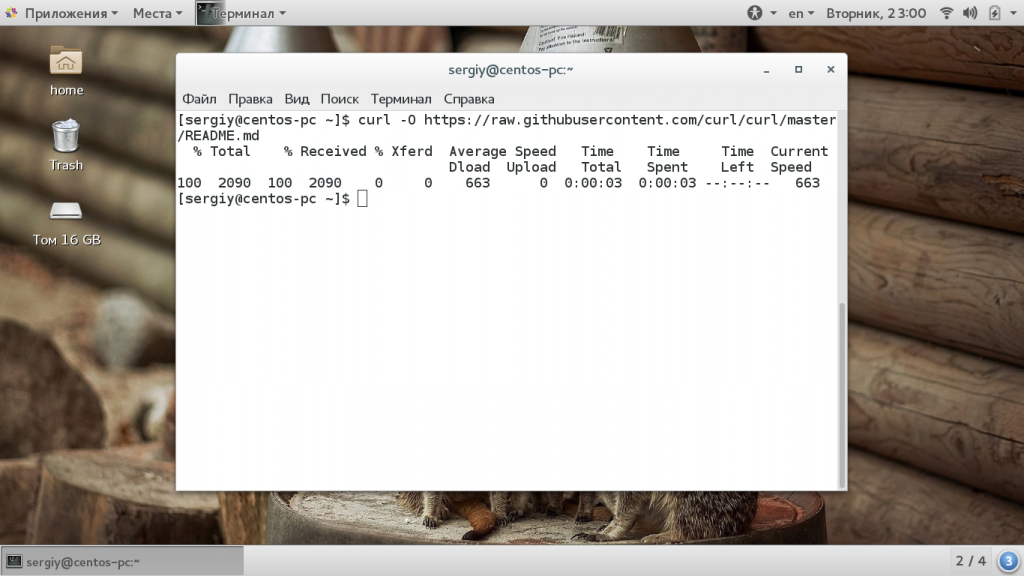
А если вы хотите, чтобы полученный файл назывался так же, как и файл на сервере, используйте опцию -O:
curl -O https://raw.githubusercontent.com/curl/curl/master/README.md
Если загрузка была неожиданно прервана, вы можете ее возобновить:
curl -# -C — -O https://cdn.kernel.org/pub/linux/kernel/v4.x/testing/linux-4.11-rc7.tar.xz

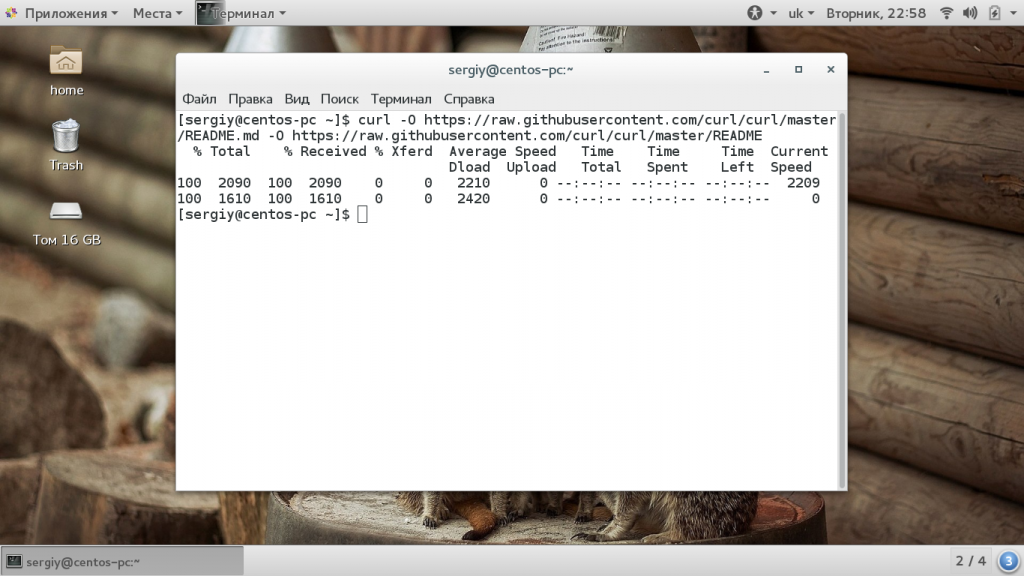
Если нужно, одной командой можно скачать несколько файлов:
curl -O https://raw.githubusercontent.com/curl/curl/master/README.md -O https://raw.githubusercontent.com/curl/curl/master/README
Еще одна вещь, которая может быть полезной администратору — это загрузка файла, только если он был изменен:
curl -z 21-Dec-17 https://raw.githubusercontent.com/curl/curl/master/README.md -O https://raw.githubusercontent.com/curl/curl/master/README
Данная команда скачает файл, только если он был изменен после 21 декабря 2017.
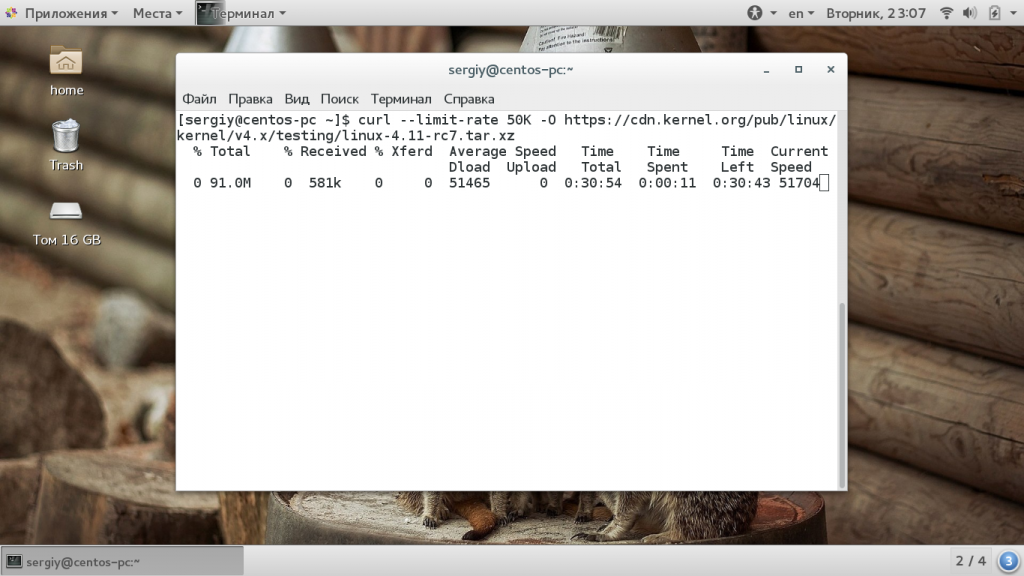
Ограничение скорости
Вы можете ограничить скорость загрузки до необходимого предела, чтобы не перегружать сеть с помощью опции -Y:
curl —limit-rate 50K -O https://cdn.kernel.org/pub/linux/kernel/v4.x/testing/linux-4.11-rc7.tar.xz
Здесь нужно указать количество килобайт в секунду, которые можно загружать. Также вы можете разорвать соединение если скорости недостаточно, для этого используйте опцию -Y:
curl -Y 100 -O https://raw.githubusercontent.com/curl/curl/master/README.md
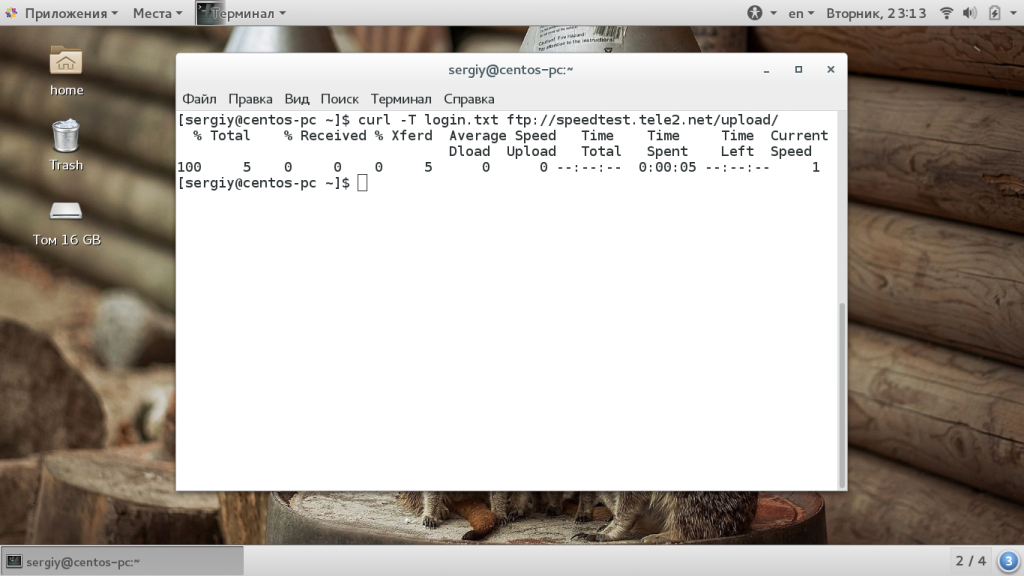
Передача файлов
Загрузка файлов, это достаточно просто, но утилита позволяет выполнять и другие действия, например, отправку файлов на ftp сервер. Для этого существует опция -T:
curl -T login.txt ftp://speedtest.tele2.net/upload/
Или проверим отправку файла по HTTP, для этого существует специальный сервис:

В ответе утилита сообщит где вы можете найти загруженный файл.
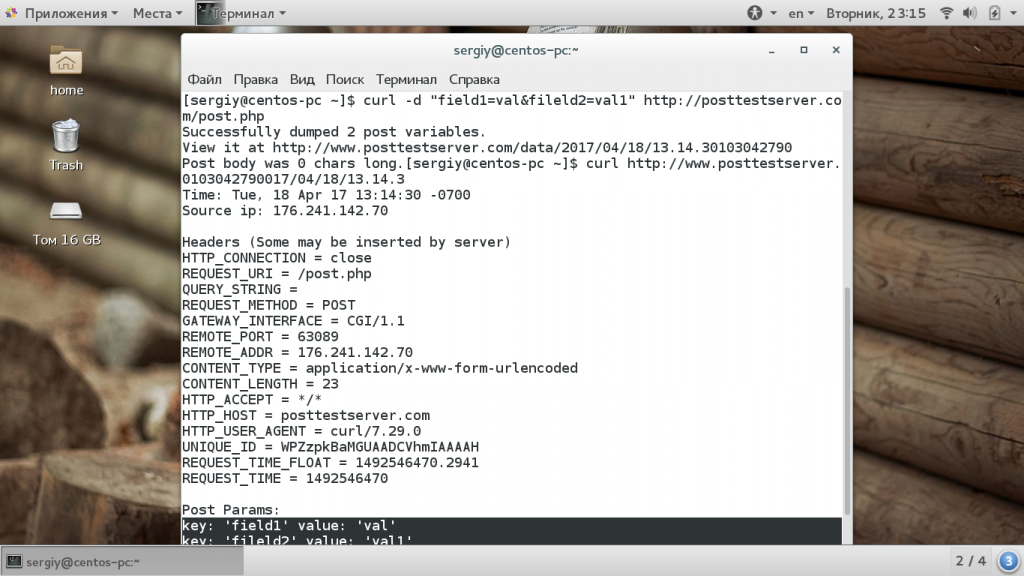
Отправка данных POST
Вы можете отправлять не только файлы, но и любые данные методом POST. Напомню, что этот метод используется для отправки данных различных форм. Для отправки такого запроса используйте опцию -d. Для тестирования будем пользоваться тем же сервисом:
curl -d «field1=val&fileld2=val1″http://posttestserver.com/post.php
Если вас не устраивает такой вариант отправки, вы можете сделать вид, что отправили форму. Для этого есть опция -F:
curl -F «password=@pass;type=text/plain» http://posttestserver.com/post.php
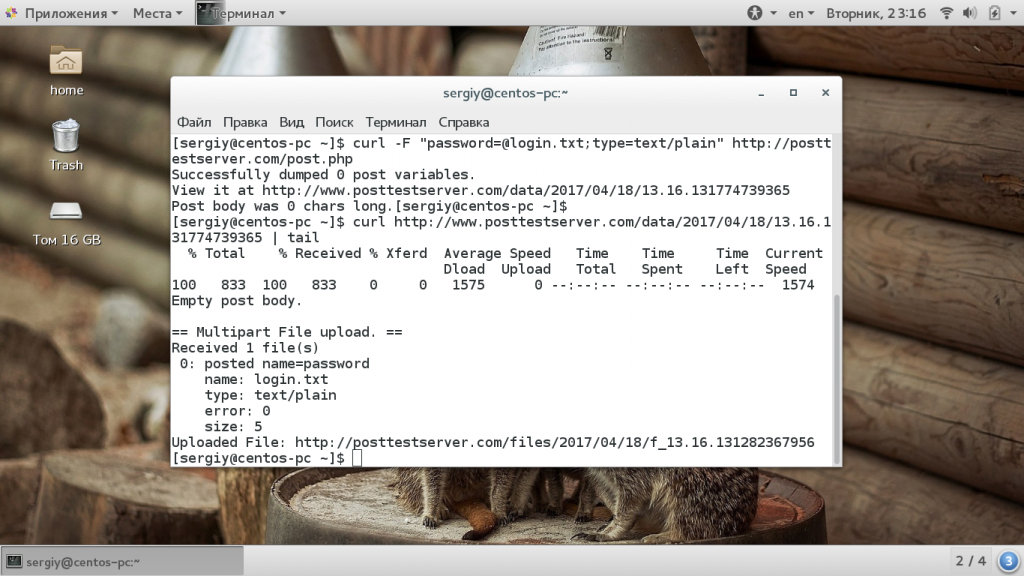
Здесь мы передаем формой поле password, с типом обычный текст, точно так же вы можете передать несколько параметров.
Передача и прием куки
Куки или Cookie используются сайтами для хранения некой информации на стороне пользователя. Это может быть необходимо, например, для аутентификации. Вы можете принимать и передавать Cookie с помощью curl. Чтобы сохранить полученные Cookie в файл используйте опцию -c:
curl -c cookie.txt http://posttestserver.com/post.php
Затем можно отправить cookie curl обратно:
curl -b cookie.txt http://posttestserver.com/post.php
Передача и анализ заголовков
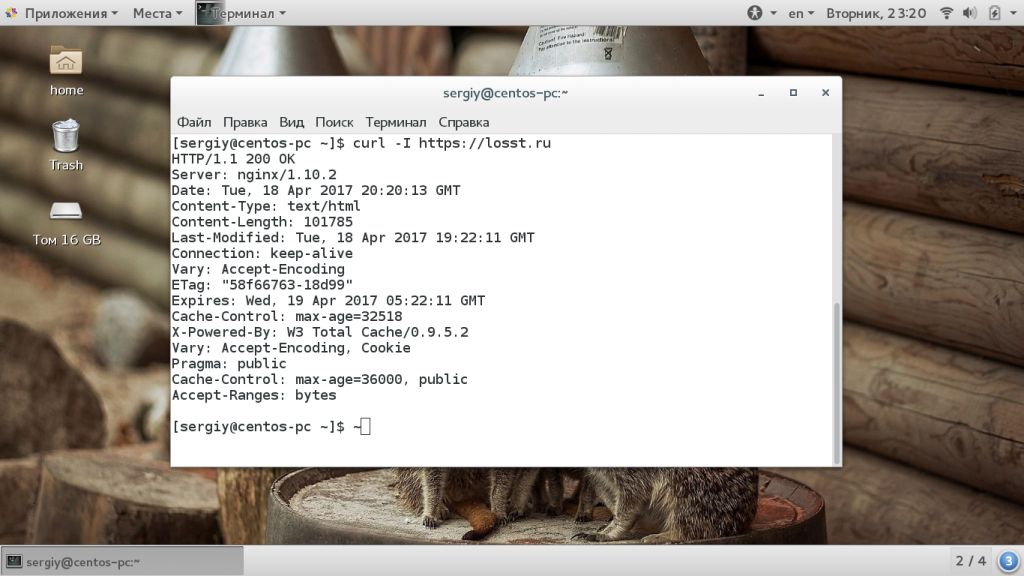
Не всегда нам обязательно нужно содержимое страницы. Иногда могут быть интересны только заголовки. Чтобы вывести только их есть опция -I:
curl -I https://losst.ru
А опция -H позволяет отправить нужный заголовок или несколько на сервер, например, можно передать заголовок If-Modified-Since чтобы страница возвращалась только если она была изменена:
curl -I —header ‘If-Modified-Since: Mon, 26 Dec 2016 18:13:12 GMT’ https://losst.ru

Аутентификация curl
Если на сервере требуется аутентификация одного из распространенных типов, например, HTTP Basic или FTP, то curl очень просто может справиться с такой задачей. Для указания данных аутентификации просто укажите их через двоеточие в опции -u:
curl -u ftpuser:ftppass -T — ftp://ftp.testserver.com/myfile_1.txt
Точно так же будет выполняться аутентификация на серверах HTTP.
Использование прокси
Если вам нужно использовать прокси сервер для загрузки файлов, то это тоже очень просто. Достаточно задать адрес прокси сервера в опции -x:
curl -x proxysever.test.com:3128 http://google.co.in
Выводы
В этой статье мы рассмотрели как пользоваться curl, зачем нужна эта утилита и основные ее возможности. Несмотря на свою схожесть с wget, они очень сильно отличаются. Команда curl linux предназначена больше для анализа и имитации различных действий на сервере, тогда как wget больше подходит для загрузки файлов и краулинга сайтов.


