- Как установить Windows 10?
- Установка Windows 10
- How to Install Windows 10 from Command Prompt? (2 Methods)
- Need to install Windows 10 from Command Prompt
- How to install Windows 10 with Command Prompt?
- Method 1. Install Windows 10 directly from the ISO files
- Method 2. Install Windows 10 from a bootable USB
- Best time to backup your system for protectionВ
- Verdict
- ESXi 6.7 — установка Windows Server 2016 на виртуальную машину
Как установить Windows 10?
Установка Windows 10
В первую очередь нужно в BIOS активировать загрузку с диска или флешки. Для входа в BIOS нужно в самом начале загрузки устройства нажать определенную клавишу, которая иногда указывается внизу экрана под заставкой или в инструкции. Чаще всего это F2, Del или Esc.
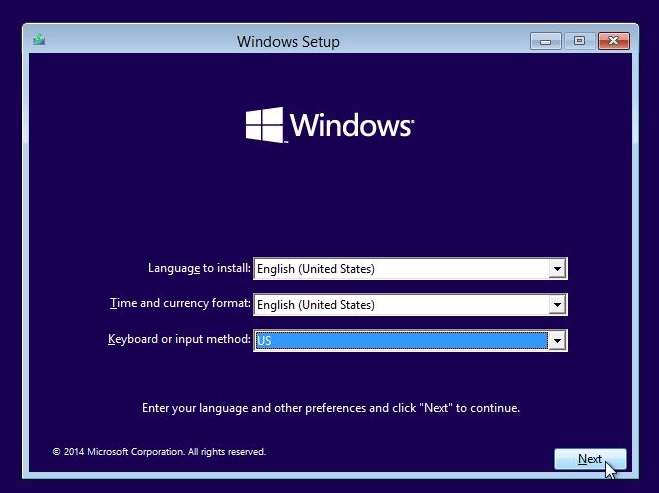
После перезагрузки должно появиться примерно такое окно:
Нажимаем на кнопку Next:
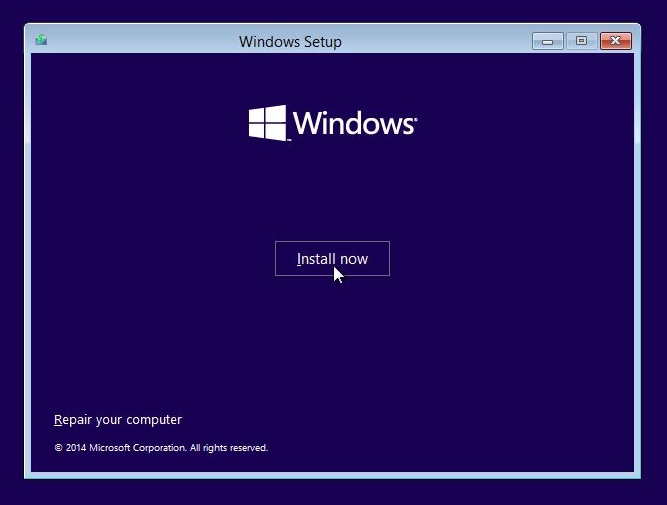
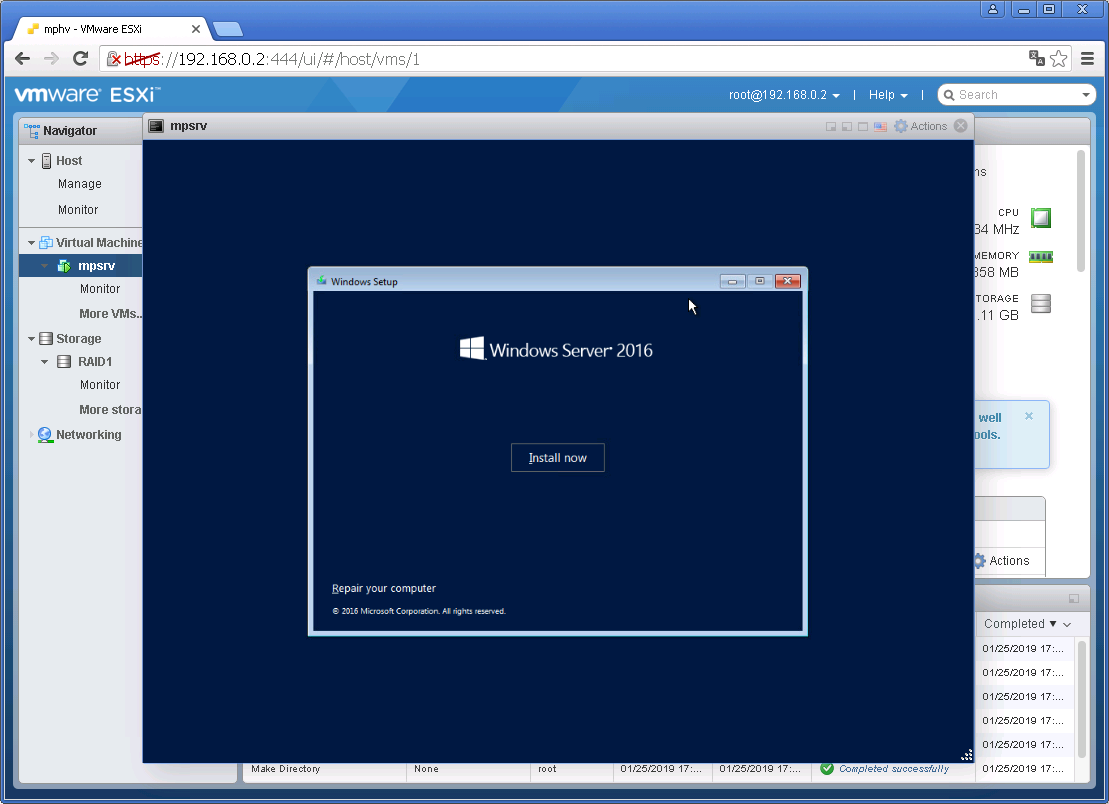
Для установки системы нажимаем Install now. Если требуется ее восстановить, то переходите по ссылке Repair your computer. Нажимаем на Install now:
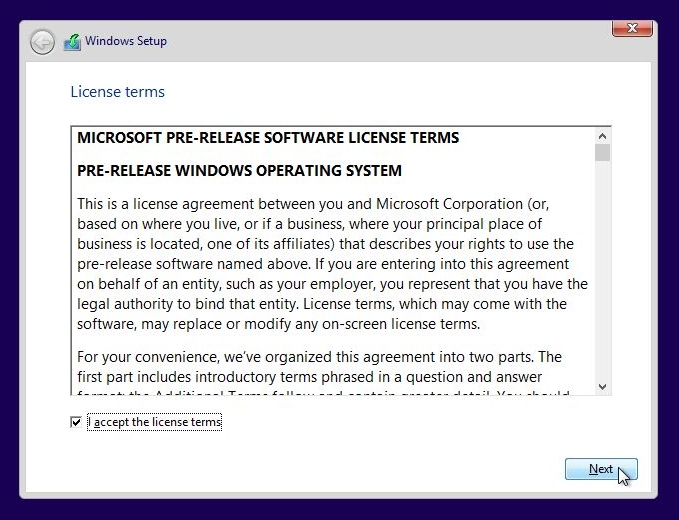
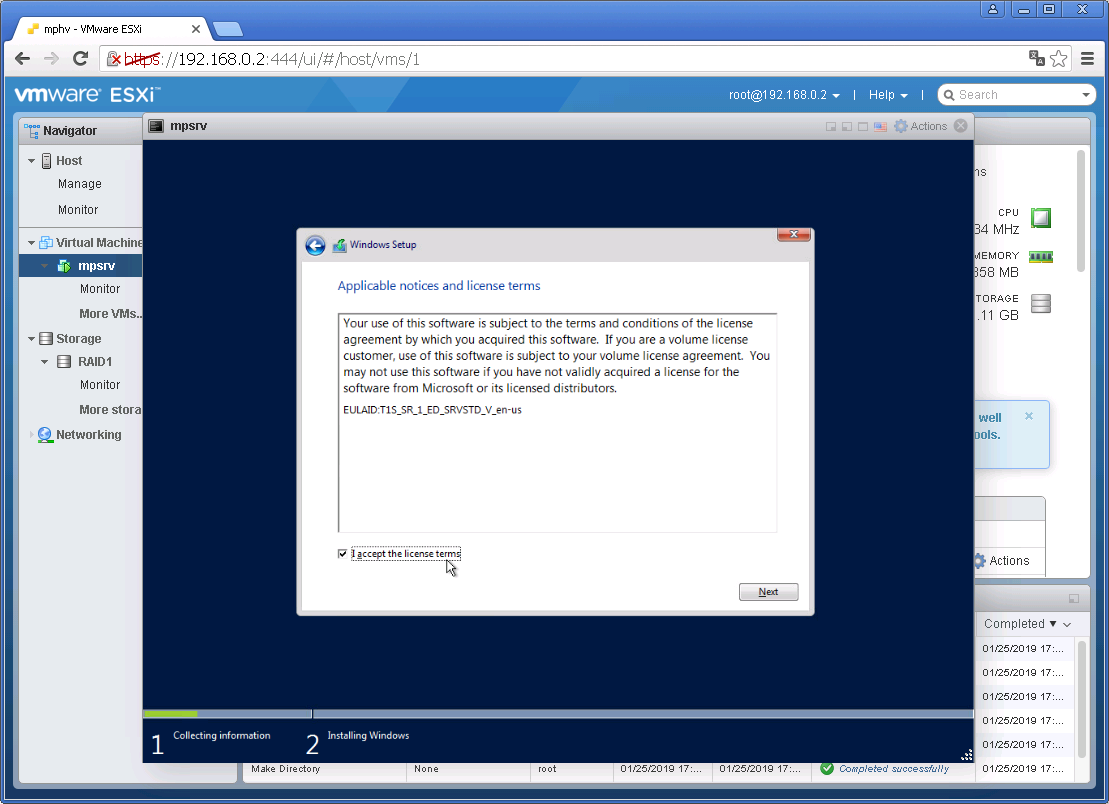
Соглашаемся с лицензионным соглашением, ставим галочку и нажимаем Next:
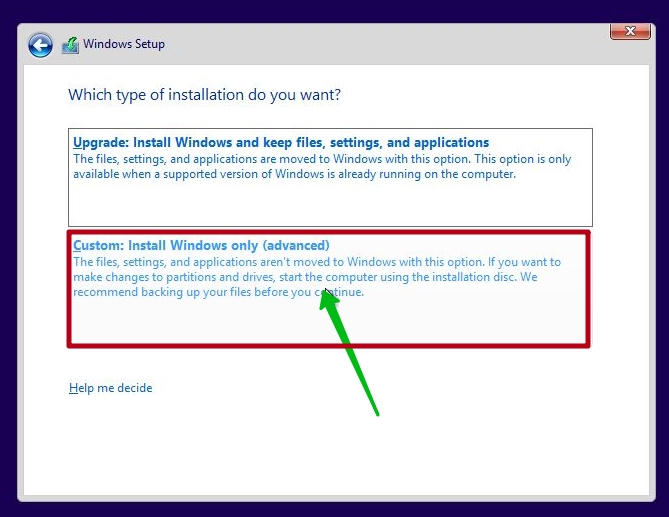
Выбираем пункт Custom: Install Windows only (advanced). После этого вам стоит выбрать на какой раздел устанавливать операционную систему. Если у вас есть операционная система, то выбираете системный раздел и по желанию форматируете, нажав на кнопку Format ниже.
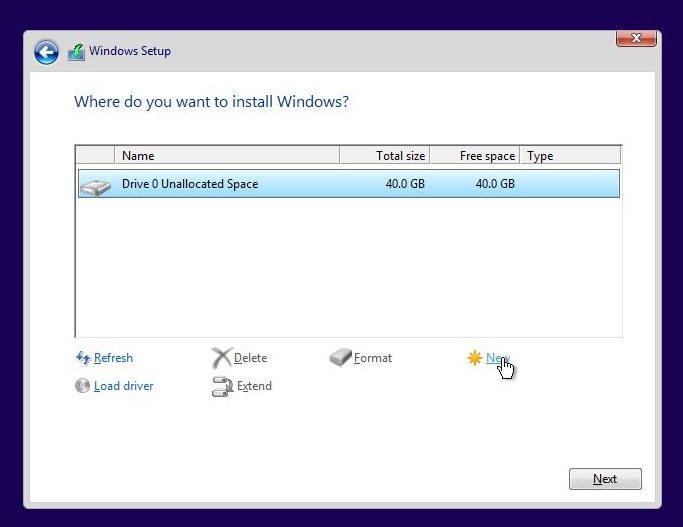
В данном случае жесткий диск пустой:
В первую очередь нужно создать раздел, нажав на кнопку New:
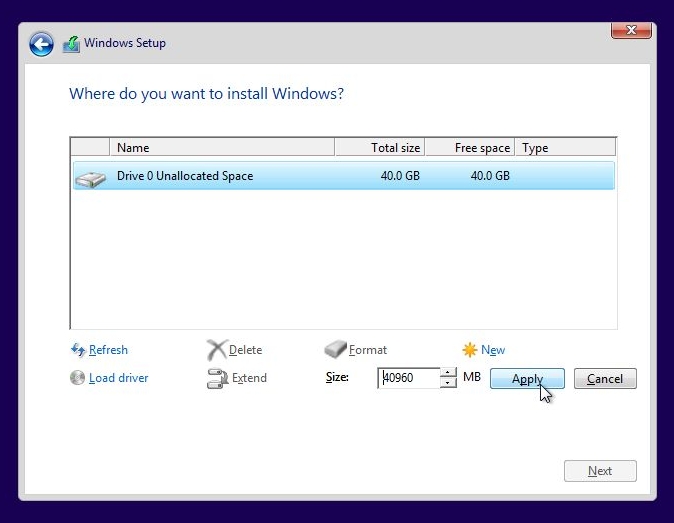
После этого нужно указать его размер и нажать на кнопку Apply. Стоит также учесть, что в этом случае установщик Windows создаст еще один раздел с загрузочными файлами:
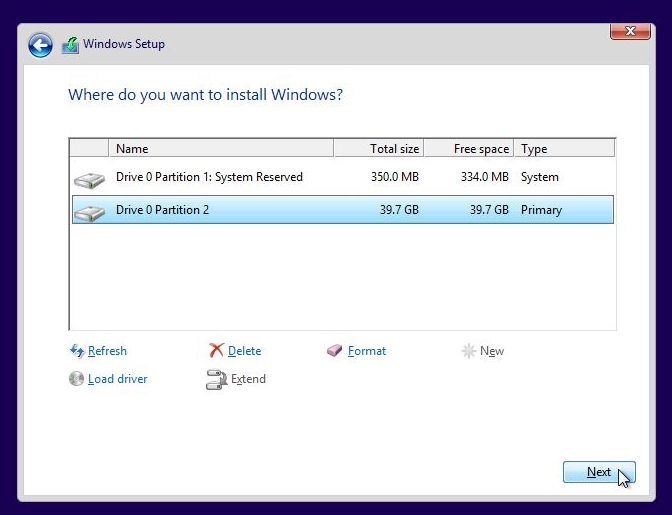
Выбираем раздел для установки нажимаем Next для ее старта:
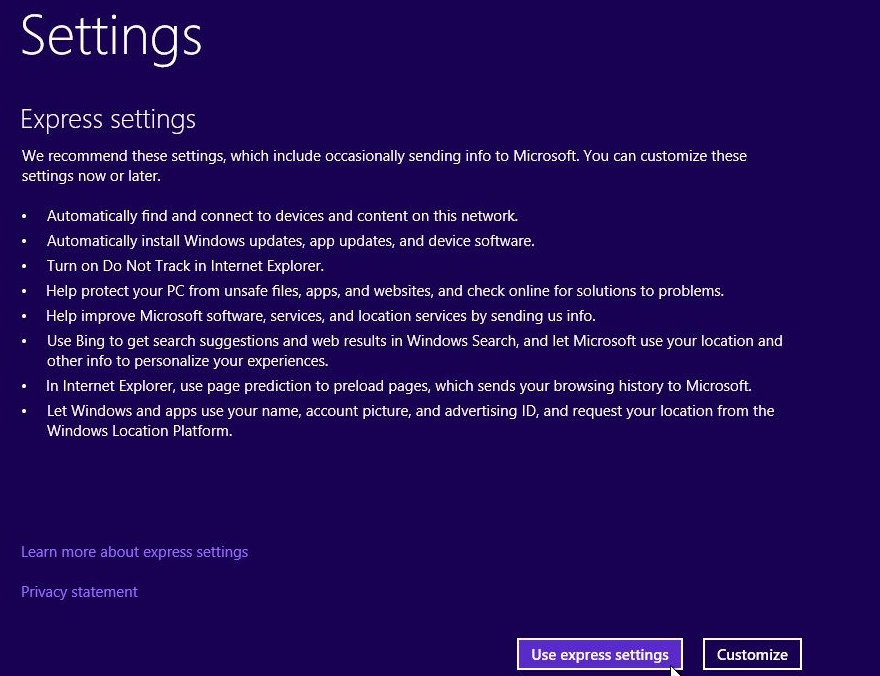
Процесс этот занимает определенное время. По его окончанию должен появится мастер настройки:

Нам предлагается или использовать быстрые настройки, или настроить их самостоятельно. Воспользуемся первым вариантом и нажмем на на Use express settings. Они подходят для большинства пользователей.
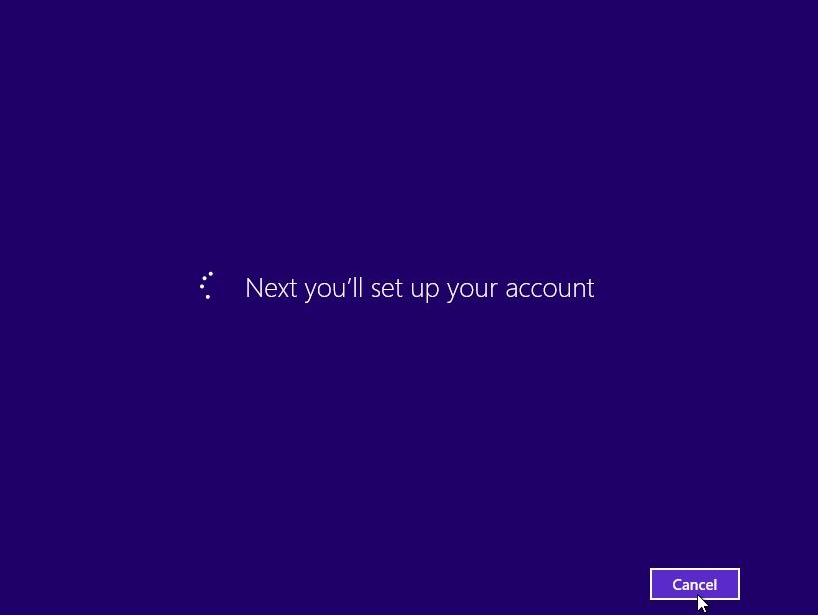
После этого система нам предложит авторизоваться под своей учетной записью Microsoft:
Этот процесс можно отменить, но при наличии учетной записи и подключения к Интернету можно и продолжить:
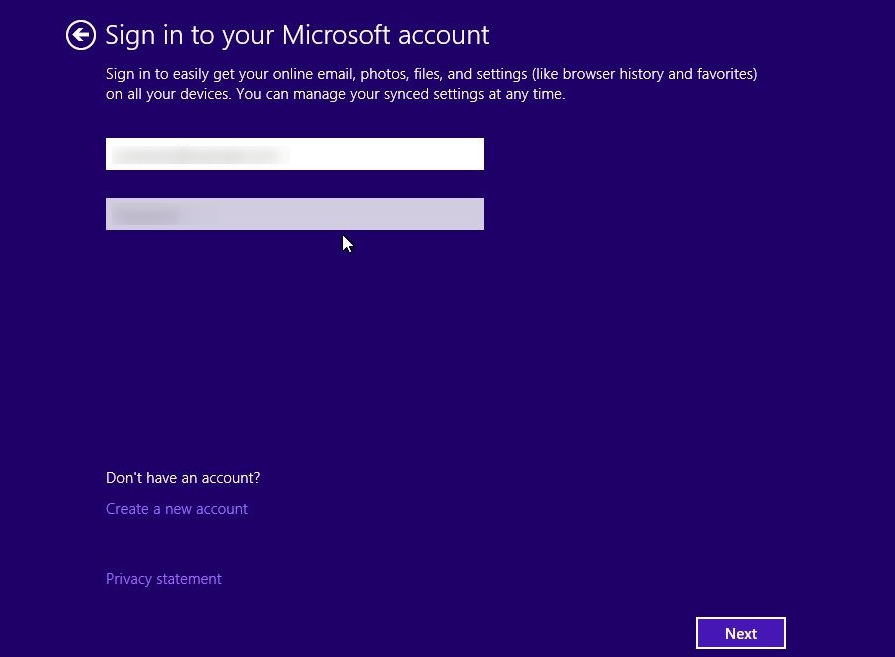
Вводите почтовый адрес и пароль, который вы использовали для скачивания Windows. Если у вас таковых нет или вы их забыли, то можете воспользоваться ссылками Don’t have an account? и Create a new account.
В некоторых случаях необходима дополнительная проверка учетной записи: на указанный почтовый адрес высылается письмо с кодом, который нужно ввести:
Если у вас нет возможности ввести тот код, то нажимаете на соответствующей ссылке ниже.

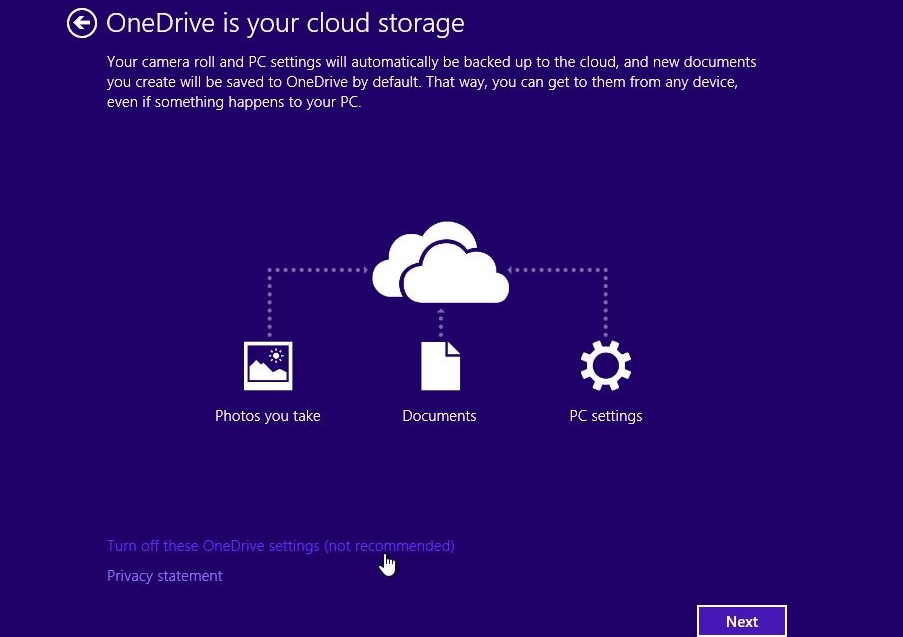
После этого установщик предложит вам активировать облачное хранилище OneDrive:
По окончанию настройки должен загрузиться рабочий стол Windows 10.
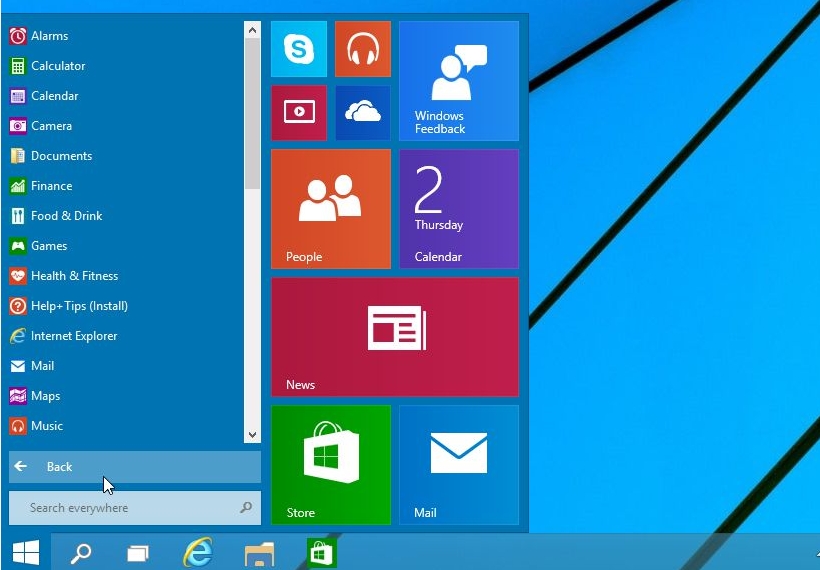
На этом можно считать установку Windows 10 завершенной. Можно переходить к драйверам.
How to Install Windows 10 from Command Prompt? (2 Methods)
If you want to upgrade Windows or get rid of system issues, installing Windows 10 from Command Prompt is a good solution. Let’s see how to do it, and don’t forget to backup your system just in case.

By AOMEI  / Last Updated April 8, 2021
Content of this article:
Need to install Windows 10 from Command Prompt
Windows 7 has reaches its end of life January 14, 2020, thus it’s urgent for users toВ upgrade to Windows 10В . Because Microsoft will not provide any technical support and the Microsoft customer service, Related services and device will be disconnected in the near future by 2023 at the latest.В
Microsoft users are given many ways to perform a system upgrade, but these methods usually don’t work correctly, and they may bring unwanted files, settings and apps to the new system.
Just to be on the safe side, a clean installation can be your best choice. Additionally, when your computer is having system and other issues, you can quickly resolve them via a system installation, as it will remove everything from the hard drive and start from scratch. Meanwhile users can get rid of viruses and improve battery life.
How to install Windows 10 with Command Prompt?
For many users, system installation involves a complex process. However, Command Prompt makes your operations easier. The following two methods will show you how to use Command Prompt to install Windows 10.
Before you try any method below, please make some preparations in advance.
- DownloadВ Windows 10 ISO files from Microsoft.
- Mounted the ISO image and assign a drive letter for it, here take G: as an example. You can navigate to the ISO image file, then right click it andВ choose Mount from the drop-down menu.В
Method 1. Install Windows 10 directly from the ISO files
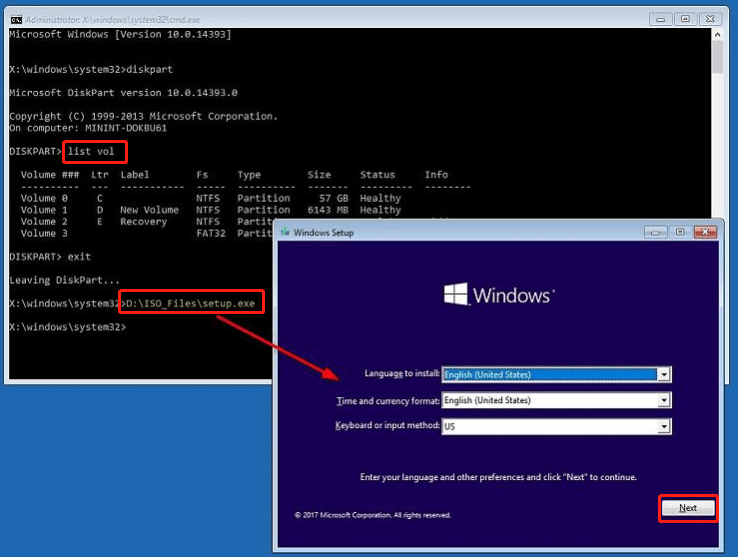
Step 1. Press Windows logo key + R at the same time. Type diskpart in the Run box and then click OK.
Step 2. Type list vol and then press Enter to find the partition containing the ISO files.
Step 3. Type G:\ISO_Files\setup.exe and then press Enter (G represents the number of the volume in which the ISO image is stored).
Step 4. The Windows Setup page appears. Make the selections you prefer and then click Next.
Step 5. Click Install now to continue.
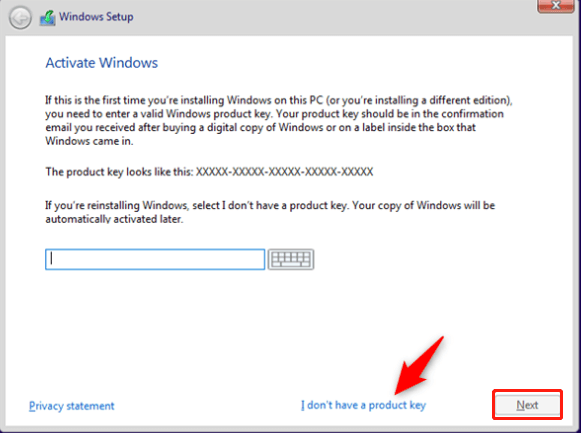
Step 6. If you’re installing Windows 10 for the first time, you must enter a genuine product key. If you’re reinstalling Windows 10, just click I don’t have a product key. Then click Next.
Step 7. Select an edition of Windows 10. Then click Next.
Step 8. Tick the I accept the license terms checkbox and then click Next.
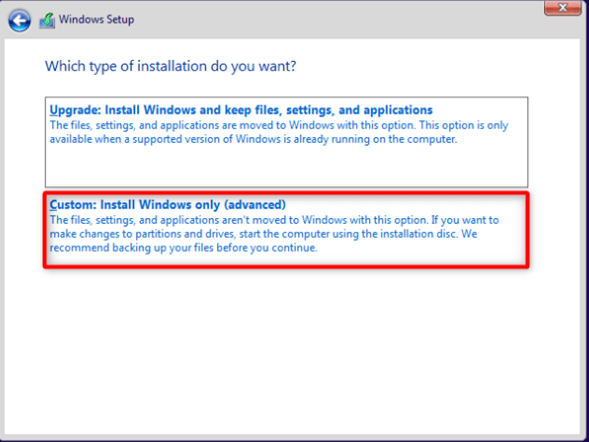
Step 9. Select Custom: Install Windows only (Advanced) from the list.
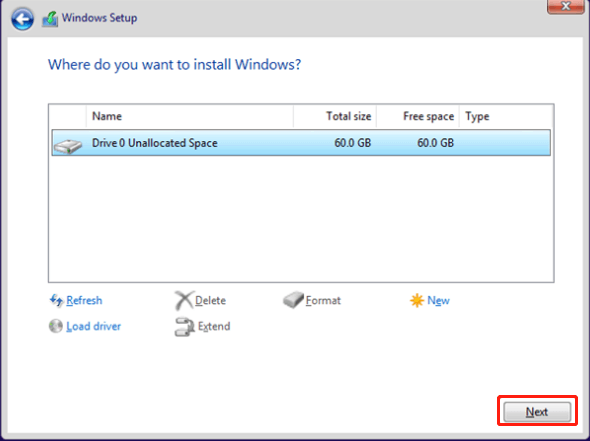
Step 10. You will be asked where you want to install Windows. Choose the drive or partition that you want to use for Windows 10.Then click Next.
Step 11. Once the installation is done, you need to restart your computer by clicking Restart now.

Method 2. Install Windows 10 from a bootable USB
Installing Windows 10 with a bootable USB can greatly reduce installation time. To create a bootable USB flash drive with the installation files, you can insert a USB (at least 4GB in size) to your computer and then follow these steps:
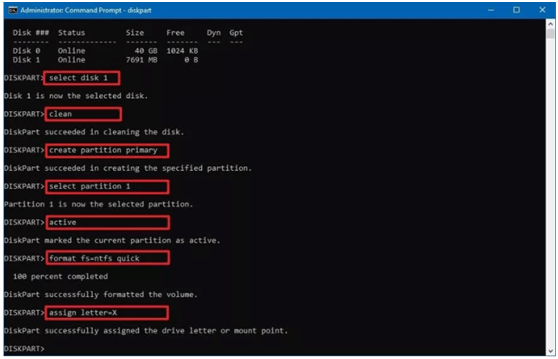
Step 1. Press Windows logo key + R at the same time. Type diskpart in the Run box and then click OK.
Step 2. Type the following commands one at a time and press Enter after each command:
list disk
select disk 1
cleanВ
create partition primary
select partition 1
active
format fs=ntfs quick (or format fs=fat32 quick)В
assign letter=X
Notes:
* The clean command marks all the data on the drive as deleted and it will become invisible. Please be sure you want to do this!В
* Remember to replace 1 with the number of the USB flash drive and change X for any available letter you want to use for your USB flash drive. They are just an example here.
Step 3. Type exit and then press Enter to quit the diskpart tool.
Step 4. Navigate to the boot folder of the Windows 10 ISO files and make it bootable. To do this, type the commands below one at a time and press Enter after each command:
G:
cd boot
bootsect /nt60 X:
xcopy G:\*.* X:\ /E /F /H
Notes:
*Replace G В with the drive letter of your mount drive as it appears in File Explorer. It contains the Windows 10 ISO image file.В
*ReplaceВ X with the correct drive letters forВ USB flash drive.
Step 5. Once that’s done, you can get a bootable USB flash drive.
Step 6. Then, plug the bootable USB flash drive into the device you wish to install Windows 10 and boot from it. As soon as the computer boots, press any key to get into the Windows Setup page.
Step 7. Repeat Step 4 to Step 11 mentioned in Method 1 to install Windows 10.
Note: The installation process will erase everything on the primary hard drive of your computer. If you have some important files on it, you’d better backup files to an external hard drive in advance.
Best time to backup your system for protectionВ
After installing Windows10В from Command Prompt, your computer is a complete fresh version, it only has the operating system and boot partition(s) or system files required to start Windows.В If you create a system image for it right now, it’sВ totally a factory image that can help you repair your computer at any time.
Also, if you don’t want to reinstall programs or lose your files in the event of a disaster, you can choose to install all the programs you will use in the near future first and sync files you want to protect to the fresh version of computer, then backup all of them together.
To make it, you need a Windows 10 backup utility. Many usersВ choose to use the built-in tool in the begining, but later they are disappointed to find that Windows Backup keeps failing. Thus, it’s suggested to use a third-party free backup software like AOMEI Backupper Standard, whichВ enables you to backup system to internal/external hard drives, cloud drives, NAS devices and network with ease.
And it has more advanced features such as schedule automaticВ backup based on daily, weekly and monthly, incremental and differential backup and so on. Windows 10/8.1/8/7Vista/XP are supported. Download this freeware now andВ follow the steps below to backup your system.
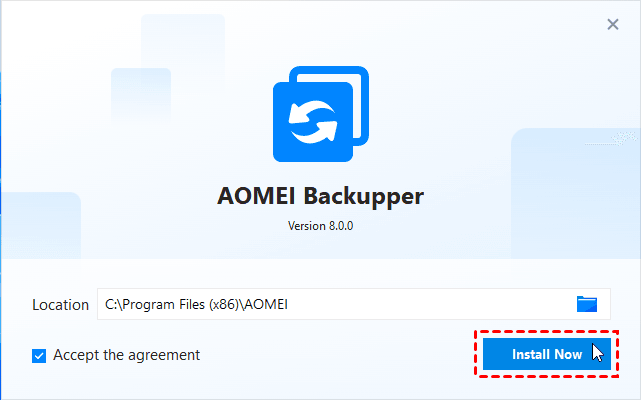
Step 1. Install and open this freeware.
Step 2. Click System Backup under Backup tab.

Step 3. The Task Name can be modified by your needs. The related system partitions are selected by default. Select the destination path (here is F:\) to store the system image.

Step 4. Click Schedule and OK to enable daily incremental backup(the default option), or change them per your needs. Confirm your operations and then click Start Backup.

Notes:
Options: click it to comment this backup task and enable email notification.
Schedule: set the backup task to run automatically. Daily, Weekly and Monthly are supported. To enjoy Event triggers, andВ USB plug inВ modes, you need to do an edition upgrade.
Scheme: it deletes the older backups automatically. This feature is available in AOMEI Backupper Professional.
You can visit Home > the system backup task > Restore to restore Windows 10 system image to new hard driveВ or other locations.
Verdict
Two efficient methods are described here to assist you to install Windows 10 from Command Prompt. You can choose one of them based on your own situations. After installing, don’t forget to protect your system by using AOMEI Backupper Standard.В
After a fresh install, it’s the best time to create a factory image and you can set a scheduled backup task to track changes you made later. In addition, you still can use this freeware to backup files, partition, or entire disk. Also, it’s a professional disk clone software, so you can clone disk to larger disk, clone larger HDD to smaller SSD, clone only OS, etc.В
ESXi 6.7 — установка Windows Server 2016 на виртуальную машину

Инструкция в картинках по установке операционной системы Windows Server 2016 на виртуальную машину, которая находится на гипервизоре ESXi 6.7.
Для начала создадим саму виртуальную машину, если её у нас ещё нет:
ESXi 6.7 — создаём виртуальную машину
В UI гипервизора ESXi 6.7 кликаем на нашу виртуалку. Edit:
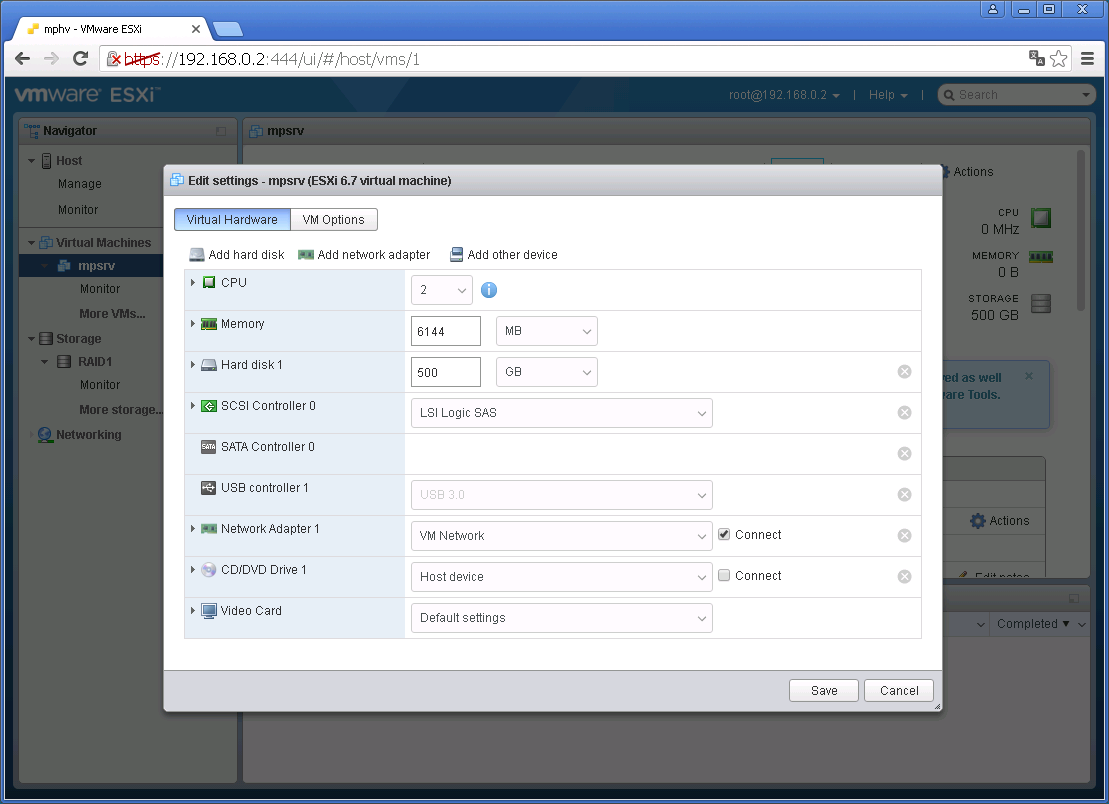
Наша задача, воткнуть ISO образ инсталлятора Windows в дисковод. В CD/DVD Drive 1 выбираем Datastore ISO file, откроется Datastore browser:
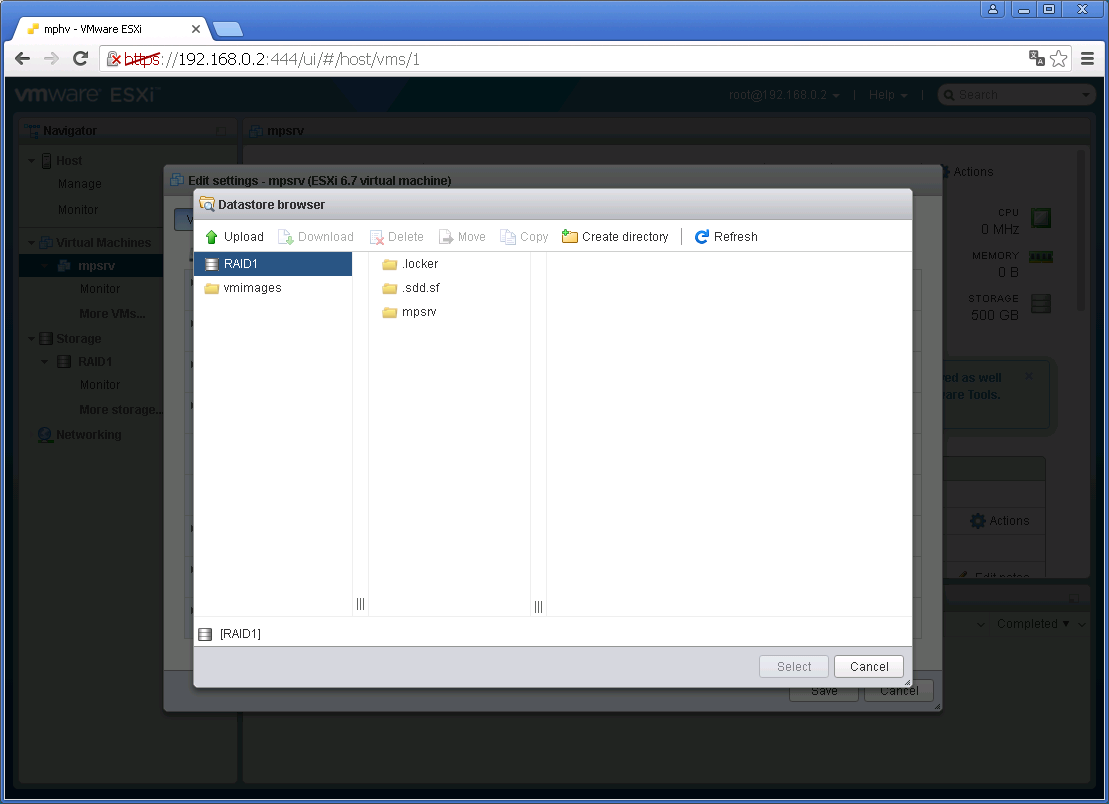
Образ у меня не загружен в хранилище, создам папочку для ISO файлов. Create directory:
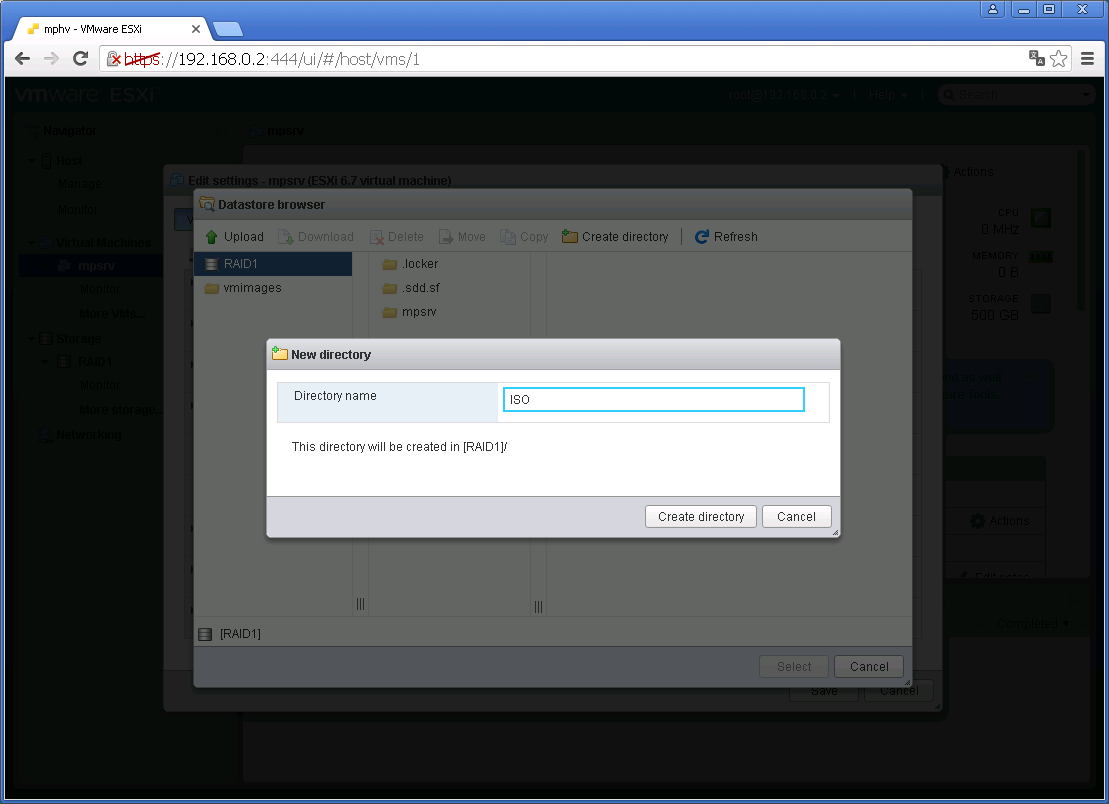
Указываем название директории, у меня будет ISO, Create directory:
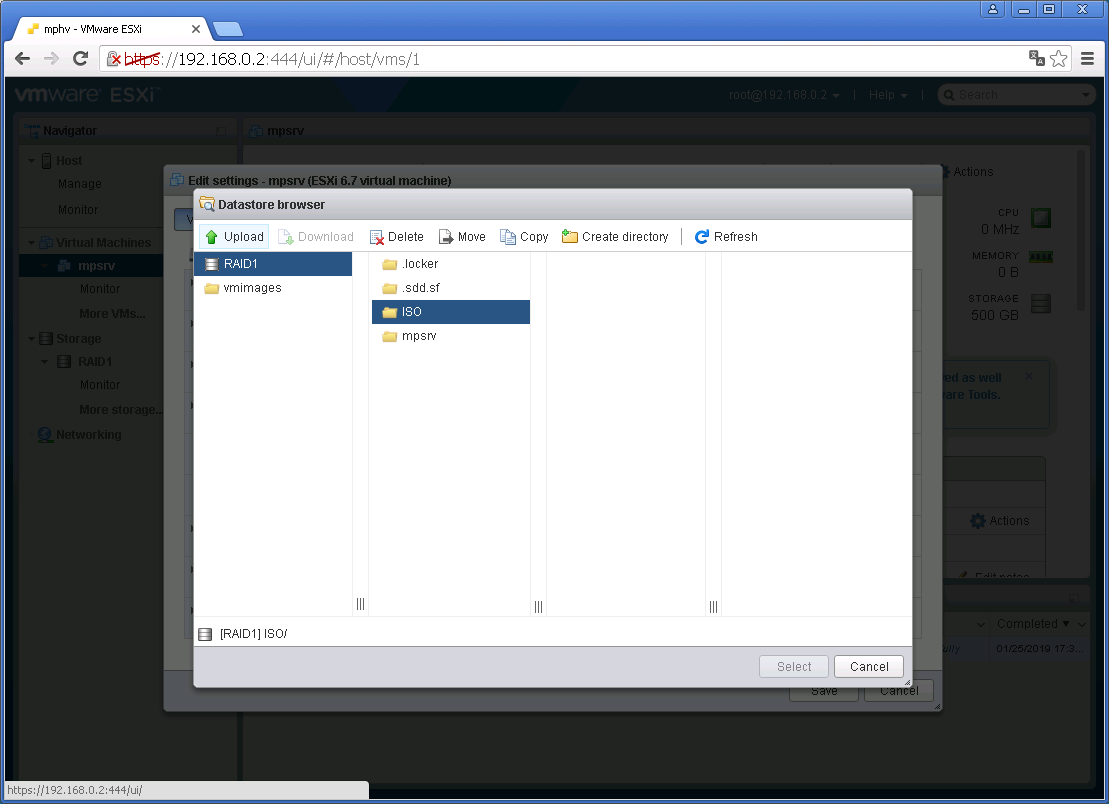
Папочка создалась. Кликаем на неё, потом Upload, выбираем ISO образ инсталлятора Windows Server 2016:
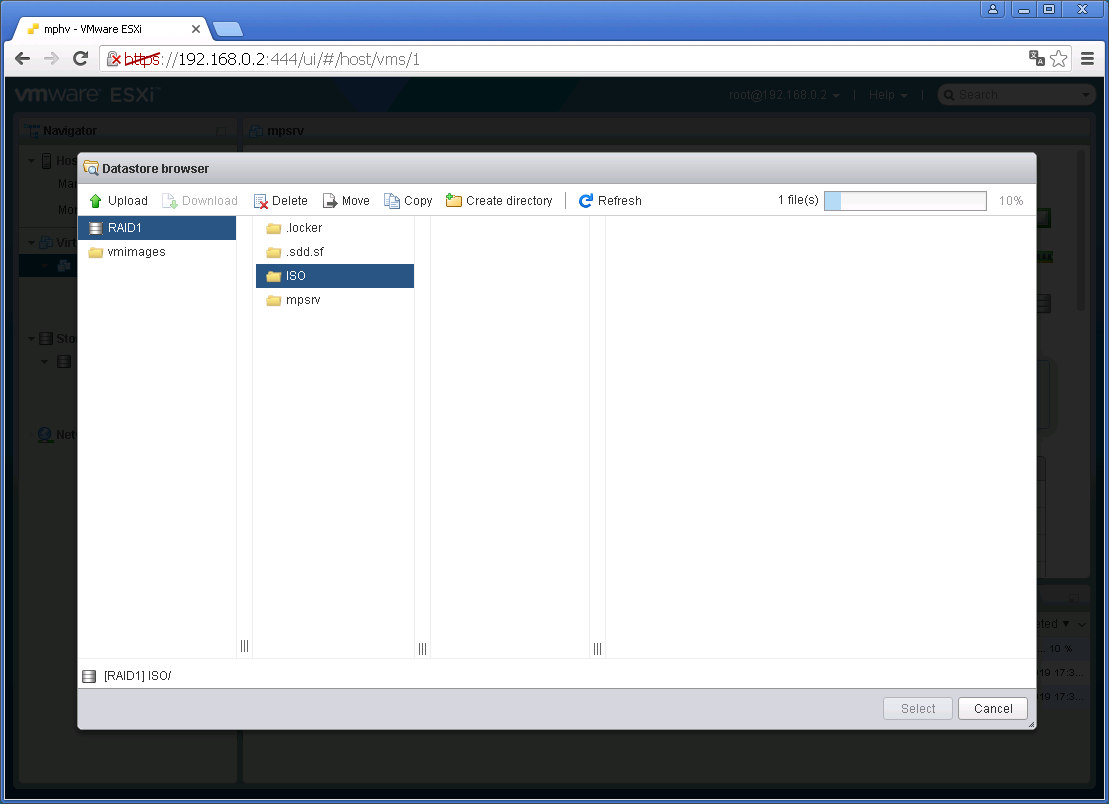
В правом верхнем углу показывается прогрусс загрузки файла. Итак, файл загрузился в хранилище, кликаем на него, потом Select:
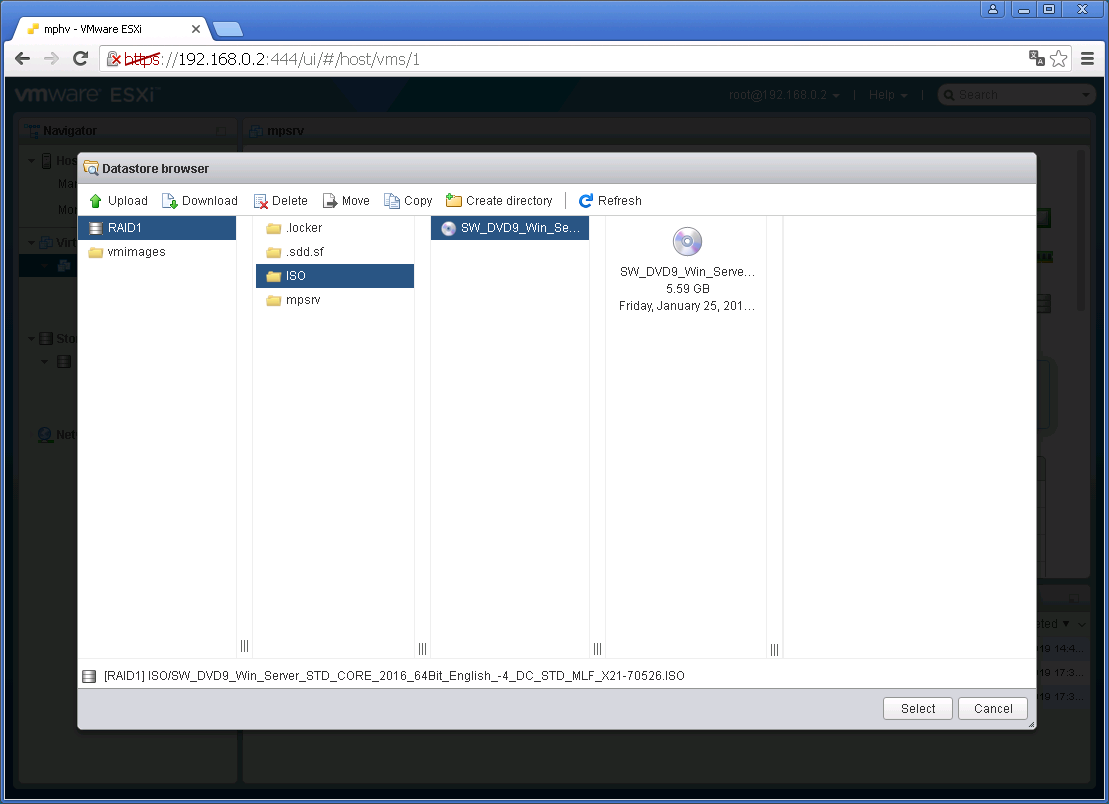
ISO образ цепляется к дисководу виртуалки:

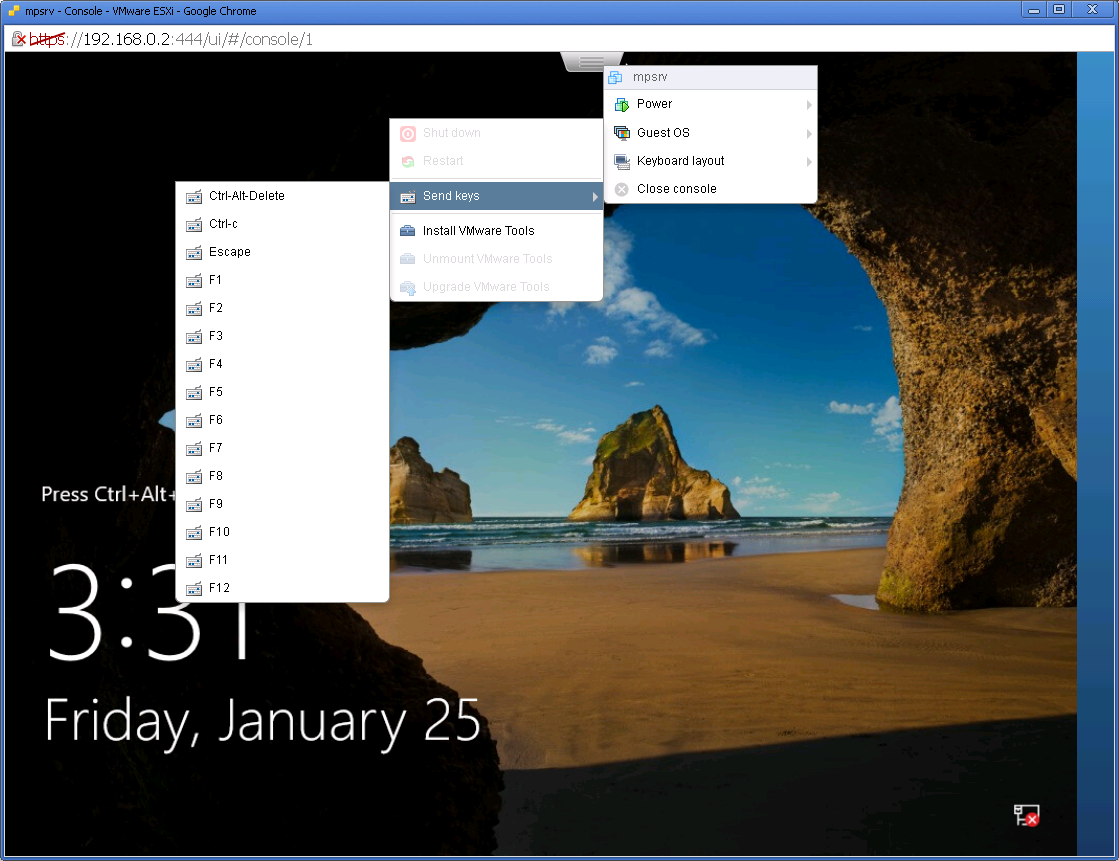
Устанавливаем две галки. Connect at power on и Connect. Save. Включаем виртуалку:
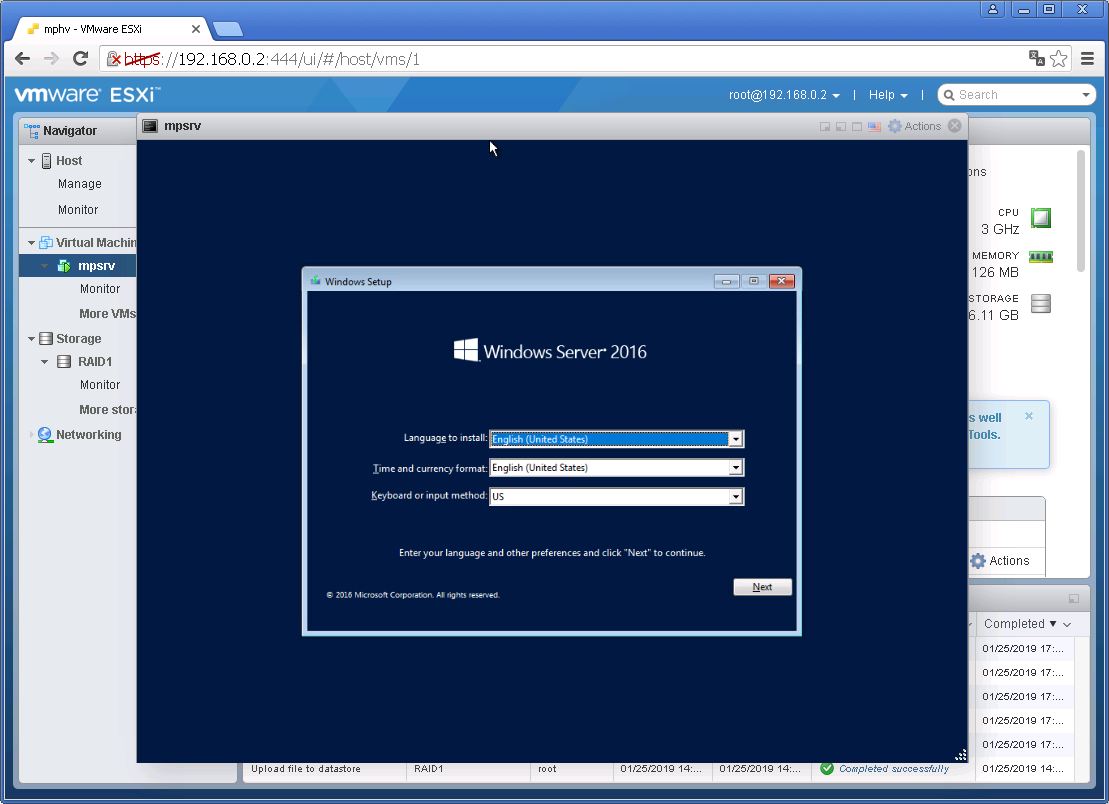
Для начала установки нужно будет успеть нажать любую клавишу. Выбираем язык, время, клавиатуру. Next.
Setup is starting:

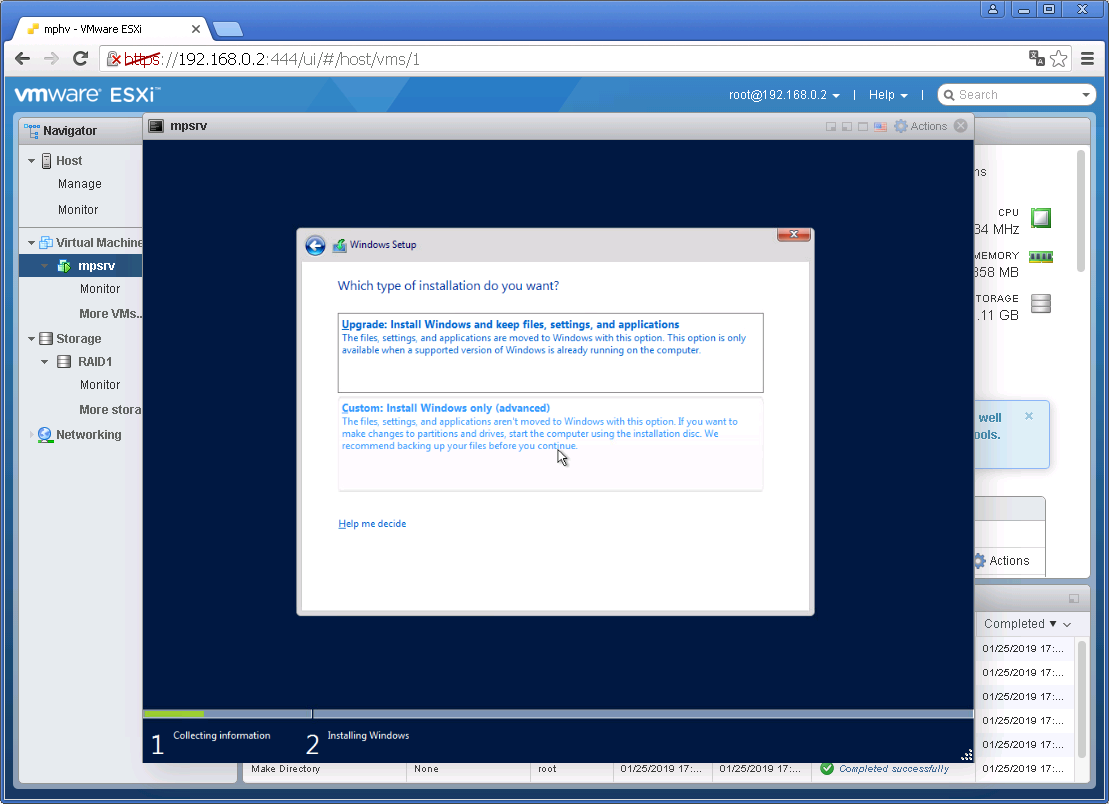
Выбираем тип установки.
- Standard без GUI
- Standard с GUI
- Datacenter без GUI
- Datacenter с GUI

Принимаем лицензионное соглашение, Next:
Выбираем Custom: Install Windows only (advanced):
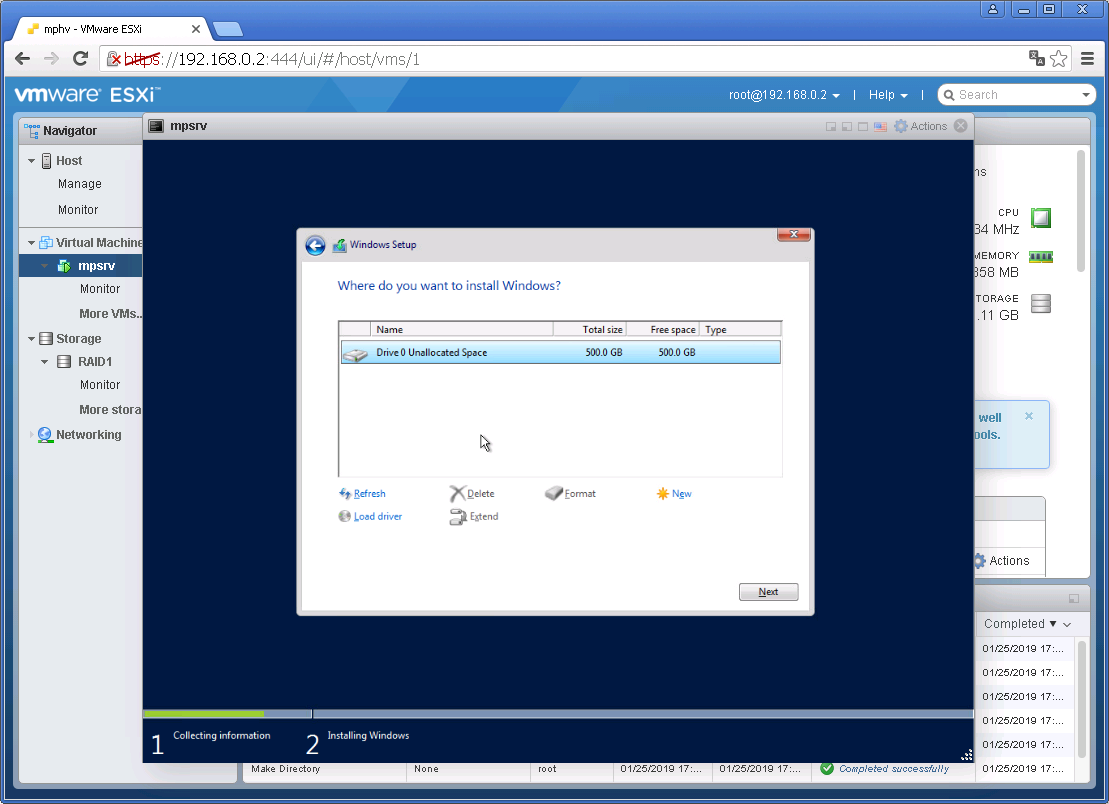
Выбираем винт, у меня он уже выбран, поскольку один. Next:
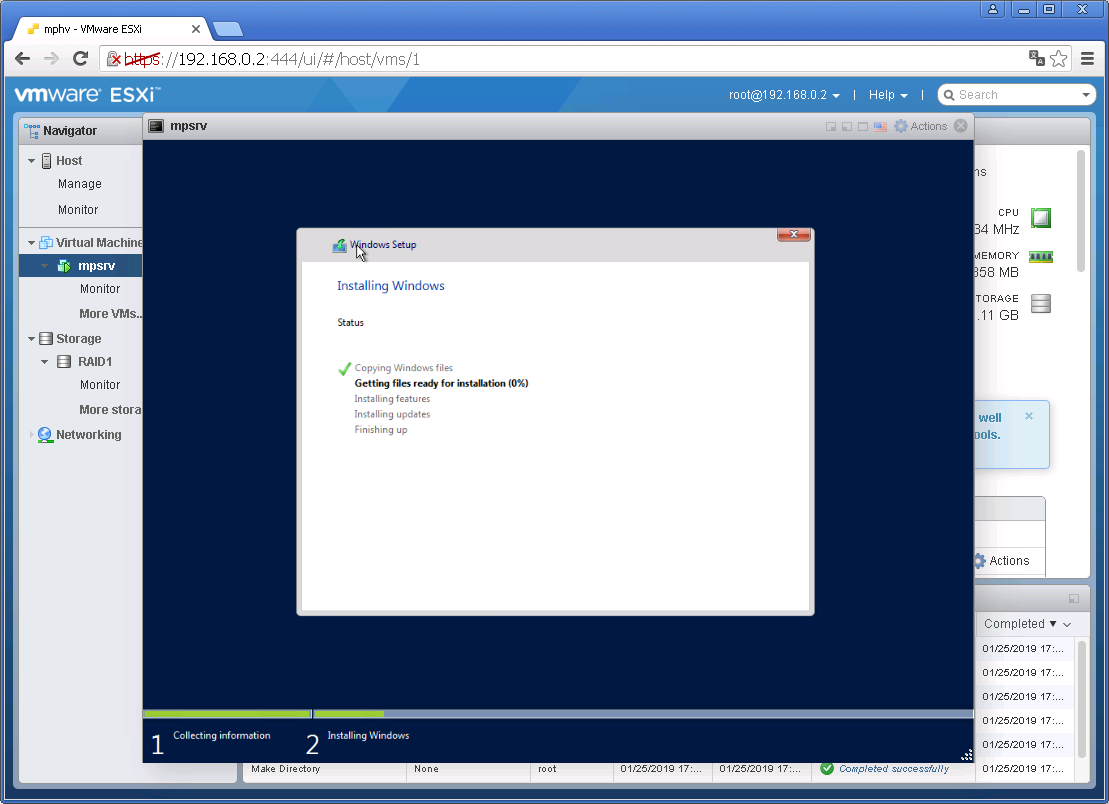
Потекло по трубам:
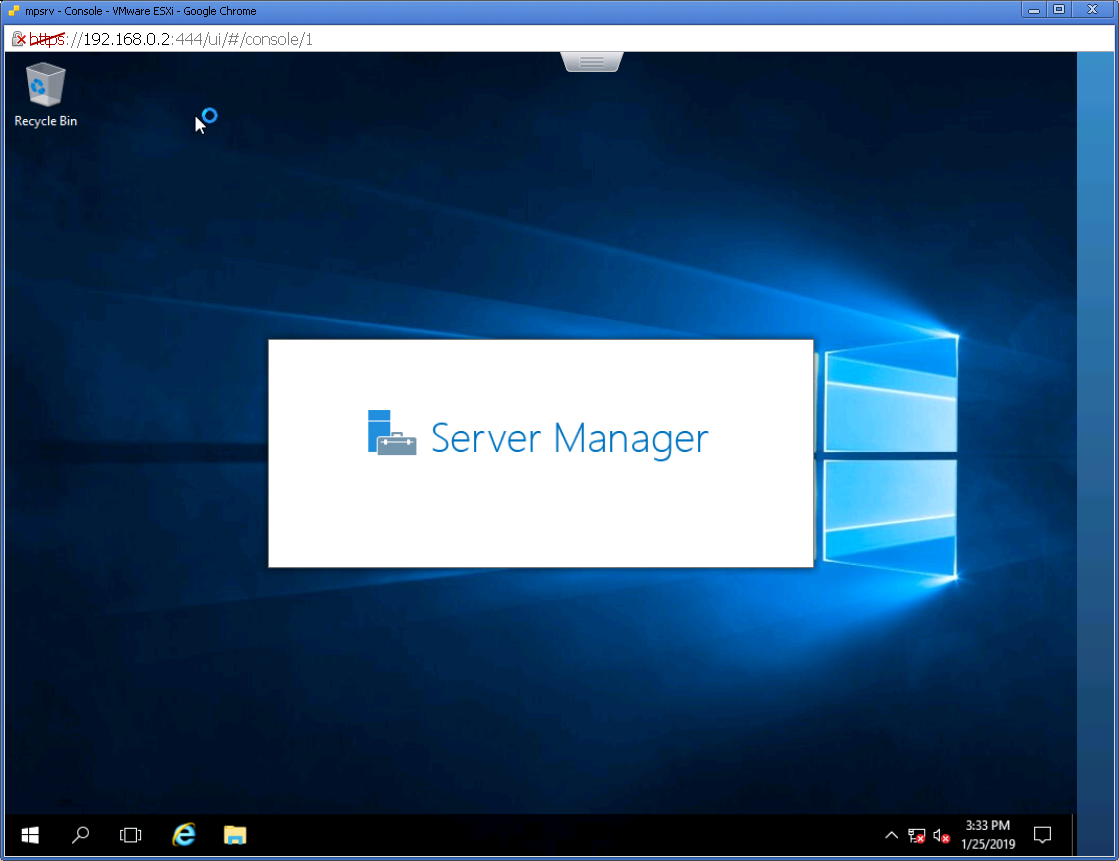
Через несколько минут нам предложат указать пароль от пользователя Administrator. Указываем, Finish:

Винда поставилась. Очень напоминает десятку.
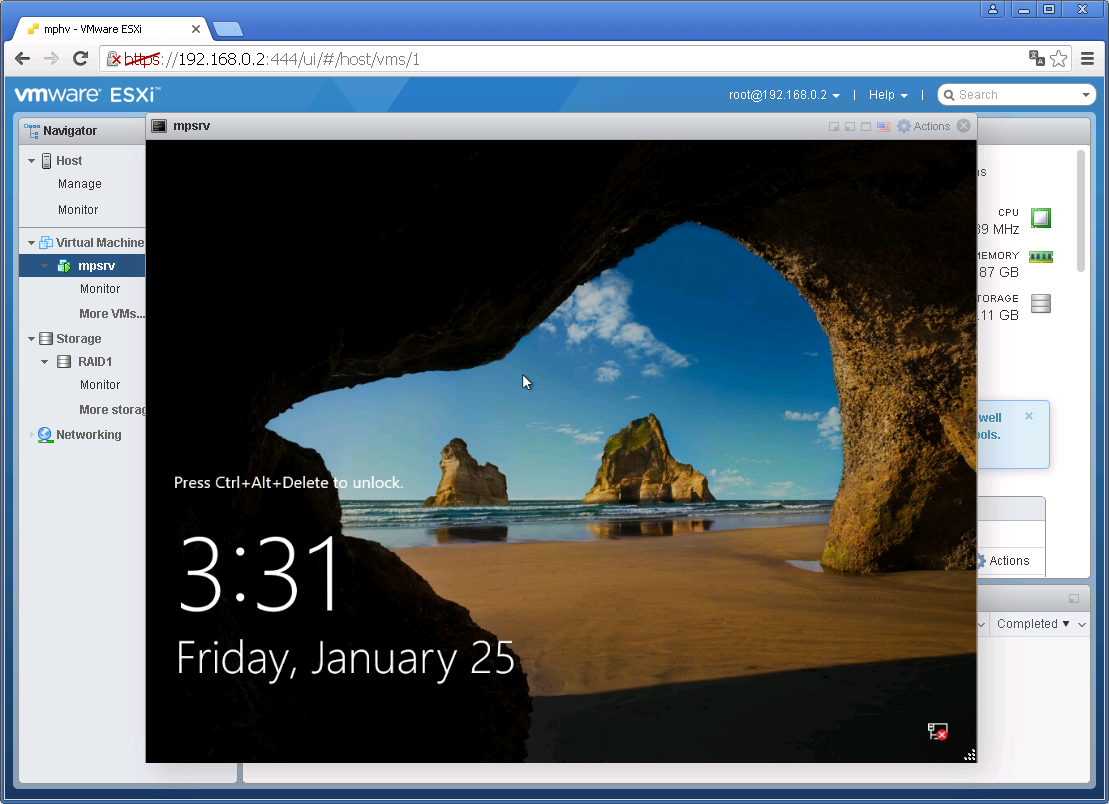
Внутри смесь десятки, метро и 2012-го сервера.


