- How to use Custom Cursor for Windows 10
- Q: How to install Custom Cursor for Windows 10 app?
- Go to Windows download page of Custom Cursor website
- Installation of Custom Cursor for Windows 10
- Installation
- Installed Custom Cursor for Windows 10
- Q: How to use Custom Cursor for Windows 10 app?
- Custom Cursor home menu
- Setting the cursor
- Changing the size
- Default Cursor
- Q: How to download cursors from site?
- Accessing Custom Cursor website
- Adding cursors to Custom Cursor for Windows 10
- Setting a cursor from out website
- Q: How to add your own cursors to Custom Cursor for Windows app?
- Opening add own cursors interface
- Add own cursors interface
- Uploading new cursors and other pointers
- Activating own cursor packs
- Q: How to manage your Custom Cursor for Windows app?
- Deleting downloaded cursor packs
- Editing own cursor packs
- You still do not have a Custom Cursor for Chrome extension?
- You still do not have a Custom Cursor for Edge addon?
- You still do not have a Custom Cursor for Opera addon?
- You still do not have a Custom Cursor for Yandex addon?
- You still do not have a Custom Cursor for Firefox addon?
- Как поменять курсор мыши на Windows 10 — создаем свой курсор
- Настройка курсора
- Замена стандартной стрелки-курсора на что-то иное
- Вариант 1 (штатный)
- Вариант 2 (универсальный)
- Как создать свой курсор
- Сброс настроек по изменению курсора
- Как изменить скорость курсора мыши в Windows 10
How to use Custom Cursor for Windows 10
Q: How to install Custom Cursor for Windows 10 app?
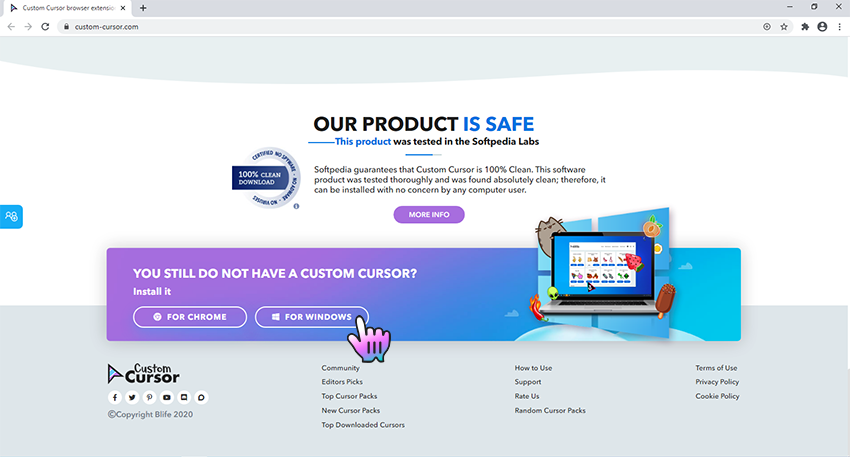
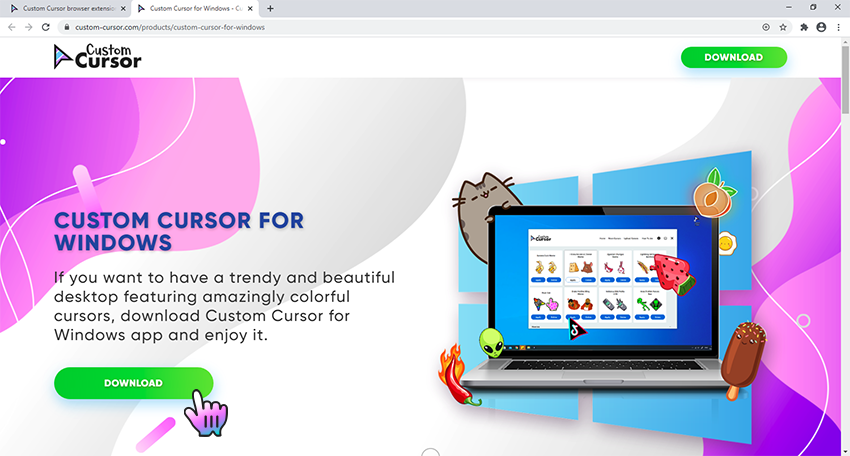
Go to Windows download page of Custom Cursor website
Follow the Windows download link on the banner in the lower part of the page or open this link and click the «DOWNLOAD» button.
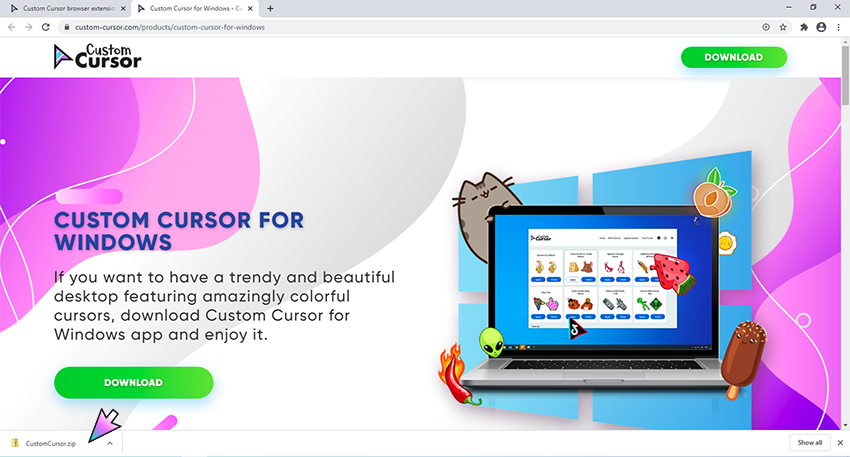
Installation of Custom Cursor for Windows 10
Once you have successfully downloaded the installer — unpack and run it. Click on it in browsers downloads and double click the Custom Cursor.msi in opened window, it will run the installer.
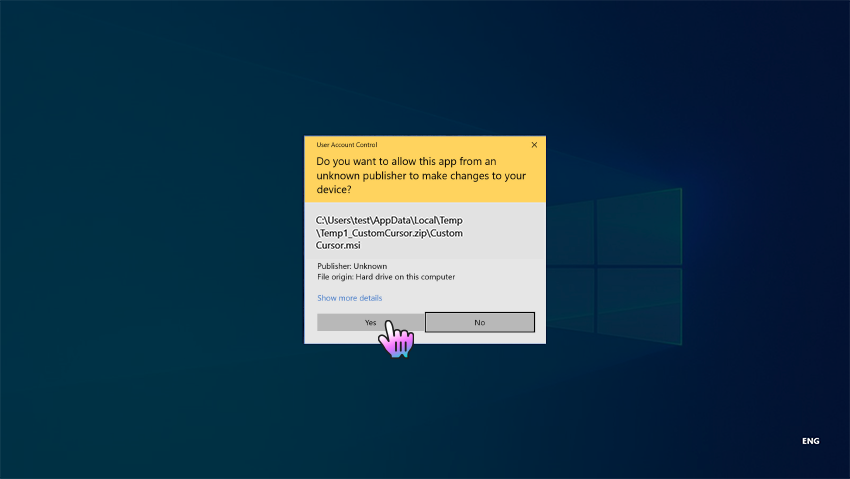
Installation
Follow the steps in the Custom Cursor setup wizard to install Custom Cursor for Windows 10 app. Make sure to agree when UAC window will appear.
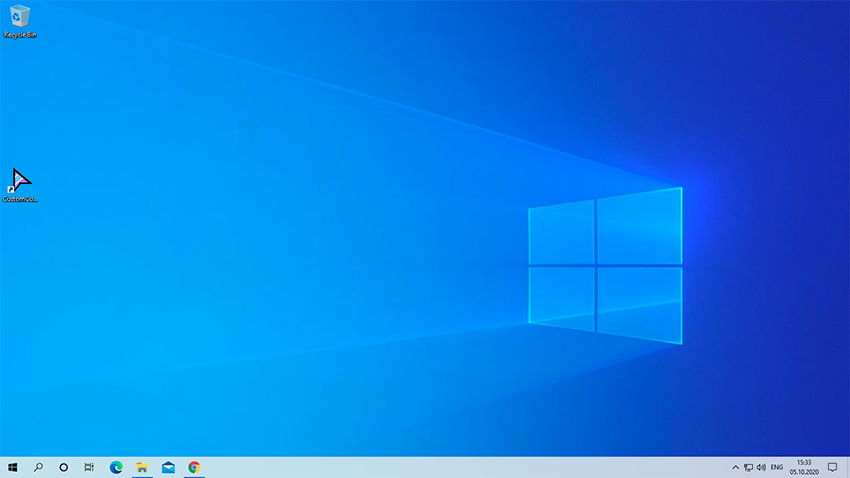
Installed Custom Cursor for Windows 10
Once you have successfully completed the installation a Custom Cursor link will appear on your Windows desktop, same as a link in Windows Run menu. To launch the Custom Cursor app simply double click one of those links.
Q: How to use Custom Cursor for Windows 10 app?
Custom Cursor home menu
On the home screen of the app you can find many useful buttons that will help you using Custom Cursor for Windows 10 app, as you can see on a screenshot.
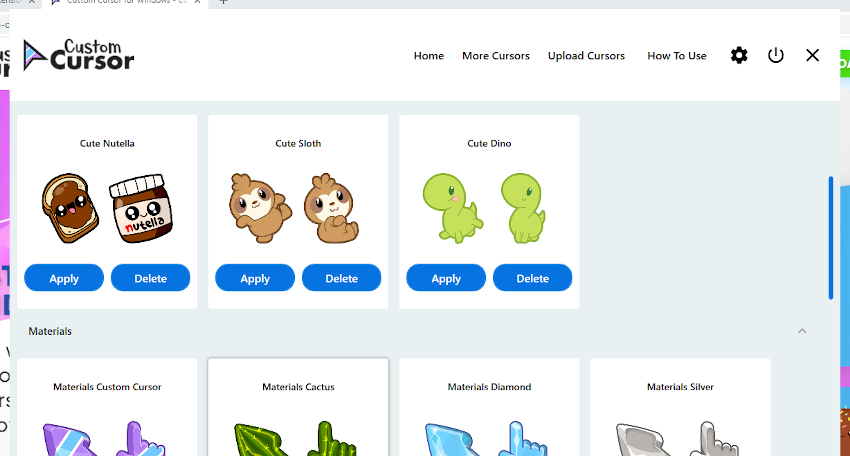
Here you can find:
- Custom Cursor logo — this button leads to our website in case you want to check for updates or browse our cursor.
- Home — this button lets you return to home/cursor selection page at any time.
- More Cursors — is a link to Custom Cursor website to download new cursors to play with.
- Upload Cursors — is a link to page where you can upload your cur files you use with the Custom Cursor for Windows app.
- How to Use — link to Custom Cursor website, this how to use. or Settings button — Opens Custom Cursor app Settings page where you can change language, cursor size and make other customisations to the app. or Default Cursor — this button lets you return to Windows Default cursor settings. or Exit — Just exits the Custom Cursor for Windows 10 application.
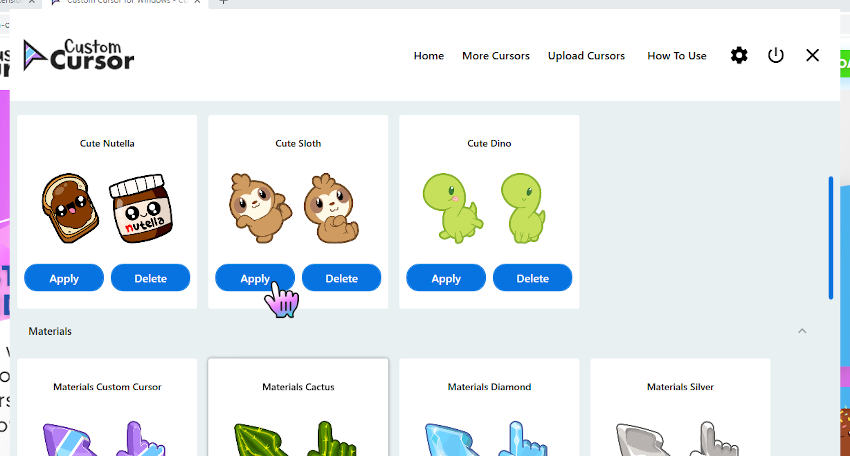
Setting the cursor
On the home screen of the Custom Cursor for Windows 10 app, scroll down and choose a cursor pack that you like and press the “Apply” button to make it the active cursor.
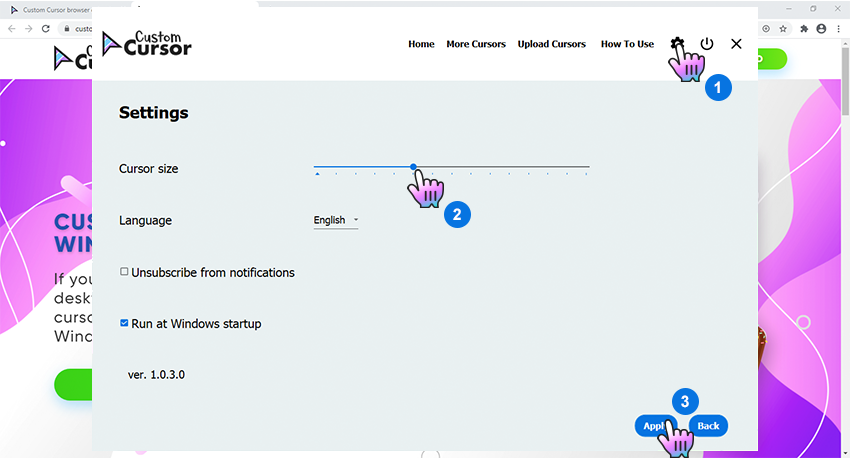
Changing the size
To change the size of your cursor you need to open Custom Cursor for Windows 10 app window. In the upper menu press the Settings button. On the settings page use size slider to choose the cursor size you like and press “Apply”.
Default Cursor
To return to default cursor at any moment open Custom Cursor for Windows 10 app window and press “Default cursor” button. Alternatively, you can open your Windows Mouse setting and select any other system cursor that you like. Custom Cursor will not be active until you hit the Apply on another cursor again.

Q: How to download cursors from site?
Accessing Custom Cursor website
Use the «More Cursors» button in main window of the Custom Cursor for Windows 10 app or follow this link to access the website cursor collections.

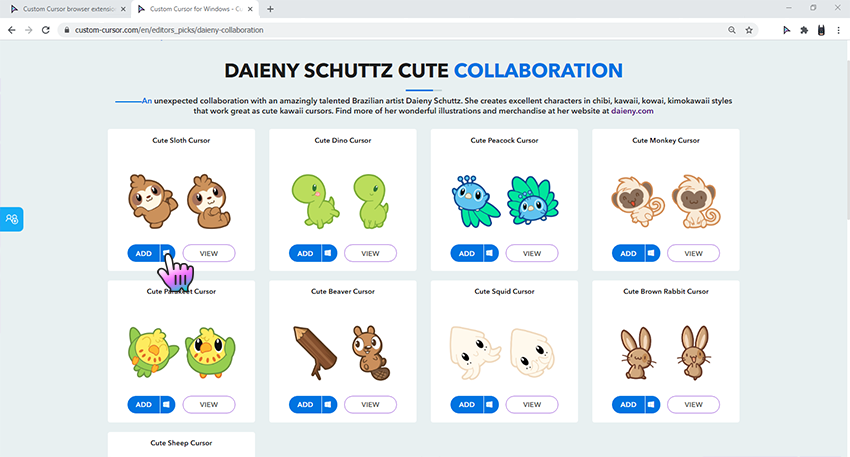
Adding cursors to Custom Cursor for Windows 10
On the pack list page you can find all cursor packs of the chosen collection.
Once you found cursor pack you like, you can click “Add to Custom Cursor for Windows 10 app» button under it.
It will be added to Custom Cursor for Windows app.
Setting a cursor from out website
On the home screen of the Custom Cursor for Windows 10 app, scroll down and choose a cursor pack that you like and press the “Apply” button to make it the active cursor.
Q: How to add your own cursors to Custom Cursor for Windows app?
Custom Cursor for Windows 10 app has the ability to work with third-party .cur files. You can add, manage, and set your favorite cursor files as your Windows cursor, even if those were downloaded from the internet or gifted to you by a friend.
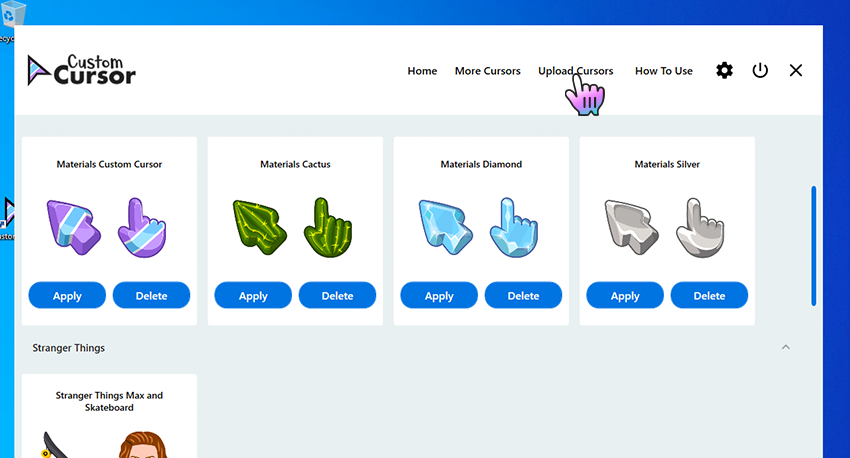
Opening add own cursors interface
To create your own cursor pack in the Custom Cursor for Windows app you need to open the Custom Cursor app main window and click the “Upload Cursors” button on the top menu. This will open the upload cursors page.
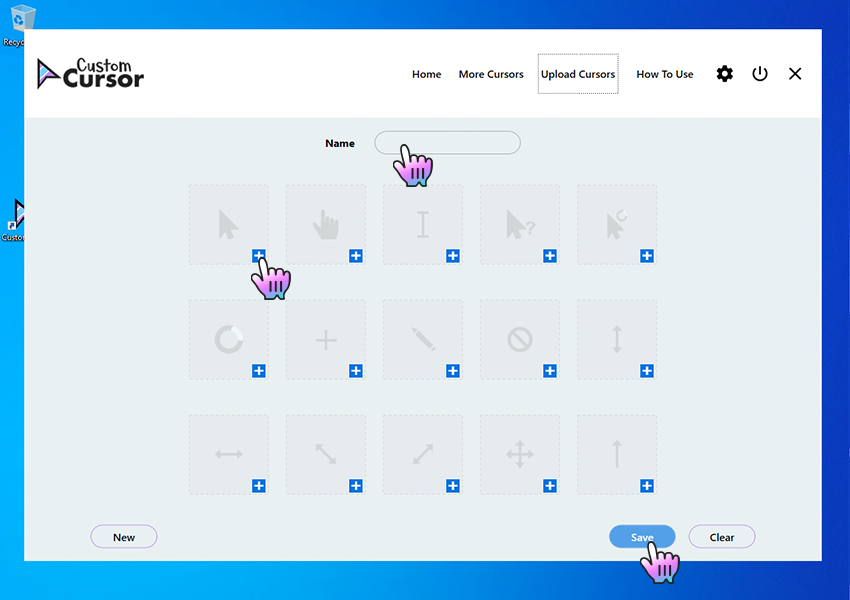
Add own cursors interface
Once on the Upload Cursors page you will see a cursor pack name input field called “Name”, a cursor elements upload cells with an image of the element you are setting and a “+” button to add that element. Buttons: “New” to clear the fields and start creating a new own cursor pack; “Save” to save your current progress, and “Clear” to clean the page forms.
Remember to save your progress before switching to home page and activating you new own cursor pack.
Uploading new cursors and other pointers
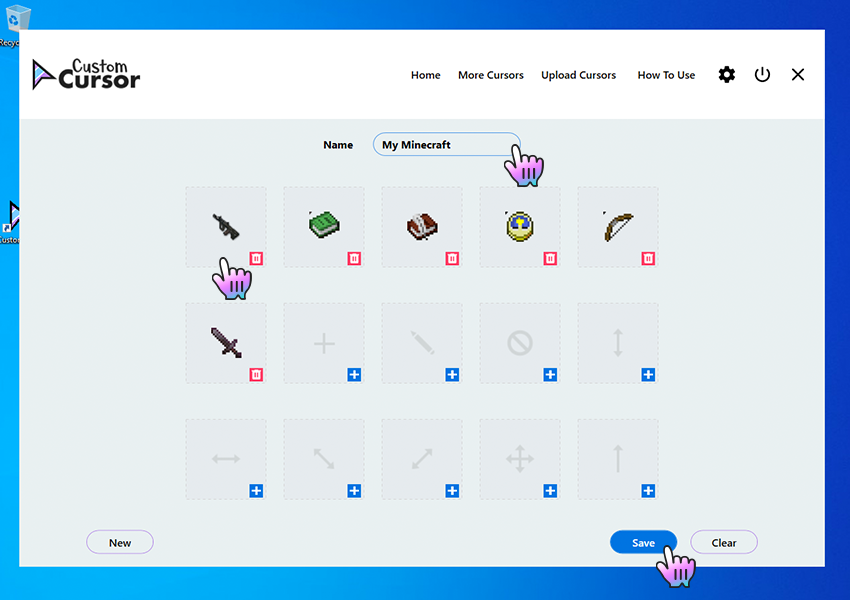
To create your own cursor pack, once you are on the Upload Cursors page, you must complete the following actions:
- Set a Name for a pack you are creating.
- Add cursor elements you have in the .cur file format, to be used in your cursor pack.
- Press Save when you are done adding elements.
The cursor pack you created will appear on the Home page, in the My Custom Cursor section, with a Name you have set for the pack and can be activated there by hitting the “Apply” button.
Activating own cursor packs
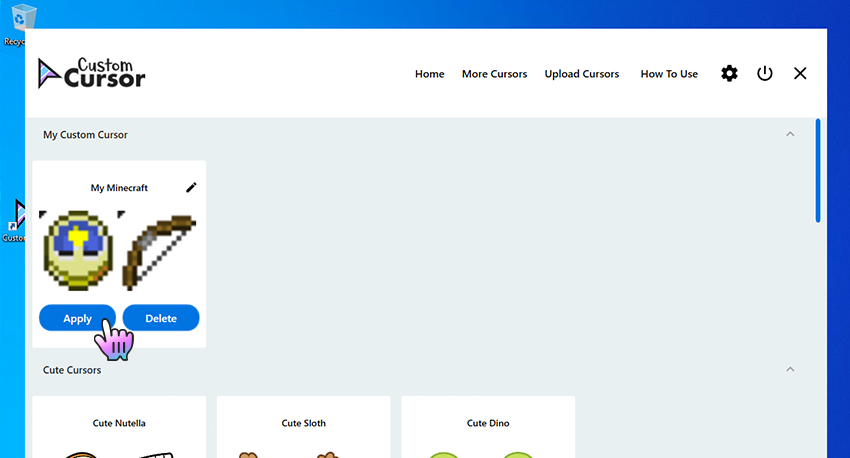
To Apply the uploaded cursor pack navigate to the Home screen of the Custom Cursor for Windows 10 app, find “My Custom Cursor” section, choose a cursor pack that you created and press the “Apply” button to make it the active cursor.
Q: How to manage your Custom Cursor for Windows app?
When you’ve downloaded all cursor packs in your Custom Cursor for Windows 10 app and want to clean up a little bit 🙂
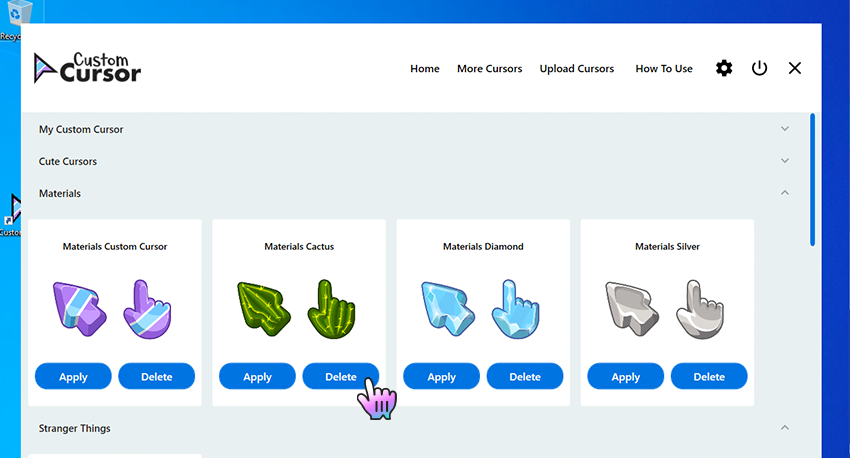
Deleting downloaded cursor packs
To create your own cursor pack in the Custom Cursor for Windows app you need to open the Custom Cursor app main window and click the “Upload Cursors” button on the top menu. This will open the upload cursors page.
Editing own cursor packs
If you added your own cursor pack from .cur files to the Custom Cursor for Windows 10 app — you can edit them to fit your current needs. To do so, you need to navigate to Custom Cursor for Windows home page, find the cursor pack tile you like to edit. In the top right corner of the own cursor tile, you can find a pencil icon, click on it to open own cursor pack edit mode.
n the edit mode you can change own cursor pack name and add or remove its elements like cursors or pointers. Please note that if you delete some of the elements your Windows defaults will be used.
- To add an element you need to press “Blue plus icon” on the tile you wish to assign a custom cursor element.
- To remove an element you just need to press the “Red trash can icon” for it to be removed.
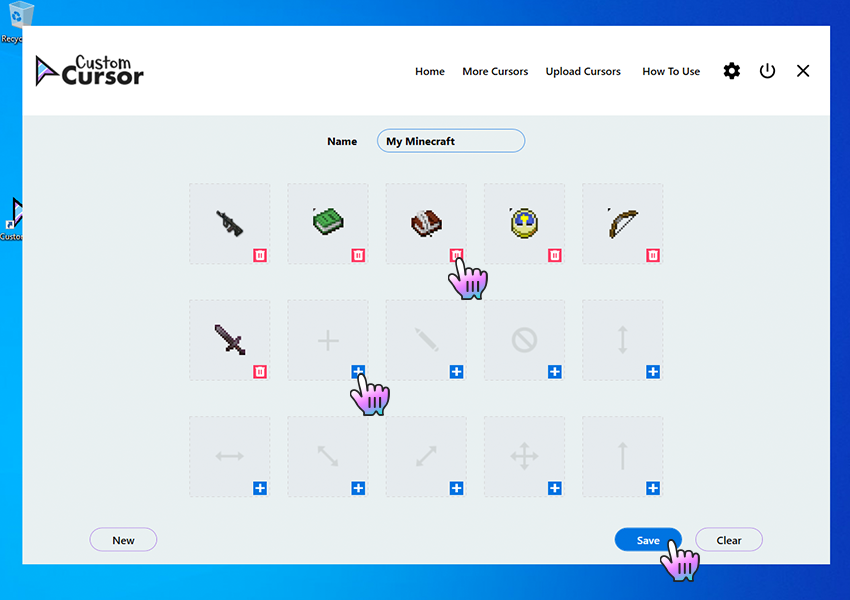
*Please note that you need to save your progress before exiting the “Edit own cursor” section by clicking the “Save” button.
You still do not have a Custom Cursor for Chrome extension?
Install it from official Chrome Web Store
You still do not have a Custom Cursor for Edge addon?
Install it from official Microsoft Edge Addons site
You still do not have a Custom Cursor for Opera addon?
Install it from official Opera addons site
You still do not have a Custom Cursor for Yandex addon?
Install it from official Opera addons for Yandex site
You still do not have a Custom Cursor for Firefox addon?
Install it from official Firefox Browser Add-ons site
Как поменять курсор мыши на Windows 10 — создаем свой курсор
Курсор – один из основных элементов интерфейса Windows 10. Он отображает движения мышки, используется для открытия папок, запуска файлов, других действий с системой. Стандартная модель имеет вид небольшой стрелки белого цвета. Многим юзерам она не подходит. Но есть простые способы, как изменить курсор мыши в Windows 10, сделать его больше или меньше, поменять цвет или скорость движения.

Настройка курсора
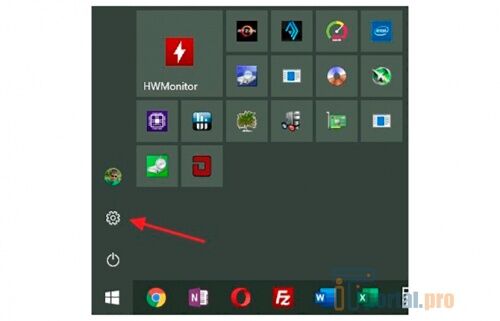
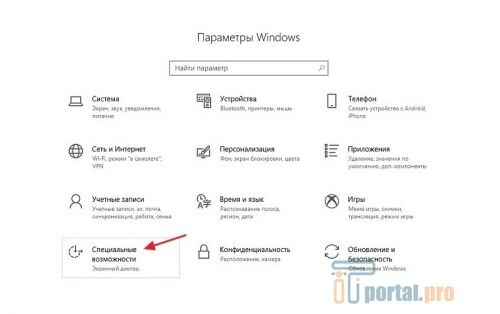
В Виндовс 10 есть новый раздел – «Параметры», через который легко внести любые изменения. Откройте его, зажав клавиши «Windows» + «I», или войдите через Пуск.
Нужный раздел – «Специальные возможности».
Здесь выберите «Размер курсора и указателя мыши». Если пользуетесь старой версией Windows, этого пункта можете и не найти. Путь в таком случае: «Специальные возможности» – «Мышь».
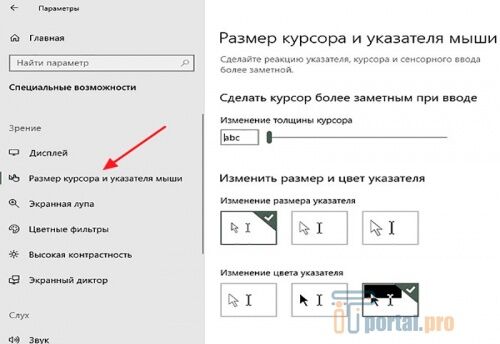
В разделе есть несколько видов указателей, тут же будет предложено изменить его цвет, размер. Просто выберите нужный пункт – настройки сохранятся автоматически.
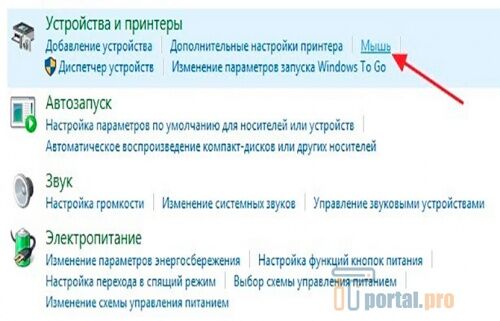
Изменить размер через «Параметры» удобно, но в нем слишком мало пользовательских настроек. Больше – в панели управления. Откройте ее зажав клавиши «Windows» и «R». Появится окно, куда впишите «control» и жмите «Ок».

Заходите в «Оборудование и звук», оттуда в «Мышь».
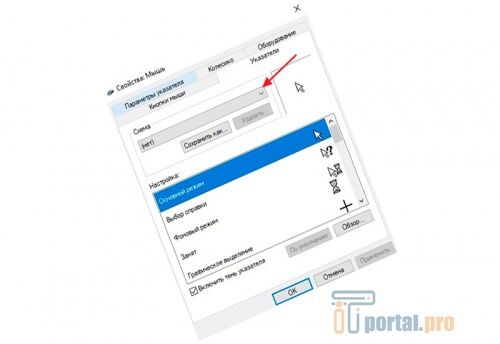
В свойствах, в окне «Параметры указателя» и будут искомые инструменты.
Замена стандартной стрелки-курсора на что-то иное
Привычная всем стрелочка устраивает немногих. А фанаты «кастомных» ОС и вовсе мечтают о чем-то эдаком, например, когте дракона.
Вариант 1 (штатный)
Если делать через «Параметры», то там предложат только изменить цвет курсора Windows 10. Более гибкие настройки доступны через панель управления.
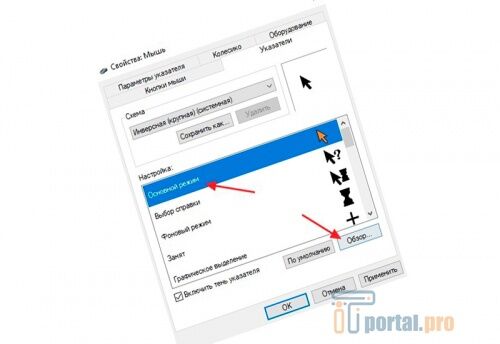
Там заходите в «Оборудование и звук» – «Мышь». В окошке кликните на «Указатели». Увидите сразу несколько настроек. Одна из опций называется «Схема». Там предложено более 10 вариантов.
Любую схему легко изменить под себя. Для этого выберете интересующий вариант и нажмите «Обзор».
В открывшейся папке будут представлены все указатели, установленные в Windows 10 по умолчанию.
Вариант 2 (универсальный)
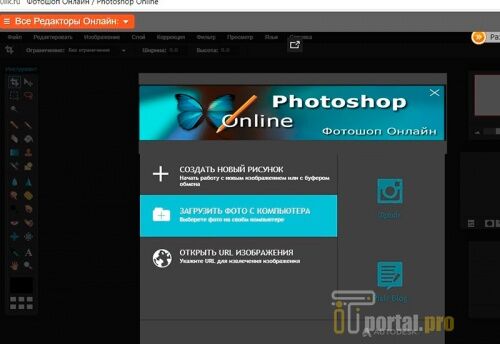
В интернете доступны сотни разнообразных курсоров, отличающиеся размером, дизайном, удобством. Можно скачать тот вариант, который понравится больше всего. Далее останется его только установить и активировать.
Как изменить курсор:
- Загрузите на ПК архив с моделями.
- Скопируйте его в папку «C:/Windows/Cursors». Извлеките все файлы, воспользовавшись одним из архиваторов.
- Активируйте комбинацию «Windows+R». В окно впишите «control mouse» – перекинет к настройкам мышки.
- В меню «Указатели» выберите «Основной режим», «Обзор».
- В папке будет уже куда больше видов, среди которых легко отыскать вариант по вкусу. Выберите понравившийся и жмите «Применить».
Другие режимы (фоновый, выбор справки) настраиваются так же.
Как создать свой курсор
Если хочется что-то изменить в облике системы, то один из способов – самому нарисовать новую модельку в Paint.
Инструкция:
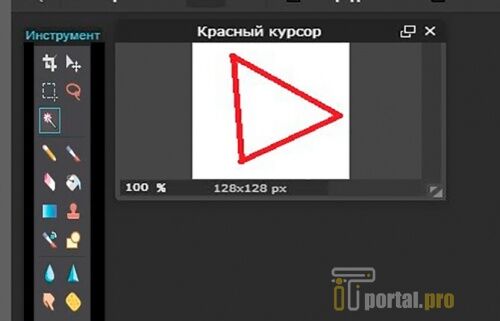
- Переходим в «Пуск», далее в «Paint».
- Выставьте размер фона – 128х128 точек. На белом фоне нарисуйте, например, стрелку красного цвета.
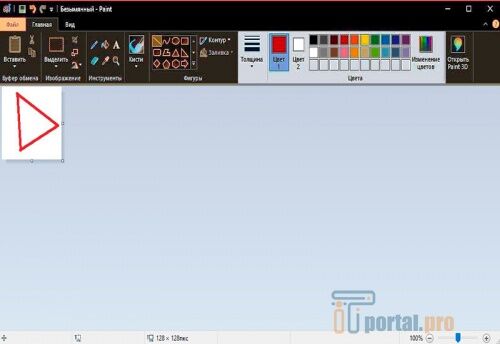
Жмите «Файл» – «Сохранить как» – «PNG».

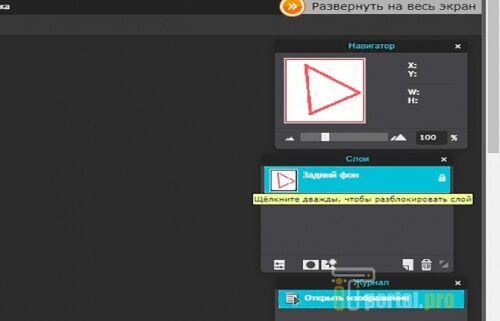
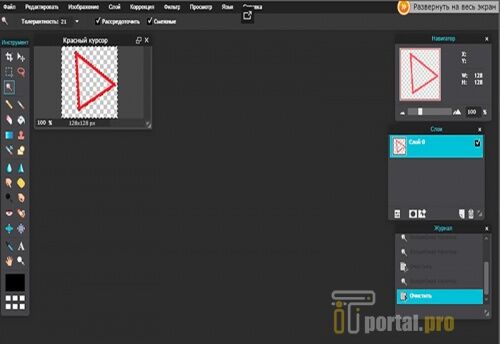
Отыщите «Волшебную палочку» – так называется один из инструментов. Кликните на белый фон и нажмите на клавиатуре Delete. Аналогичные действия необходимы и внутри стрелки.
Если все сделано верно – увидите фон в виде шахматной доски. Это значит, что он стал прозрачным.


Все, теперь остается задать новинку через параметры.
Сброс настроек по изменению курсора
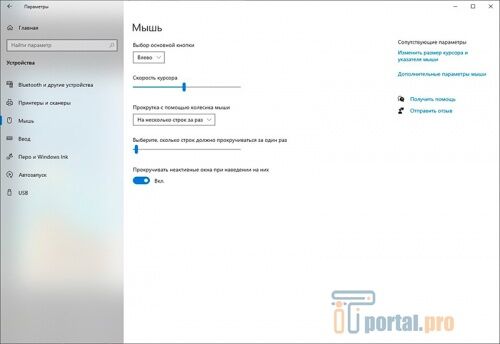
Как изменить скорость курсора мыши в Windows 10
Здесь все просто – перейти в «Пуск», открыть «Параметры» – «Устройства» – «Мышь». Появится поле «Скорость курсора». Двигайте ползунок влево-вправо, пока не выставите комфортную скорость.
Изменить курсор совершенно не сложно. Опираясь на инструкции, даже неопытный пользователь сможет это сделать. Стандартный указатель нравится не всем, благо, можно выбрать любой понравившийся из интернета и даже сделать свой. Напишите в комментариях, каким указателем пользуетесь и пытались ли нарисовать его самостоятельно? Поделитесь статьей в социальных сетях и сохраните ее в закладках, чтобы не потерять полезную информацию.
Также рекомендуем посмотреть подобранные видео по нашей теме.
Как поменять курсор мыши в Windows 10.
Как создать свой собственный курсор мыши и как его установить.
Как зайти в безопасный режим в Windows 10? Различные способы в статье на сайте.


