- Dell Display Manager (DDM)
- Display Menu 4+
- Milch im Gemüsefach
- Снимки экрана
- Описание
- Что нового
- Оценки и отзывы
- Поддеркжа
- Отлично, но после перезапуска разрешение слетает
- Лучше бы я не написал
- Display Menu 4+
- Milch im Gemüsefach
- Screenshots
- Description
- What’s New
- Ratings and Reviews
- Works great with 1x4K 2xHD Monitors with LandingZone Dock
- This App Saved Me Big $$$ and Time
- Five Stars Free, Five Stars PRO
- Connect a display to your Mac
- Find out how many displays you can connect
- Connect your display
- Use AirPlay
Dell Display Manager (DDM)
Dell Display Manager (DDM) 1.50.0 Build 1996 LATEST
Windows Vista / Windows Vista 64 / Windows 7 / Windows 7 64 / Windows 8 / Windows 8 64 / Windows 10 / Windows 10 64
Dell Display Manager (DDM) 2021 full offline installer setup for PC 32bit/64bit
Dell Display Manager is a comprehensive management tool giving you optimal front of screen experience, efficient display management, easy and effortless multitasking helping you increase everyday productivity. This software works only on Dell monitors produced from 2013 and beyond with exception of Dell D-Series and Nvidia G-SYNC based models. This software can support up to 16 monitors setups and is compatible with all major graphics vendors like Nvidia, AMD, and Intel.
With Easy Arrange feature you can organize multiple application windows on your screen and snap their positions and sizes into a template of your choice and then reuse it when needed. You can split screen horizontally or vertically or in various other patterns making it easier to use the full potential of your large Dell monitor when having the need to work in more than one window at the same time. In the case of dual monitor setup, Easy Arrange can also be used to expand desktop space across two monitors. The auto-restore feature remembers where you left off and restores application windows as they were.
Enables easy switching of inputs without a need to click on any Monitor hardware buttons and going trough it’s OSD screens. A great feature if you want to switch input video source from VGA to HDMI in a single click. In case you use the same monitor for your PC and for your laptop this feature allows you to switch easily between them. You can even assign names to each input and define a shortcut key making it even easier to switch between input screens. The DDM tool for PC is very useful for programmers or gamers.
Manual or Automatic
Adjusting of monitor brightness, contrast or resolution can now be done directly through the Dell Display Monitor DDM software. These settings can then be saved as presets and used again when writing a document, playing games, or watching movies, all within the application. To make things even better Auto Mode allows you to assign presets to applications you use: so once you launch VLC Player a movie preset will get auto-applied and can enjoy the video without a need to switch the modes manually.
Efficient and Eco-friendly
Making an asset report document is a one-click process allowing IT managers to save monitor asset information documents with just one click. Saving energy is an important PowerNap function that allows power consumption management. Putting your monitor to sleep when you’re not using it saves energy.
Источник
Display Menu 4+
Milch im Gemüsefach
-
- 3,2 • Оценок: 23
-
- Бесплатно
- Включает встроенные покупки
Снимки экрана
![]()
![]()
![]()
Описание
Display Menu shows a status item in your menu bar that lets you change your display settings with a single click.
Depending on your display setup, you can set the screen resolution, toggle mirroring, and adjust the refresh rates.
You can enable additional features like Retina resolutions (on Retina Displays), AppleScript support, and resolution bookmarks as a paid upgrade.
Что нового
Version 2.2.3 added access to our FAQ to Display Menu and fixed some minor issues.
If you have feature requests or if you find any bugs, please report them to us via our website or Twitter @DisplayMenu.
If you happen to like Display Menu, please leave a positive review on the App Store!
With version 2.0 we have added a number of great new features to our Display Menu software! From the large collection of emails we have received from you over the last year, we have distilled the three most wanted and, hopefully, most useful bits of added functionality and implemented them. While we are pretty happy how the new features have turned out, it was still a lot of work: apart from solving a number of technical difficulties, we went through a long design process to include the new functionality but, at the same time, keep Display Menu’s UI streamlined and uncluttered. This is also the reason why we decided to bundle the *new* features only with the new ‘Pro’ version of Display Menu. The basic free version of version 2.0 still contains all the features from version 1.4; the Pro version is a paid upgrade that you can purchase from within the App.
Оценки и отзывы
Поддеркжа
Разработчику лень отвечать на письма с просьбой исправить баги приложения (слетает разрешение при перезагрузке) даже при том условии, что я залпатил за полную версию.
Отлично, но после перезапуска разрешение слетает
Разрешение меняется, как и ожидается. Но после выключения или перезапуска компьютера Mac OS выставляет свое обычное разрешение на экране. Приходится каждый раз при запуске снова запускать программу и переключать разрешение руками. Насколько я понял купив дополнение ситуация не изменится (хотя я его не покупал), а лишь появится возможность через терминал или что-то такое менять разрешение.
Также непонятно зачем в выпадающем меню изначально половина меню скрывается и нужно делать лишний клик, чтобы показать вторую половину меню.
Лучше бы я не написал
Отличная программа, есть все что нужно. Не знаю, какие идиоты ставят низкие оценки, может английского не знают.
Купил платную версию, там есть bookmark’и разрешений, что мне нравится. Т.к. приходится переключаться только между двумя разрешениями: 1440×900 для офисной работы (половинное скалирование моего монитора) и 1920×1200 для просмотра фильмов в FullHD, с букмаками это делать удобнее. И в платной версии есть поддержка AppleScript и Automator, в планах написать скрипт чтобы такое переключение разрешений было автоматическое при просмотре фильмов.
Что касается жалоб (и низких оценок), что разрешения якобы не запоминаются при выключении. Я проверил. Если отправлять в сон, то разрешение запоминается и показывается какое было. Если выключит или отлогонить (я проверял уже на Pro платной версии), то, во-первых надо не забыть поставить галочку в «запускать при логоне автоматический» (возможно жалобы идут от тех идиотов которые её не ставят). Во-вторых при включении на экране выбора логина будет именно то разрешение, что было при выключении. В третьих при логине включается то разрешение, которое стоит на первой букмаке, что меня полностью устраивает. На бесплатной букмаков нет (но есть галочка запуска при логине), как там — не знаю и уже не смогу проверить. 🙂
Источник
Display Menu 4+
Milch im Gemüsefach
-
- 4.1 • 247 Ratings
-
- Free
- Offers In-App Purchases
Screenshots
![]()
![]()
![]()
Description
Display Menu shows a status item in your menu bar that lets you change your display settings with a single click.
Depending on your display setup, you can set the screen resolution, toggle mirroring, and adjust the refresh rates.
You can enable additional features like Retina resolutions (on Retina Displays), AppleScript support, and resolution bookmarks as a paid upgrade.
What’s New
Version 2.2.3 added access to our FAQ to Display Menu and fixed some minor issues.
If you have feature requests or if you find any bugs, please report them to us via our website or Twitter @DisplayMenu.
If you happen to like Display Menu, please leave a positive review on the App Store!
With version 2.0 we have added a number of great new features to our Display Menu software! From the large collection of emails we have received from you over the last year, we have distilled the three most wanted and, hopefully, most useful bits of added functionality and implemented them. While we are pretty happy how the new features have turned out, it was still a lot of work: apart from solving a number of technical difficulties, we went through a long design process to include the new functionality but, at the same time, keep Display Menu’s UI streamlined and uncluttered. This is also the reason why we decided to bundle the *new* features only with the new ‘Pro’ version of Display Menu. The basic free version of version 2.0 still contains all the features from version 1.4; the Pro version is a paid upgrade that you can purchase from within the App.
Ratings and Reviews
Works great with 1x4K 2xHD Monitors with LandingZone Dock
The free version works great with 4 screen, I have a 4K monitors with 2 additional 1080p Monitors, with this software, I can ensure my external 4K running @ 60 Hz, and able to adjust resolution during persentation in just 1 mouse click since most ppl can not see 4k high resolution text during onine presentation time due to video compression over the network. Anyway, I was trying to find an alternative without the need to have the display menu running all time but so far, this is the free and best I use so far. This also works with Landingzone docking station. By the way, the software can be quit or uninstall once you setup the resolution porperly. Plus, since Mac OS able to remember all the monitors resolution and position, so even after quit the software or uninstall this software, MAC OS still able to use the cusome setting, of cause I can no longer update the dispaly setting. Therefore, if you need more memory , just setup the proper screen position and screen solution , follow by select «Quit Display Menu Pro»
This App Saved Me Big $$$ and Time
I was installing a new Mac in an auditorium this weekend to be connected to an existing projector with a 100 foot VGA cable. We have to use a VGA amplifier to get a high quality signal. That amplifier prevented the Mac Mini from seeing the projector resolution info. My only choice was to use a 1280 x 1024 resolution that was the wrong aspect ratio. I was wondering If I needed to install a new cable, or use a different projector. With no time or money to do either, I tried this $2 app. It worked flawlessly! Just a click from the menu bar I can set the resolution to whatever I want it to be. I cannot imagine what I would have had to do without this app. I bought another copy for my personal Mac. I will do all by display res switching from this little app from now on.
I purchased the pro version. If you need this app, it is well worth $2. I did not try using just the free version.
I rated it 5 starts. I would have given it 10 stars if I could have. Thank you the developers for a great little app that just works!
Five Stars Free, Five Stars PRO
This is *just* what the doctor ordered. I need to take non-Retina screenshots on my MBP (scaling won’t do), and the free version of this enabled the full resolution without a fuss, and I didn’t even have to disable System Integrity Protection!
I almost instantly upgraded to the Pro version, mostly because without it you can’t use the menu to go back to the “native” Retina resolutions offered by Mac OS X, although you can go back to it in display preferences. This is a little unclear in the documentation, but shouldn’t be a deal killer for you if you’re contemplating the free version. However as an app developer myself, I need to go back and forth all the time and so the upgrade was worth it.
Actually the upgrade offers bookmarks, too. Now I’ve got the two resolutions I most need: native from non-Retina screenshots, and and my preferred “More Space” Retina resolution.
I’ve not tried the AppleScript yet, but assuming it works I won’t come back and deduct a star. Trying this feature actually kind of excites me because I use AppleScript within my own apps to take the screenshots, and so switching resolution in my existing screenshot script is just another added bonus.
I’m REALLY glad I found this app. No more having to VPN into one of my Mac minis in order to take non-Retina screen shots.
Источник
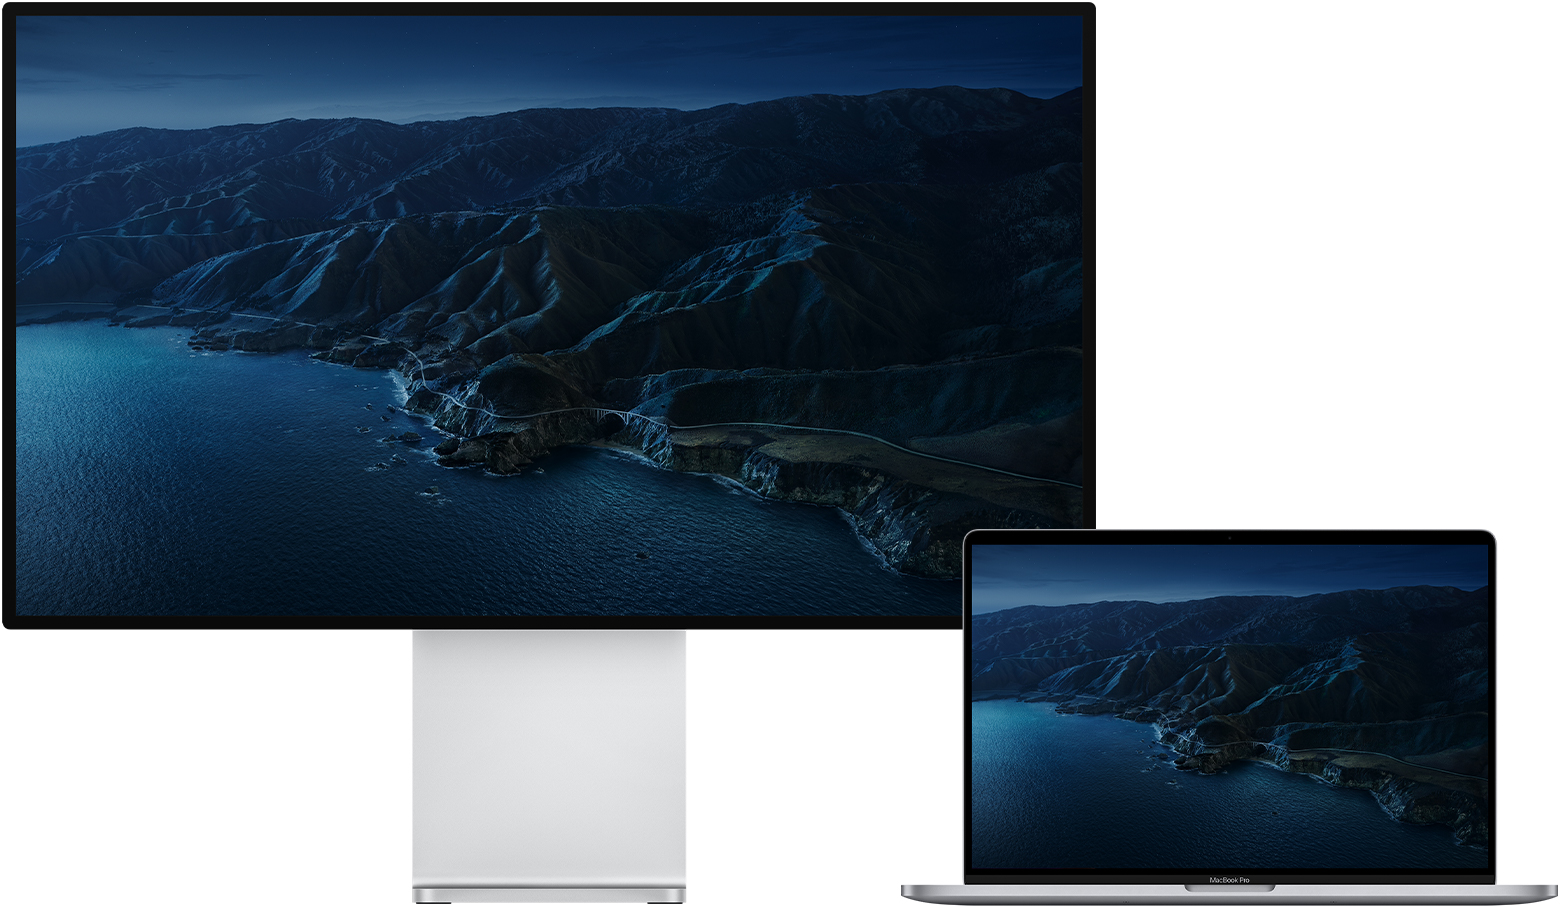
Connect a display to your Mac
Learn how to connect another display to your Mac.
Find out how many displays you can connect
You can connect one or more external displays depending on your Mac model. To find out how many external displays your Mac supports, check its technical specifications page:
- Choose Apple menu > About This Mac, double-click your serial number, then press Command-C to copy it.
- Go to the Tech Specs page, click the Search Tech Specs bar, press Command-V to enter your computer’s serial number, then click Search.
- Click the specs page for your Mac. The number of displays your Mac supports appears under Video Support or Graphics.
If you’re using a Mac with Apple silicon:
- You can connect one external display to your Mac using either of the Thunderbolt / USB 4 ports. On iMac and Mac mini, connect your display to either of the ports with the Thunderbolt symbol .
- On Mac mini (M1, 2020), you can connect a second display to the HDMI port.
- Using docks or daisy chaining devices doesn’t increase the number of displays you can connect.
Connect your display
Connect your display to power, then connect your display to your Mac. Check the ports on your Mac to find out whether you need an adapter.
If you use an external keyboard and mouse with your Mac notebook, you can close the built-in display after you connect your external display. You might have to press a key or click your mouse to wake the external display.
If your external display doesn’t turn on after you connect it to your Mac, connect your display while your Mac is off, then wake or turn on your Mac.
Use AirPlay
If you have an Apple TV or an AirPlay 2–enabled smart TV, you can use your TV as a separate display for your Mac. Learn how to use AirPlay to mirror or extend your Mac display.
Источник


