- File locking in Linux
- Introduction
- Advisory locking
- Common features
- Differing features
- File descriptors and i-nodes
- BSD locks (flock)
- POSIX record locks (fcntl)
- lockf function
- Open file description locks (fcntl)
- Emulating Open file description locks
- Test program
- Command-line tools
- Mandatory locking
- Example usage
- Исправление ошибки «Файловая система доступна только для чтения» в Linux
- Способ 1: Настройка прав доступа
- Способ 2: Исправление ошибок через GParted
- Способ 3: Исправление поврежденных блоков
- Способ 4: Форматирование накопителя
- Помогла ли вам эта статья?
- Поделиться статьей в социальных сетях:
- Еще статьи по данной теме:
File locking in Linux
Table of contents
Introduction
File locking is a mutual-exclusion mechanism for files. Linux supports two major kinds of file locks:
- advisory locks
- mandatory locks
Below we discuss all lock types available in POSIX and Linux and provide usage examples.
Advisory locking
Traditionally, locks are advisory in Unix. They work only when a process explicitly acquires and releases locks, and are ignored if a process is not aware of locks.
There are several types of advisory locks available in Linux:
- BSD locks (flock)
- POSIX record locks (fcntl, lockf)
- Open file description locks (fcntl)
All locks except the lockf function are reader-writer locks, i.e. support exclusive and shared modes.
Note that flockfile and friends have nothing to do with the file locks. They manage internal mutex of the FILE object from stdio.
- File Locks, GNU libc manual
- Open File Description Locks, GNU libc manual
- File-private POSIX locks, an LWN article about the predecessor of open file description locks
Common features
The following features are common for locks of all types:
- All locks support blocking and non-blocking operations.
- Locks are allowed only on files, but not directories.
- Locks are automatically removed when the process exits or terminates. It’s guaranteed that if a lock is acquired, the process acquiring the lock is still alive.
Differing features
This table summarizes the difference between the lock types. A more detailed description and usage examples are provided below.
| BSD locks | lockf function | POSIX record locks | Open file description locks | |
|---|---|---|---|---|
| Portability | widely available | POSIX (XSI) | POSIX (base standard) | Linux 3.15+ |
| Associated with | File object | [i-node, pid] pair | [i-node, pid] pair | File object |
| Applying to byte range | no | yes | yes | yes |
| Support exclusive and shared modes | yes | no | yes | yes |
| Atomic mode switch | no | — | yes | yes |
| Works on NFS (Linux) | Linux 2.6.12+ | yes | yes | yes |
File descriptors and i-nodes
A file descriptor is an index in the per-process file descriptor table (in the left of the picture). Each file descriptor table entry contains a reference to a file object, stored in the file table (in the middle of the picture). Each file object contains a reference to an i-node, stored in the i-node table (in the right of the picture).
A file descriptor is just a number that is used to refer a file object from the user space. A file object represents an opened file. It contains things likes current read/write offset, non-blocking flag and another non-persistent state. An i-node represents a filesystem object. It contains things like file meta-information (e.g. owner and permissions) and references to data blocks.
File descriptors created by several open() calls for the same file path point to different file objects, but these file objects point to the same i-node. Duplicated file descriptors created by dup2() or fork() point to the same file object.
A BSD lock and an Open file description lock is associated with a file object, while a POSIX record lock is associated with an [i-node, pid] pair. We’ll discuss it below.
BSD locks (flock)
The simplest and most common file locks are provided by flock(2) .
- not specified in POSIX, but widely available on various Unix systems
- always lock the entire file
- associated with a file object
- do not guarantee atomic switch between the locking modes (exclusive and shared)
- up to Linux 2.6.11, didn’t work on NFS; since Linux 2.6.12, flock() locks on NFS are emulated using fcntl() POSIX record byte-range locks on the entire file (unless the emulation is disabled in the NFS mount options)
The lock acquisition is associated with a file object, i.e.:
- duplicated file descriptors, e.g. created using dup2 or fork , share the lock acquisition;
- independent file descriptors, e.g. created using two open calls (even for the same file), don’t share the lock acquisition;
This means that with BSD locks, threads or processes can’t be synchronized on the same or duplicated file descriptor, but nevertheless, both can be synchronized on independent file descriptors.
flock() doesn’t guarantee atomic mode switch. From the man page:
Converting a lock (shared to exclusive, or vice versa) is not guaranteed to be atomic: the existing lock is first removed, and then a new lock is established. Between these two steps, a pending lock request by another process may be granted, with the result that the conversion either blocks, or fails if LOCK_NB was specified. (This is the original BSD behaviour, and occurs on many other implementations.)
This problem is solved by POSIX record locks and Open file description locks.
POSIX record locks (fcntl)
POSIX record locks, also known as process-associated locks, are provided by fcntl(2) , see “Advisory record locking” section in the man page.
- specified in POSIX (base standard)
- can be applied to a byte range
- associated with an [i-node, pid] pair instead of a file object
- guarantee atomic switch between the locking modes (exclusive and shared)
- work on NFS (on Linux)
The lock acquisition is associated with an [i-node, pid] pair, i.e.:
- file descriptors opened by the same process for the same file share the lock acquisition (even independent file descriptors, e.g. created using two open calls);
- file descriptors opened by different processes don’t share the lock acquisition;
This means that with POSIX record locks, it is possible to synchronize processes, but not threads. All threads belonging to the same process always share the lock acquisition of a file, which means that:
- the lock acquired through some file descriptor by some thread may be released through another file descriptor by another thread;
- when any thread calls close on any descriptor referring to given file, the lock is released for the whole process, even if there are other opened descriptors referring to this file.
This problem is solved by Open file description locks.
lockf function
lockf(3) function is a simplified version of POSIX record locks.
- specified in POSIX (XSI)
- can be applied to a byte range (optionally automatically expanding when data is appended in future)
- associated with an [i-node, pid] pair instead of a file object
- supports only exclusive locks
- works on NFS (on Linux)
Since lockf locks are associated with an [i-node, pid] pair, they have the same problems as POSIX record locks described above.
The interaction between lockf and other types of locks is not specified by POSIX. On Linux, lockf is just a wrapper for POSIX record locks.
Open file description locks (fcntl)
Open file description locks are Linux-specific and combine advantages of the BSD locks and POSIX record locks. They are provided by fcntl(2) , see “Open file description locks (non-POSIX)” section in the man page.
- Linux-specific, not specified in POSIX
- can be applied to a byte range
- associated with a file object
- guarantee atomic switch between the locking modes (exclusive and shared)
- work on NFS (on Linux)
Thus, Open file description locks combine advantages of BSD locks and POSIX record locks: they provide both atomic switch between the locking modes, and the ability to synchronize both threads and processes.
These locks are available since the 3.15 kernel.
The API is the same as for POSIX record locks (see above). It uses struct flock too. The only difference is in fcntl command names:
- F_OFD_SETLK instead of F_SETLK
- F_OFD_SETLKW instead of F_SETLKW
- F_OFD_GETLK instead of F_GETLK
Emulating Open file description locks
What do we have for multithreading and atomicity so far?
- BSD locks allow thread synchronization but don’t allow atomic mode switch.
- POSIX record locks don’t allow thread synchronization but allow atomic mode switch.
- Open file description locks allow both but are available only on recent Linux kernels.
If you need both features but can’t use Open file description locks (e.g. you’re using some embedded system with an outdated Linux kernel), you can emulate them on top of the POSIX record locks.
Here is one possible approach:
Implement your own API for file locks. Ensure that all threads always use this API instead of using fcntl() directly. Ensure that threads never open and close lock-files directly.
In the API, implement a process-wide singleton (shared by all threads) holding all currently acquired locks.
Associate two additional objects with every acquired lock:
Now, you can implement lock operations as follows:
- First, acquire the RW-mutex. If the user requested the shared mode, acquire a read lock. If the user requested the exclusive mode, acquire a write lock.
- Check the counter. If it’s zero, also acquire the file lock using fcntl() .
- Increment the counter.
- Decrement the counter.
- If the counter becomes zero, release the file lock using fcntl() .
- Release the RW-mutex.
This approach makes possible both thread and process synchronization.
Test program
I’ve prepared a small program that helps to learn the behavior of different lock types.
The program starts two threads or processes, both of which wait to acquire the lock, then sleep for one second, and then release the lock. It has three parameters:
lock mode: flock (BSD locks), lockf , fcntl_posix (POSIX record locks), fcntl_linux (Open file description locks)
access mode: same_fd (access lock via the same descriptor), dup_fd (access lock via duplicated descriptors), two_fds (access lock via two descriptors opened independently for the same path)
concurrency mode: threads (access lock from two threads), processes (access lock from two processes)
Below you can find some examples.
Threads are not serialized if they use BSD locks on duplicated descriptors:
But they are serialized if they are used on two independent descriptors:
Threads are not serialized if they use POSIX record locks on two independent descriptors:
But processes are serialized:
Command-line tools
The following tools may be used to acquire and release file locks from the command line:
Provided by util-linux package. Uses flock() function.
There are two ways to use this tool:
run a command while holding a lock:
flock will acquire the lock, run the command, and release the lock.
open a file descriptor in bash and use flock to acquire and release the lock manually:
You can try to run these two snippets in parallel in different terminals and see that while one is sleeping while holding the lock, another is blocked in flock.
Provided by procmail package.
Runs the given command while holding a lock. Can use either flock() , lockf() , or fcntl() function, depending on what’s available on the system.
There are also two ways to inspect the currently acquired locks:
Provided by util-linux package.
Lists all the currently held file locks in the entire system. Allows to perform filtering by PID and to configure the output format.
A file in procfs virtual file system that shows current file locks of all types. The lslocks tools relies on this file.
Mandatory locking
Linux has limited support for mandatory file locking. See the “Mandatory locking” section in the fcntl(2) man page.
A mandatory lock is activated for a file when all of these conditions are met:
- The partition was mounted with the mand option.
- The set-group-ID bit is on and group-execute bit is off for the file.
- A POSIX record lock is acquired.
Note that the set-group-ID bit has its regular meaning of elevating privileges when the group-execute bit is on and a special meaning of enabling mandatory locking when the group-execute bit is off.
When a mandatory lock is activated, it affects regular system calls on the file:
When an exclusive or shared lock is acquired, all system calls that modify the file (e.g. open() and truncate() ) are blocked until the lock is released.
When an exclusive lock is acquired, all system calls that read from the file (e.g. read() ) are blocked until the lock is released.
However, the documentation mentions that current implementation is not reliable, in particular:
- races are possible when locks are acquired concurrently with read() or write()
- races are possible when using mmap()
Since mandatory locks are not allowed for directories and are ignored by unlink() and rename() calls, you can’t prevent file deletion or renaming using these locks.
Example usage
Below you can find a usage example of mandatory locking.
Mount the partition and create a file with the mandatory locking enabled:
Acquire a lock in the first terminal:
Try to read the file in the second terminal:
Источник
Исправление ошибки «Файловая система доступна только для чтения» в Linux
Способ 1: Настройка прав доступа
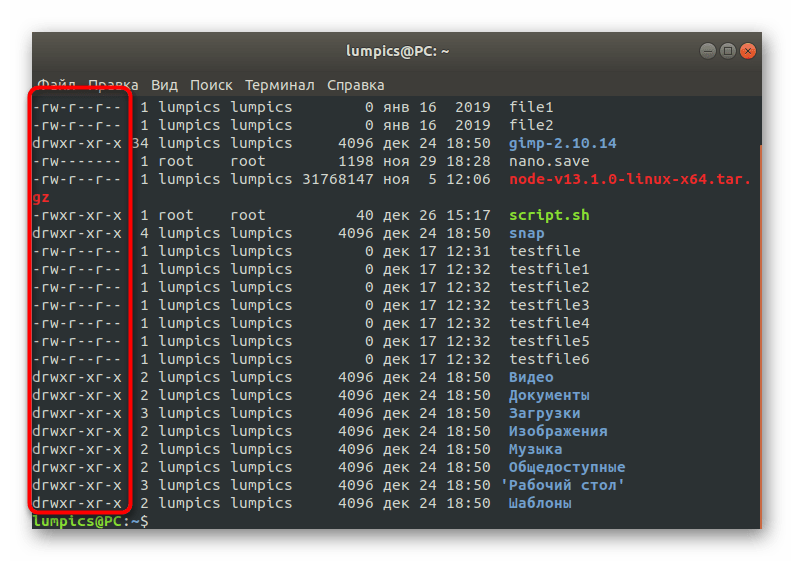
Первый способ исправления ошибки «Файловая система доступна только для чтения» в Linux заключается в проверке прав доступа. Иногда пользователь случайно или намерено устанавливает ограничения, которые распространяются и на других юзеров. Для начала предлагаем проверить атрибуты, а затем внести изменения, если это требуется.
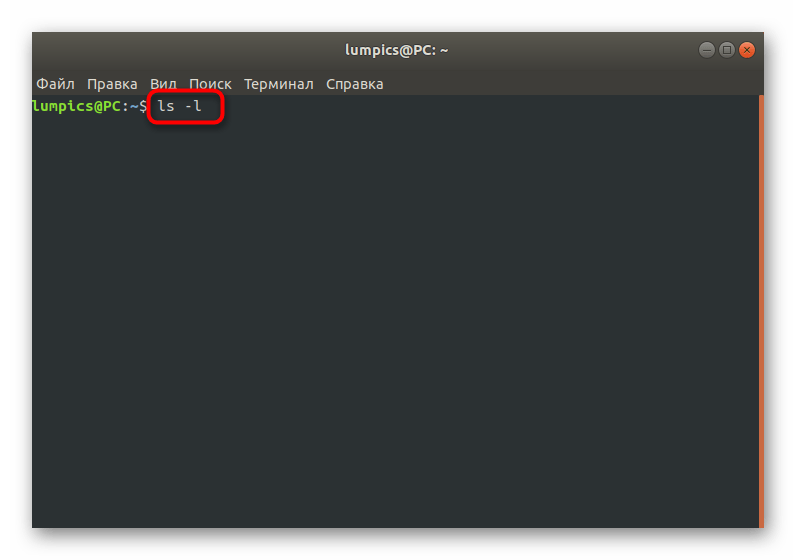
- Запустите консоль удобным для вас методом. Для этого можно использовать соответствующий значок в меню приложений или горячую клавишу Ctrl + Alt + T.
Здесь введите команду ls -l , чтобы просмотреть весь список дисков с подробной информацией, среди которой будет находиться и необходимая нам.
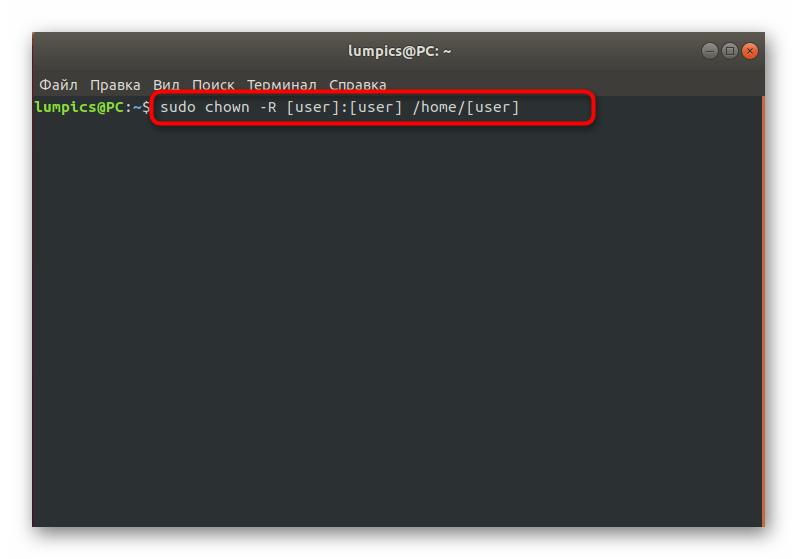
Если проблема действительно связана с указанными атрибутами, придется перенастроить права. Введите команду sudo chown -R [user]:[user] /home/[user] , заменив user на имя нужного пользователя, к которому и будут применены все изменения.
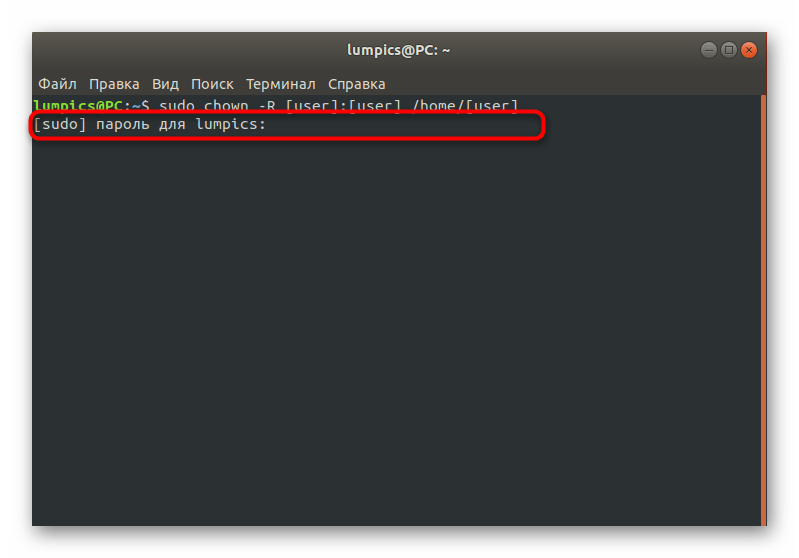
Данное действие осуществляется с опцией sudo, поэтому ее придется подтвердить, указав в новой строке пароль суперпользователя.
После активации команды вы будете уведомлены, что все изменения успешно вступили в силу. Следом рекомендуется перезагрузить ПК и можно приступать к тестированию. Если же при использовании команды ls было обнаружено, что для раздела или носителя установлены все требуемые атрибуты, следует перейти другим решениям возникшей проблемы.
Способ 2: Исправление ошибок через GParted
GParted — одна из самых известных утилит для управления дисками в Linux со встроенным графическим интерфейсом. Ее особенность заключается в наличии множества вспомогательных функций, связанных в том числе и с решением различных ошибок носителей.
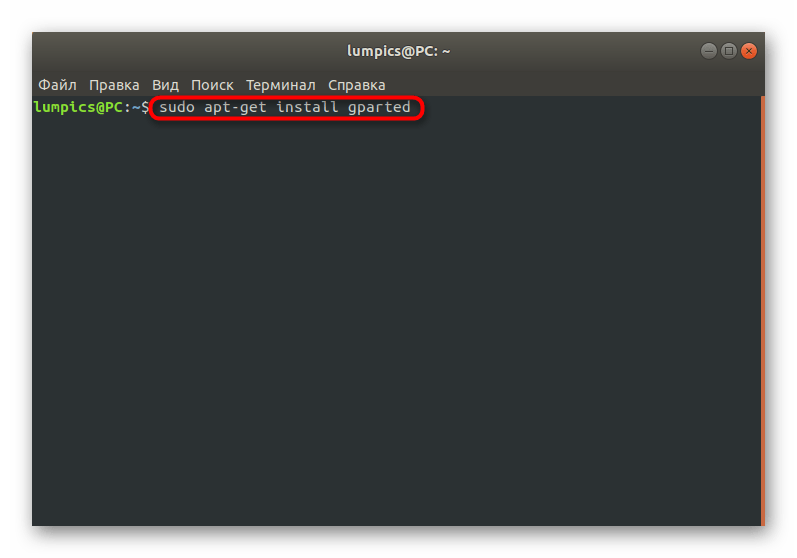
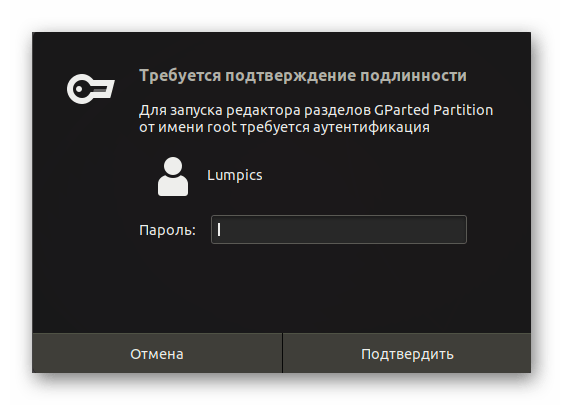
- Если GParted по умолчанию отсутствует в вашем дистрибутиве, установите ее с помощью команды sudo apt-get install gparted . Подтвердите это действие, введя пароль суперпользователя и одобрив скачивание архивов.
После этого утилиту проще всего запустить, нажав на соответствующий значок в меню приложений.
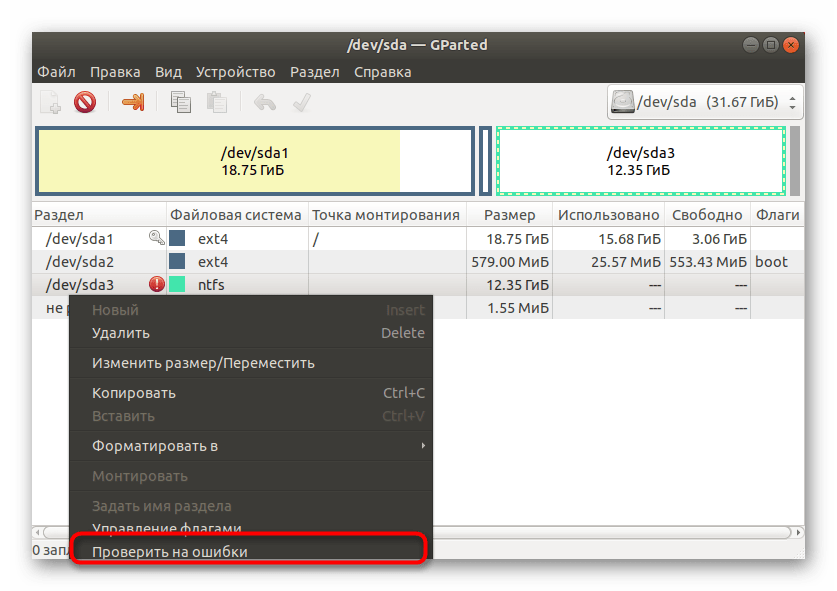
При входе сразу станет понятно, какой из разделов является проблемным, поскольку возле него будет гореть восклицательный знак. Кликните по данной строке правой кнопкой мыши.
В контекстном меню нажмите на «Проверить на ошибки».
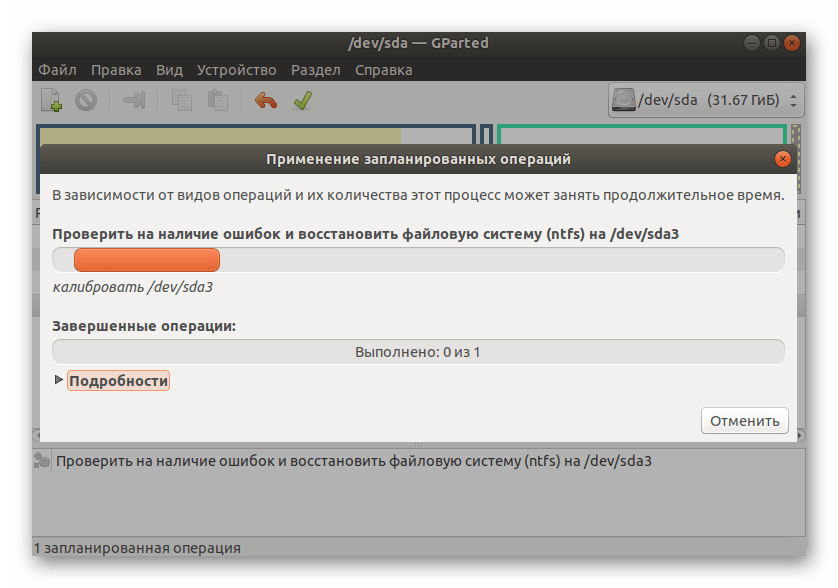
Запустите выполнение операций, щелкнув на кнопку в виде галочки, которая расположена на верхней панели.
Подтвердите запуск проверки.
Осталось только дождаться завершения этого процесса.
Если какие-то неполадки будут найдены и исправлены, вы получите соответствующее уведомление. По окончании проверки следует перезагрузить ПК, чтобы при начале следующего сеанса сразу проверить эффективность выполненных действий. Если они не принесли никакого результата, переходите далее.
Способ 3: Исправление поврежденных блоков
Иногда ошибка со сбойным режимом чтения возникает вследствие повреждения секторов жесткого диска. Существуют специальные утилиты, позволяющие распределить проблемное пространство или исправить его, если это является возможным. В Linux имеется встроенная команда, отвечающая за выполнение этой операции. Мы и предлагаем воспользоваться ей в том случае, если приведенные выше рекомендации не принесли никакого результата.
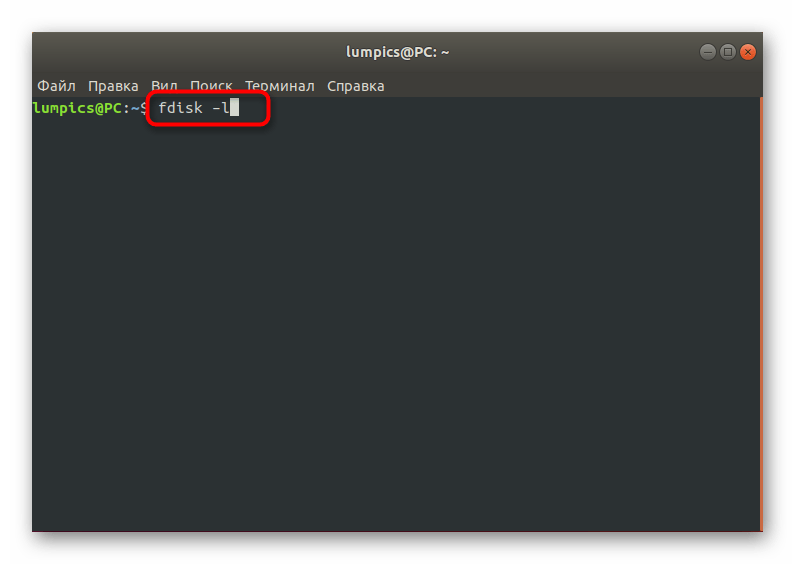
- Для начала просмотрим список дисков, чтобы понять, какой из них следует проверять. Осуществляется это через команду fdisk -l .
В списке отыщите проблемный накопитель, определив его точное название. Далее оно потребуется при активации соответствующей команды для лечения блоков.
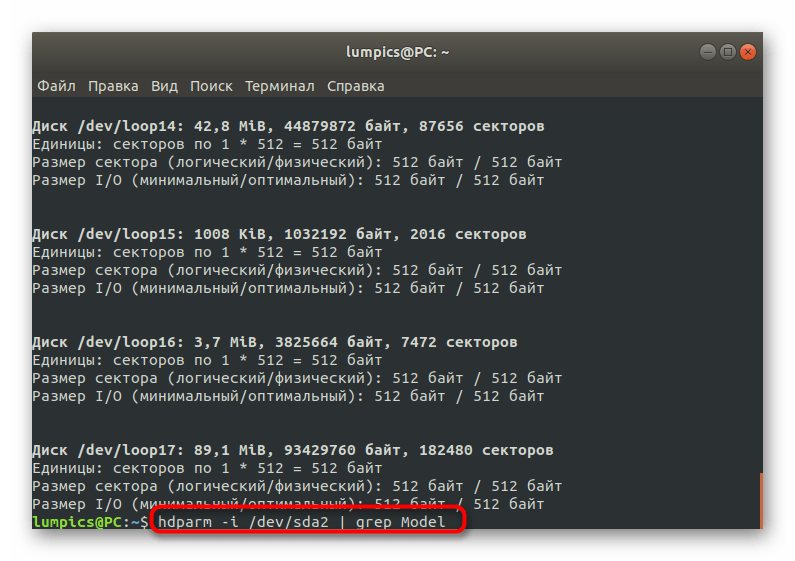
Теперь используйте команду hdparm -i /dev/sda2 | grep Model , чтобы проверить выбранный носитель или логический диск. Здесь замените /dev/sda2 на определенное ранее название.
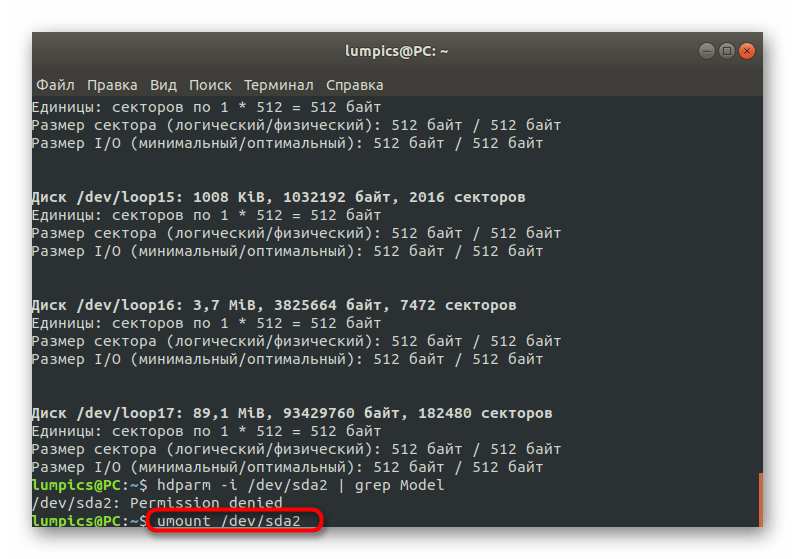
После этого следует отмонтировать диск, чтобы в дальнейшем запустить проверку блоков. Осуществляется это через строку umount /dev/sda2 .
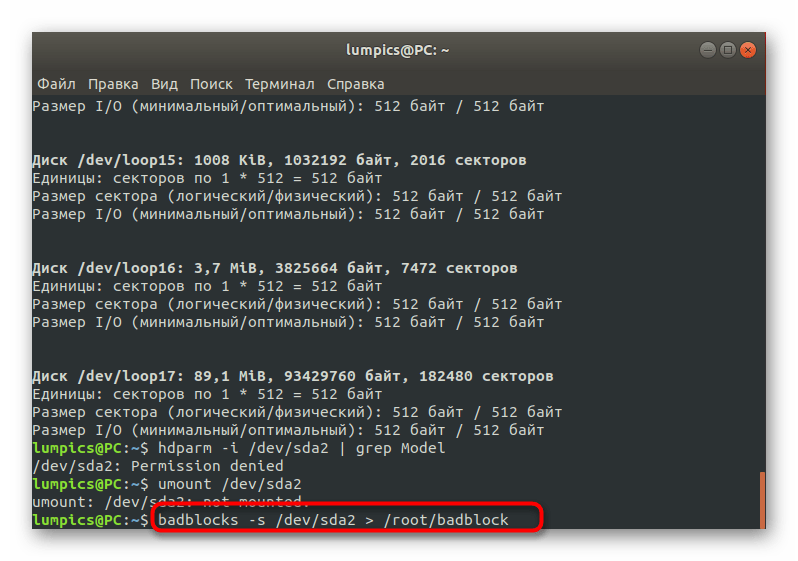
Запустите проверку, вставив команду badblocks -s /dev/sda2 > /root/badblock .
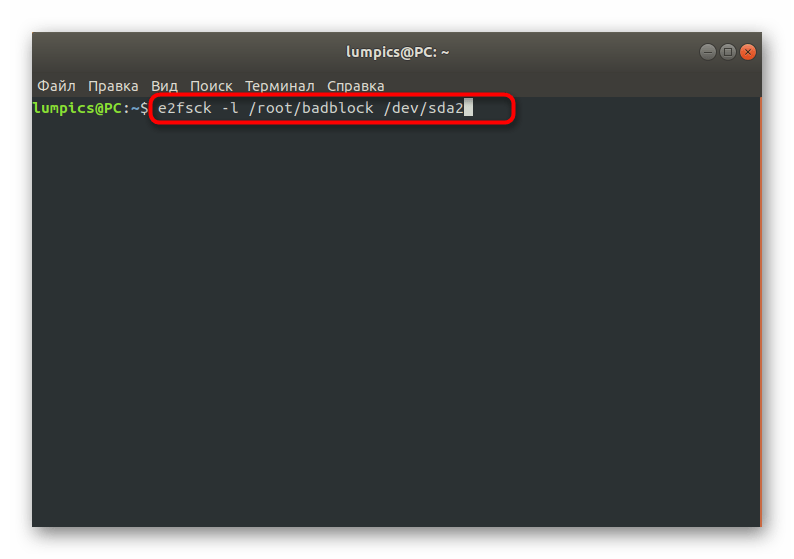
Обнаруженные блоки, которые не подлежат исправлению, требуется отметить, чтобы система перестала их задействовать. Для этого используйте e2fsck -l /root/badblock /dev/sda2 .
Все изменения будут применены сразу же, однако, как обычно, рекомендуется создать новый сеанс операционной системы, чтобы проверить, была ли решена возникшая неполадка с ошибкой «Файловая система доступна только для чтения».
Способ 4: Форматирование накопителя
Последний метод, о котором мы хотим рассказать в рамках сегодняшней статьи, является самым радикальным, поскольку подразумевает полное форматирование накопителя, после будет восстановлено состояние файловой системы. Такой вариант подойдет только в той ситуации, если на диске нет важных файлов и все содержимое можно удалить. Более детальные инструкции по данной теме ищите в отдельном материале на нашем сайте, воспользовавшись указанной далее ссылкой.
Сегодня мы разобрали четыре метода исправления неполадки «Файловая система доступна только для чтения». Осталось найти подходящий только путем перебора, выполняя по порядку все приведенные инструкции. В большинстве случаев хотя бы один из них оказывается действенным и позволяет полностью устранить рассмотренную ошибку.
Помимо этой статьи, на сайте еще 12315 инструкций.
Добавьте сайт Lumpics.ru в закладки (CTRL+D) и мы точно еще пригодимся вам.
Отблагодарите автора, поделитесь статьей в социальных сетях.
Помогла ли вам эта статья?
Поделиться статьей в социальных сетях:
Еще статьи по данной теме:
Вообще ничего открыть не могу!
sudo chown -R [dariasaltykova]:[dariasaltykova] /home/[dariasaltykova]
[sudo] пароль для dariasaltykova:
chown: неверный пользователь: «[dariasaltykova]:[dariasaltykova]»
Вводила 3 раза, все врем не правильно. Имя я правильно написала.
sudo apt-get install gparted
Чтение списков пакетов… Готово
Построение дерева зависимостей
Чтение информации о состоянии… Готово
W: Блокировка не используется, так как файл блокировки /var/lib/dpkg/lock доступен только для чтения
E: Не удалось найти пакет gparted
fdisk -l
fdisk: невозможно открыть /dev/loop0: Отказано в доступе
fdisk: невозможно открыть /dev/loop1: Отказано в доступе
fdisk: невозможно открыть /dev/loop2: Отказано в доступе
fdisk: невозможно открыть /dev/loop3: Отказано в доступе
fdisk: невозможно открыть /dev/loop4: Отказано в доступе
fdisk: невозможно открыть /dev/loop5: Отказано в доступе
fdisk: невозможно открыть /dev/loop6: Отказано в доступе
fdisk: невозможно открыть /dev/loop7: Отказано в доступе
fdisk: невозможно открыть /dev/sda: Отказано в доступе
fdisk: невозможно открыть /dev/loop8: Отказано в доступе
fdisk: невозможно открыть /dev/loop9: Отказано в доступе
fdisk: невозможно открыть /dev/loop10: Отказано в доступе
fdisk: невозможно открыть /dev/loop11: Отказано в доступе
fdisk: невозможно открыть /dev/loop12: Отказано в доступе
fdisk: невозможно открыть /dev/loop13: Отказано в доступе
fdisk: невозможно открыть /dev/loop14: Отказано в доступе
fdisk: невозможно открыть /dev/loop15: Отказано в доступе
Здравствуйте, Дарья. По всей видимости, у вас проблемы именно с учетной записью. Проверьте список учетных записей, чтобы посмотреть, правильно вы вводите название. Можете даже сбросить пароль, задав его повторно, а также проверьте во время этого раскладку клавиатуры.
Источник


