- Use your iMac as a display with target display mode
- iMac models introduced in 2011, 2012, 2013, and mid 2014
- 24-inch and 27-inch iMac models introduced in 2009 and 2010
- How to use target display mode
- Control brightness and sound
- If target display mode doesn’t work
- Learn more
- Move your Photos library to save space on your Mac
- Prepare your storage device
- Move Photos Library to the storage device
- If you want to open a different Photos library
- If you get an error when moving Photos Library
- Connect a display to your Mac
- Find out how many displays you can connect
- Connect your display
- Use AirPlay
- Free up storage space on your Mac
- Find out how much storage is available on your Mac
- Manage storage on your Mac
- Store in iCloud
- Optimize Storage
- Empty Trash Automatically
- Reduce Clutter
- Where to find the settings for each feature
- Other ways that macOS helps automatically save space
- How to free up storage space manually
Use your iMac as a display with target display mode
Target display mode is a feature available with certain older Mac models.
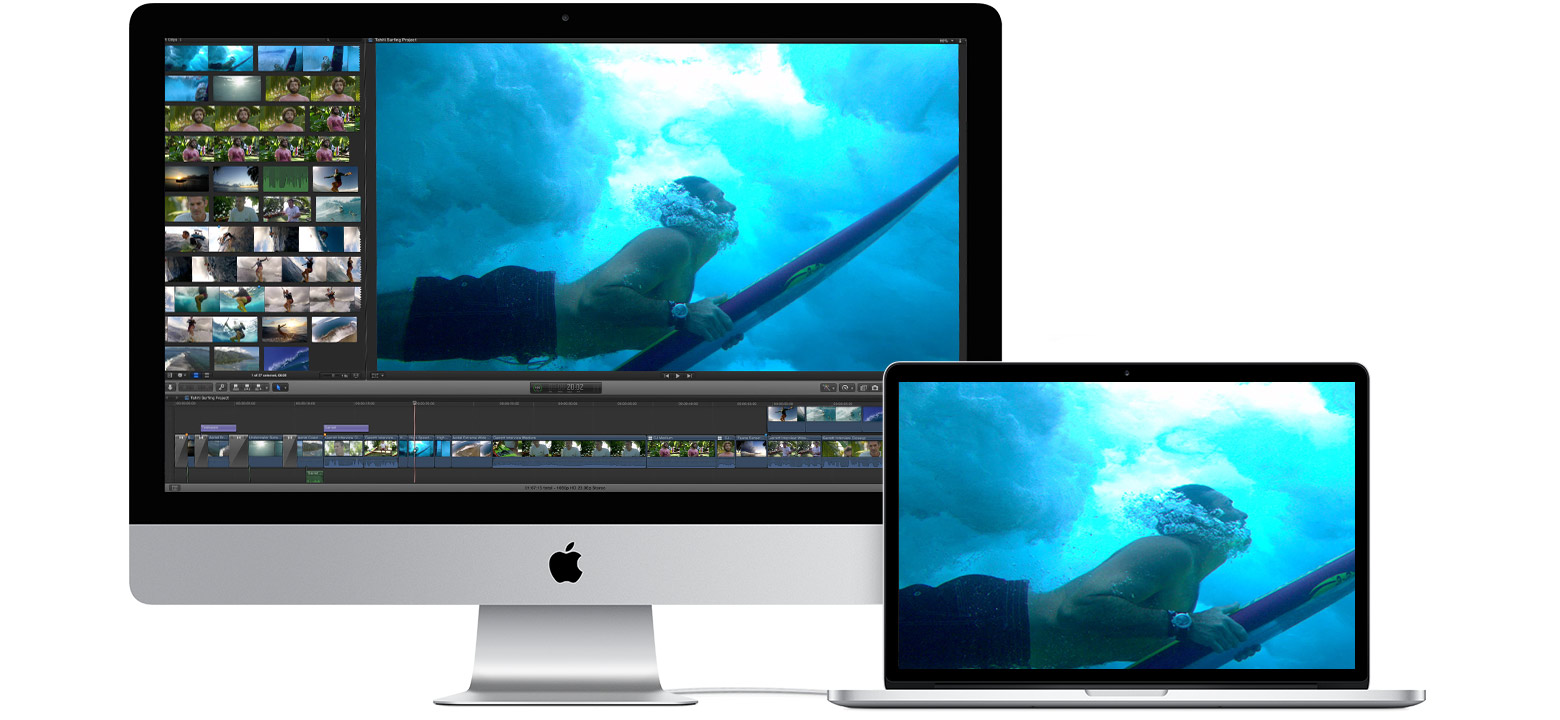
The following older iMac models can be used as an external display when plugged into another older Mac model.
iMac models introduced in 2011, 2012, 2013, and mid 2014
To use any of these iMac models as an external display:
- The iMac used as a display must have macOS High Sierra or earlier installed.
- The other Mac that you’re connecting it to must have been introduced in 2019 or earlier and have macOS Catalina or earlier installed.
- The cable connecting the two Mac computers must be a Thunderbolt or Thunderbolt 2 cable.
24-inch and 27-inch iMac models introduced in 2009 and 2010
To use any of these iMac models as an external display:
- The iMac used as a display must have macOS High Sierra or earlier installed.
- The other Mac that you’re connecting it to must have been introduced in 2019 or earlier and have macOS Catalina or earlier installed.
- The cable connecting the two Mac computers must be a Mini DisplayPort cable.
How to use target display mode
- Make sure that your iMac is started up and meets the system requirements above.
- Make sure that the other Mac is started up and logged in to a macOS user account.
- Connect the two computers using the appropriate Mini DisplayPort or Thunderbolt cable.
You can use more than one iMac as a display, if each iMac is using a Thunderbolt cable to connect directly to a Thunderbolt port on the other Mac (not the other iMac). - Press Command-F2 on the keyboard of the iMac. You should now see the desktop of the other Mac.
- To exit target display mode, press Command-F2 again. Or disconnect the cable, or restart either Mac.
Apps that were open on your iMac when entering target display mode remain open in target display mode. For example, if you begin playing music on your iMac and then enter target display mode, the music doesn’t pause on your iMac.
The other Mac can’t use the iMac computer’s built-in camera or ports. To use external devices with your other Mac, connect them directly to the other Mac, not to your iMac.
Control brightness and sound
If you want to use the built-in speakers of your iMac to play audio from the other Mac:
- Choose Apple menu > System Preferences, click Sound, then click Output.
- Select the iMac as the device for sound output.
You can then use the sound and media keys on the keyboard of the other Mac to adjust volume and control media playback.
To control the brightness of the iMac display while it’s in target display mode, use Displays preferences on the other Mac, or the brightness keys on the keyboard of the other Mac.

If target display mode doesn’t work
If your iMac doesn’t show the desktop of your other Mac, try these steps first:
- Restart your iMac.
- Restart the other Mac.
- Unplug the Thunderbolt or Mini DisplayPort cable from the other Mac, then plug it back in.
- Press Command-F2 on the iMac.
If that doesn’t work, try these other solutions:
- If you’re currently logged in to the iMac that you want to use as a display, choose Apple menu > Log Out to return to the login window. Then press Command-F2 again.
- Choose Apple menu > System Preferences, then click Keyboard. If ”Use F1, F2, etc. keys as standard function keys” is selected, target display mode uses Command-Fn-F2 instead of Command-F2. It might also help to use the keyboard that came with your iMac. Some third-party keyboards and older Apple keyboards don’t support target display mode.
- Make sure that your iMac is using macOS High Sierra 10.13.6 or earlier. You can’t use target display mode with later versions of macOS, or with Boot Camp and Windows.
Learn more
Information about products not manufactured by Apple, or independent websites not controlled or tested by Apple, is provided without recommendation or endorsement. Apple assumes no responsibility with regard to the selection, performance, or use of third-party websites or products. Apple makes no representations regarding third-party website accuracy or reliability. Contact the vendor for additional information.
Источник
Move your Photos library to save space on your Mac
To save storage space on your Mac, you can move your Photos library to a different storage device.
Prepare your storage device
Make sure that your external storage device, such as a USB drive or Thunderbolt drive, is formatted for Mac: either APFS format or Mac OS Extended (Journaled) format.
You can’t store your library on a storage device used for Time Machine backups. And to avoid possible data loss, don’t store your library on a removable storage device like an SD card or USB flash drive, or on a device shared over your network or the internet, including over a cloud-based storage service.
Move Photos Library to the storage device
- Quit Photos.
- In the Finder, open the folder that contains Photos Library. By default, Photos Library is stored in the Pictures folder of your home folder. You can open your home folder by choosing Go > Home from the Finder menu bar.
- Drag Photos Library to a location on your external storage device. Learn what to do if you get an error.
- After the move is finished, double-click Photos Library in its new location to open it.
- If you use iCloud Photos, designate this library as the System Photo Library.
If you want to delete the original Photos Library to save storage space on your Mac, you can drag it from its original location (the Pictures folder of your home folder) to the Trash. Then empty the Trash.
Always make sure that your storage device is turned on and available before opening Photos. If Photos can’t find the device, it stops using the Photos library stored there.
If you want to open a different Photos library
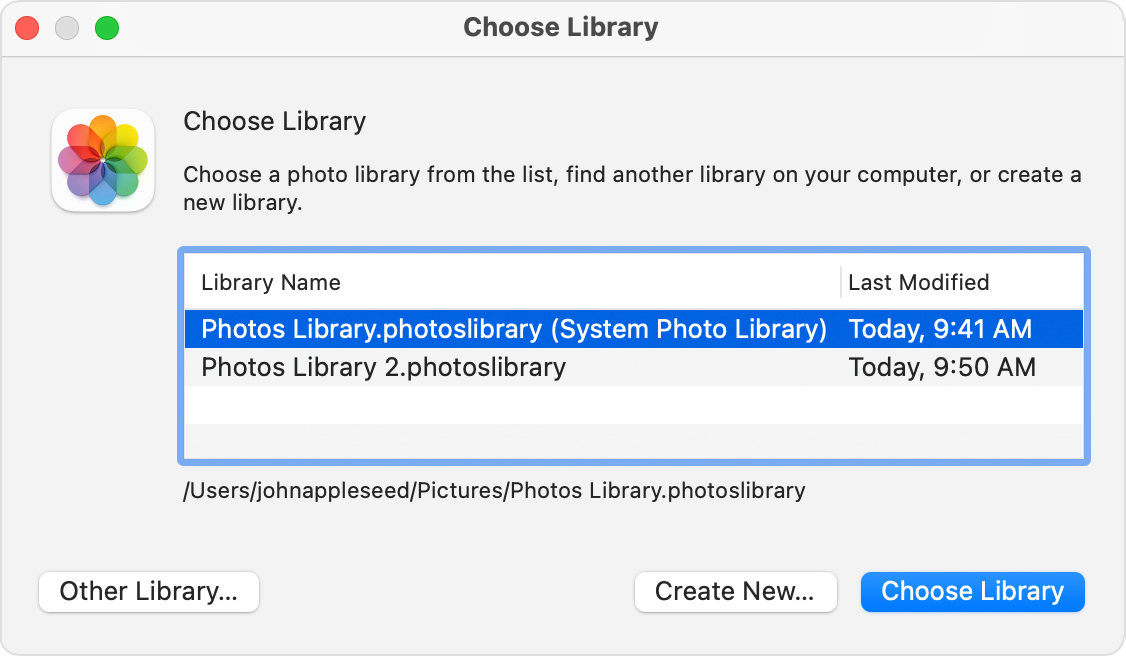
- Quit Photos.
- Press and hold the Option key while you open Photos.
- Select the library that you want to open, then click Choose Library. Photos uses this library until you open a different one.
If you get an error when moving Photos Library
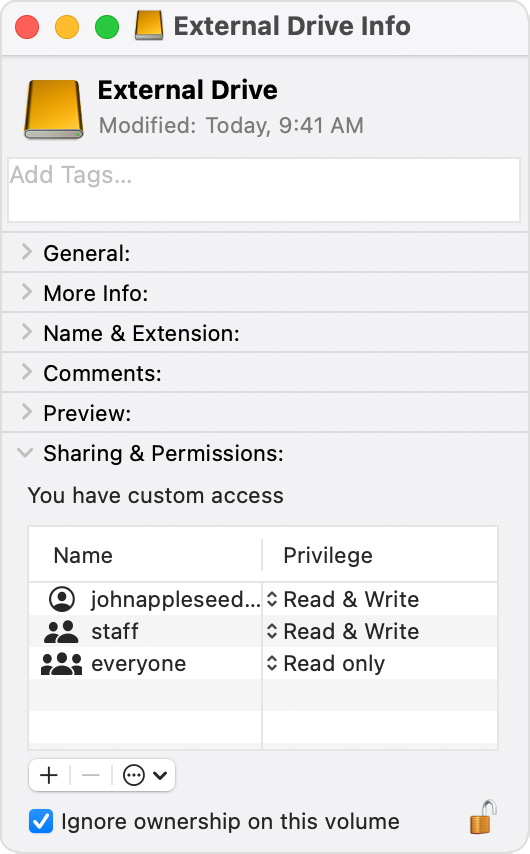
- Select your external storage device in the Finder, then choose File > Get Info.
- If the information under Sharing & Permissions isn’t visible, click the triangle to see more.

- Make sure that the “Ignore ownership on this volume” checkbox is selected. To change it, you might first have to click the lock button to unlock the setting. If the storage device isn’t formatted correctly for Mac, or was used for Time Machine backups but hasn’t been erased, this checkbox won’t be present or won’t be selectable after unlocking. In that case, erase the storage device first.
 to unlock the setting. If the storage device isn’t formatted correctly for Mac, or was used for Time Machine backups but hasn’t been erased, this checkbox won’t be present or won’t be selectable after unlocking. In that case, erase the storage device first.
If you have some other permissions issue with your library, you might be able to resolve the issue with the Photos Library repair tool.
Источник
Connect a display to your Mac
Learn how to connect another display to your Mac.
Find out how many displays you can connect
You can connect one or more external displays depending on your Mac model. To find out how many external displays your Mac supports, check its technical specifications page:
- Choose Apple menu > About This Mac, double-click your serial number, then press Command-C to copy it.
- Go to the Tech Specs page, click the Search Tech Specs bar, press Command-V to enter your computer’s serial number, then click Search.
- Click the specs page for your Mac. The number of displays your Mac supports appears under Video Support or Graphics.
If you’re using a Mac with Apple silicon:
- You can connect one external display to your Mac using either of the Thunderbolt / USB 4 ports. On iMac and Mac mini, connect your display to either of the ports with the Thunderbolt symbol .
- On Mac mini (M1, 2020), you can connect a second display to the HDMI port.
- Using docks or daisy chaining devices doesn’t increase the number of displays you can connect.
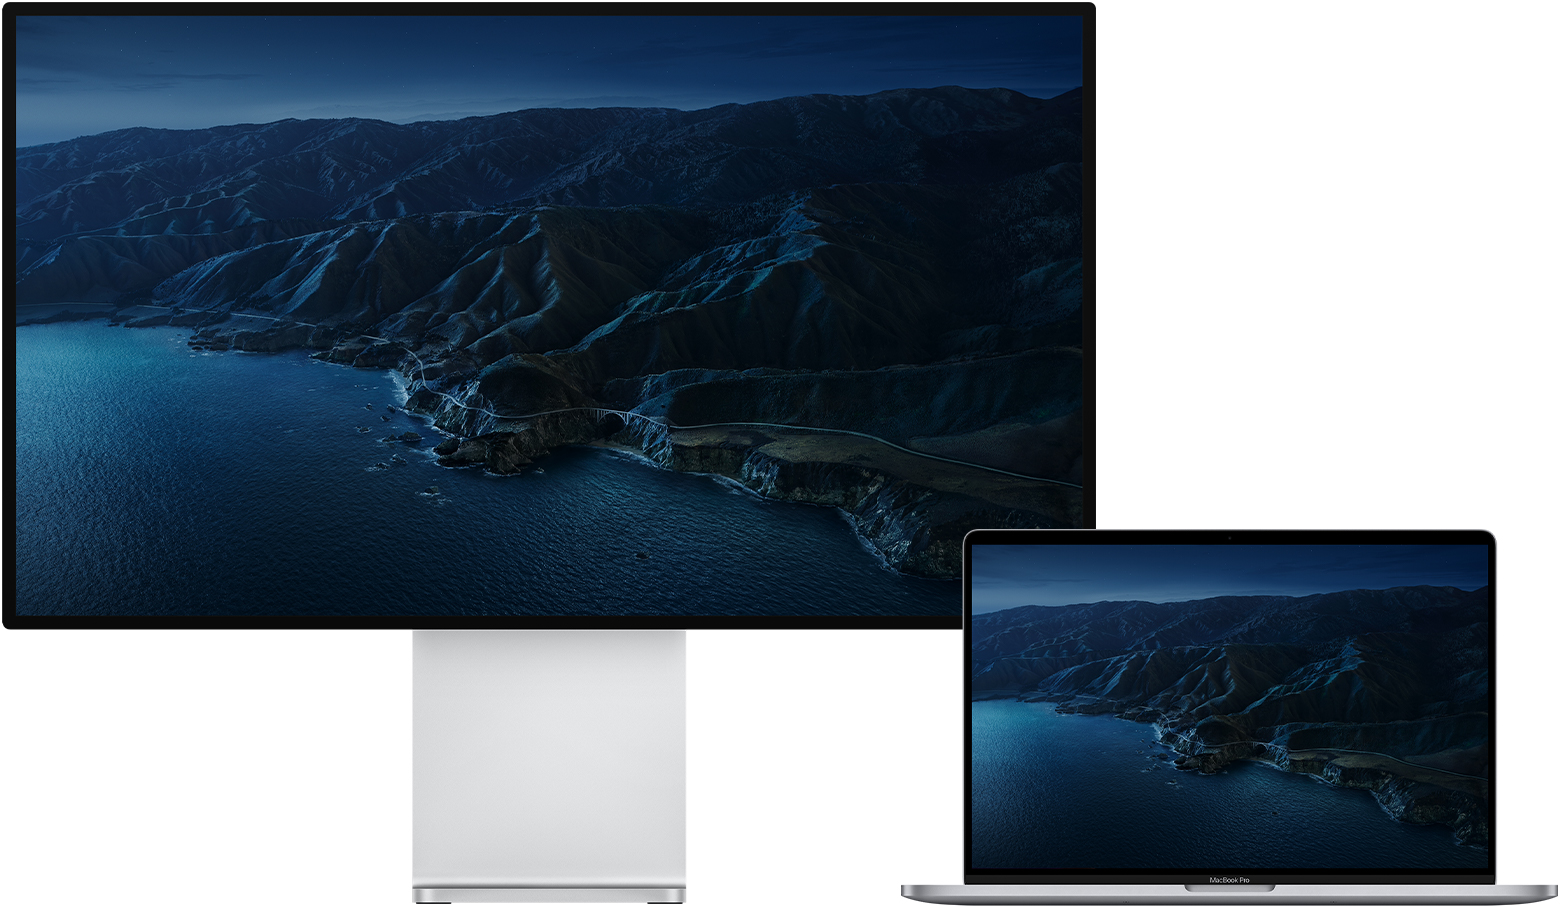
Connect your display
Connect your display to power, then connect your display to your Mac. Check the ports on your Mac to find out whether you need an adapter.
If you use an external keyboard and mouse with your Mac notebook, you can close the built-in display after you connect your external display. You might have to press a key or click your mouse to wake the external display.
If your external display doesn’t turn on after you connect it to your Mac, connect your display while your Mac is off, then wake or turn on your Mac.
Use AirPlay
If you have an Apple TV or an AirPlay 2–enabled smart TV, you can use your TV as a separate display for your Mac. Learn how to use AirPlay to mirror or extend your Mac display.
Источник
Free up storage space on your Mac
Save space by storing your content in iCloud or using built-in tools to find and remove large or unneeded files.
The Optimized Storage features of your Mac help you save storage space by storing your content in iCloud and making it available on demand:
- When storage space is needed, files, photos, movies, email attachments, and other files that you seldom use are stored in iCloud automatically.
- Each file stays right where you last saved it, and downloads when you open it.
- Files that you’ve used recently remain on your Mac, along with optimized versions of your photos.
If you haven’t yet upgraded to macOS Sierra or later, learn about other ways to free up storage space.
Find out how much storage is available on your Mac
Choose Apple menu > About This Mac, then click Storage. Each segment of the bar is an estimate of the storage space used by a category of files. Move your pointer over each segment for more detail.
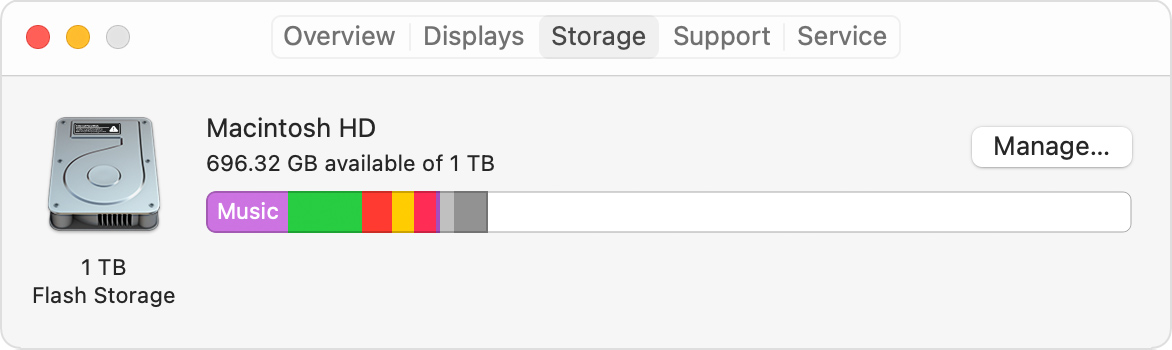
Click the Manage button to open the Storage Management window, pictured below.
Manage storage on your Mac
The Storage Management window offers recommendations for optimizing your storage. If some recommendations are already turned on, you will see fewer recommendations.
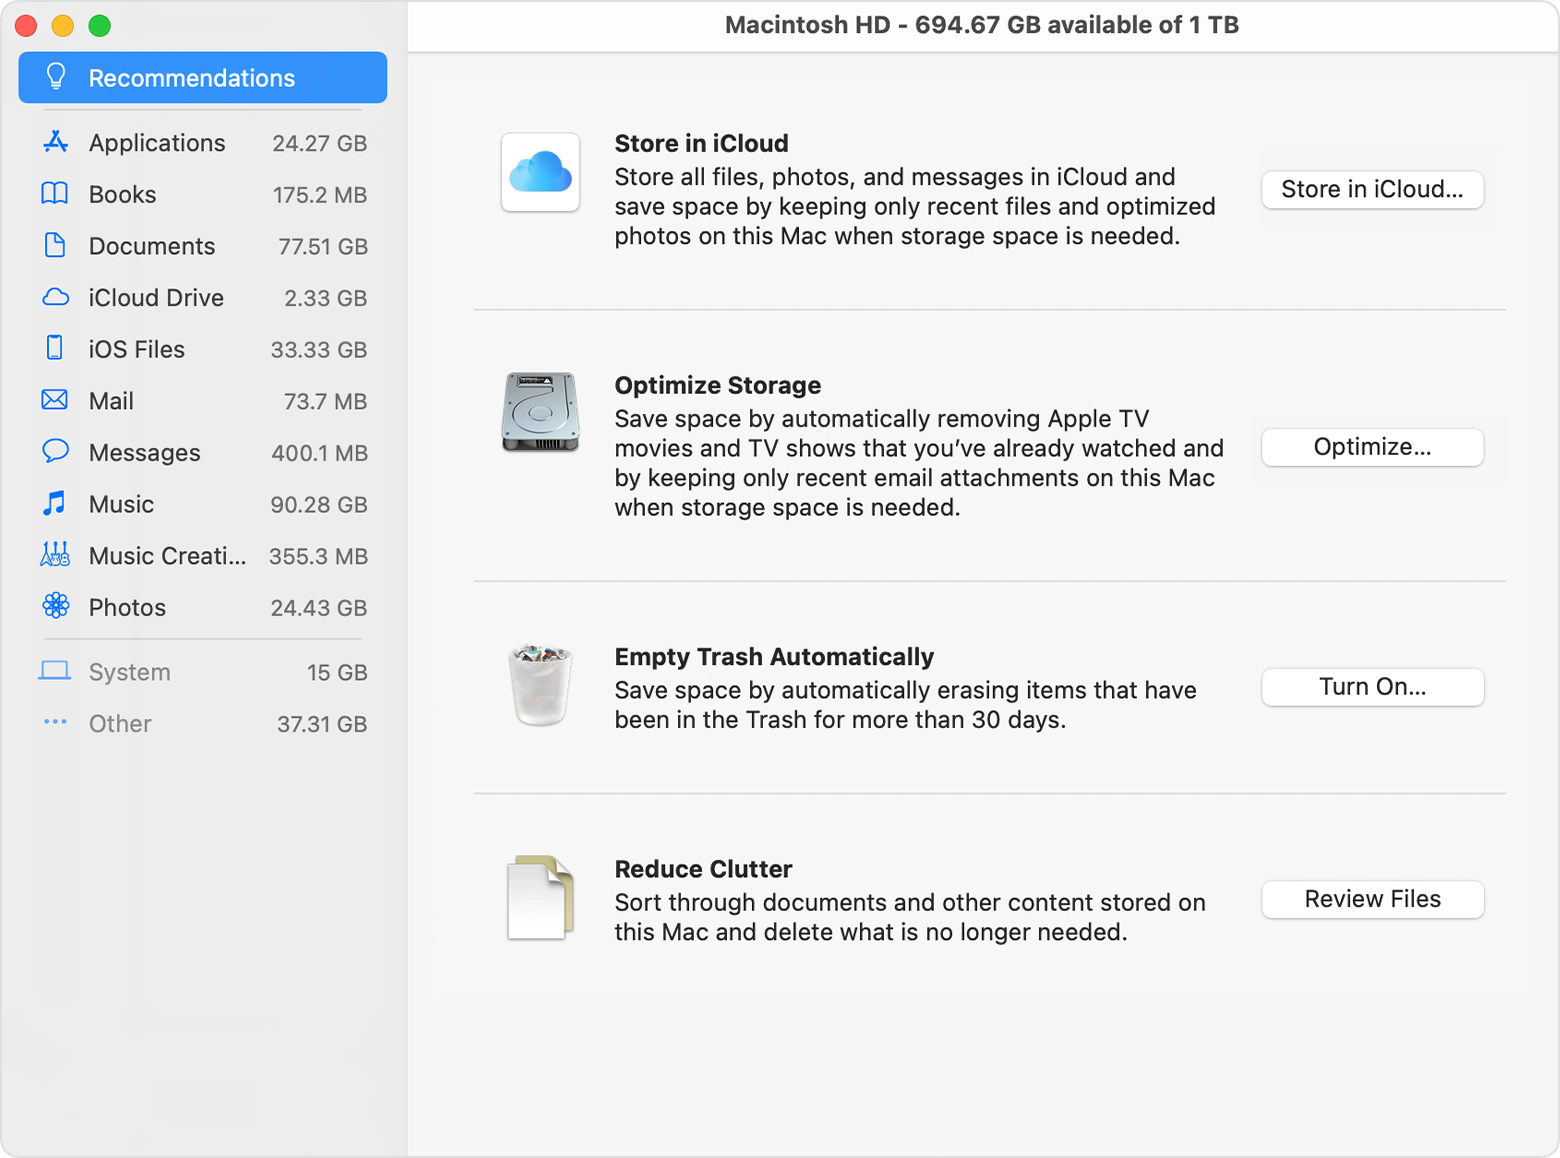
Store in iCloud
Click the Store in iCloud button, then choose from these options:
- Desktop and Documents. Store all files from these two locations in iCloud Drive. When storage space is needed, only the files you recently opened are kept on your Mac, so that you can easily work offline. Files stored only in iCloud show a download icon , which you can double-click to download the original file. Learn more about this feature.
- Photos. Store all original, full-resolution photos and videos in iCloud Photos. When storage space is needed, only space-saving (optimized) versions of photos are kept on your Mac. To download the original photo or video, just open it.
- Messages. Store all messages and attachments in iCloud. When storage space is needed, only the messages and attachments you recently opened are kept on your Mac. Learn more about Messages in iCloud.
Storing files in iCloud uses the storage space in your iCloud storage plan. If you reach or exceed your iCloud storage limit, you can either buy more iCloud storage or make more iCloud storage available. iCloud storage starts at 50GB for $0.99 (USD) a month, and you can purchase additional storage directly from your Apple device. Learn more about prices in your region.
Optimize Storage
Click the Optimize button to save space by automatically removing watched movies and TV shows. When storage space is needed, movies or TV shows that you purchased from Apple and already watched are removed from your Mac. Click the download icon next to a movie or TV show to download it again.
Your Mac will also save space by keeping only recent email attachments on this Mac when storage space is needed. You can manually download any attachments at any time by opening the email or attachment, or saving the attachment to your Mac.
Optimizing storage for movies, TV shows, and email attachments doesn’t require iCloud storage space.
Empty Trash Automatically
Empty Trash Automatically permanently deletes files that have been in the Trash for more than 30 days.
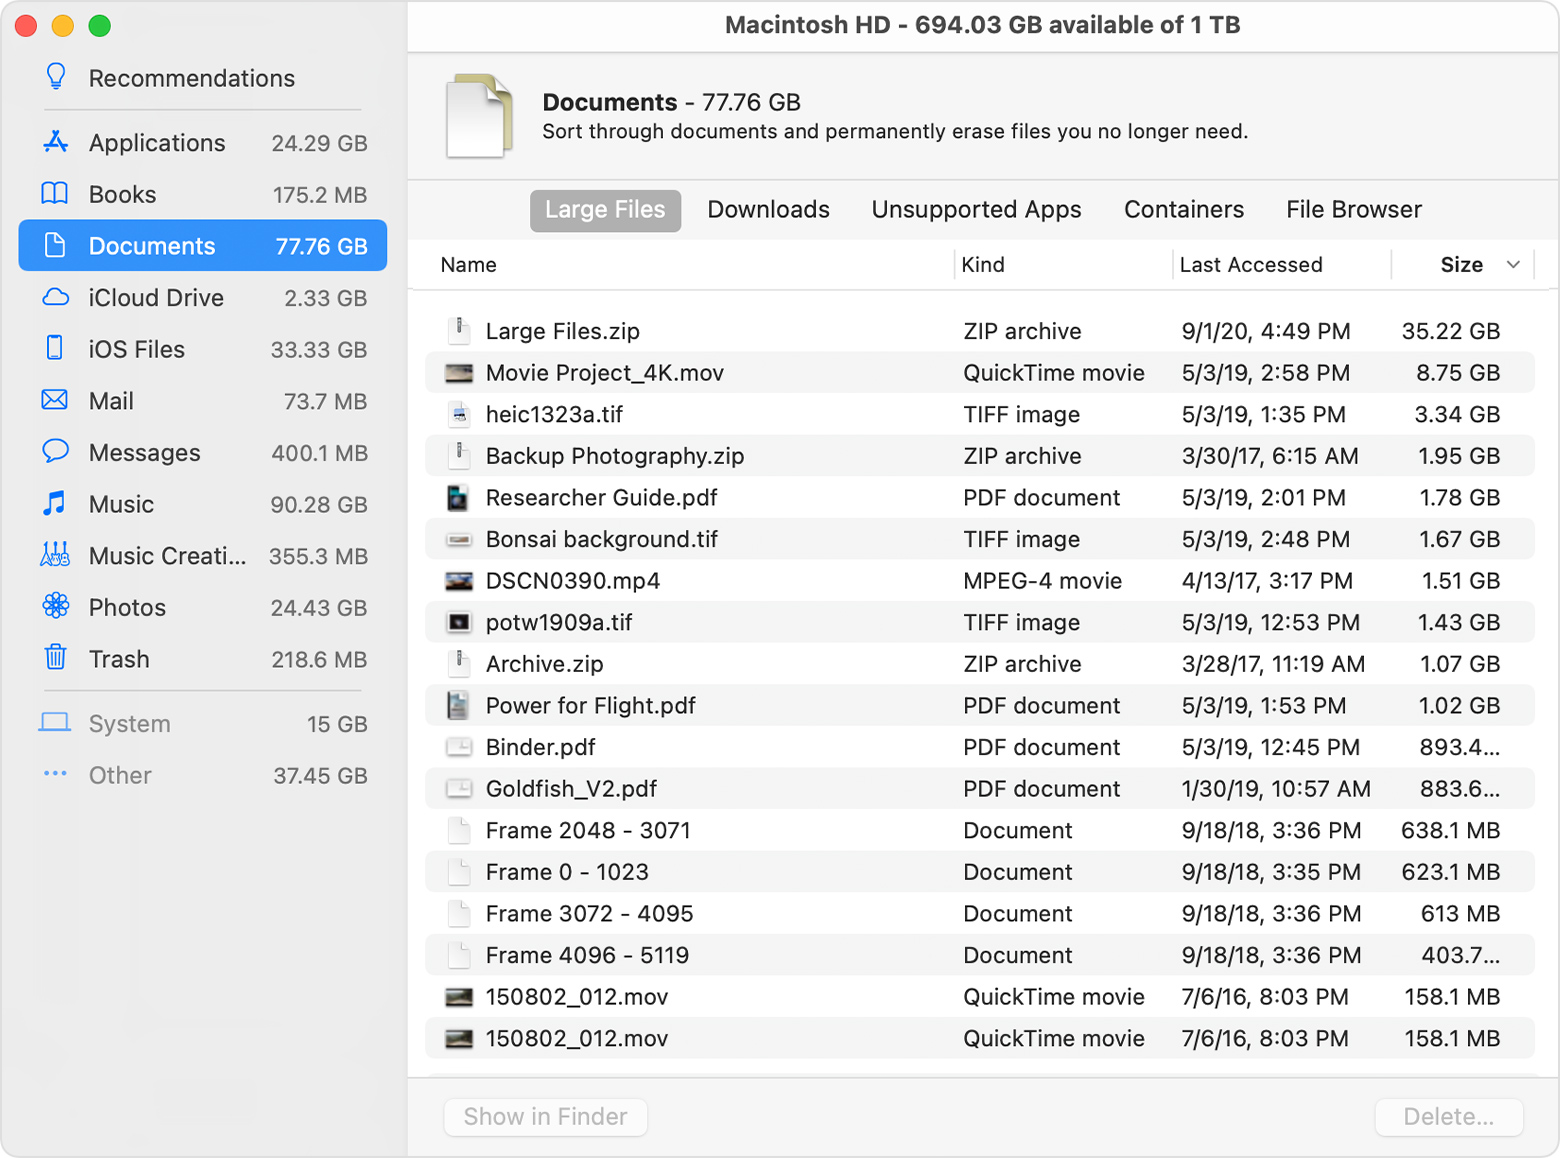
Reduce Clutter
Reduce Clutter helps you identify large files and files you might no longer need. Click the Review Files button, then choose any of the file categories in the sidebar, such as Applications, Documents, Music Creation, or Trash.
You can delete the files in some categories directly from this window. Other categories show the total storage space used by the files in each app. You can then open the app and decide whether to delete files from within it.
Where to find the settings for each feature
The button for each recommendation in the Storage Management window affects one or more settings in other apps. You can also control those settings directly within each app.
- If you’re using macOS Catalina or later, choose Apple menu > System Preferences, click Apple ID, then select iCloud in the sidebar: Store in iCloud turns on the Optimize Mac Storage setting on the right. To turn off iCloud Drive entirely, deselect iCloud Drive.
- If you’re using macOS Mojave or earlier, choose Apple menu > System Preferences, click iCloud, then click Options next to iCloud Drive. Store in iCloud turns on the Desktop & Documents Folders and Optimize Mac Storage settings.
- In Photos, choose Photos > Preferences, then click iCloud. Store in iCloud selects iCloud Photos and Optimize Mac Storage.
- In Messages, choose Messages > Preferences, then click iMessage. Store in iCloud selects Enable Messages in iCloud.
- If you’re using macOS Catalina or later, open the Apple TV app, choose TV > Preferences from the menu bar, then click Files. Optimize Storage selects “Automatically delete watched movies and TV shows.”
- In you’re using macOS Mojave or earlier, open iTunes, choose iTunes > Preferences from the menu bar, then click Advanced. Optimize Storage selects “Automatically delete watched movies and TV shows.”
- In Mail, choose Mail > Preferences from the menu bar, then click Accounts. In the Account Information section on the right, Optimize Storage sets the Download Attachments menu to either Recent or None.
Empty Trash Automatically: From the Finder, choose Finder > Preferences, then click Advanced. Empty Trash Automatically selects “Remove items from the Trash after 30 days.”
Other ways that macOS helps automatically save space
With macOS Sierra or later, your Mac automatically takes these additional steps to save storage space:
- Detects duplicate downloads in Safari, keeping only the most recent version of the download
- Reminds you to delete used app installers
- Removes old fonts, languages, and dictionaries that aren’t being used
- Clears caches, logs, and other unnecessary data when storage space is needed
How to free up storage space manually
Even without using the Optimized Storage features described in this article, you can take other steps to make more storage space available:
- Music, movies, and other media can use a lot of storage space. Learn how to delete music, movies, and TV shows from your device.
- Delete other files that you no longer need by moving them to the Trash, then emptying the Trash. The Downloads folder is good place to look for files that you might no longer need.
- Move files to an external storage device.
- Compress files.
- Delete unneeded email: In the Mail app, choose Mailbox > Erase Junk Mail. If you no longer need the email in your Trash mailbox, choose Mailbox > Erase Deleted Items.
Источник


