Как установить wifi драйвер в Linux?
Чаще всего в Linux не требуется устанавливать никаких дополнительных драйверов, как это принято в Windows, так как они обычно уже встроены в ядро системы.
Но всё же бывают ситуации, когда на какое-то новое или специфическое оборудование драйвера отсутствуют. Или они есть, но очень кривые.
Нету драйвера wi-if под Linux? Как включить wi-fi на Linux?
С такой ситуацией недавно столкнулся и я. На моём стационарном компьютере нет PCI WI-FI карты, но у меня есть USB WIFI брелок фирмы TP-Link TL-WN723N .
В принципе, он определяется моей системой Ubuntu 12.04 и сеть ловит. Но через несколько минут сеть рвётся и поймать её потом так же сложно, как неуловимого Джо.
Дело конечно в кривых драйверах, так как другой причины быть просто не может, так как под Windows XP c родными драйверами на этом же компьютере, TP-Link TL-WN723N работает просто отлично.
Поэтому в таких случаях есть один вариант: установить драйвера для Windows в мой Linux. И это возможно!
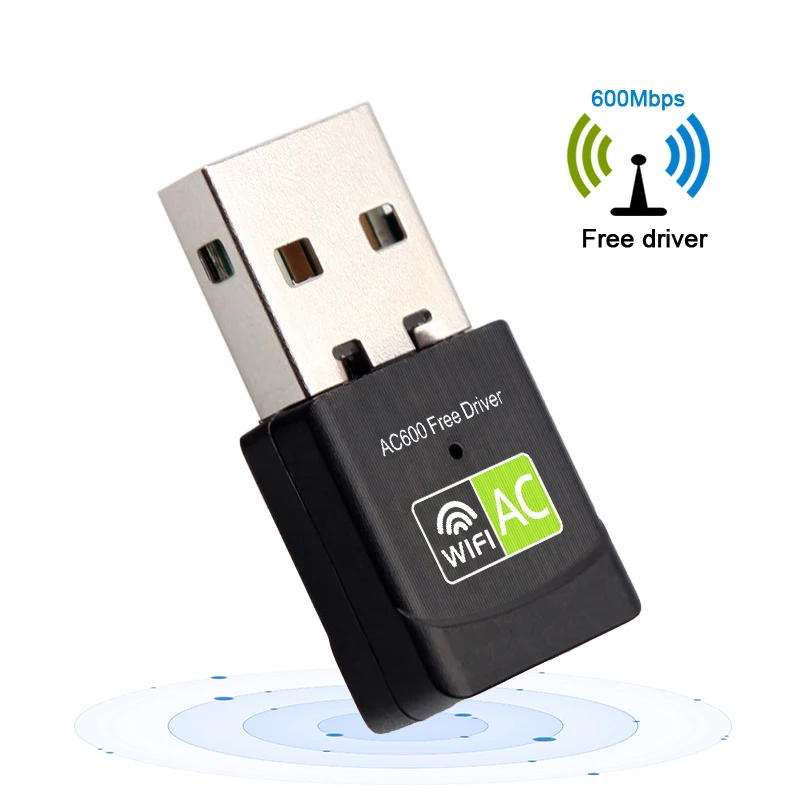
Конечно, идеально купить СРАЗУ нормальный wifi адаптер, который поддерживается Linux, например, вот такого малыша ДА ЕЩЕ с антенной, стоит копейки ( ссылка где приобрести )

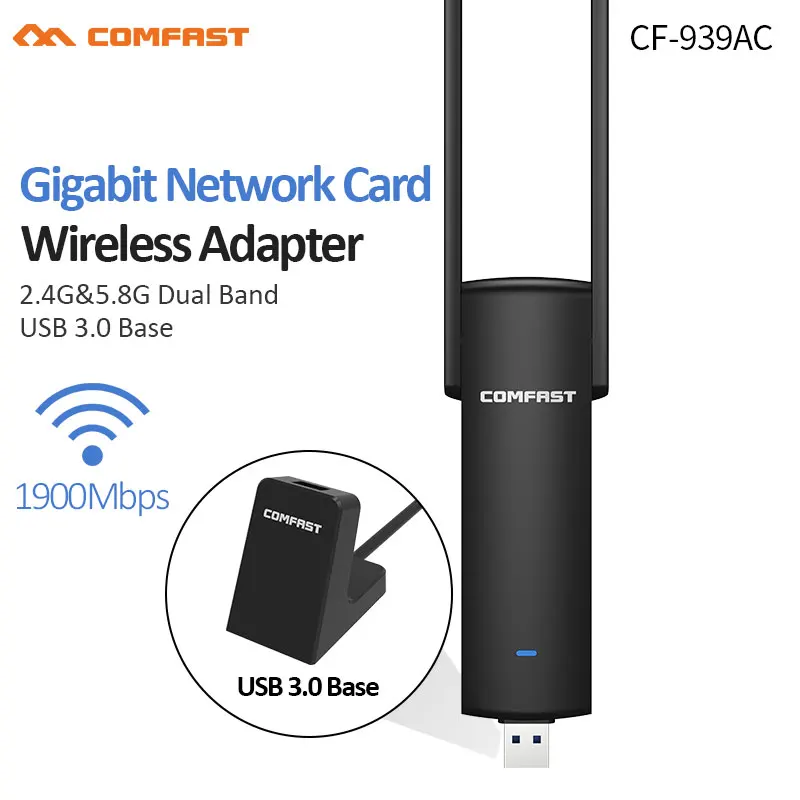
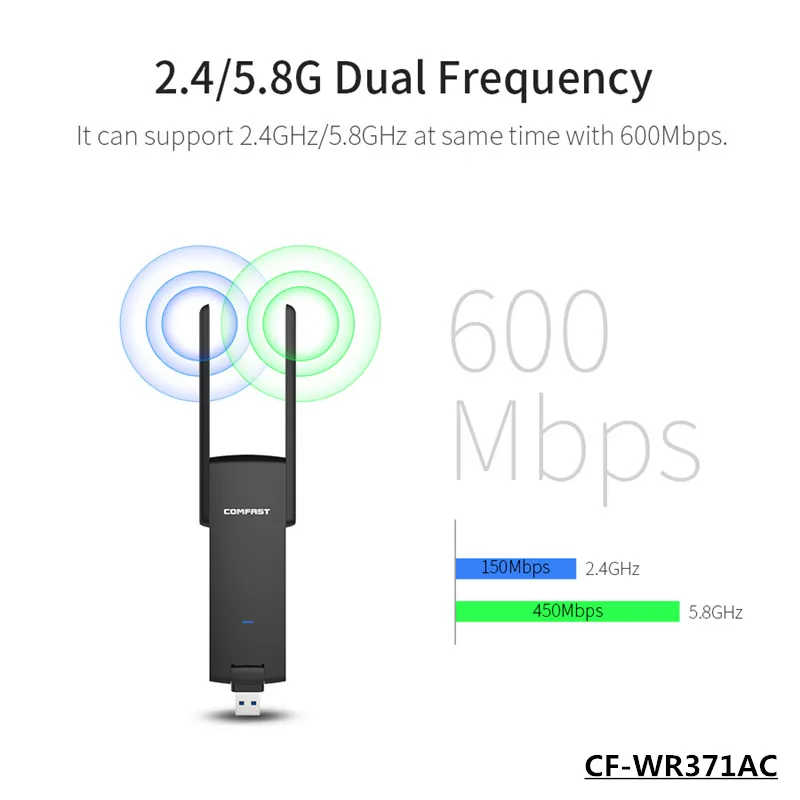
Или можно купить один из этих, стоят не дорого и все поддерживаются в Linux:


Но пока я такой не успел купить, буду настраивать тот, что есть. Итак, приступим.
Как установить wifi драйвер в Linux?
Одни хорошие люди придумали замечательную утилиту, которая называется ndiswrapper . Вот что они сами пишут о своём детище:

Некоторые производители оборудования не выпускают спецификации на устройства или драйверы Linux для своих беспроводных сетевых карт.
В этом проекте реализованы вызовы ядра Windows и NDIS (Network Driver Interface Specification) из ядра Linux.
Драйвер Windows для беспроводной сетевой карты связывается с промежуточным слоем в Linux и работает также как будто-то он работает в Windows, то есть без бинарной эмуляции.
Эта программа присутствует в репозитории Linux Mint, но отсутствует в Ubuntu. Это я знал давно, поэтому решил не усложнять себе жизнь, а добавить репозиторий Linux Mint и установить эту замечательную программу.
Открыв менеджер пакетов Synaptic, я установил все имеющиеся там пакеты, относящиеся к ndiswrapper.

Программа установилась и после этого я нашёл её графическую оболочку в меню: Приложения — Системные утилиты — Администрирование — Драйвера Windows для беспроводных устройств.

Перед этим я с диска, который прилагался к данному USB WIFI TP-Link TL-WN723N, взял драйвера и положил их на жёсткий диск своего компьютера.
Запустив программу ndiswrapper я указал ей путь к файлу net8192su.inf

Пока всё шло замечательно. Но после этого действия начались проблемы. Программа стала ругаться, что не может найти модуль ndiswrapper.

FATAL: module ndiswrapper not fouhd. И хотя программа показала, что wifi модуль обнаружен и как бы работает, а драйвер установлен, после перезагрузки беспроводная сеть пропала СОВСЕМ!
В Network Manager даже пропал пункт «Беспроводные сети», а сам USB брелок спал смертным сном. Даже его зелёный глазик, которым он раньше радостно мигал во время работы, перестал даже тускло тлеть.
И чтобы я потом не делал, беспроводная сеть пропала казалось бы навсегда. Я снёс всё пакеты, которые связаны с ndiswrapper, но и это не помогло тоже.
Но всё же выход был найден. Как это сделать так, чтобы всё заработало точно?
Как установить wifi драйвер через ndiswrapper?
Это оказалось не так сложно. Нам нужно просто установить программу ndiswrapper из исходников, так как только тогда её модуль попал в ядро системы, или куда-то ещё, где он просто необходим.
На многих сайтах предлагались другие, более простые решения, но они не помогли установить драйвер wifi так, чтобы все заработало. Поэтому я расскажу, как сделал это я.
Для начала нам нужно установить пакет module-assistant, который помогает пользователям и сопровождающим пакетам управлять упаковкой сторонних модулей ядра в Debian.
После этого берем вот этот пакет ndiswrapper-1.58rc1.tar.gz После этого распаковываем файлы из архива в корень домашней директории.
У меня получилась папка ndiswrapper-1.58rc1. В терминал при помощи команды cd переходим в неё:
Проверяем командой ls там ли мы и есть ли нужные нам файлы:

Если всё нормально, то начинаем установку программы:
Добавляем модуль в систему:
Открываем файл ndiswrapper.conf:
Удаляем содержимое файла, сохраняем и закрываем. Потом даём такую команду:
Устанавливаем графическую оболочку программы, без неё будет не так удобно.
После установки графической оболочки у нас появятся эти файлы (3 штуки) :

Идём в меню и запускаем «Драйвера Windows для беспроводных устройств», как мы это делали в начале статьи и проделываем все те же операции.
Теперь при установке драйвера wifi ошибка о том, что не найден модуль уже не появляется. У меня немного зависла программа, я подождал пару минут и потом перезагрузился.
После перезагрузки, о чудо!, всё заработало. Wifi стал работать замечательно, за два дня ни одного обрыва связи!

Вот таким образом мне, хоть и с трудом, удалось установить вай фай драйвер от Windows в Linux!
Источник
Drivers usb wifi linux
Linux Driver for USB WiFi Adapters that are based on the RTL8814AU Chipset
Latest commit
Git stats
Files
Failed to load latest commit information.
README.md
Linux Driver for USB WiFi Adapters that are based on the RTL8814AU Chipset
- v5.8.5.1 (Realtek) (20191029)
- Plus updates from the Linux community
- IEEE 802.11 b/g/n/ac WiFi compliant
- 802.1x, WEP, WPA TKIP and WPA2 AES/Mixed mode for PSK and TLS (Radius)
- IEEE 802.11b/g/n/ac Client mode
- Supports wireless security for WEP, WPA TKIP and WPA2 AES PSK
- Supports site survey scan and manual connect
- Supports power saving mode
- Supported interface modes
- IBSS
- Managed
- AP (see Bridged Wireless Access Point located in the main directory of this repo)
- Monitor
- USB mode control
- Log level control
- LED control
- Power saving control
- VHT control (allows 80 MHz channel width in AP mode)
- SU Beamformee control
- SU Beamformer control
A FAQ is available at the end of this document.
- Kernels: 2.6.24 — 5.2 (Realtek)
- Kernels: 5.3 — 5.14 (community support)
Tested Linux Distributions
Arch Linux (kernel 5.4)
Arch Linux (kernel 5.11)
Fedora (kernel 5.11)
Kali Linux (kernel 5.10)
Linux Mint 20.2 (Linux Mint based on Ubuntu) (kernels 5.4 and 5.11)
LMDE 4 (Linux Mint based on Debian) (kernel 4.19)
Manjaro 20.1 (kernel 5.9)
Raspberry Pi OS (2021-05-07) (ARM 32 bit) (kernel 5.10)
Raspberry Pi Desktop (x86 32 bit) (kernel 4.19)
Ubuntu 21.04 (kernel 5.11)
Ubuntu 20.10 (kernel 5.8)
Ubuntu 20.04 (kernel 5.4)
Download Locations for Tested Linux Distributions
- ALFA AWUS1900
- ASUS USB-AC68 AC1900 Dual-Band USB 3.0 WiFi Adapter
- Edimax EW-7833 UAC AC1750 Dual-Band Wi-Fi USB 3.0 Adapter
- Numerous products that are based on the supported chipset
Note: Please read «supported-device-IDs» for information about how to confirm the correct driver for your adapter.
The installation instructions are for the novice user. Experienced users are welcome to alter the installation to meet their needs.
Temporary internet access is required for installation. There are numerous ways to enable temporary internet access depending on your hardware and situation. One method is to use tethering from a phone. Another method to enable temporary internet access is to keep a wifi adapter that uses an in-kernel driver in your toolkit.
You will need to use the terminal interface. The quick way to open a terminal: Ctrl+Alt+T (hold down on the Ctrl and Alt keys then press the T key)
DKMS is used for the installation. DKMS is a system utility which will automatically recompile and install this driver when a new kernel is installed. DKMS is provided by and maintained by Dell.
It is recommended that you do not delete the driver directory after installation as the directory contains information and scripts that you may need in the future.
There is no need to disable Secure Mode to install this driver. If Secure Mode is properly setup on your system, this installation will support it.
Step 1: Open a terminal (Ctrl+Alt+T)
Step 2: Update system package information (select the option for the OS you are using)
Note: If you do not regularly maintain your system by installing updated packages, it is a good idea to not only update system package information but also to install the updated packages followed by a system reboot. The installation can then be continued with step 3.
Step 3: Install the required packages (select the option for the OS you are using)
Step 4: Create a directory to hold the downloaded driver
Step 5: Move to the newly created directory
Step 6: Download the driver
Step 7: Move to the newly created driver directory
Step 8: Warning: this step only applies if you are installing to Raspberry Pi hardware. You can skip this step if installing to x86 or amd64 based systems.
Run a preparation script
Step 9: Run the installation script (For automated builds, use NoPrompt as an option)
A file called 8814au.conf will be installed in /etc/modprobe.d by default.
This file will be read and applied to the driver on each system boot.
To edit the driver options file, run the edit-options.sh script.
Documentation for Driver Options is included in the file 8814au.conf .
Removal of the Driver
Note: This script should be used in the following situations:
- the driver is no longer needed
- a fresh start with default settings is needed
- a new version of the driver needs to be installed
- a major operating system upgrade is going to be applied
Note: This script removes everything that has been installed, with the exception of the packages installed in Step 3 and the driver directory. The driver directory can and probably should be deleted in most cases after running the script.
Step 1: Open a terminal (Ctrl+Alt+T)
Step 2: Move to the driver directory
Step 3: Run the removal script
Recommended WiFi Router/ Access Point Settings
Note: These are general recommendations, some of which may not apply to your specific situation.
Security: Set WPA2-AES. Do not set WPA2 mixed mode or WPA or TKIP.
Channel width for 2.4 GHz: Set 20 MHz fixed width. Do not use 40 MHz or 20/40 automatic.
Channels for 2.4 GHz: Set channel 1 or 6 or 11 depending on the congestion at your location. Do not set automatic channel selection. As time passes, if you notice poor performance, recheck congestion and set channel appropriately. The environment around you can and does change over time.
Mode for 2.4 GHz: For best performance, set «N only» if you no longer use B or G capable devices.
Network names: Do not set the 2.4 GHz Network and the 5 GHz Network to the same name. Note: Unfortunately many routers come with both networks set to the same name. You need to be able to control which network that is in use.
Channels for 5 GHz: Not all devices are capable of using DFS channels. It may be necessary to set a fixed channel in the range of 36 to 48 or 149 to 161 in order for all of your devices to work on 5 GHzg. (for US, other countries may vary)
Best location for the wifi router/ access point: Near center of apartment or house, at least a couple of feet away from walls, in an elevated location. You may have to test to see what the best location is in your environment.
Check congestion: There are apps available for smart phones that allow you to check the congestion levels on wifi channels. The apps generally go by the name of WiFi Analyzer or something similar.
After making and saving changes, reboot the router.
Set regulatory domain to correct setting in OS
Check the current setting
If you get 00, that is the default and may not provide optimal performance.
Set it temporarily
Note: Substitute your country code if you are not in the United States.
Set it permanently
Recommendations regarding USB
Moving your USB WiFi adapter to a different USB port has been known to fix a variety of problems. Problems include WiFi going on and off as well as connections coming and going.
If connecting your USB WiFi adapter to a desktop computer, use the USB ports on the rear of the computer. Why? The ports on the rear are directly connected to the motherboard which will reduce problems with interference and disconnection that can happen with front ports that use cables.
If your USB WiFi adapter is USB 3 capable then plug it into a USB 3 port.
Avoid USB 3.1 Gen 2 ports if possible as almost all currently available adapters have been tested with USB 3.1 Gen 1 (aka USB 3) and not with USB 3.1 Gen 2.
If you use an extension cable and your adapter is USB 3 capable, the cable needs to be USB 3 capable.
Some USB WiFi adapters require considerable electrical current and push the capabilities of the power available via USB port. One example is devices that use the Realtek 8814au chipset. Using a powered multiport USB extension can be a good idea in cases like this.
How to disable onboard WiFi on Raspberry Pi 3B, 3B+, 3A+, 4B and Zero W.
Add the following line to /boot/config.txt
How to forget a saved WiFi network on a Raspberry Pi
Delete the relevant WiFi network block (including the ‘network=’ and opening/closing braces.
Press ctrl-x followed by ‘y’ and enter to save the file.
Question: What interface combinations does this driver support?
Answer: None. Realtek out-of-kernel drivers, including this driver, do not support interface combinations. If you need support for interface combinations, I suggest adapters based on the Mediatek chipsets.
Question: What extended features does this driver support?
Answer: None. For extended features, you need an adapter that uses Mediatek or Atheros drivers.
Question: I bought two rtl8812au based adapters and am planning to run one of them as an AP and another as a WiFi client. How do I set that up?
Answer: You can’t. Realtek drivers do not support more than one adapter with the same chipset in the same computer. However, testing has shown that the Mediatek drivers do support more than one adapter with the same chipset in the same computer.
Question: Why do you recommend Mediatek based adapters when you maintain this repo for a Realtek driver?
Answer: Many new Linux users already have adapters based on Realtek chipsets. This repo is for Linux users to support their existing adapters but my STRONG recommendation is for Linux users to seek out WiFi solutions based on Mediatek, Intel or Atheros chipsets and drivers. If users are looking at a USB solution, Mediatek and Atheros based adapters are the best solution. Realtek based USB adapters are not a good solution because Realtek does not follow Linux Wireless standards for USB WiFi adapters. Realtek drivers are problematic in many ways. You have been WARNED. For information about usb wifi adapters:
About
Linux Driver for USB WiFi Adapters that are based on the RTL8814AU Chipset
Источник


