- How to Install Eclipse IDE on Ubuntu 20.04
- Install Eclipse by installer package [Method 1]
- Eclipse installation by snap [ Method 2]
- Create launcher icon
- Conclusion
- More Articles You May Like
- 6 Comments. add one
- How to install Eclipse in Linux Ubuntu using command line terminal
- Steps to Download and Install Eclipse Linux version on Ubuntu via command line
- Step 1: Install Java (JRE/JDK) on Ubuntu
- Step 2: Downloading the Eclipse IDE for Ubuntu Linux
- Step 4: Install the Eclipse IDE on Ubuntu Linux
- Step 5: How to Run the Eclipse Installer on Ubuntu
- Step 6: Follow the Guided process to Install the Eclipse IDE for Java Developers.
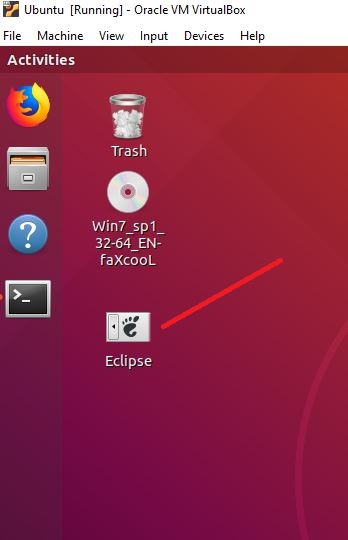
- Step 7: Create a Desktop shortcut for Eclipse IDE in Ubuntu.
- How to Uninstall Eclipse IDE on Ubuntu Linux
- How to Install Eclipse on Ubuntu 18.04
- step 1) Install Java JDK8
- step 2) Download Eclipse Oxygen
- step 3) Install Eclipse IDE
- Step 4) Create Eclipse App Launcher
How to Install Eclipse IDE on Ubuntu 20.04

Eclipse is one of the most popular open-source IDE (Integrated Development Environment) for software developers. It is popular for Java-based applications, also used for C/C++, PHP, and Perl and other web projects.
Eclipse is a really powerful IDE that supports many programming languages. It provides numerous plugins and extensions for enhancing the functionality of your Eclipse such as source code version control (git, svn), class diagram generator, GUI builder.
This tutorial will show you 2 methods to install Eclipse on Ubuntu 20.04 LTS machine.
Prerequisites
In order to install Eclipse IDE, you have to install JRE (Java Runtime Environment) on your Ubuntu machine:
To verify that Java was successfully installed, let’s run:
Install Eclipse by installer package [Method 1]
At the time of this writing, the latest version of Eclipse is: Eclipse IDE 2020-06. Eclipse can be downloaded via the browser on its official website https://www.eclipse.org/downloads/
By default, the installer package is downloaded into the directory ‘
/Downloads’ with name: ‘eclipse-inst-linux64.tar.gz’.
Or by using the wget command as:
Let’s extract the downloaded tarball file to the directory ‘/opt’ by running the following command:

In order to install Eclipse, launch the installer file ‘eclipse-inst’ by running the following command:
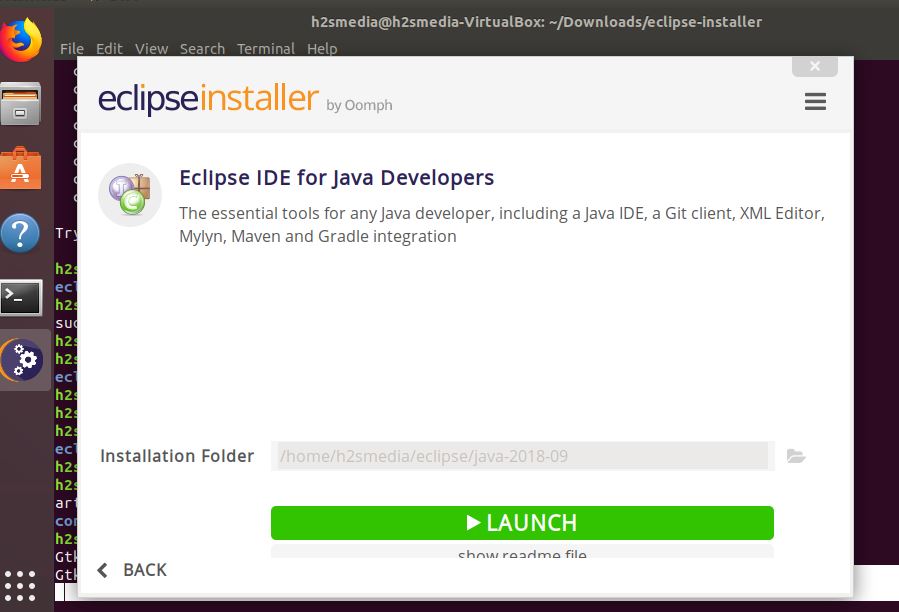
Eclipse packages window appears, let’s choose your favorite package IDE.

For example, select the Eclipse IDE for C/C++ Developers then click INSTALL

Next, you have to accept the Eclipse Foundation Software User Agreement.

Now, your Eclipse IDE will be installing.

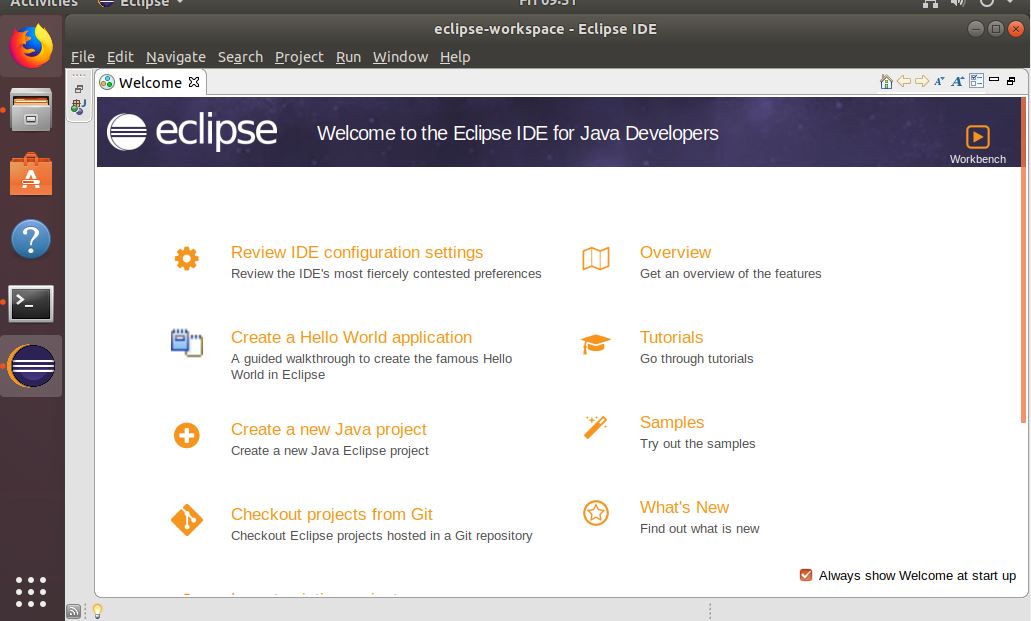
After the installation has completed, Eclipse is ready to be launched.
Eclipse installation by snap [ Method 2]
Installing Eclipse by snap package manager is the handiest installation method to bring the Eclipse integrated development environment to your Ubuntu machine.
In order to install an old version of Eclipse, you can use the apt package manager:
Another simple way to install Eclipse IDE is using Ubuntu Software Center. Let’s open the software center and search for Eclipse then click the Install button.
Create launcher icon
Once the Eclipse is downloaded and installed successfully, you may need to create a shortcut to launch your IDE. Using your favorite editor to create a file named ‘eclipse.desktop’ and enter the following lines to it:
Please note that the paths in lines ‘Exec=’ and ‘Icon=’ are depended on your system. You can find the path in Exec line by running command:
Now, let’s enable the launcher icon:
That’s all. From now on, you can search for eclipse and launch it in the Applications center on your Ubuntu machine.
Conclusion
In this tutorial, we learned how to install the Eclipse IDE on Ubuntu 20.04. You can now begin to write your own codes to create many awesome applications with Eclipse.
Thanks for reading and please leave your suggestion in the below comment section.
More Articles You May Like
6 Comments. add one
Installed in /root/eclipse/parallel-2020-06/eclipse/eclipse
eclipse.desktop installed in /usr/share/applications/eclipse.desktop
But Eclipse is not found by the system (Ubuntu 20.04).
Great very clear instructions. I must be close.
Thanks for any help
Carl
Thanks for your good words.
Hello, some suggestions.
* You can also add locale to comment field, which is more useful then the name.
* From the installation directory, run ./eclipse -initialize to make it start faster.
* Check the desktop file with `desktop-file-verify eclipse.desktop’ before installation. It is easy to be some errors if not.
* One could also install with `desktop-file-install eclipse.desktop’ if one doesn’t want to look up where they should be stored.
* I usually add a short script in /usr/local/bin that launches the right version from /opt/Eclipse/eclipse-*/eclipse. So I rename the /opt/Eclipse/eclipse to the version number so I do remember which I have installed. I usually also make a symbolic link `ln -s eclipse eclipse-2020-12′ so I also reach it as the current one. Then it is easy to have old and new installed at the same time.
The script in /usr/local/bin/eclipse-base looks like this.
#!/bin/sh
#
# Make a link to this script, and it will try
# to start an eclipse in the same directory
#
# If it doesn’t exists, it just will fail.
exec /opt/Eclipse/`basename $0`/eclipse $*
Then I only make a soft or hard link from the version number to this base, like this:
$ ls -l eclipse*
lrwxrwxrwx 1 root root 12 sep 23 13:39 eclipse -> eclipse-base
lrwxrwxrwx 1 root root 12 sep 23 12:43 eclipse-2019-09 -> eclipse-base
lrwxrwxrwx 1 root root 12 sep 23 12:42 eclipse-2019-12 -> eclipse-base
lrwxrwxrwx 1 root root 12 sep 23 12:44 eclipse-2020-09 -> eclipse-base
-rwxrwxr-x 1 root root 191 sep 23 12:41 eclipse-base
$
Now I can easily start eclipse from command line, and based on the name, it choose right binary in /opt/Eclipes/*/eclipse to run.
Источник
How to install Eclipse in Linux Ubuntu using command line terminal
Eclipse is an open source software used for software development as IDE (Integrated development environment). Here, in this tutorial will let you know how to download and install Eclipse on Ubuntu via command terminal.
The Eclipse non-profit organization was founded in 2004 and supported by the IBM to develop the Eclipse IDE as an open source software. The foundation helps to grow both the open source community of Eclipse software as well as other products and services.
It is a Java-based IDE and widely used by developers to develop a different kind of application. It has a wide range of plugins to enhance its compatibility and functions. Besides developing the JAVA applications, the Eclipse can be used to work with other programming languages too with help of plugins such as C, C++, C#, COBOL, D, Fortran, Haskell, Python, R, Ruby (including Ruby on Rails framework), Rust and more.
Steps to Download and Install Eclipse Linux version on Ubuntu via command line
The below given guide works on all version of Ubuntu 14.04, 14.10, 15.04, 15.10, 16.04, 16.10, 17.04, 17.10, 18.04, 18.10… Even on Debian too.
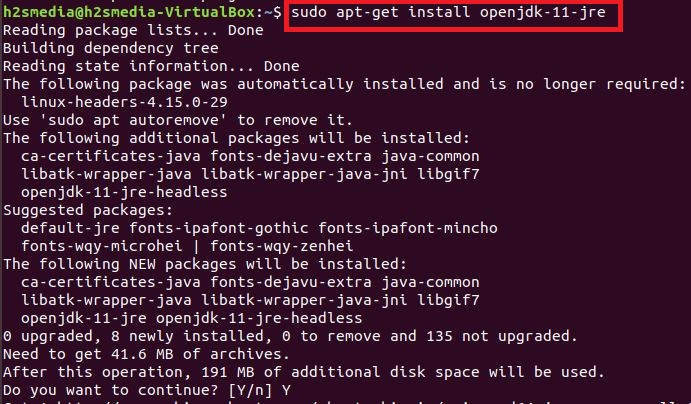
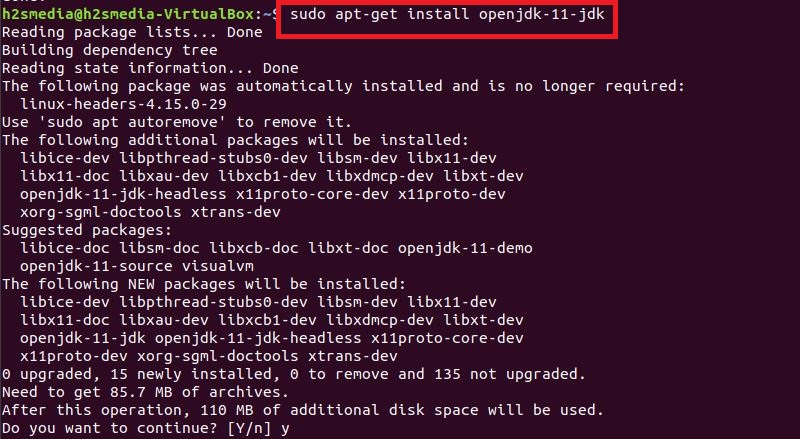
Step 1: Install Java (JRE/JDK) on Ubuntu
The Eclipse IDE needs a JAVA environment to run and work. While writing this article latest JAVA standard version available to download was 11. So, the commands given below to install both JRE (Java Run environment) and JDK (Java Development Kit) are same for any other newer or older version too. For example, if you want to install the JRE 9 version then just replace the version given in the command like openjdk-7-jre.
Command to install JRE on Ubuntu or Debian
Command to install JDK on Ubuntu or Debian.
Step 2: Downloading the Eclipse IDE for Ubuntu Linux
Now open the browser and use this link to download the Eclipse IDE for Linux: http://www.eclipse.org/downloads/?osType=linux
Click on the Download button and then on the file to download it

Step 4: Install the Eclipse IDE on Ubuntu Linux
Once the file of Eclipse IDE downloaded get back to Command Terminal type the below commands:
The above command will show all the files and folder available under the login user. Now find the downloaded Eclipse file and copy its name and use the sudo tar -xvzf command to extract it. The same way we used the command below. In our case the downloaded Eclipse Tar file name was eclipse-inst-linux64.tar.gz
Step 5: How to Run the Eclipse Installer on Ubuntu
Change your current directory folder and enter into the eclipse-installer folder. However, after performing the above commands, I am assuming that you already in the downloads directory; just again type
And then find the eclipse-installer folder to make sure that it is present there or not. And to enter in to use the below command.
Run the Eclipse installer

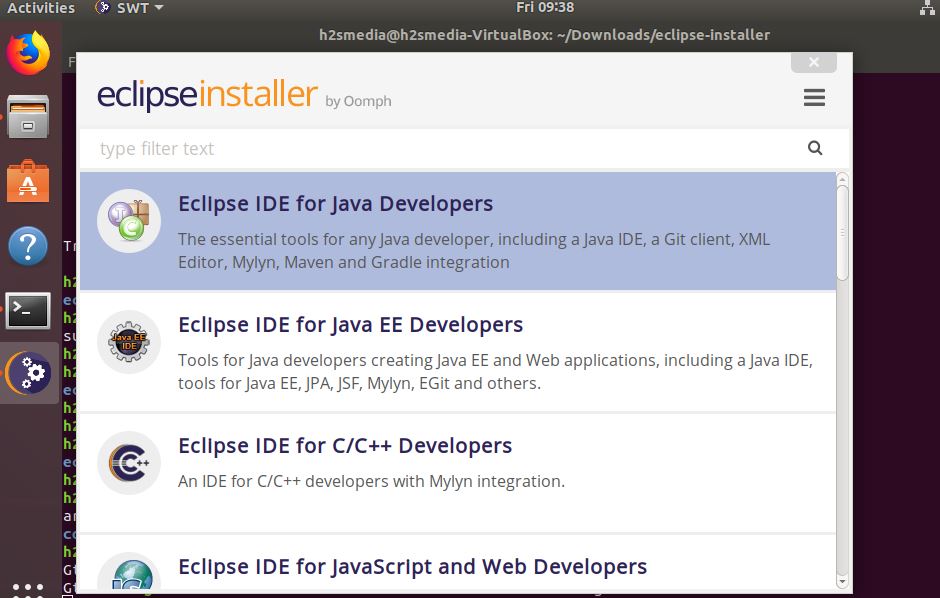
Step 6: Follow the Guided process to Install the Eclipse IDE for Java Developers.
Here we are selecting the Eclipse IDE for Java Developers but you can install other Eclipse tools too by repeating this step again to install multiple IDEs such as Eclipse IDE for Java EE Developers, Eclipse IDE for C/C++ Developers, Eclipse IDE for JavaScript and Web Developers and more…
If you want some custom location to install the Eclipse IDE then you can change it here otherwise leave it default.

Accept Terms and conditions to use the software

Add the trust certificate…

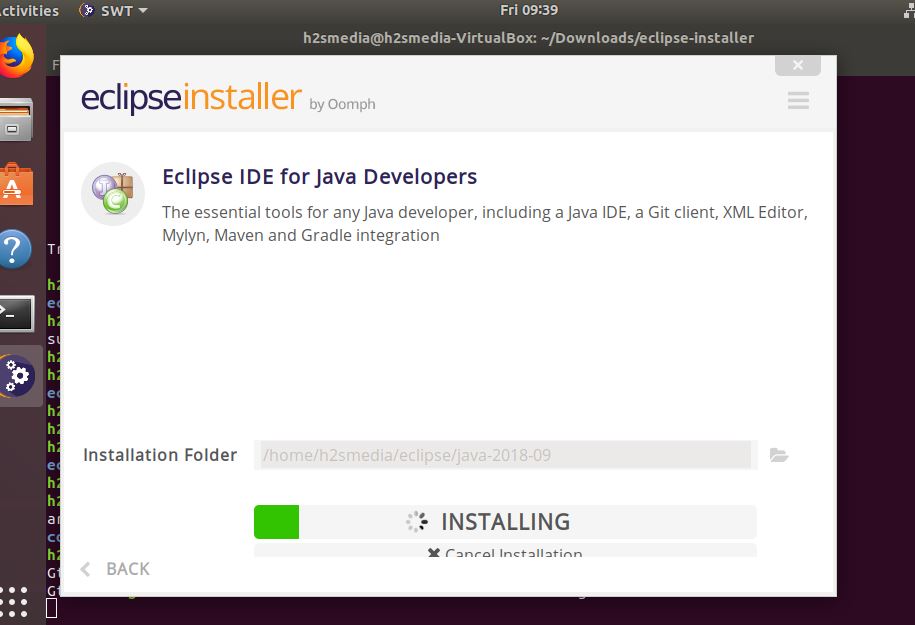
Now you can launch your installed Eclipse IDE for Java Developers to start the coding process.
When it asked you to set the path to save you work then set the custom path if you require or rather leave it as default, just check the box given in front of Use this as the default and do not ask again option and then click on the Launch button.

Step 7: Create a Desktop shortcut for Eclipse IDE in Ubuntu.
In the Name section, type the name you want to give your Eclipse Desktop shortcut and then just browse the eclipse executable file form the Eclipse folder.


How to Uninstall Eclipse IDE on Ubuntu Linux
In case you don’t want the Eclipse any more on your Ubuntu System and want to remove it completely then you can use the below-given commands:
I hope this tutorial helps you somehow in case you have any query the comment section is all yours!!
Источник
How to Install Eclipse on Ubuntu 18.04

Eclipse is a free integrated development environment IDE that is used by programmers around to write software mostly in Java but also in other major programming languages via Eclipse plugins.
Eclipse is not only good at developing applications but you can use its collection of tools to easily enhance your Eclipse desktop IDE, including GUI builders and tools for modeling, charting, reporting testing, and more.
To install Eclipse on Ubuntu 18.04, follow the steps below:
step 1) Install Java JDK8
Eclipse requires Java JDK to be installed on the system you want to use. At this time, only Java JDK 8 is fully compatible, use the steps below:
The easiest way to install Oracle Java JDK 8 on Ubuntu is via a third-party PPA. To add that PPA, run the commands below
After running the commands above, you should see a prompt to accept the PPA key onto Ubuntu. accept and continue
Now that the PPA repository has been added to Ubuntu, run the commands below to download Oracle Java 9 installer. the installer should install the latest Java JDK 9 on your Ubuntu machines.

When you run the commands above you’ll be prompted to access the license terms of the software. accept and continue.
Set Oracle JDK8 as default, to do that, install the Oracle-java8-set-default package. This will automatically set the JAVA env variable.
The command above will automatically set Java 9 as the default… and that should complete your installation, you can check your java version by running the following command:
step 2) Download Eclipse Oxygen
Now that Java JDK 8 is installed, got and download Eclipse Oxygen IDE package for your systems. the link below can be used to get it.

Extract the downloaded package to the directory /opt using the commands below. by default Eclipse package should be downloaded into the folder
/Downloads of your home directory.
step 3) Install Eclipse IDE
Use the commands below to extract the content in the
/Downloads folder. The next line launches the installer…


Select the package IDE you want to install and continue.
Use the on-screen instructions to complete the installer. Accept the default installation directory and continue.
Next, accept the license terms and continue. wait for Eclipse installer to download and install all the packages.

After downloading the installer should complete. all you have to do is launch the program.

Step 4) Create Eclipse App Launcher
Now that Eclipse is downloaded and installed, create a launcher for the application. to do that, run the commands below.
Next, copy and paste the content below into the file and save.
Replace the highlighted username (smart) with your own account name. also, the Exec = location and icon.xpm should depend on where Eclipse got installed on your system.
Save the file and exit.
You should then have a launcher for Eclipse JEE Oxygen. open Dash or the activities overview and search for Eclipse and then launch.
To create additional IDEs, you must repeat step 3 by launching the installer again and created an application launcher for that IDE.
When the app launches, you should be able to configure it for your environment.
Источник


