- Multi Platform Build
- Sample .travis.yml to Build Electron App for macOS, Linux and Windows
- Sample appveyor.yml to Build Electron App for Windows
- macOS
- Linux
- To build app for Windows on Linux:
- Christian Engvall
- Electron packager tutorial
- 1. Install Electron packager
- 2. Setting productname and electron version
- 3. Building MacOS, Windows and Linux package from the terminal
- MacOS
- Windows
- Linux
- 4. Shortcuts
- Installer tutorials
- Next tutorial
- electron-builder 
- Installation
- Boilerplates
- Quick Setup Guide
- Programmatic Usage
- Pack Only in a Distributable Format
- Debug
- Документация Electron
- Docs / Guides / Распространение приложений v15.0.0
- Распространение приложений
- Обзор
- С инструментами
- Ручное распространение
- С предустановленными бинарными файлами
- С архивом исходного кода приложения
- Ребрендинг скачанных бинарных файлов
- macOS
- Windows
- Linux
- Проведите ребрендинг, пересобрав Electron из исходных кодов
- Документация Electron
- Docs / Development / Инструкции по сборке v15.0.0
- Инструкции по сборке
- Системные требования
- Build Tools
- Требования для GN
- Setting up the git cache
- Получение кода
- A note on pulling/pushing
- Сборка
- Упаковка
- Кросс-компиляция
- Windows на Arm (экспериментально)
- Тестирование
- Sharing the git cache between multiple machines
- Устранение проблем
- gclient sync complains about rebase
- I’m being asked for a username/password for chromium-internal.googlesource.com
Multi Platform Build
Don’t expect that you can build app for all platforms on one platform.
If your app has native dependency, it can be compiled only on the target platform unless prebuild is not used.
prebuild is a solution, but most node modules don’t provide prebuilt binaries.
macOS Code Signing works only on macOS. Cannot be fixed.
Free public Electron Build Service is used to build Electron app for Linux on Windows. On macOS/Linux you can build Electron app for Windows locally, except Appx for Windows Store (in the future (feel free to file issue) electron-build-service will support Appx target).
You can use build servers — e.g. Travis to build macOS/Linux apps and AppVeyor to build Windows app.
By default build for current platform and current arch. Use CLI flags —mac , —win , —linux to specify platforms. And —ia32 , —x64 to specify arch.
For example, to build app for MacOS, Windows and Linux:
Build performed in parallel, so, it is highly recommended to not use npm task per platform (e.g. npm run dist:mac && npm run dist:win32 ), but specify multiple platforms/targets in one build command. You don’t need to clean dist output before build — output directory is cleaned automatically.
Sample .travis.yml to Build Electron App for macOS, Linux and Windows
Sample appveyor.yml to Build Electron App for Windows
Use AppVeyor only if: * you need to build AppX, * or your app has native dependency and prebuilt binary is not provided.
Otherwise see above sample .travis.yml to build Windows on Linux using provided Docker image.
macOS
All required system dependencies (except rpm) will be downloaded automatically on demand on macOS 10.12+ (macOS Sierra). On Travis, please add osx_image: xcode10.2 (see above sample .travis.yml ).
To build rpm: brew install rpm (brew).
Linux
You can use Docker to avoid installing system dependencies.
To build app in distributable format for Linux:
To build rpm: sudo apt-get install —no-install-recommends -y rpm (or sudo yum install rpm-build ).
To build pacman: sudo apt-get install —no-install-recommends -y bsdtar .
To build snap if and only if you have custom stage packages (if you don’t have custom snap build configuration, you don’t need to install). See snapcraft in Store.
To build app for Windows on Linux:
Docker ( electronuserland/builder:wine ) is recommended to avoid installing system dependencies.
Источник
Christian Engvall
I write about software, app and web development.
Recent posts
Categories
Electron packager tutorial
In this electron packager tutorial we will look at how to create MacOS, Windows and Linux executables with an app icon. This is also a continuation of the Electron app icon post, so start there if you haven’t read it (It’s short, i promise).
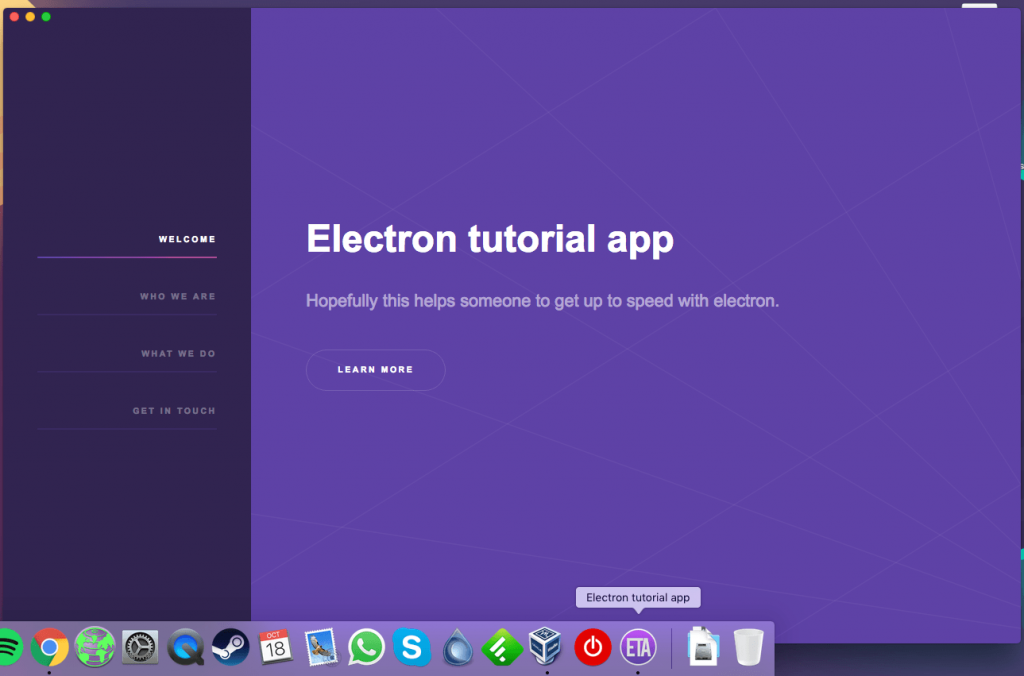
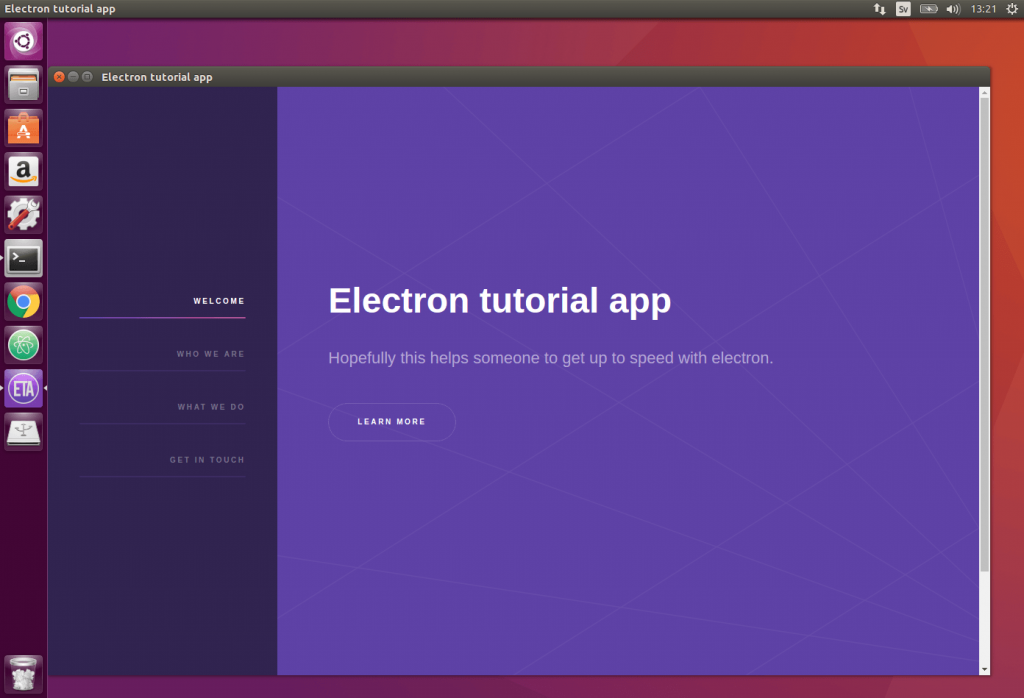
I add this code to the Electron tutorial app on github. Just look at that repo if you want to see all the code.
In this tutorial I package the application on Windows, macOS and Ubuntu Linux. There are some information about building Windows apps from non-Windows platforms in the Electron packager readme.
1. Install Electron packager
Electron packager is created by electron-userland and this is what they say about it:
«Electron Packager is a command line tool and Node.js library that bundles Electron-based application source code with a renamed Electron executable and supporting files into folders ready for distribution.»
So lets go ahead and install it. Run these commands in the terminal in the app folder:
2. Setting productname and electron version
Electron packager looks for a product name in package.json, so lets go ahead and add one. We also need to add what version of electron to package the app with.
Lets begin with the electron version. We’ll add that from the terminal with this command:
Now when that is done open up package.json and add a productname:
3. Building MacOS, Windows and Linux package from the terminal
To get to know what all these flags do, and what more flags exists you can read the electron-packager api.
MacOS
Now you can run this command from the terminal to build a package for mac:
Electron packager mac
Windows
And to build for Windows you can run this from the git bash:

Electron packager windows
Linux
Electron packager ubuntu linux
overwrite: replaces any existing output directory when packaging.
platform: The target platform to build for
arch: the architecture to build for
icon: sets the icon for the app
prune: runs npm prune –production before packaging the app. It removes unnecesary packages.
out: the name of the directory where the packages are created.
4. Shortcuts
To make it easier to create new builds we can create scripts in package.json so that we don’t have to remember all these settings. Add the scripts below, making your package.json look like this:
Now you can run:
Installer tutorials
Coming soon: Red-hat package.
Next tutorial
The next tutorial in this series is Electron menu. It explains how to add a menu to your app.
Источник
electron-builder  


A complete solution to package and build a ready for distribution Electron app for macOS, Windows and Linux with “auto update” support out of the box.
- NPM packages management:
- Native application dependencies compilation (including Yarn support).
- Development dependencies are never included. You don’t need to ignore them explicitly.
- Two package.json structure is supported, but you are not forced to use it even if you have native production dependencies.
- Code Signing on a CI server or development machine.
- Auto Update ready application packaging.
- Numerous target formats:
- All platforms: 7z , zip , tar.xz , tar.lz , tar.gz , tar.bz2 , dir (unpacked directory).
- macOS: dmg , pkg , mas , mas-dev .
- Linux: AppImage, snap, debian package ( deb ), rpm , freebsd , pacman , p5p , apk .
- Windows: nsis (Installer), nsis-web (Web installer), portable (portable app without installation), AppX (Windows Store), Squirrel.Windows.
- Publishing artifacts to GitHub Releases, Amazon S3, DigitalOcean Spaces and Bintray.
- Advanced building:
- Pack in a distributable format already packaged app.
- Separate build steps.
- Build and publish in parallel, using hard links on CI server to reduce IO and disk space usage.
- electron-compile support (compile for release-time on the fly on build).
- Docker images to build Electron app for Linux or Windows on any platform.
- Proton Native support.
- Downloads all required tools files on demand automatically (e.g. to code sign windows application, to make AppX), no need to setup.
| Question | Answer |
|---|---|
| “I want to configure electron-builder” | See options |
| “I have a question” | Open an issue or join the chat |
| “I found a bug” | Open an issue |
| “I want to support development” | Donate |
Installation
Yarn is strongly recommended instead of npm.
yarn add electron-builder —dev
Boilerplates
- electron-webpack-quick-start — A bare minimum project structure to get started developing with electron-webpack. Recommended.
- electron-react-boilerplate A boilerplate for scalable cross-platform desktop apps.
- electron-react-redux-boilerplate A minimal boilerplate to get started with Electron, React and Redux.
- electron-boilerplate A minimalistic yet comprehensive boilerplate application.
- Vue CLI 3 plugin for Electron A Vue CLI 3 plugin for Electron with no required configuration.
Quick Setup Guide
electron-webpack-quick-start is a recommended way to create a new Electron application.
Specify the standard fields in the application package.json — name, description , version and author.
Specify the build configuration in the package.json as follows:
Add the scripts key to the development package.json :
To ensure your native dependencies always matched the electron version, simply add script «postinstall»: «electron-builder install-app-deps» to your package.json .
If you have native addons of your own that are part of the application (not as a dependency), set nodeGypRebuild to true .
Please note that everything is packaged into an asar archive by default.
For an app that will be shipped to production, you should sign your application. See Where to buy code signing certificates.
Programmatic Usage
See node_modules/electron-builder/out/index.d.ts . Typings for TypeScript is provided.
Pack Only in a Distributable Format
You can use electron-builder only to pack your electron app in a AppImage, Snaps, Debian package, NSIS, macOS installer component package ( pkg ) and other distributable formats.
—projectDir (the path to project directory) option also can be useful.
Debug
Set the DEBUG environment variable to debug what electron-builder is doing:
FPM_DEBUG env to add more details about building linux targets (except snap and appimage).
On Windows the environment variable is set using the set command.
PowerShell uses different syntax to set environment variables.
Источник
Документация Electron
Docs / Guides / Распространение приложений v15.0.0
Распространение приложений
Обзор
To distribute your app with Electron, you need to package and rebrand it. Для этого можно использовать специализированный инструментарий или ручной подход.
С инструментами
Вы можете использовать следующие инструменты для распространения вашего приложения:
Эти инструменты позаботятся о всех шагах, которые вам нужно предпринять, чтобы получить распространяемое приложение Electron, такие как сборка вашего приложения, ребрендинг выполнения и установка нужных иконок.
You can check the example of how to package your app with electron-forge in the Quick Start guide.
Ручное распространение
С предустановленными бинарными файлами
Для ручного распространения вашего приложения Electron, вам нужно скачать предварительно собранные двоичные файлы Electron. Далее папку, содержащую ваше приложение следует назвать app и поместить в каталог ресурсов Electron, как показано в следующих примерах.
ПРИМЕЧАНИЕ: расположение заранее встроенных двоичных файлов Electron указывается на примерах ниже, начиная с electron/ .
На Windows и Linux:
Then execute Electron.app on macOS, electron on Linux, or electron.exe on Windows, and Electron will start as your app. The electron directory will then be your distribution to deliver to users.
С архивом исходного кода приложения
Вместо того, чтобы отправлять ваше приложение, копируя все исходные файлы, вы можете запаковать ваше приложение в asar архив, чтобы улучшить производительность чтения файлов на платформах, таких как Windows, если вы еще не используете такой пакет как Parcel или Webpack.
Чтобы использовать архив asar для замены каталога app , необходимо переименовать архив в app.asar и положить его в каталог ресурсов Electron, как показано ниже, и Electron будет пытаться прочитать архив и начать с него.
На Windows и Linux:
Более подробную информацию об использовании asar вы можете найти в репозитории electron/asar .
Ребрендинг скачанных бинарных файлов
После построения вашего приложения в Electron и перед распространением вам следует провести его ребрендинг.
macOS
Вы можете переименовать Electron.app , а также вы должны переименовать поля CFBundleDisplayName , CFBundleIdentifier и CFBundleName в следующих файлах:
- Electron.app/Contents/Info.plist
- Electron.app/Contents/Frameworks/Electron Helper.app/Contents/Info.plist
Вы также можете переименовать helper приложения, чтобы избежать показа Electron Helper в Activity Monitor, но убедитесь, что вы переименовали имя исполняемого файла helper приложения.
Структура переименования app будет такая:
Windows
Вы можете сменить имя файла electron.exe на любое понравившееся, отредактировать его значок и другую информацию такими инструментами, как rcedit.
Linux
Electron исполняемый файл можно переименовать на любое имя, которое вам нравится.
Проведите ребрендинг, пересобрав Electron из исходных кодов
Можно изменить бренд Electron путем изменения имени продукта и сборки его из исходных кодов. Для этого вам надо установить аргумент, отвечающий за имя продукта ( electron_product_name = «YourProductName» ) в файле args.gn и пересобрать Electron.

Copyright OpenJS Foundation and Electron contributors. All rights reserved. The OpenJS Foundation has registered trademarks and uses trademarks. For a list of trademarks of the OpenJS Foundation, please see our Trademark Policy and Trademark List. Trademarks and logos not indicated on the list of OpenJS Foundation trademarks are trademarks™ or registered® trademarks of their respective holders. Use of them does not imply any affiliation with or endorsement by them.
Источник
Документация Electron
Docs / Development / Инструкции по сборке v15.0.0
Инструкции по сборке
Follow the guidelines below for building Electron itself, for the purposes of creating custom Electron binaries. For bundling and distributing your app code with the prebuilt Electron binaries, see the application distribution guide.
Системные требования
Перед началом проверьте требования сборки для вашей системы
Build Tools
Electron’s Build Tools automate much of the setup for compiling Electron from source with different configurations and build targets. If you wish to set up the environment manually, the instructions are listed below.
Требования для GN
Вам нужно будет установить depot_tools , набор инструментов, используемый для извлечения Chromium и его зависимостей.
Также, для Windows вам потребуется добавить переменную среды DEPOT_TOOLS_WIN_TOOLCHAIN=0 . Чтобы это сделать, откройте Панель управления → Система и безопасность → Система → Дополнительные параметры системы и добавьте системную переменную DEPOT_TOOLS_WIN_TOOLCHAIN со значением 0 . Она говорит depot_tools использовать вашу локальную версию Visual Studio (по умолчанию, depot_tools попробует загрузить приватную Google версию к которой имеют доступ только Гугловцы).
Setting up the git cache
If you plan on checking out Electron more than once (for example, to have multiple parallel directories checked out to different branches), using the git cache will speed up subsequent calls to gclient . To do this, set a GIT_CACHE_PATH environment variable:
Получение кода
Вместо https://github.com/electron/electron , вы можете использовать здесь свой собственный форк (что-то вроде https://github.com/ /electron ).
A note on pulling/pushing
If you intend to git pull or git push from the official electron repository in the future, you now need to update the respective folder’s origin URLs.
📝 gclient works by checking a file called DEPS inside the src/electron folder for dependencies (like Chromium or Node.js). Running gclient sync -f ensures that all dependencies required to build Electron match that file.
So, in order to pull, you’d run the following commands:
Сборка
Или на Windows (без дополнительных аргументов):
This will generate a build directory out/Testing under src/ with the testing build configuration. You can replace Testing with another name, but it should be a subdirectory of out . Also you shouldn’t have to run gn gen again—if you want to change the build arguments, you can run gn args out/Testing to bring up an editor.
To see the list of available build configuration options, run gn args out/Testing —list .
Для генерации тестовой сборки Electron:
For generating Release (aka «non-component» or «static») build config of Electron:
Чтобы построить, запустите ninja с целью electron : Nota Bene: Это займет некоторое время и, вероятно, нагревает ваш ноутбук.
Для конфигурации тестирования:
Для конфигурации релиза:
This will build all of what was previously ‘libchromiumcontent’ (i.e. the content/ directory of chromium and its dependencies, incl. WebKit and V8), so it will take a while.
Собранный исполняемый файл будет находиться в ./out/Testing :
Упаковка
On linux, first strip the debugging and symbol information:
To package the electron build as a distributable zip file:
Кросс-компиляция
To compile for a platform that isn’t the same as the one you’re building on, set the target_cpu and target_os GN arguments. For example, to compile an x86 target from an x64 host, specify target_cpu = «x86» in gn args .
Not all combinations of source and target CPU/OS are supported by Chromium.
| Host | Target | Состояние |
|---|---|---|
| Windows x64 | Windows arm64 | Experimental |
| Windows x64 | Windows x86 | Автоматически тестировано |
| Linux x64 | Linux x86 | Автоматически тестировано |
If you test other combinations and find them to work, please update this document 🙂
See the GN reference for allowable values of target_os and target_cpu .
Windows на Arm (экспериментально)
To cross-compile for Windows on Arm, follow Chromium’s guide to get the necessary dependencies, SDK and libraries, then build with ELECTRON_BUILDING_WOA=1 in your environment before running gclient sync .
Или (если используется PowerShell):
Далее, запустите gn gen , как указано выше, с target_cpu=»arm64″ .
Тестирование
To run the tests, you’ll first need to build the test modules against the same version of Node.js that was built as part of the build process. To generate build headers for the modules to compile against, run the following under src/ directory.
Если вы что-то отлаживаете, то вам может быть полезно передать некоторые дополнительные флаги в бинарный Electron:
Sharing the git cache between multiple machines
It is possible to share the gclient git cache with other machines by exporting it as SMB share on linux, but only one process/machine can be using the cache at a time. Блокировки, установленные скриптом git-cache попытаются предотвратить это, однако возможна нестабильная работа по сети.
На Windows, у SMBv2 есть кэш директорий, который будет создавать проблемы со скриптом git-cache, поэтому необходимо отключить его, установив ключ регистра
Это можно быстро установить в powershell (запускается от имени администратора):
Устранение проблем
gclient sync complains about rebase
If gclient sync is interrupted the git tree may be left in a bad state, leading to a cryptic message when running gclient sync in the future:
If there are no git conflicts or rebases in src/electron , you may need to abort a git am in src :
I’m being asked for a username/password for chromium-internal.googlesource.com
Если вы видите запрос для Имя пользователя для ‘https://chrome-internal.googlesource.com’: при запуске gclient sync на Windows, это возможно, потому что DEPOT_TOOLS_WIN_TOOLCHAIN переменная окружения не установлена в 0. Откройте Панель управления → Система и безопасность → Система → Дополнительные параметры системы и добавьте системную переменную DEPOT_TOOLS_WIN_TOOLCHAIN с значением 0 . Она говорит depot_tools использовать вашу локальную версию Visual Studio (по умолчанию, depot_tools попробует загрузить приватную Google версию к которой имеют доступ только Гугловцы).
Copyright OpenJS Foundation and Electron contributors. All rights reserved. The OpenJS Foundation has registered trademarks and uses trademarks. For a list of trademarks of the OpenJS Foundation, please see our Trademark Policy and Trademark List. Trademarks and logos not indicated on the list of OpenJS Foundation trademarks are trademarks™ or registered® trademarks of their respective holders. Use of them does not imply any affiliation with or endorsement by them.
Источник


