- Installation
- Download elementary OS
- Recommended System Specifications
- Choose your current Operating System
- Creating an Install Drive
- Booting from the Install Drive
- Verify your Download
- Creating an Install Drive
- Booting from the Install Drive
- Boot Errors
- Verify your Download
- Creating an Install Drive
- Booting from the Install Drive
- After Installation
- elementary OS
- О системе
- Что нового
- Системные требования
- Полезные ссылки
- Подробное описание
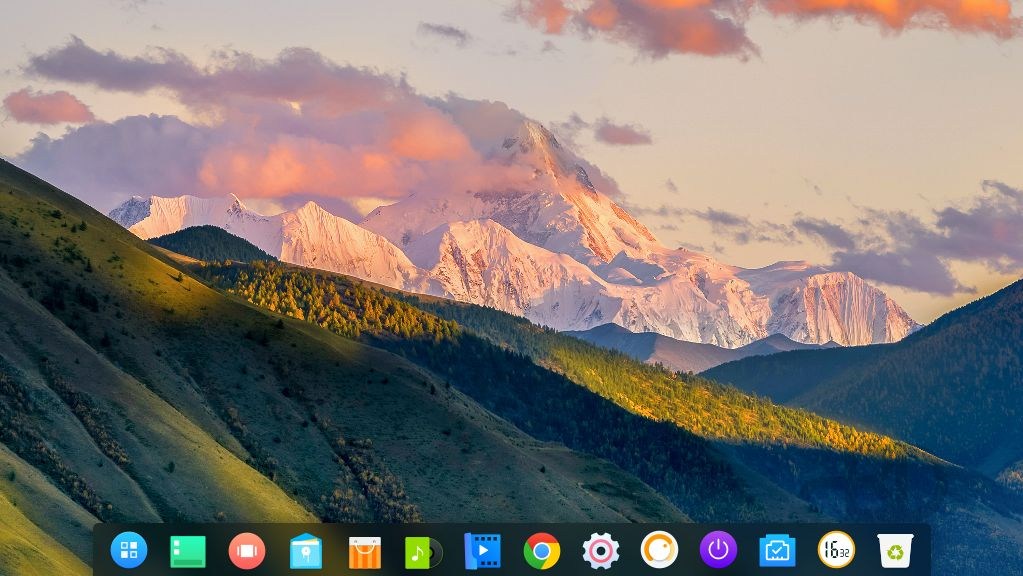
- Философия дизайна elementary OS
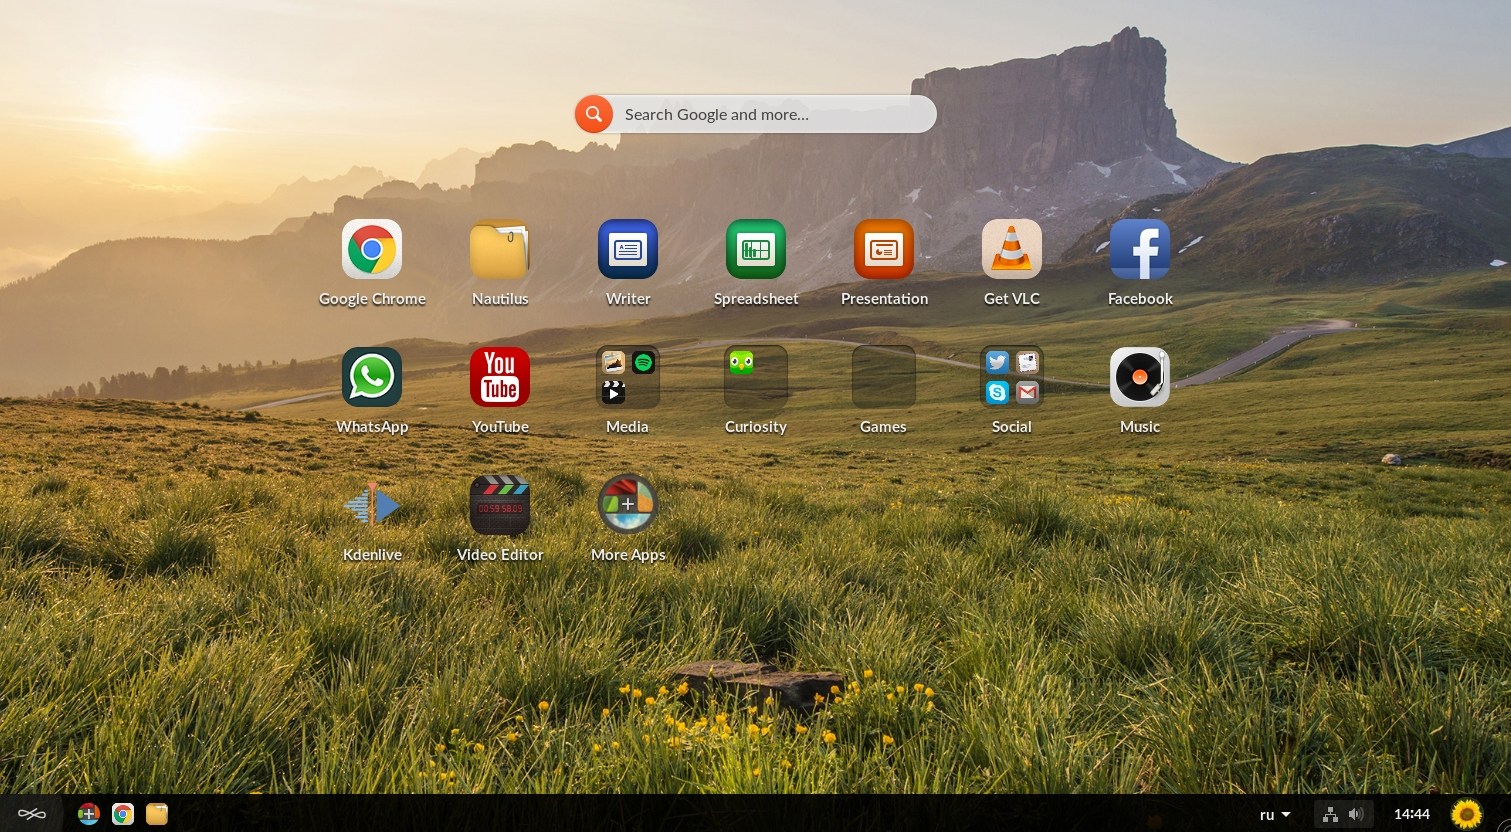
- Год с Elementary OS вместо Windows
- Почему Linux?
- Интерфейс
- Развитие
- Стабильность
- Недостатки
- Альтернативы
Installation
Download elementary OS
If you haven’t already, you will need to download elementary OS from our home page. You will need to copy the downloaded ISO file to a USB flash drive using the instructions below.
Recommended System Specifications
While we don’t have a strict set of minimum system requirements, we recommend at least the following specifications for the best experience:
- Recent Intel i3 or comparable dual-core 64-bit processor
- 4 GB of system memory (RAM)
- Solid state drive (SSD) with 15 GB of free space
- Internet access
- 1024×768 display
You will also need a USB flash drive with at least 2 GB of free space for installation.
Back Up Your Data
Make sure to back your important data up to an external location such as a cloud service or an external hard drive. Installing a new operating system may overwrite your existing data.
Choose your current Operating System
Select the operating system you are currently using to view tailored installation instructions.
Creating an Install Drive
You’ll need a USB flash drive with at least 2 GB of free space and a program called Rufus.

- Open Rufus
- Insert your USB drive and select it in the «Device» list
- Select «Disk or ISO image» in the «Boot selection» list
- Click «SELECT» to choose the ISO that you downloaded previously.
- We generate a checksum (or hash sum) for elementary OS images so you can verify your downloaded file. This ensures that you’ve received the full, complete download and that your install image is not corrupted in any way. Click next to «SELECT» and verify that the text next to «SHA256» matches the following hash:
- If the hashes match, click «START» and wait for the process to finish.
Booting from the Install Drive
In order to start the installation process, you must boot your computer from the install drive.
- Assuming that your computer is still on, start by inserting your install drive and restarting your computer.
- Most computers will briefly allow you to change the boot order for this boot only by pressing a special key — usually F12 , but sometimes Esc or another function key. Refer to the screen or your computer’s documentation to be sure.
- Press F12 (or the appropriate key) and select the install drive—usually «USB-HDD» or something containing the word «USB», but the wording may vary. If you choose the incorrect drive, your computer will likely continue to boot as normal. Just restart your computer and pick a different drive in that menu.
- Shortly after selecting the appropriate boot drive, you should be presented with the elementary OS splash screen. You may now follow the on-screen instructions which will guide you through the rest of the process.
Verify your Download
Verifying your download is an important, but optional step. We generate a checksum (or hash sum) for elementary OS images and we recommend that you verify that your download matches that checksum before trying to install. This ensures that you’ve received the full, complete download and that your install image is not corrupted in any way.
Running the following command in your Terminal:
Should produce the output:
Note: This is assuming that you have downloaded the .iso file to your Downloads folder. In case you have downloaded it elsewhere, please specify the correct path to the downloaded file, as shown below
Creating an Install Drive
To create an elementary OS install drive on macOS you’ll need a USB flash drive that is at least 2 GB in capacity and an app called «Etcher».

- Insert the spare USB drive, and select the ISO file you’ve just downloaded.
- Open «Etcher» and select your downloaded elementary OS image file using the «Select image» button.
- Etcher should automatically detect your USB drive, but check to see if it has selected the correct target.
- Start the flashing process by clicking the «Flash!» button. It will take a moment to get started.
- When complete it will be safe to remove the drive and attempt to boot to install elementary OS.
The following dialog may appear during the flashing process, it is safe to ignore.

Booting from the Install Drive
In order to start the installation process, you must boot your computer from the install drive.
- Assuming that your computer is still on, start by inserting your install drive and restarting your computer.
- After you hear the chime, press and hold Option . Then, select the appropriate boot drive. Note that it may be incorrectly identified as «Windows», but this is normal.
- Shortly after selecting the appropriate boot drive, you should be presented with the elementary OS splash screen. You may now follow the on-screen instructions which will guide you through the rest of the process.
Boot Errors
If your Mac doesn’t recognize your elementary OS USB Install Drive in the boot menu, you may need to create an elementary OS Install DVD instead. To create one, insert a blank DVD, right click on the ISO file in Finder, and select «Burn elementaryos-5.1-stable.20200814.iso to Disc». When complete, attempt to boot again from the Install DVD.
Verify your Download
Verifying your download is an important, but optional step. We generate a checksum (or hash sum) for elementary OS images and we recommend that you verify that your download matches that checksum before trying to install. This ensures that you’ve received the full, complete download and that your install image is not corrupted in any way.
Running the following command in your terminal:
should produce the output:
Creating an Install Drive
You’ll need a USB flash drive with at least 2 GB of free space and a program called UNetbootin.
Open UNetbootin from the Dash. It will open a window like the one below:

Click «…» to select the ISO that you downloaded previously.
Unplug all USB memory devices apart from the one you want to use.
Click «OK» and wait for the process to finish.
Booting from the Install Drive
In order to start the installation process, you must boot your computer from the install drive.
- Assuming that your computer is still on, start by inserting your install drive and restarting your computer.
- Most computers will briefly allow you to change the boot order for this boot only by pressing a special key — usually F12 , but sometimes Esc or another function key. Refer to the screen or your computer’s documentation to be sure.
- Press F12 (or the appropriate key) and select the install drive—usually «USB-HDD» or something containing the word «USB», but the wording may vary. If you choose the incorrect drive, your computer will likely continue to boot as normal. Just restart your computer and pick a different drive in that menu.
- Shortly after selecting the appropriate boot drive, you should be presented with the elementary OS splash screen. You may now follow the on-screen instructions which will guide you through the rest of the process.
After Installation
Take this time to read the getting started guide to learn about your new operating system.
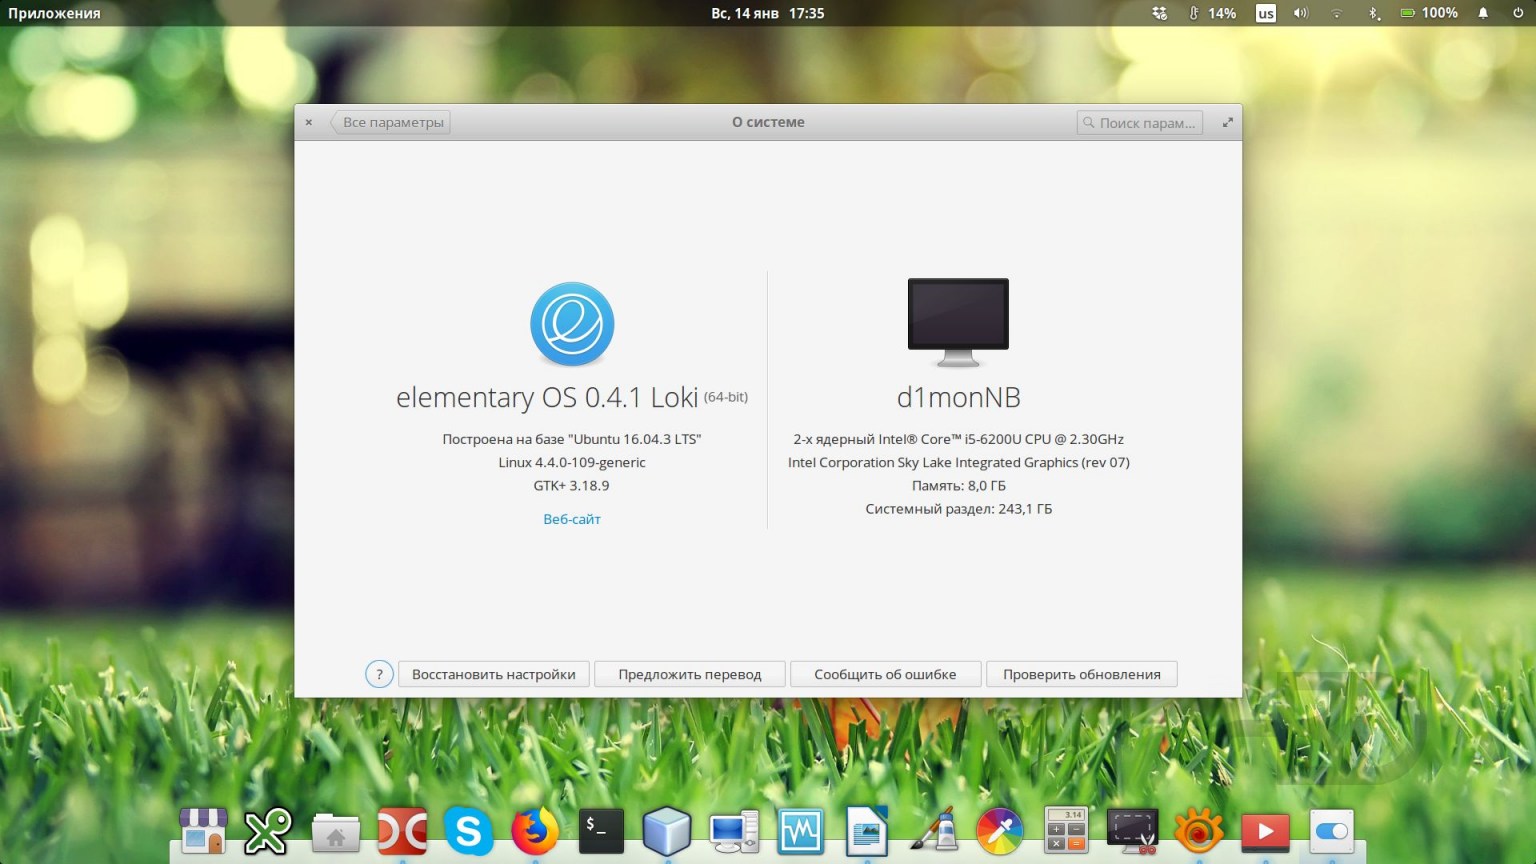
elementary OS


| Разработчик: | elementary LLC. (США) |
| Лицензия: | GNU GPL (бесплатно) |
| Версия: | 5.1.7 (Hera) |
| Обновлено: | 2020-08-08 |
| Архитектура: | x86_64 |
| Интерфейс: | русский / английский |
| Рейтинг: |  |
| Ваша оценка: |