- Setting JAVA_HOME on Mac OS
- java_home and JAVA_HOME on macOS
- java_home
- Finding all installed JDKs
- Getting values for JAVA_HOME for specific JDK versions
- Getting the value of JAVA_HOME for the default JDK version
- Executing specific versions of Java commands, such as java
- man java_home
- JAVA_HOME
- Independence of java_home —exec from $JAVA_HOME
- How I use java_home to set JAVA_HOME
- Set environment variables in .bash_profile
- Use the aliases to interactively set JAVA_HOME
- Java symbolic links on macOS
- Which java
- java symlink
- java_home symlink
- Assumption
- How to Set $JAVA_HOME environment variable on macOS
- 1. macOS release history, bash or zsh?
- 2. What is /usr/libexec/java_home
- 3. $JAVA_HOME and macOS 11 Big Sur
- 4. $JAVA_HOME and Mac OS X 10.5 Leopard
- 5. $JAVA_HOME and older Mac OS X
- 6. Switch between different JDK versions
- How to Set JAVA_HOME on MAC
- Set JAVA_HOME Environment Variable
- Switch Between Java Versions
- Установите JAVA_HOME в Windows 7, 8, 10, Mac OS X, Linux
- 1. Обзор
- 2. Окна
- 2.1. Windows 10 и 8
- 2.2. Windows 7
- 3. Mac OS X
- 3.1. Один пользователь – Mac OS X 10.5 или новее
- 3.2. Один Пользователь – Более Старые версии Mac OS X
- 3.3. Глобальная настройка
- 4. Linux
- 4.1 Один Пользователь
- 4.2 Глобальная настройка
- 5. Заключение
Setting JAVA_HOME on Mac OS

This was originally posted in 2013 on my mbcdev blog. I’m setting up a new computer, and I figured it was time to update it a bit.
OS X has had a very useful utility, since 2003, that allows you to easily generate a path to a JDK. The simplest usage of the tool will return the default JDK, which in my case is update 131 of JDK 1.8.
You can also ask it to list all of your JDKs too by using the -V argument. I have omitted the JDK paths for brevity.
You can also do some cool stuff like filter by cpu architecture:
If that’s a bit wordy for you you can do the same thing by specifying the data model (bits) too:
The tool can do some other stuff too and the manual page is clear and concise.
This helps us because we can simply do something like this in our shell configuration files to make JAVA_HOME always point to the latest JDK by default.
This line would typically go in
/.bashrc if you use bash or
/.zshrc if you use zsh. You can also put it in /etc/profile if you want it to be available to all users and not just yourself.
Naturally if you don’t want to use the latest and greatest you could specify that you want to use the 64-bit JDK 1.7 like this:
The back-ticks, `, in the command are important. They capture the output of the java_home command and then that value is assigned to the JAVA_HOME environmental variable. Finally this variable is exported, meaning it will be available to sub-processes.
This is all well and good for terminal work, but graphical apps like IntelliJ IDEA will need some more work. The neatest way that I’ve found to support this is to add another line to your shell configuration like this:
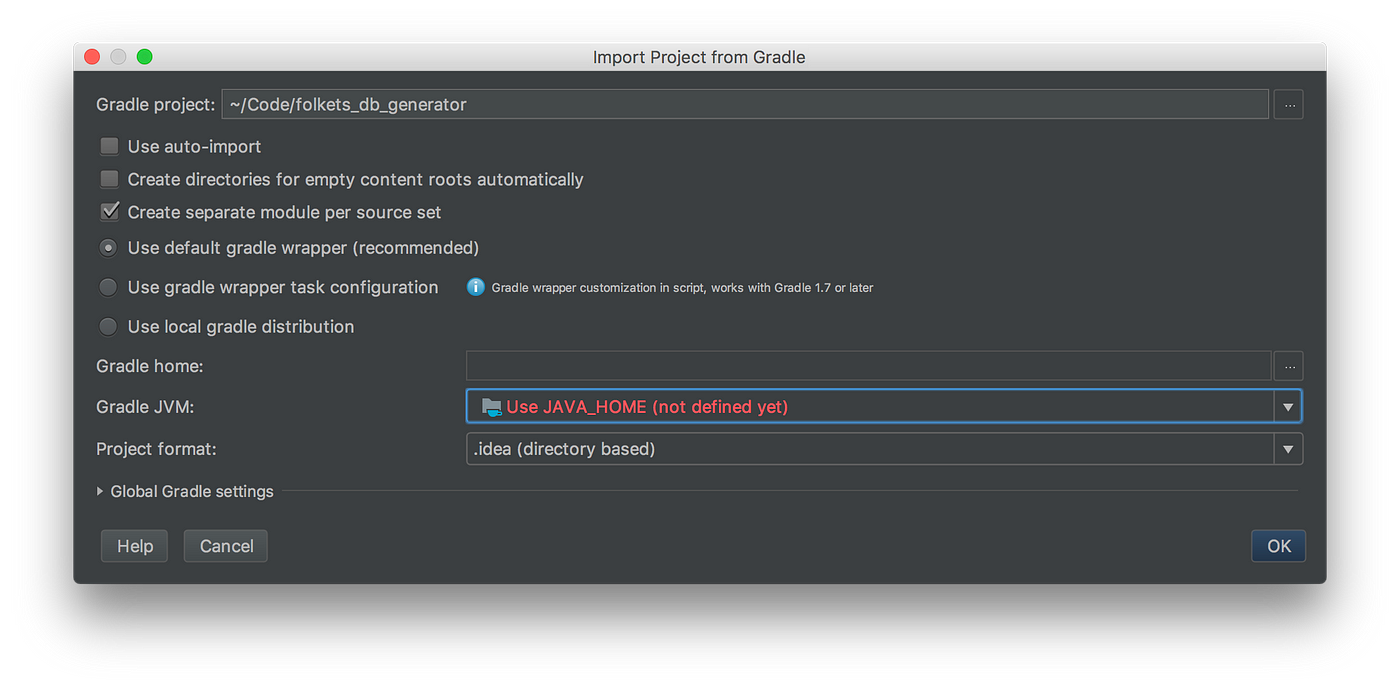
The next time you use IntelliJ you’ll see that JAVA_HOME is recognised correctly, and all is well with the world.

It goes without saying that these techniques also work with GRADLE_HOME, ANDROID_HOME, and pretty much any environmental variable that you need. Thanks for reading!
Источник
java_home and JAVA_HOME on macOS
Ever wondered where Java stuff lives on your Apple Mac? Ever had to find how to set your environment to work with a specific version of Java? Ever manually set the JAVA_HOME environment variable to get something working?
If so, this note may help.
macOS is the operating system that runs on Apple Mac hardware. I have used Java on these machines for many years. A lot of things have changed in that time: Apple used to bundle Java; Oracle bought Sun; Apple stopped bundling Java … macOS was previously known as Mac OS X and later OS X. Oracle still use the old OS X branding.
I have just installed the latest Java upgrade and decided to try to understand how to work with the different versions of Java on macOS. Then I decide to write about it!
I read JDK 8 Installation for OS X from the Java Platform SE Installation Guide some time ago. But I failed to appreciate the java_home command.
This Note for Geeks:
- describes how to use java_home to set the JAVA_HOME environment variable
- describes how the java_home —exec can be used to execute Java commands for a specific JDK version independent of JAVA_HOME
- describes a bash profile to enable interactive setting of the JDK version
- shares some observations on Java symbolic links on macOS
- is relevant to Java on macOS and versions of OS X since 2012
Earlier versions of Java SE have serious security risks corrected in later versions.
That creates a serious security vulnerability. Even if you installed the most recent version of Java SE, the personal information on your computer may be at risk because earlier, less secure versions could still be executed.
To fix this problem, visit http://java.com/uninstall, where instructions on how to uninstall older versions of Java SE are provided.
java_home
/usr/libexec/java_home is the simplest maintainable way of setting JAVA_HOME on macOS.
You can use java_home to:
- Find all installed JDKs
- Get value for JAVA_HOME for a specific JDK version
- Get the value of JAVA_HOME for the default JDK version
- Execute specific versions of Java commands
Finding all installed JDKs
NOTE: I will consider uninstalling the 1.6 versions to remove any associate security vulnerabilities
Getting values for JAVA_HOME for specific JDK versions
Getting the value of JAVA_HOME for the default JDK version
Executing specific versions of Java commands, such as java
java_home is the best way on macOS to execute a Java command . jdk/Contents/Home/bin/ for a specific version of the JDK. And it is independent of the setting of JAVA_HOME .
- Executing the default version of a java
- Executing a specific version of java command
man java_home
NOTE: The use of $JAVA_HOME in the man page is misleading because:
java_home can be used to return a value that can be used to set $JAVA_HOME
The —exec command can be used to execute a command . /Home/bin/ as if it was $JAVA_HOME/bin/ without changing or using $JAVA_HOME .
JAVA_HOME
The JAVA_HOME environment variable contains the home location of an installed JDK.
/usr/libexec/java_home is the simplest maintainable way of setting JAVA_HOME .
- Set JAVA_HOME to JDK version 1.7
- Set JAVA_HOME to the default JDK
- Check JAVA_HOME
- Check the actual java version
Independence of java_home —exec from $JAVA_HOME
java_home —exec can be used to execute Java commands independent of the setting of $JAVA_HOME .
The following examples demonstrate executing three different versions of the java command without changing $JAVA_HOME :
- version using $JAVA_HOME
- specific version using java_home —exec java -v 1.7
- default version using java_home —exec java
How I use java_home to set JAVA_HOME
This setup is for bash, the Bourne Again Shell on macOS. There are similar variations for other shells.
Set environment variables in .bash_profile
This profile creates aliases to enable interactive setting of the JDK version and sets JAVA_HOME to the default JDK.
Use the aliases to interactively set JAVA_HOME
Set JAVA_HOME to v 1.7
Check java version
Set JAVA_HOME to v 1.8
Check java version
Java symbolic links on macOS
I have been lost a few times trying to follow the symbolic linking of Java versions in and out of /System/Library/Frameworks/JavaVM.framework/Versions/ and /Library/Java/JavaVirtualMachines/ .
The following are what seem to matter.
Which java
java symlink
The java command is symlinked deep in the JavaVM.framework
java_home symlink
The java_home command is symlinked deep in the JavaVM.framework
Assumption
The Java commands in /usr/bin/ appear to execute the corresponding Java commands for JAVA_HOME .
Each Java command /usr/bin/ executes $JAVA_HOME/bin/
Источник
How to Set $JAVA_HOME environment variable on macOS
By mkyong | Last updated: January 19, 2021
Viewed: 1,252,476 (+8,076 pv/w)
This article shows how to set the $JAVA_HOME environment variable on older Mac OS X and the latest macOS 11.
Solution
Steps to set the $JAVA_HOME environment variable on macOS.
- Find out your macOS version.
- Find out which shell you are using, bash or zsh?
- For zsh shell, export $JAVA_HOME at
/.zshrc .
For bash shell, export $JAVA_HOME at
/.bashrc .
1. macOS release history, bash or zsh?
1.1 Review the macOS release history, source Wikipedia – macOS.
- Mac OS X Public Beta
- Mac OS X 10.0 (Cheetah)
- Mac OS X 10.1 (Puma)
- Mac OS X 10.2 Jaguar
- Mac OS X 10.3 Panther
- Mac OS X 10.4 Tiger
- Mac OS X 10.5 Leopard
- Mac OS X 10.6 Snow Leopard
- Mac OS X 10.7 Lion
- OS X 10.8 Mountain Lion
- OS X 10.9 Mavericks
- OS X 10.10 Yosemite
- OS X 10.11 El Capitan
- macOS 10.12 Sierra
- macOS 10.13 High Sierra
- macOS 10.14 Mojave
- macOS 10.15 Catalina (zsh)
- macOS 11 Big Sur (zsh)
1.2 bash or zsh?
On macOS 10.15 Catalina and later, the default Terminal shell switch from the bash (Bourne-again shell) to zsh (Z shell).
- For bash shell, we can put the environment variables at
/.bashrc .
For zsh shell, we can put the environment variables at
We can print the $SHELL environment variable to determine the current shell you are using.
Further Reading
2. What is /usr/libexec/java_home
2.1 On Mac OS X 10.5 or later, we can use /usr/libexec/java_home to return the location of the default JDK.
2.2 Also, find all installed JDKs.
2.3 Also, run a specified JDK command.
3. $JAVA_HOME and macOS 11 Big Sur
On macOS 10.15 Catalina and later, the zsh is the default Terminal shell, and we can set the $JAVA_HOME environment variable in either
3.2 Add the following content
3.3 Source the file and print the $JAVA_HOME , done.
4. $JAVA_HOME and Mac OS X 10.5 Leopard
For older Mac OS X, the bash is the default Terminal shell, and we can set the $JAVA_HOME environment variable in either
4.2 Add the following content
4.3 Source the file and print the $JAVA_HOME
5. $JAVA_HOME and older Mac OS X
On older Mac OS X, the tool /usr/libexec/java_home doesn’t exists, and we need to set the $JAVA_HOME to the real path.
5.2 Add the following content
5.3 Source the file and print the $JAVA_HOME
6. Switch between different JDK versions
For example, this macOS contains four JDK: 1.8, 14, 15, and 16, and the default JDK is 16.
6.1 For zsh shell, edit the
6.2 /usr/libexec/java_home -v»<$Version>» to activate a specified JDK version.
Add the following content to activate the JDK 1.8
If we want JDK 14.
If we want JDK 15.
6.3 Source the file and print the $JAVA_HOME , done.
Источник
How to Set JAVA_HOME on MAC
In this tutorial, I am going to share with you how to set the JAVA_HOME environment variable on a new MAC. The new way of setting JAVA_HOME environment variable allows us to dynamically identify and use the current Java version installed on a computer as well as let us switch between Java versions if there is more than one installed.
Starting from Mac OS 10.5 there is a very convenient command that we can use to identify the installed Java version. For example, open the terminal window on your Mac and type the following command to print out the top Java version installed on your Mac
If you have more than one version installed and you want to see all of the versions available, then run the following command in the terminal window.
To print the current Java version installed, simply use
Set JAVA_HOME Environment Variable
To set the JAVA_HOME environment variable for a current user you will need to update the
/.profile file. I will use the vi text editor on Mac but you can use the text editor of your choice.
- Open the terminal windows and type:
This will open the .profile file for editing.
Add the following line
The /usr/libexec/java_home will return the current version of Java installed on the Mac computer.
to apply changes to the .profile file right away.
In the terminal window type
This will print out the current Java version installed on your Mac computer.
Switch Between Java Versions
If you have more than one Java version installed on your computer and you need to switch to using a different version, you can do so by adding the -v flag.
Let’s have a look at a short example.
To learn what Java versions I have installed on my Mac computer I will type the following in the terminal window:
this will return
Which tells that there are two Java versions installed and the top version is “jdk-13.0.1.jdk“.
To set a specific Java version I will need to:
- In the terminal window type
To open the .profile file for editing.
Add Java version I want to set. Like so:
or if I wanted to set Java version 13, I would do it this way
Now if you check Java version by typing
It should print the current Java version set in JAVA_HOME.
Источник
Установите JAVA_HOME в Windows 7, 8, 10, Mac OS X, Linux
Краткий обзор того, как установить переменную JAVA_HOME в Windows, Mac OS X и Linux.
Автор: baeldung
Дата записи
1. Обзор
В этой краткой статье мы рассмотрим, как установить переменную JAVA_HOME в Windows, Mac OS X и Linux.
2. Окна
2.1. Windows 10 и 8
- Откройте Поиск и введите дополнительные системные настройки
- В показанных параметрах выберите ссылку Просмотр дополнительных системных настроек
- На вкладке Дополнительно выберите Переменные среды
- В разделе Системные переменные нажмите Создать (или Пользовательские переменные для настройки одного пользователя)
- Установите JAVA_HOME в качестве Имени переменной и путь к установке JDK в качестве Значения переменной и нажмите OK
- Нажмите кнопку OK и нажмите кнопку Применить , чтобы применить изменения
2.2. Windows 7
- На рабочем столе щелкните правой кнопкой мыши Мой компьютер и выберите Свойства
- На вкладке Дополнительно выберите Переменные среды
- В разделе Системные переменные нажмите Создать (или Пользовательские переменные для настройки одного пользователя)
- Установите JAVA_HOME в качестве Имени переменной и путь к установке JDK в качестве Значения переменной и нажмите OK
- Нажмите кнопку OK и нажмите кнопку Применить , чтобы применить изменения
Откройте командную строку и проверьте значение переменной JAVA_HOME :
Результатом должен быть путь к установке JDK:
3. Mac OS X
3.1. Один пользователь – Mac OS X 10.5 или новее
Начиная с OS X 10.5, Apple представила инструмент командной строки ( |usr | libexec/java_home//), который динамически находит верхнюю версию Java, указанную в настройках Java для текущего пользователя.
/.bash_profile в любом текстовом редакторе и добавьте:
Сохраните и закройте файл.
Откройте терминал и выполните команду source, чтобы применить изменения:
Теперь мы можем проверить значение переменной JAVA_HOME :
Результатом должен быть путь к установке JDK:
3.2. Один Пользователь – Более Старые версии Mac OS X
Для более старых версий OS X мы должны установить точный путь к установке JDK:
/.bash_profile в любом редакторе и добавьте:
Сохраните и закройте файл.
Откройте терминал и выполните команду source, чтобы применить изменения:
Теперь мы можем проверить значение переменной JAVA_HOME :
Результатом должен быть путь к установке JDK:
3.3. Глобальная настройка
Чтобы установить JAVA_HOME глобально для всех пользователей, шаги те же, что и для одного пользователя, но используется файл /etc/profile .
4. Linux
Здесь мы, конечно, будем манипулировать ПУТЕМ – так что, если вы не делали этого раньше, вот подробные инструкции о том, как это сделать.
4.1 Один Пользователь
Чтобы установить JAVA_HOME в Linux для одного пользователя, мы можем использовать /etc/profile или /etc/environment (предпочтительно для общесистемной настройки) или
/.bashrc (пользовательская настройка).
/.bashrc в любом текстовом редакторе и добавьте:
Сохраните и закройте файл.
Выполните команду source, чтобы загрузить переменную:
Теперь мы можем проверить значение переменной JAVA_HOME :
Результатом должен быть путь к установке JDK:
4.2 Глобальная настройка
Чтобы установить JAVA_HOME в Linux для всех пользователей, мы можем использовать /etc/profile или /etc/environment (предпочтительно).
Откройте /etc/environment в любом текстовом редакторе и добавьте:
Обратите внимание, что /etc/environment – это не скрипт, а список выражений назначения (поэтому export не используется). Этот файл считывается во время входа в систему.
Чтобы установить JAVA_HOME с помощью /etc/profile, откройте файл и добавьте:
Выполните команду source, чтобы загрузить переменную:
Теперь мы можем проверить значение переменной JAVA_HOME :
Результатом должен быть путь к установке JDK:
5. Заключение
В этой статье мы рассмотрели способы установки переменной среды JAVA_HOME в Windows, Mac OS X и Linux.
Источник


