- Setup Guide
- Figma — где скачать и как установить программу на компьютер?
- 1. Регистрация в Figma
- 2. Настройка команды и выбор тарифного плана (можно пропустить)
- В бесплатный тариф «Starter» входят:
- В платный тариф «Professional» включено:
- 3. Скачивание и установка Figma для работы на компьютере (Windows и Mac Os)
- Setup Guide
- Figma for Mac
- Download Figma for Mac Latest Version
- Top Downloads
- Comments and User Reviews
- Join our mailing list
- Freeware
- Open Source
- Free to Play
- Trial
Setup Guide
This short guide will walk you through the steps needed to setup your development environment for writing and running a simple plugin inside of Figma. By the end of this guide, you will have a plugin that opens a modal, asks the user for a number, and creates that many rectangles on the canvas.
These instructions intend for you to develop plugins in TypeScript using Visual Studio Code. Neither are mandatory: you can develop plugins in any text editor and use any language which can be translated to JavaScript (including JavaScript itself!). But we find that TypeScript and Visual Studio Code provide the best editing experience. We provide a type definition file to make this experience even better.
Install Visual Studio Code
Visual Studio Code can be downloaded here: https://code.visualstudio.com/.
This lets you use TypeScript, which we think makes developing good plugins much easier.
Install Node.js and NPM
You can download Node.js here, which will include NPM: https://nodejs.org/en/download/.
To install TypeScript, run sudo npm install -g typescript in a terminal. (This isn’t installed by Visual Studio Code).
Get the Figma desktop app
At this time, plugin development and testing needs to be done using the Figma desktop app. This is because Figma needs to read your code saved as a local file. The Figma desktop app can be downloaded here: https://www.figma.com/downloads/.
If you already have the desktop app, please make sure to update to the latest version, as several features have been added specifically in order to provide a better plugin development experience.
Log in to your account and open the file editor in the Figma desktop app
You can open any existing document or create a new one.
Go to Menu > Plugins > Development > New Plugin.
This will bring up the «Create a plugin» modal to create a sample plugin. Give it a name, then choose «With UI & browser APIs» in the next screen. Save the plugin anywhere on disk.
Open the code folder
Open the folder you just created using Visual Studio Code. Plugins are defined using multiple files and you’ll want to be able to edit them all of them, so one trick is to open the folder itself rather than any of the files inside it.
Install the typings
Run npm install —save-dev @figma/plugin-typings .
Set up TypeScript compilation
Hit ⌘⇧B (Ctrl-Shift-B for Windows) in Visual Studio Code, then select tsc: watch — tsconfig.json . This tells Visual Studio Code to compile code.ts into code.js . It will watch for changes to code.ts and automatically re-generate code.js every time code.ts is saved.
Run the sample plugin
Create a new design file in the Figma editor. Go to Menu > Plugins > Development > YourPluginName to run your newly created plugin. The sample code will show a UI allowing you to choose a number, and then creates that many rectangles.
Make some test changes
Make some simple changes to code.ts to get familiar with Visual Studio Code and the Figma Plugin API (not code.js — that’s generated and gets overwritten!).
Run your new code!
Switch back to the Figma Desktop App and go to Menu > Plugins > «Run Last Plugin» (Or hit ⌥⌘P for Mac or Ctrl+Alt+P for Windows). This will rerun the last plugin that you ran, i.e. your plugin.
That’s it! You are now ready to develop plugins in Figma!
Источник
Figma — где скачать и как установить программу на компьютер?
Подробная, пошаговая инструкция по установке десктопного приложения Figma на ваш компьютер (Windows или Mac Os). В видео и текстовом формате.
Установка Figma. В этом уроке вы получите пошаговую инструкцию, где скачать и как установить программу Figma на ваш компьютер. Вы можете посмотреть видео или воспользоваться текстовой инструкцией, которая расположена ниже в этой статье.
1. Регистрация в Figma
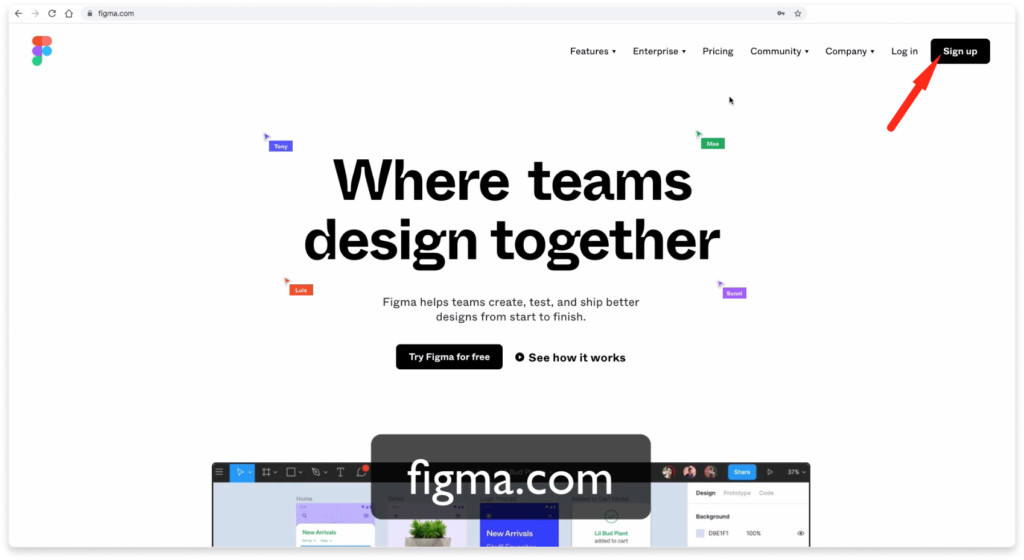
Первое что вам необходимо сделать это перейти по адресу figma.com. В верхнем правом углу нажмите на кнопку Sign up.
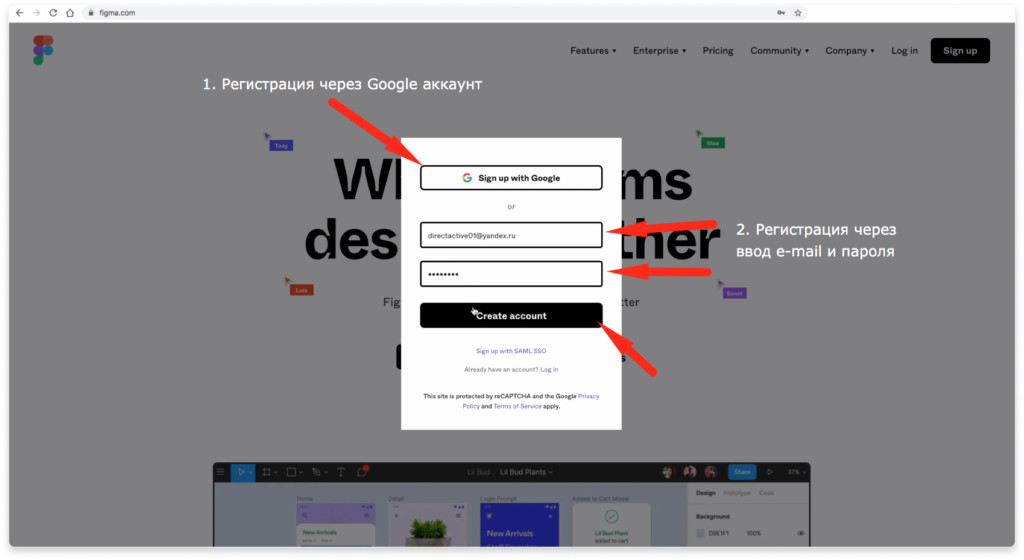
Во всплывающем окне можно авторизоваться с помощью Google аккаунта, либо ввести e-mail и пароль. Рассмотрим второй вариант. Ввожу e-mail и пароль. Нажимаю на кнопку Create Account.
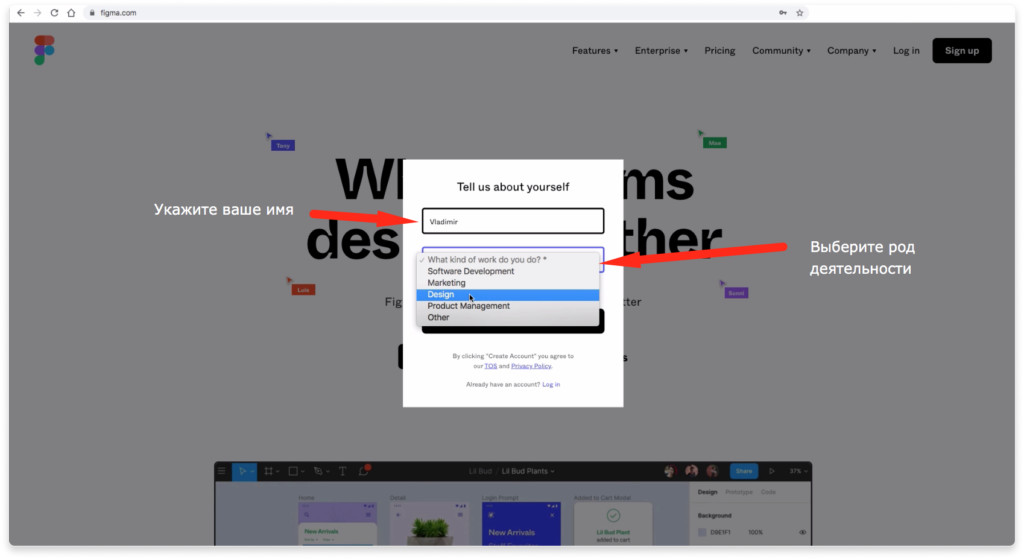
На следующем шаге укажите ваше имя и выберите род деятельности. Например «Design». Этот выбор ни на что не повлияет в дальнейшем.
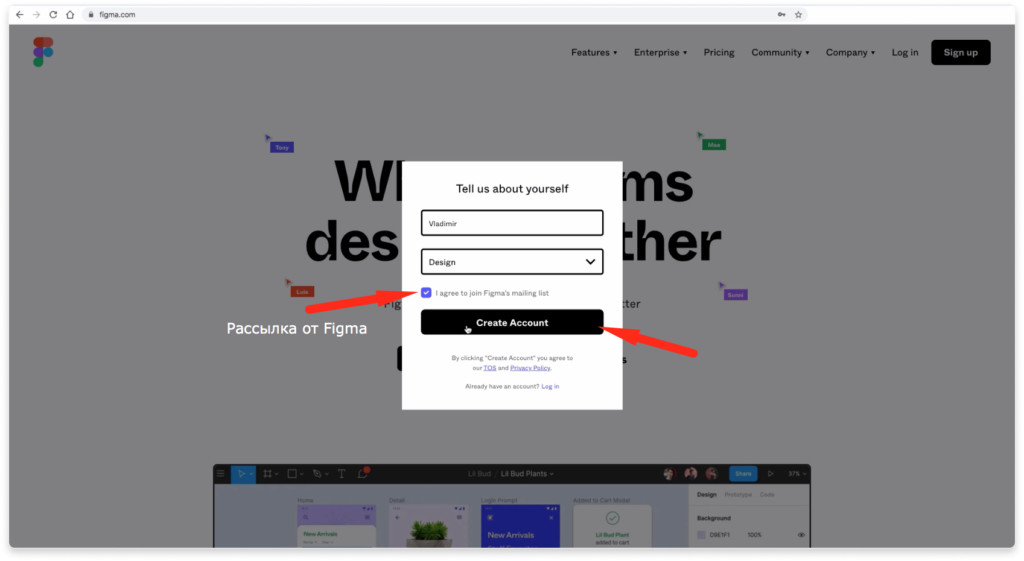
Если хотите получать полезную рассылку от фигмы, то поставьте галочку напротив надписи «I agree to join Figma’s mailing list» и нажимаете на кнопку «Create Account».

Перед вами появится окно, что вам нужно проверить вашу электронную почту, которую вы до этого указали и подтвердить регистрацию.
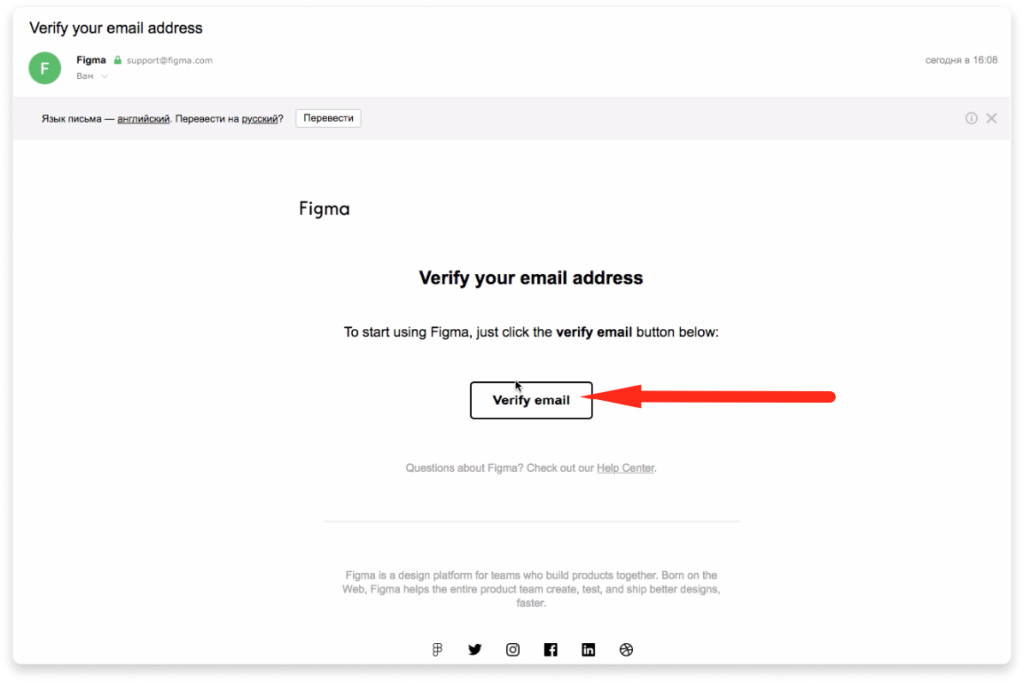
Проверьте вашу почту и найдите письмо от Figma с заголовком «Verify your email address». Нажмите на кнопку для подтверждения регистрации верификации email адреса.
2. Настройка команды и выбор тарифного плана (можно пропустить)

В случае регистрации через email и пароль, перед вами появиться следующее окно, где вы можете создать новую команду. Окно может не появиться, если вы регистрировались через Google аккаунт. В этом нет ничего страшного. Если хотите создать новую команду, то укажите её название и нажмите на кнопку «Next», либо пропустите этот шаг нажав на надпись внизу «Do this later».
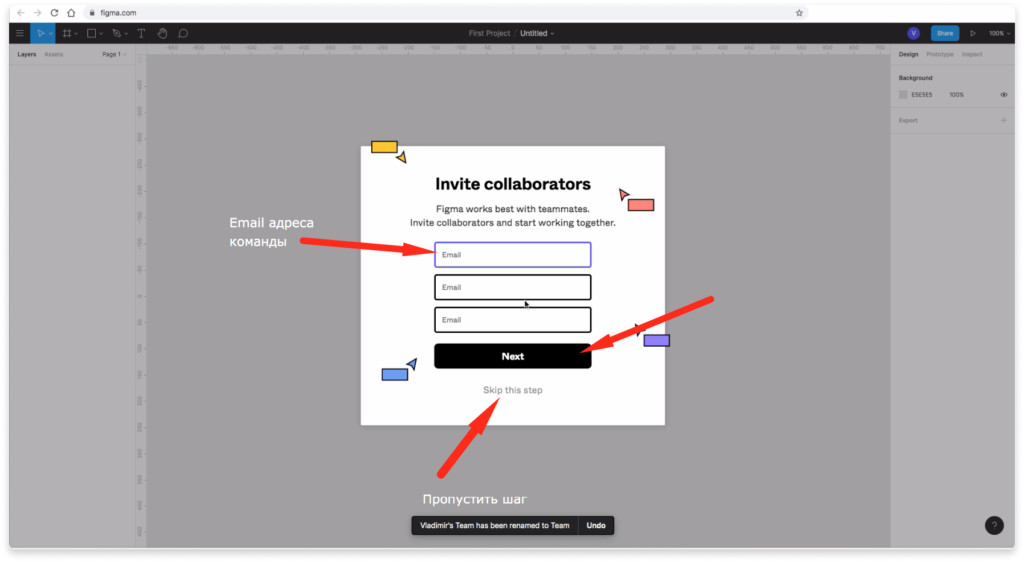
На следующем шаге можете указать email адреса людей, которых хотите пригласить к себе в команду для совместной работы, либо пропустить этот шаг нажав на надпись внизу всплывающего окна.
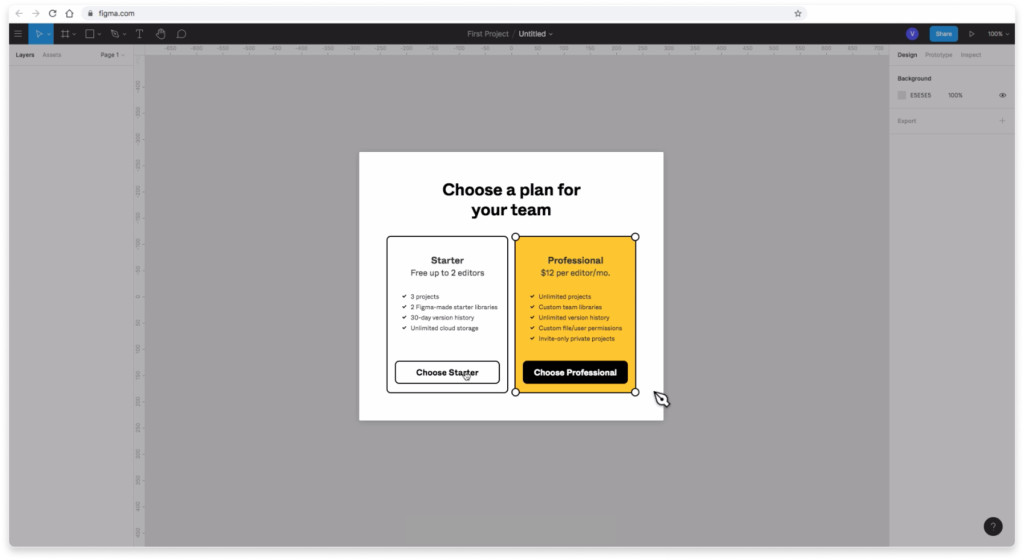
Далее вам предложат выбрать тарифный план. Если вы работаете в одиночку, либо вдвоем, то подойдет бесплатный тариф «Starter».
В бесплатный тариф «Starter» входят:
- 3 проекта для команд и совместной работы.
- 2 бесплатных стартовых библиотеки от Figma.
- Сохранение истории версий проектов в течении 30 дней.
- Неограниченное облачное хранилище.
- Возможность 2 человек работать над одним проектом одновременно.
В платный тариф «Professional» включено:
- Неограниченное количество проектов для команд.
- Настраиваемые командные библиотеки.
- Сохранение истории версий на неограниченный срок.
- Настраивание пользовательских файлов / прав использования.
- Частные проекты только по приглашениям.
Стоимость тарифа «Professional» — 12$ в месяц за 1 члена команды.
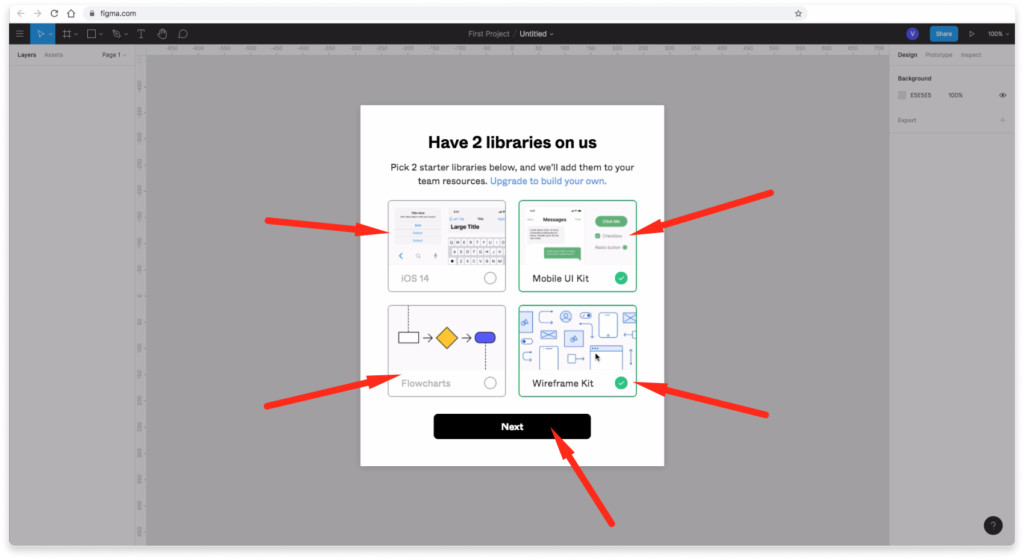
Если вы выберите бесплатный тариф, то вам предложат выбрать 2 стартовые библиотеки для командной работы. Выбирайте любое и нажимайте на кнопку «Next».
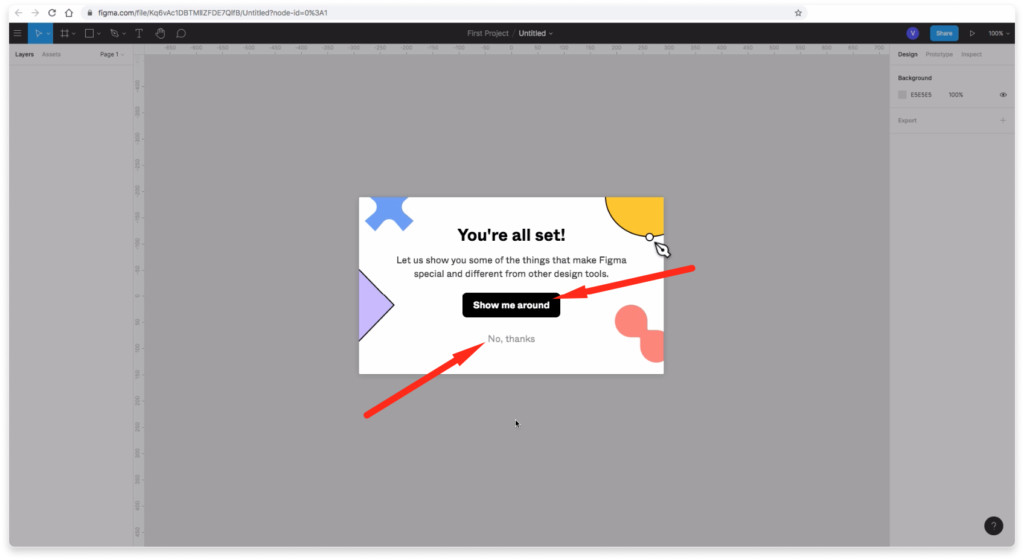
При желании можете воспользоваться подсказками, которые будет показывать вам Figma нажав на кнопку «Show me around», либо пропустите этот шаг.
3. Скачивание и установка Figma для работы на компьютере (Windows и Mac Os)
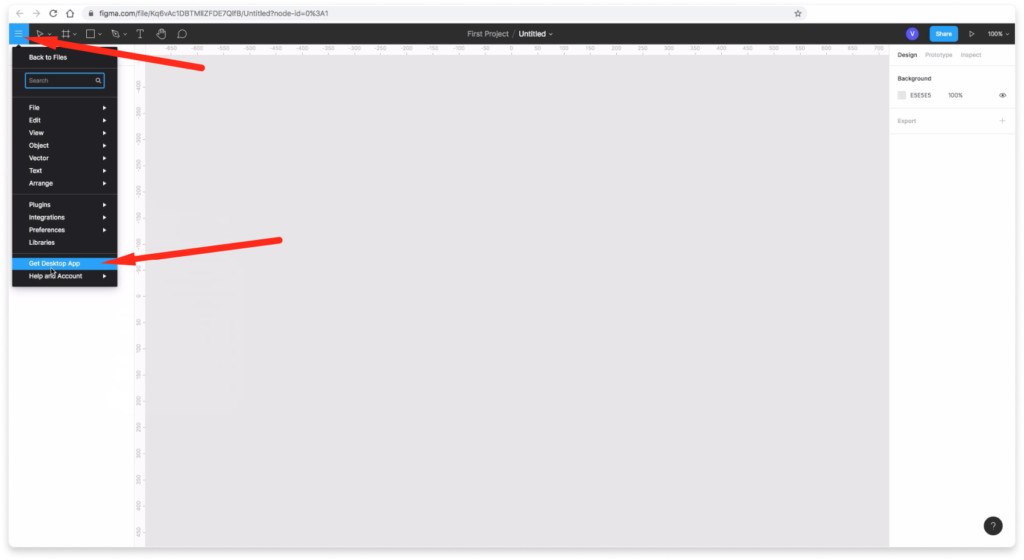
Чтобы скачать десктопную версию приложения Figma для Windows или Mac Os нажмите на меню «гамбургер» в левом верхнем углу и выберите надпись «Get Desctop App». В приложении работать удобнее, хотя можно работать через браузер. Приложение удобнее тем, что там можно создавать сразу несколько файлов. В браузере дела обстоят иначе.
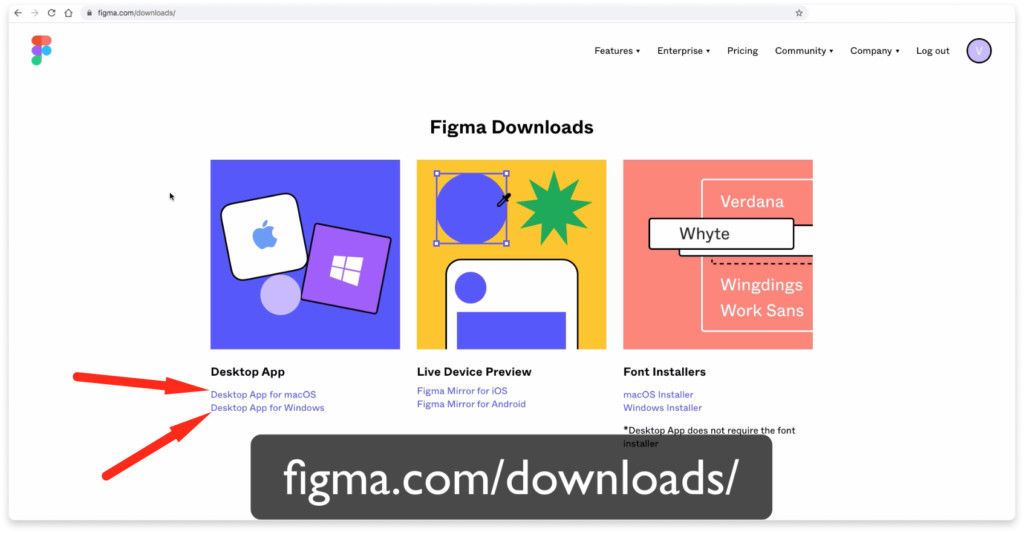
Второй способ скачать программу figma на ваш компьютер — это перейти по адресу https://www.figma.com/downloads/ Там можно выбрать приложение для macOs либо для Windows.
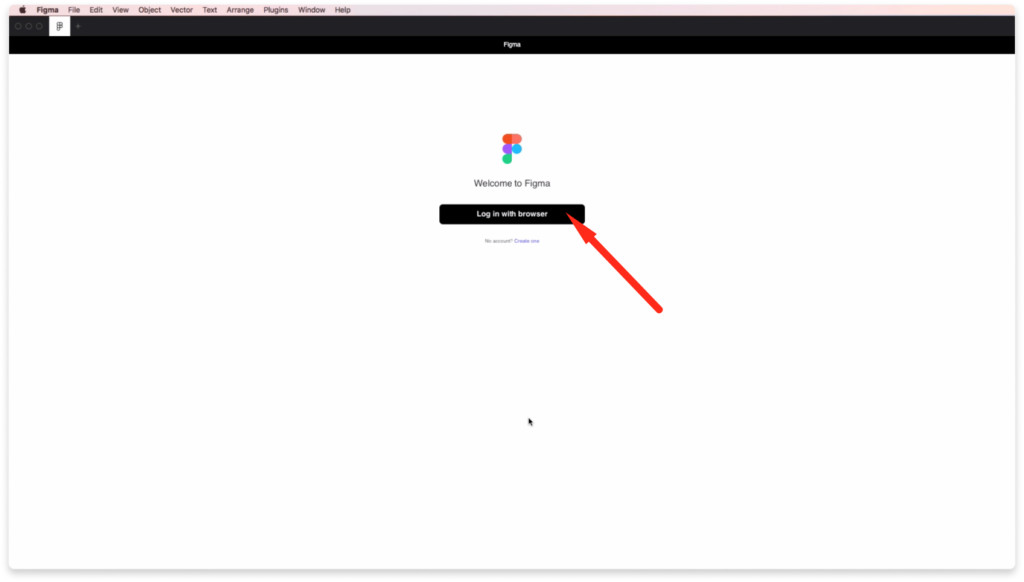
После скачивания архива, его распаковки и открытия программы figma на вашем компьютере перед вами появиться надпись «Welcome to Figma». Вам предложат авторизоваться через браузер. Для этого вы должны быть авторизованы в вашем аккаунте. Нажмите на кнопку «Log in with browser».
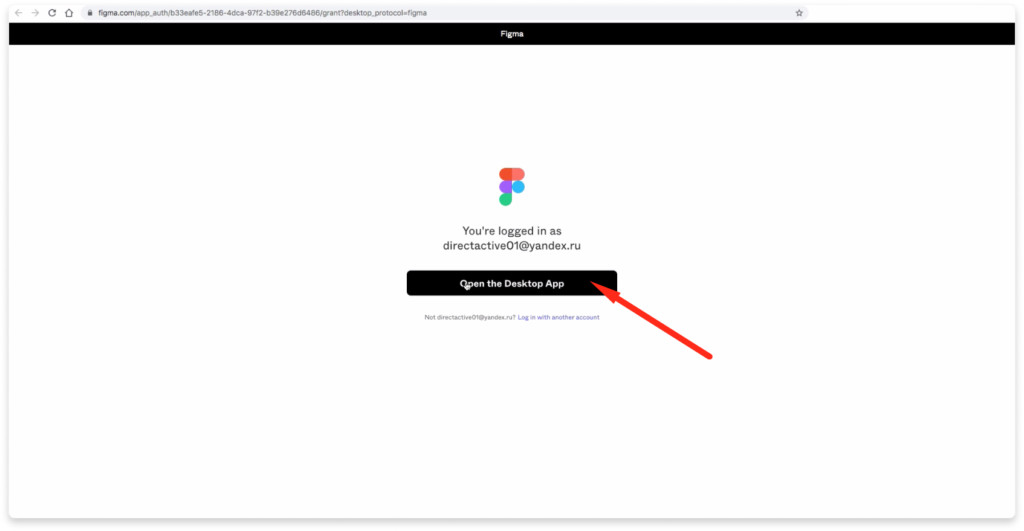
Вас перенаправит в браузер. Там нажмите на кнопку «Open the Decktop App».
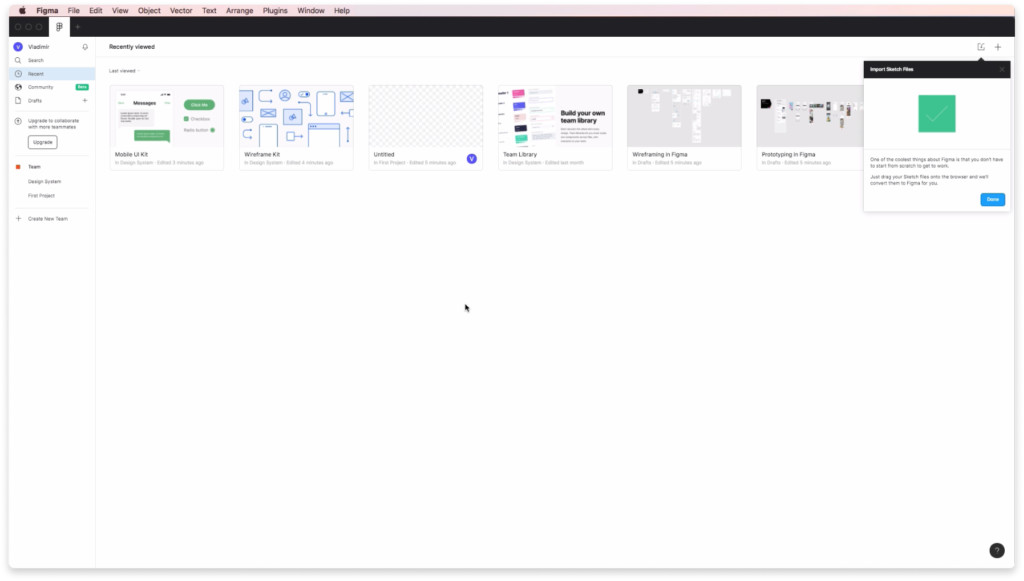
Поздравляю! Вы скачали программу Figma и установили её на ваш компьютер. Так будет выглядеть интерфейс программы после её установки. В следующем уроке мы кратко рассмотрим интерфейс этого приложения.
Остальные уроки по работе в Figma можете посмотреть по этой ссылке
Источник
Setup Guide
This short guide will walk you through the steps needed to setup your development environment for writing and running a simple plugin inside of Figma. By the end of this guide, you will have a plugin that opens a modal, asks the user for a number, and creates that many rectangles on the canvas.
These instructions intend for you to develop plugins in TypeScript using Visual Studio Code. Neither are mandatory: you can develop plugins in any text editor and use any language which can be translated to JavaScript (including JavaScript itself!). But we find that TypeScript and Visual Studio Code provide the best editing experience. We provide a type definition file to make this experience even better.
Install Visual Studio Code
Visual Studio Code can be downloaded here: https://code.visualstudio.com/.
This lets you use TypeScript, which we think makes developing good plugins much easier.
Install Node.js and NPM
You can download Node.js here, which will include NPM: https://nodejs.org/en/download/.
To install TypeScript, run sudo npm install -g typescript in a terminal. (This isn’t installed by Visual Studio Code).
Get the Figma desktop app
At this time, plugin development and testing needs to be done using the Figma desktop app. This is because Figma needs to read your code saved as a local file. The Figma desktop app can be downloaded here: https://www.figma.com/downloads/.
If you already have the desktop app, please make sure to update to the latest version, as several features have been added specifically in order to provide a better plugin development experience.
Log in to your account and open the file editor in the Figma desktop app
You can open any existing document or create a new one.
Go to Menu > Plugins > Development > New Plugin.
This will bring up the «Create a plugin» modal to create a sample plugin. Give it a name, then choose «With UI & browser APIs» in the next screen. Save the plugin anywhere on disk.
Open the code folder
Open the folder you just created using Visual Studio Code. Plugins are defined using multiple files and you’ll want to be able to edit them all of them, so one trick is to open the folder itself rather than any of the files inside it.
Install the typings
Run npm install —save-dev @figma/plugin-typings .
Set up TypeScript compilation
Hit ⌘⇧B (Ctrl-Shift-B for Windows) in Visual Studio Code, then select tsc: watch — tsconfig.json . This tells Visual Studio Code to compile code.ts into code.js . It will watch for changes to code.ts and automatically re-generate code.js every time code.ts is saved.
Run the sample plugin
Create a new design file in the Figma editor. Go to Menu > Plugins > Development > YourPluginName to run your newly created plugin. The sample code will show a UI allowing you to choose a number, and then creates that many rectangles.
Make some test changes
Make some simple changes to code.ts to get familiar with Visual Studio Code and the Figma Plugin API (not code.js — that’s generated and gets overwritten!).
Run your new code!
Switch back to the Figma Desktop App and go to Menu > Plugins > «Run Last Plugin» (Or hit ⌥⌘P for Mac or Ctrl+Alt+P for Windows). This will rerun the last plugin that you ran, i.e. your plugin.
That’s it! You are now ready to develop plugins in Figma!
Источник
Figma for Mac
Figma 93.4.0 LATEST
macOS 10.12 Sierra or later
Figma for Mac 2021 full offline installer setup for Mac
Figma for Mac was built for the future of the web. Figma is a design app for teams who build products together. Born on the Web, Figma helps the entire product team create, test, and ship better designs, faster.
That’s why you’ll see features you won’t find elsewhere. Spend more time iterating and less time moving things around. Remove repetitive tasks, bring in data, and power custom workflows. With your design system in the cloud, all the goodies in your libraries are always one click away.
Goodbye PDFs and outdated exports; share files with a live link! Worry-free editing and collaboration with version history and access a file anywhere with Internet access.
Features and Highlights
A modern pen tool
Draw in any direction with Vector Networks. No more merging or needing to connect to the path’s original point.
Instant arc designs
With Figma for macOS, you can easily design clocks, watch screens, or pie charts easily with the Arc tool.
Be expressive with OpenType
Tap into advanced font features to fully express your brand.
Less manual resizing
Buttons can resize with their text and lists can rearrange themselves when items are moved around.
Stretch to fill
Auto Layout components can now stretch left and right (or top and bottom) for easier responsive design.
Design speaks development
Auto Layout’s padding, direction, and spacing settings translate directly into code, simplifying developer handoffs.
Plugins for everything
Stock imagery, flow diagrams, color accessibility, charts, icons, and more.
Easy development
If you can build a website, you can build a plugin.
Private plugins
Organization customers can create and distribute private plugins within their company.
Flexible Styles
Create consistent Styles—color, text, grid, or effect. Apply them to any text or object across all your projects.
Design systematically
Speed up design with components. Edit and override on the fly.
Accessible libraries
A quick search surfaces the assets you seek. Simply drag and drop them into your file.
Download Figma for Mac Latest Version
Top Downloads
Comments and User Reviews
Join our mailing list
Stay up to date with latest software releases, news, software discounts, deals and more.
Each software is released under license type that can be found on program pages as well as on search or category pages. Here are the most common license types:
Freeware
Freeware programs can be downloaded used free of charge and without any time limitations. Freeware products can be used free of charge for both personal and professional (commercial use).
Open Source
Open Source software is software with source code that anyone can inspect, modify or enhance. Programs released under this license can be used at no cost for both personal and commercial purposes. There are many different open source licenses but they all must comply with the Open Source Definition — in brief: the software can be freely used, modified and shared.
Free to Play
This license is commonly used for video games and it allows users to download and play the game for free. Basically, a product is offered Free to Play (Freemium) and the user can decide if he wants to pay the money (Premium) for additional features, services, virtual or physical goods that expand the functionality of the game. In some cases, ads may be show to the users.
Demo programs have a limited functionality for free, but charge for an advanced set of features or for the removal of advertisements from the program’s interfaces. In some cases, all the functionality is disabled until the license is purchased. Demos are usually not time-limited (like Trial software) but the functionality is limited.
Trial
Trial software allows the user to evaluate the software for a limited amount of time. After that trial period (usually 15 to 90 days) the user can decide whether to buy the software or not. Even though, most trial software products are only time-limited some also have feature limitations.
Usually commercial software or games are produced for sale or to serve a commercial purpose.
Источник


