- Filmconvert pro для mac os
- FilmConvert Pro Bundle 2015 (upd 27.03)
- Nitrate
- Cineon Log Film Emulation
- Design your own film response curve
- Advanced film grain controls
- Cineon Log Film Emulation
- Shoot digital, grade film
- Improved interface and controls
- Cineon Log Film Emulation
- Design your own film response curve
- Advanced film grain controls
Filmconvert pro для mac os
Download the free trial version of FilmConvert for your editor from filmconvert.com/download. The free trial is fully functional, and gives you everything you get in the paid version — the only difference is that while using the trial, you will see a FilmConvert watermark over your export.
When you purchase the software, you will receive a license file sent to your email address that you can use to activate the software and remove the watermark.
- Save the .fkv license file from your Purchase Confirmation email to your Desktop
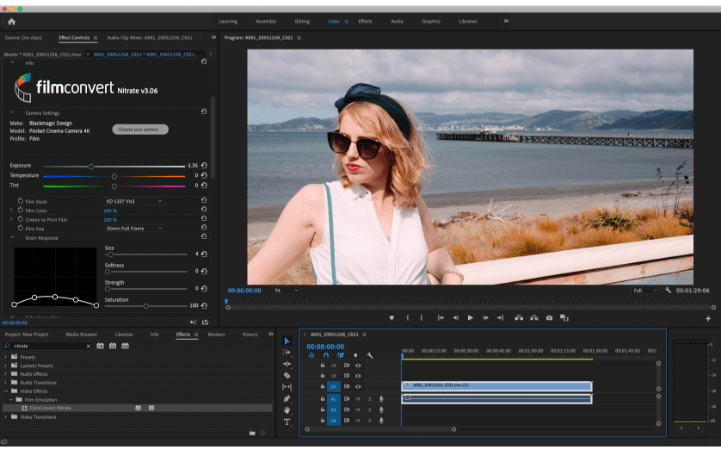
- Download and install the latest trial version of the Adobe Premiere Pro plugin from www.filmconvert.com/download
- Open Adobe Premiere Pro and start a new project
- Add some media to the timeline
- In the Effects menu, search for ‘Nitrate’, and drag the FilmConvert Nitrate plugin onto your clip in the timeline. You will see some color changes and the FilmConvert logo appear on your clip
- Under Effects Controls, find the FilmConvert Nitrate settings and scroll to the bottom of the settings list
- Next to Register Plugin, click the ‘Open License File’ button
- In the popup window that appears, click ‘Load Registration File’ and browse to your Desktop to select the .fkv file
- In the popup dialog click «Load License File» and then select your .FKV file.
- Your plugin will be registered successfully!
- Save the .fkv license file from your Purchase Confirmation email to your Desktop
- Download and install the latest trial version of the Nitrate plugin from www.filmconvert.com/download
- Open your editor and start a new project
- Add some media to the timeline
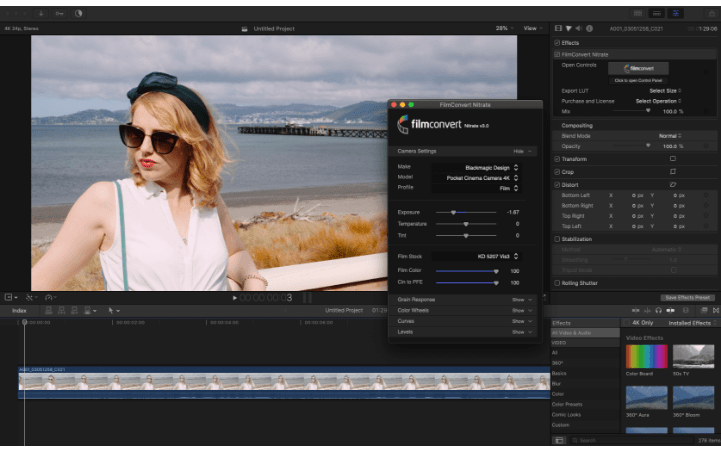
- In the Effects panel, search for ‘FilmConvert Nitrate’, and drag the effect plugin onto your clip in the timeline. You will see some color changes and the FilmConvert logo appear on your clip
- Under Effects Controls, find the FilmConvert Nitrate settings. Next to ‘Purchase and License’, click ‘Select Operation’ and select ‘Activate’.
- In the popup window that appears, click ‘Open FKV File’ and browse to your Desktop to select the .FKV file.
- You should see a pop up message saying ‘Activation Successful!’. Click Ok to close.
- If the watermark does not disappear automatically, please try re-rendering your timeline, or adjust one of the sliders to refresh the image.
- Save the .fkv license file from your Purchase Confirmation email to your Desktop
- Download and install the latest trial version of the FilmConvert plugin from www.filmconvert.com/download
- Open your editor and start a new project
- Add some media to the timeline
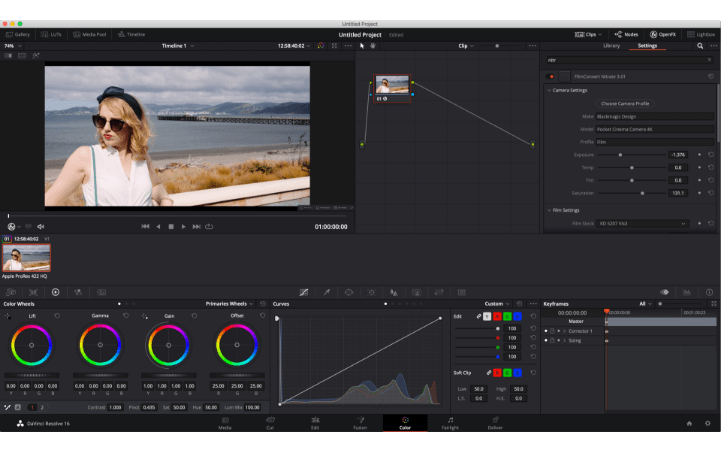
- In the Color Tab, at the top right click OpenFX > Library and search for ‘FilmConvert Nitrate’
- Drag the Nitrate effect onto a node in your tree
- Under the OpenFX > Settings, find the FilmConvert Nitrate settings and scroll to the bottom
- Under Export and License, click the Activate License button
- In the popup window that appears, click ‘Load Registration File’ and browse to your Desktop to select the .FKV file
- In the popup dialog click «Load License File» and then select your .FKV file. Click Open.
- Your plugin will be registered successfully!
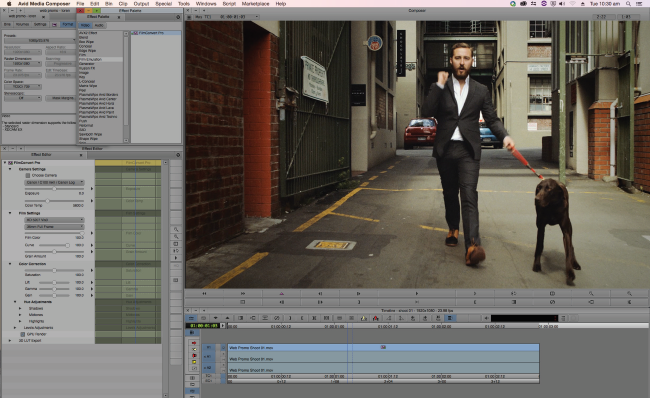
- Download and install the latest Avid Media Composer Plugin installer
- Open Avid Media Composer and create a new project
- Create a new sequence, import some media, and drag it onto the timeline.
- Click on Effects from the menu bar
- Open the Effects Palette window.
- Go to the Film Emulation category, and drag the FilmConvert effect onto your media. You should see some color changes, grain and FilmConvert watermarks on your media
- Click on the Effects Editor
- At the bottom of the plugin settings ‘Activate’
- On the popup window that appears, click Load Registration File and browse to your Desktop where you saved your license file. Click OK.
- You should see a message that says ‘Your software has been registered successfully!’
- Download and install the Photoshop plugin
- Open Photoshop and start a new project
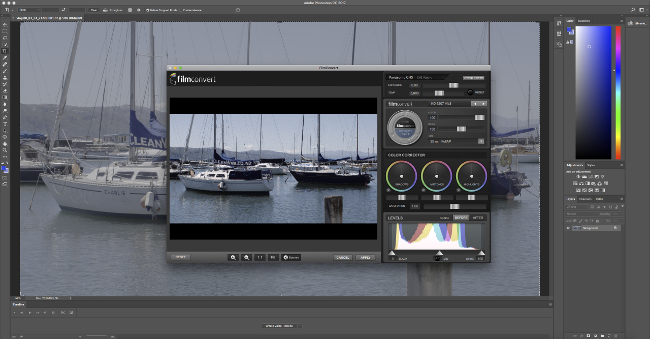
- From the Filter menu, choose Film Emulation and click ‘FilmConvert. ’
- In the popup interface which appears, at the top of the menu click Activate
- Click ‘Load Registration File’ and browse to the Desktop where you saved your .fkv license file
- Click OK, and your plugin will be successfully registered
This is most often caused by your mail client trying to ‘unzip’ the license file. Try the following steps:
- Download the .fkv file using a browser from your webmail. Save the .fkv file to your desktop or another local location
- If you are downloading via Safari, please un-tick «open safe files after downloading» in your browser preferences
You should receive an email from FilmConvert with your license file and activation instructions within a few minutes of your purchase.
- If you completed your purchase via Paypal, your license file will have been emailed to the email address associated with your Paypal account
- If using Gmail, please check your Spam folder and Promotions folder, as Google may have filed it in there
- If you are using a .edu email address, some university mailservers will reject attachments outright. Please email support@filmconvert.com and we can update your email address
To fix the license problem please make a backup of Macintosh HD/Library/Application Support/RubberMonkey/Profiles or have the original camera pack installers handy.
Next delete Macintosh HD/Library/Application Support/RubberMonkey, then re-install the plugin.
Your FilmConvert license allows you to activate the software on up to 3 machines at one time. If you’ve reached your max activations limit, you will need to deactivate an existing machine before you can activate on your new computer. Click the Deactivate Plugin button at the bottom of the plugin settings to deactivate a machine before you wipe/sell/upgrade it.
If your old computer is no longer active or able to be deregistered, please contact us.
No! Your best bet is to upgrade to our full Bundle package — it gives you access to all the plugins across all the editing platforms we support: Resolve, Premiere+AE, FCPX etc. That way you can maintain backwards compatibility to older projects you’ve edited as well as work on your new projects.
As you may have heard, we’ve recently released an optional paid upgrade for FilmConvert called Nitrate, which gives you even more power and flexibility in your grading.
If you just want to keep using FilmConvert Pro, you can download the legacy installer from here and activate it using your original license key.
If you want to upgrade to FilmConvert Nitrate, you can upgrade your license for $89 here.
Источник
FilmConvert Pro Bundle 2015 (upd 27.03)

Качество вашего видео файла не устраивает вас, тогда воспользуйтесь программой FilmConvert Pro Bundle. FilmConvert Pro Bundle — обеспечивает сложный алгоритм преобразования цифровых кадров в соответствии с вашими запросами.
В раздачу включены:
- FilmConvert Pro Stand alone v1.224
- FilmConvert Pro for Adobe After Effects-Premiere v2.19
- FilmConvert Pro for Adobe Photoshop v1.05
- FilmConvert Pro for OFX v2.02
- FilmConvert Pro for Final Cut Pro X-7-Motion v2.16
FilmConvert — это лучший эмулятор кинопленки, из всех, которые Вы когда-либо видели. Он позволяет выполнить цветокоррекцию и добавить особые шумы, которые свойственны современным пленочным кинокамерам, что в совокупности позволит превратить изображение с цифровой камеры в картинку кинематографического «пленочного» качества. Фактически, программа FilmConvert использует цветовую информацию конкретных кинокамер и конкретных видов кинопленки, и преобразует ваше цифровое видеоизображение в соответствии с заданными алгоритмами.
Разработчик: Film Convert
Релиз состоялся: апрель- февраль 2015
Платформа: Apple Mac с процессором Intel
Системные требования: Mac OS X 10.6 +
Язык интерфейса: Английский
Таблетка: Присутствует
Смонтировать выбранный образ, запустить установщик и следовать инструкции установщика.
Лечение:
Для Film Convert (standalone)
Патч применяется для плагина по следующему пути:
Для FilmConvert (Final Cut Pro)
Патч применяется для плагина по следующему пути:
Для FilmConvert (Adobe After Effects &Premiere)
Патч применяется для плагина по следующему пути:
Для FilmConvert (Photoshop)
Патч применяется для плагина по следующему пути:
Для FilmConvert Pro for OFX Plugin
Патч применяется для плагина по следующему пути:
За новые патчи спасибо Special [K]
* Для справки: на патче описаны все пути до плагинов …
* При применении патча, возможно, будет предложено загрузить средства разработчика Xcode — ничего загружать не требуется!
* патч совместим с 10.10
* Для плагинов FilmConvert и для Стандартного приложения
Эти дополнительные пакеты данных для повышения точности цветопередачи для камеры.
Дополнительные пакеты для камер можно скачать по этой ссылке
Системные требования:
- FilmConvert stand-alone требуется Mac OSX 10.6 и выше
- FilmConvert для Final Cut Pro требуется Final Cut Pro X or 7 или Motion 4 or 5.
- FilmConvert для After Effects требуется After Effects CS5.5 и выше или Premiere Pro CS5.5 и выше
- FilmConvert для Photoshop требуется Photoshop CS5 и выше
Скачать программу FilmConvert Pro Bundle 2015 (upd 27.03) (752.44 MB):
Источник
Nitrate
— a new set of features to give you even more power and control over your color grading.
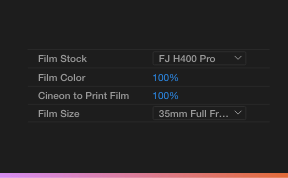
Cineon Log Film Emulation
Filmmakers love the built-in FilmConvert film stocks for their authentic look, but sometimes you want more control over the final image.
In the Nitrate update, we’ve added Cineon Log versions of our original film stock emulations, meaning you can dial the contrast or saturation of a film stock back to your liking, while still keeping the authentic film stock colors.


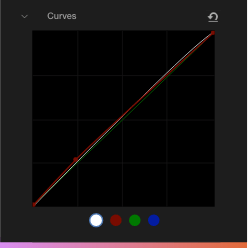
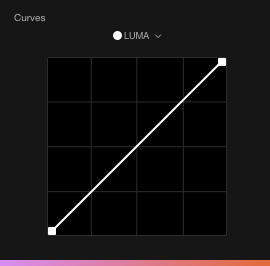
Design your own film response curve
We’ve designed full custom curve controls for each of the FilmConvert film stocks, so you can create exactly the look you want: modify highlight and shadow roll-offs, or even design your own film stock from scratch. Nitrate now uses a full Log image processing pipeline, so you can retain the full dynamic range of your footage through the grading process.
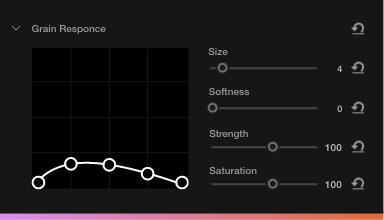
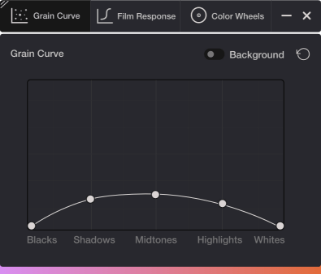
Advanced film grain controls
You can now adjust the appearance of the grain individually in the highlights, mid-tones, and shadows.

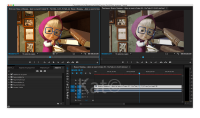
New onscreen controls for film grain and curve editing!
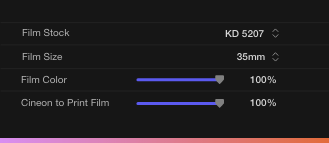
Cineon Log Film Emulation
Filmmakers love the built-in FilmConvert film stocks for their authentic look, but sometimes you want more control over the final image.
In Nitrate, we’ve added Cineon Log versions of our original film stock emulations, meaning you can dial the contrast or saturation of a film stock back to your liking, while still keeping the authentic film stock colors.


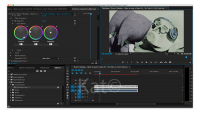
Shoot digital, grade film
Advanced colorists can use Nitrate in DaVinci Resolve for a true film color workflow. Nitrate now uses a full Log image-processing pipeline, so you can retain the full dynamic range of your footage through the grading process..
Improved interface and controls
Use Nitrate’s onscreen controls to grade your image in a full-screen interface so you can get up close and personal with your grade.

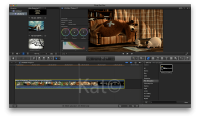
Magnetic Timeline + Media Organization + Nitrate =
faster editing and grading in Final Cut Pro X
Cineon Log Film Emulation
Filmmakers love the built-in FilmConvert film stocks for their authentic look, but sometimes you want more control over the final image.
In the Nitrate update, we’ve added Cineon Log versions of our original film stock emulations, meaning you can dial the contrast or saturation of a film stock back to your liking, while still keeping the authentic film stock colors.


Design your own film response curve
We’ve designed full custom curve controls for each of the FilmConvert film stocks, so you can create exactly the look you want: modify highlight and shadow roll-offs, or even design your own film stock from scratch. Nitrate now uses a full Log image processing pipeline, so you can retain the full dynamic range of your footage through the grading process.
Advanced film grain controls
You can now adjust the appearance of the grain individually in the highlights, mid-tones, and shadows.
Источник


