- FITS Image Software Packages
- FITS Image Viewers
- Image Format Converters — FITS to/from GIF, JPEG, etc
- Notes Regarding the Display of FITS Images
- How to Edit Photos to Fit Your Display in Windows 10
- Image Resizer utility
- Drag and Drop
- Settings
- Sizes
- Fill vs Fit vs Stretch
- Fallback encoding
- Auto width/height
- Доступен инструмент для создания образов Windows 10X
- Device Image Generator – инструмент для быстрого создания FFU-образов Windows 10X
- Важная информация
- Printing image with PrintDocument. how to adjust the image to fit paper size
- 7 Answers 7
FITS Image Software Packages
FITS Image Viewers
Image Format Converters — FITS to/from GIF, JPEG, etc
As an example, the following command will open the file «name.fits», zoom it to fit the window, save it in JPEG format to the file «filename.jpeg», and then exit
ds9 name.fits -zoom to fit -saveimage jpeg filename.jpeg -exit
Other output image formats, besides jpeg, are png, tiff, ppm, and mpeg. Optionally, one can add «-zscale» or «-geometry 800×800» options to customize the output image. These options and more are described using «ds9 —help».
Notes Regarding the Display of FITS Images
An application intended to render a FITS image for viewing by a user has significantly more responsibility than an application intended to handle other standard image formats (e.g., «jpg» or «gif» images). FITS data arrays contain elements which typically represent the values of a physical quantity at some coordinate location. Consequently they need not contain any pixel rendering information in the form of transfer functions, and there is no mechanism for color look-up tables. An application should provide this functionality, either statically using a more or less sophisticated algorithm, or interactively allowing a user various degrees of choice. (See also, a short introduction to astronomical image processing).
Furthermore, the elements in a FITS data array may be integers or floating point numbers. The dynamic range of the data array values may exceed that of the display medium and the eye, and their distribution may be highly nonuniform. Logarithmic, square-root, and quadratic transfer functions along with histogram equalization techniques have proved helpful for rendering FITS data arrays. Some elements of the array may have values which indicate that their data are undefined or invalid; these should be rendered distinctly.
The data array in a FITS image must have a dimensionality between 1 and 999, the boundaries inclusive, indicated by the NAXIS keyword. The extent of any coordinate axis in a FITS data array may, however, consist of only a single element. Hence an algorithm designed to render two-dimensional images will be capable of displaying a three- or four-dimensional FITS array when one or two of the axes consist of a single pixel.
Three-dimensional data arrays (NAXIS=3 with multiple elements along each) are of special interest. Inspection of the World Coordinate System (WCS) keywords in an image with NAXIS = 3 or more may indicate that one of the axes is temporal. Writers of viewer applications should consider presenting such an image in a fashion akin to that used for an animated GIF. Even in the absence of WCS indication of a temporal axis this time-lapse display technique can be effective, and application writers should consider offering it for all three-dimensional arrays.
How to Edit Photos to Fit Your Display in Windows 10
By Henry T. Casey 08 September 2016
If you’ve ever set an image as your lock screen or desktop, you may find yourself dissatisfied with the crop that Windows 10 decided to use. Fortunately, you can custom-crop images to fit your display.

And you can do it with just the software that came with your PC. All you need to do is open the image you want to use in Windows 10’s Photos app, which knows the dimensions of your display, so you don’t need to look them up.
Here’s how to edit photos to fit your display in Windows 10:
1. Open your image in Photos and hover over the top of the window with your cursor.
2. Click Edit.
5. Select Lock Screen.
6. Adjust the crop box by dragging it and moving the corner dots to select the portion you want to use and click Apply.
7. Click Save a copy.
8. Click the . button.
9. Select Set as.
10. Select Set as lock screen or Set as background. Repeat steps 8, 9 and 10 as necessary.
You’ve cropped your image to fit your display!
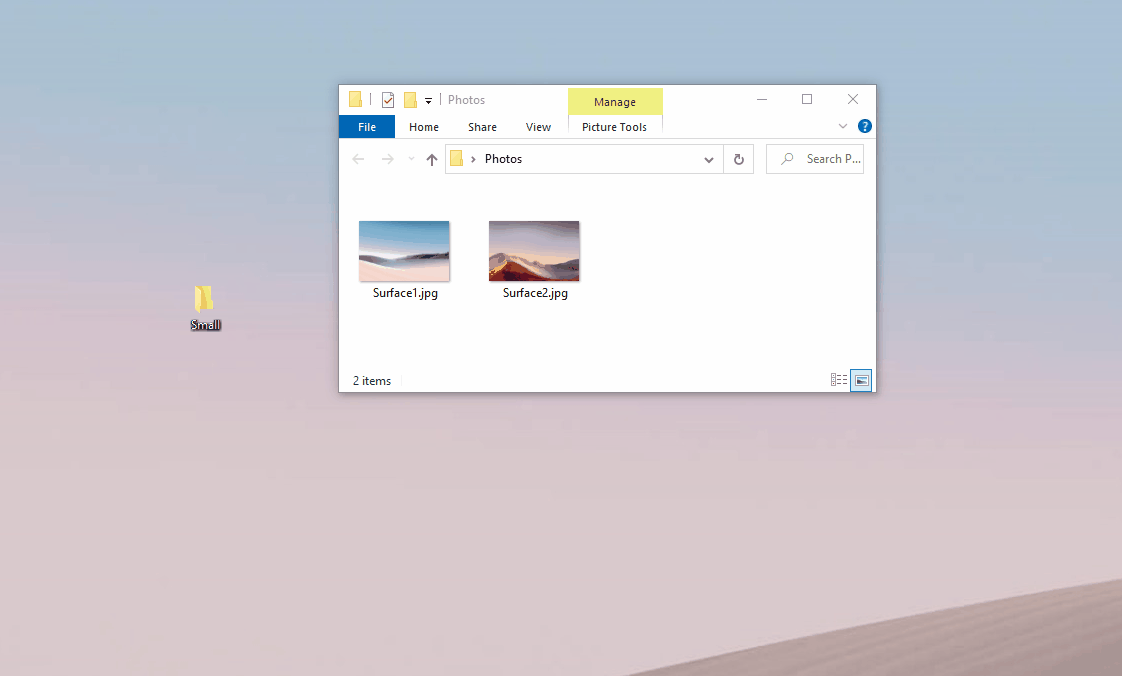
Image Resizer utility
Image Resizer is a Windows shell extension for bulk image-resizing. After installing PowerToys, right-click on one or more selected image files in File Explorer, and then select Resize pictures from the menu.

Drag and Drop
Image Resizer also allows you to resize images by dragging and dropping your selected files with the right mouse button. This allows you to quickly save your resized pictures in another folder.
Settings
Inside the PowerToys Image Resizer tab, you can configure the following settings.

Sizes
Add new preset sizes. Each size can be configured as Fill, Fit or Stretch. The dimension to be used for resizing can also be configured as Centimeters, Inches, Percent and Pixels.
Fill vs Fit vs Stretch
- Fill: Fills the entire specified size with the image. Scales the image proportionally. Crops the image as needed.
- Fit: Fits the entire image into the specified size. Scales the image proportionally. Does not crop the image.
- Stretch: Fills the entire specified size with the image. Stretches the image disproportionally as needed. Does not crop the image
The width and height of the specified size may be swapped to match the orientation (portrait/landscape) of the current image. To always use the width and height as specified, un-check: Ignore the orientation of pictures.
Fallback encoding
The fallback encoder is used when the file cannot be saved in it’s original format. For example, the Windows Metafile (.wmf) image format has a decoder to read the image, but no encoder to write a new image. In this case, the image cannot be saved in it’s original format. Image Resizer enables you to specify what format the fallback encoder will use: PNG, JPEG, TIFF, BMP, GIF, or WMPhoto settings. This is not a file type conversion tool, but only works as a fallback for unsupported file formats.
The file name of the resized image can be modified with the following parameters:
- %1 : Original filename
- %2 : Size name (as configured in the PowerToys Image Resizer settings)
- %3 : Selected width
- %4 : Selected height
- %5 : Actual height
- %6 : Actual width
For example, setting the filename format to: %1 (%2) on the file example.png and selecting the Small file size setting, would result in the file name example (Small).png .
Setting the format to %1_%4 on the file example.jpg and selecting the size setting Medium 1366 x 768px would result in the file name: example_768.jpg .
You can also choose to retain the original last modified date on the resized image.
Auto width/height
You can leave the height or width empty. This will honor the specified dimension and «lock» the other dimension to a value proportional to the original image aspect ratio.
Доступен инструмент для создания образов Windows 10X
Операционная система Windows 10, разработанная компанией Microsoft, занимает львиную долю рынка операционных систем для настольных ПК благодаря тому, что ее можно установить практически на любой современный компьютер.
Однако Windows 10X – это уникальная разновидность операционной системы Microsoft, которая изначально была разработана исключительно для складных устройств и устройств с двумя экранами, но затем была переработана для поддержки устройств с одним экраном.
Интересно, что вся архитектура Windows 10X радикально отличается от операционной системы Windows 10. Универсального установщика для Windows 10X не существует, поскольку компания Microsoft не намерена позволять конечным пользователям устанавливать данную систему на свои ПК.
Если вы уже видели обзоры Windows 10X или даже протестировали систему, установив её на на виртуальную машину Microsoft Hyper-V, то возможно вы захотите установить Windows 10X в качестве основной операционной системы. В таком случае вы будете рады узнать, что независимый разработчик выпустил инструмент под названием «Device Image Generator», который упрощает процесс создания установочного образа Windows 10X.
Device Image Generator – инструмент для быстрого создания FFU-образов Windows 10X
Инструмент Device Image Generator, созданный инсайдером Albacore, призван стать простой и удобной утилитой для создания полнофункционального пакета Full Flash Update (FFU) для сборки Windows 10X с поддержкой обычных ПК. Device Image Generator позволяет отказаться от инструментов командной строки и пользователи теперь могут экспортировать все необходимые драйверы из существующей установки Windows 10 и вставить их в базовый образ Windows 10X.
Кроме того, утилита автоматически создает набор пакетов конфигурации, необходимых для построения окончательного образа. Имейте в виду, что инструмент Device Image Generator не загружает набор файлов Unified Update Platform (UUP) сборки Windows 10X, поэтому пользователи должны будут воспользоваться утилитой UUPMediaCreator для самостоятельной загрузки UUP файлов. Подробная инструкция с описанием работы утилиты UUPMediaCreator доступна по ссылке.
Вы можете скачать инструмент Device Image Generator для генерации образов Windows 10X по ссылке ниже. После загрузки разархивируйте архив 7Z и запустите файл DevImgGen.exe.
Важная информация
Инструмент отмечен как «бета версия», что означает, что нет никакой гарантии в том, что он сможет создать образ при использовании определенных аппаратных компонентов. Например, операционная система Windows 10X требует DHCU-драйверы, которые доступны только для новых устройств. Более того, сама Windows 10X еще не достигла стадии RTM, поэтому стоит ожидать случайных ошибок на любом этапе, от создания образа до установки и эксплуатации системы.
Printing image with PrintDocument. how to adjust the image to fit paper size
In C#, I am trying to print an image using PrintDocument class with the below code. The image is of size 1200 px width and 1800 px height. I am trying to print this image in a 4*6 paper using a small zeebra printer. But the program is printing only 4*6 are of the big image. that means it is not adjusting the image to the paper size !
When i print the same image using Window Print (right click and select print, it is scaling automatically to paper size and printing correctly. that means everything came in 4*6 paper.) How do i do the same in my C# program ?
7 Answers 7
The parameters that you are passing into the DrawImage method should be the size you want the image on the paper rather than the size of the image itself, the DrawImage command will then take care of the scaling for you. Probably the easiest way is to use the following override of the DrawImage command.
Note: This will skew the image if the proportions of the image are not the same as the rectangle. Some simple math on the size of the image and paper size will allow you to create a new rectangle that fits in the bounds of the paper without skewing the image.
Not to trample on BBoy’s already decent answer, but I’ve done the code that maintains aspect ratio. I took his suggestion, so he should get partial credit here!

The solution provided by BBoy works fine. But in my case I had to use
This will print only the form. When I use MarginBounds it prints the entire screen even if the form is smaller than the monitor screen. PageBounds solved that issue. Thanks to BBoy!
You can use my code here

Agree with TonyM and BBoy — this is the correct answer for original 4*6 printing of label. (args.PageBounds). This worked for me for printing Endicia API service shipping Labels.
all these answers has the problem, that’s always stretching the image to pagesize and cuts off some content at trying this.
Found a little bit easier way.
My own solution only stretch(is this the right word?) if the image is to large, can use multiply copies and pageorientations.


