- How to display the contents of a text file on the terminal in Linux/Ubuntu
- Using less
- Using cat
- Using Echo
- Using printf
- Using tail
- Using head
- Using more
- Conclusion :
- 5 Commands to View the Content of a File in Linux Command Line
- 5 commands to view files in Linux
- 1. Cat
- 3. Less
- 4. Head
- 5. Tail
- Bonus: Strings command
- How To Find Files by Content Under UNIX / Linux
- Using grep Command To Find Files By Content on Unix or Linux
- Highlighting searched patterns
- Displaying file names and line number for searched patterns
- Using find command to search files by words or string
- Conclusion
- Команда file в Linux
- Синтаксис и опции file
- Примеры использования file
- Выводы
How to display the contents of a text file on the terminal in Linux/Ubuntu
In this short tutorial, we cover see some simple commands that will help users learn how to open a file in linux or view its contents on the command line.
Using less
This is a pager which is useful to view long files for instance:
For instance the command below will display the content of the file output_report.txt :

Linux view text file
By passing the -F and -X switches, less can behave like cat when applied to small files but will act normally otherwise.
For instance :
less -X new_file

Using cat
applying cat to the same file that we used above, .i.e. :

Linux show file content
Using Echo
The parenthesis ( ) are used to return the value of a given expression which in this case, is the contents of file_name .

Linux display file contents
Using printf
Much like the previous command, the parenthesis ( ) are used to return the value of a given expression which in this case, is the contents of file_name .

Using tail
To display the last few lines
applying tail to the file output_in_html will give the following result :

which displays the last lines of the provided file.
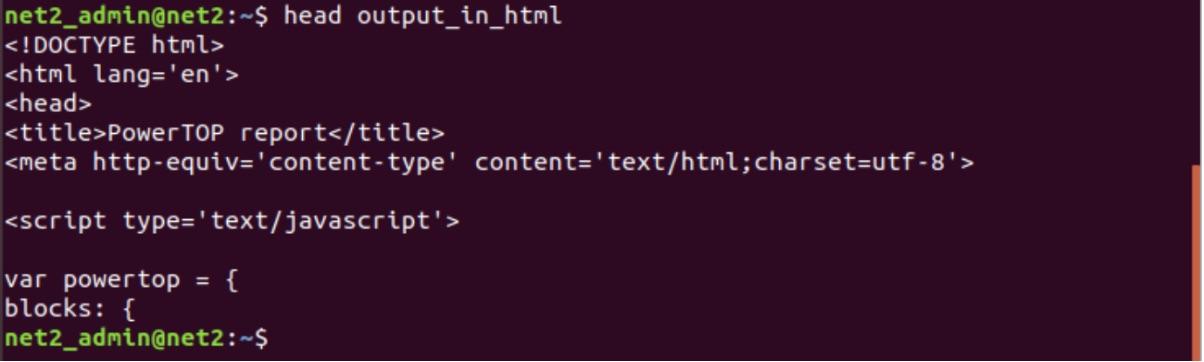
Using head
Used to display the first few lines.
Applying head to the file output_in_html will give the following result :
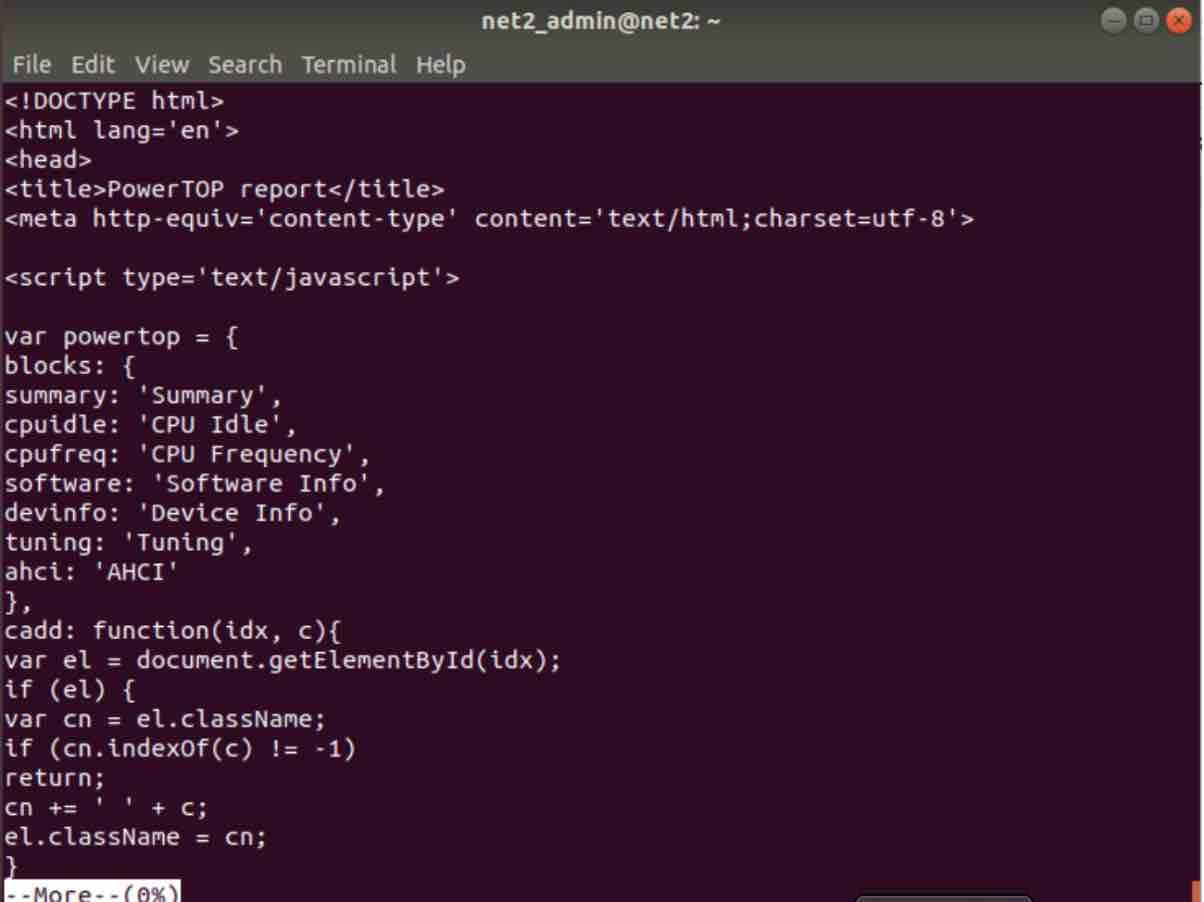
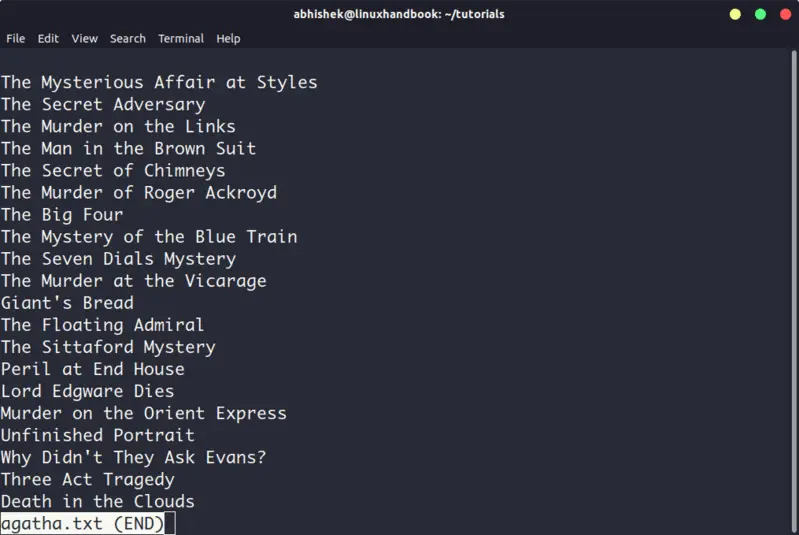
Using more
The more command enables you to display the contents of text files in a scrollable manner. The text is shown one screenful at a time. You also have the possibility to scroll forwards and backwards through the text. You can even perform a search on the text.

Linux command to display contents of a file
Will show the following :
- Space key : Used to scroll the display, .i.e. one screenful at a time
- Enter key : Used to scroll the display one line
- b key : Used to scroll the display backwards one screenful at a time
- / key : Used to search the a given pattern much like in the vi/vim editor
Conclusion :
You have seen some simple utilities that allow you to display a text file on the command line. For small files, you can use the less command, or the echo command. If you know other similar tools, do not hesitate to write them in the comments section below.
If you like the content, we would appreciate your support by buying us a coffee. Thank you so much for your visit and support.
Источник
5 Commands to View the Content of a File in Linux Command Line
If you are new to Linux and you are confined to a terminal, you might wonder how to view a file in the command line.
Reading a file in Linux terminal is not the same as opening file in Notepad. Since you are in the command line mode, you should use commands to read file in Linux.
Don’t worry. It’s not at all complicated to display a file in Linux. It’s easy as well essential that you learn how to read files in the line.
Here are five commands that let you view the content of a file in Linux terminal.
5 commands to view files in Linux
Before you how to view a file in Unix like systems, let me clarify that when I am referring to text files here. There are different tools and commands if you want to read binary files.
1. Cat
This is the simplest and perhaps the most popular command to view a file in Linux.
Cat simply prints the content of the file to standard display i.e. your screen. It cannot be simpler than this, can it?
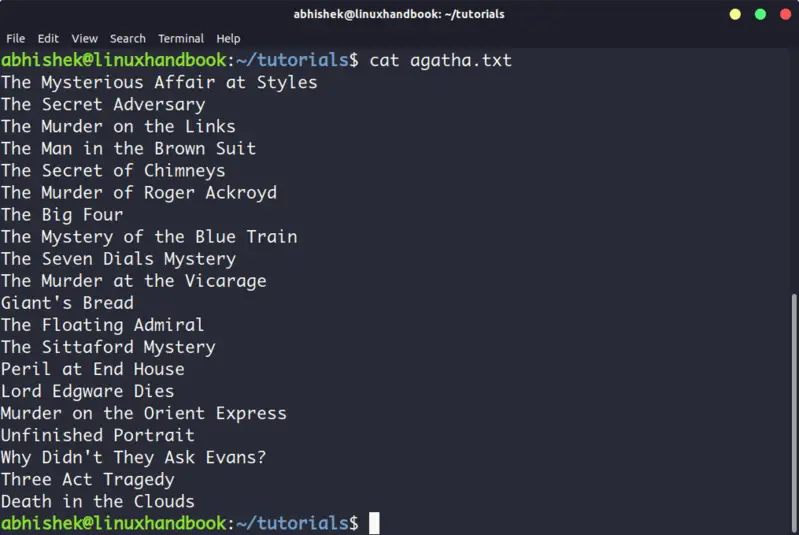 cat displays the content of the file on the screen
Cat becomes a powerful command when used with its options. I recommend reading this detailed tutorial on using cat command.
The problem with cat command is that it displays the text on the screen. Imagine if you use cat command with a file that has 2000 lines. Your entire screen will be flooded with the 200 lines and that’s not the ideal situation.
So, what do you do in such a case? Use less command in Linux (explained later).
The nl command is almost like the cat command. The only difference is that it prepends line numbers while displaying the text in the terminal.
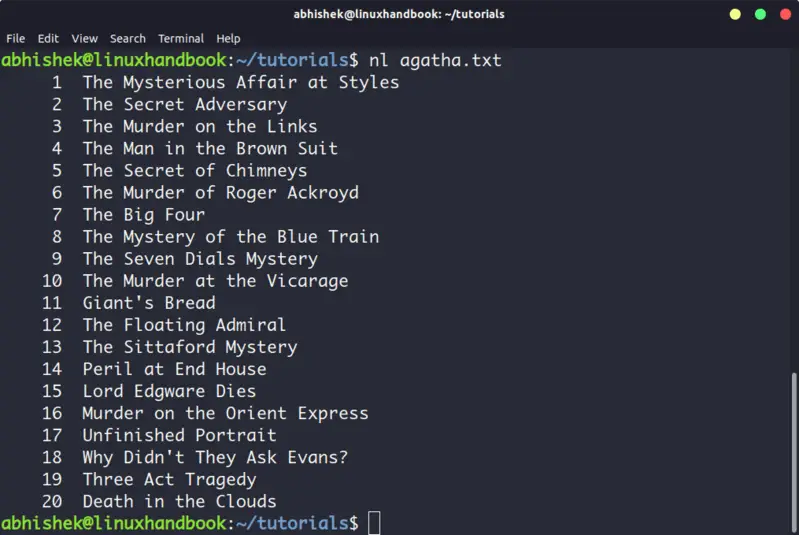 nl command displays text with line numbers
There are a few options with nl command that allows you to control the numbering. You can check its man page for more details.
3. Less
Less command views the file one page at a time. The best thing is that you exit less (by pressing q), there are no lines displayed on the screen. Your terminal remains clean and pristine.
I strongly recommend learning a few options of the Less command so that you can use it more effectively.
There is also more command which was used in olden days but less command has more friendly features. This is why you might come across the humorous term ‘less is more’.
4. Head
Head command is another way of viewing text file but with a slight difference. The head command displays the first 10 lines of a text file by default.
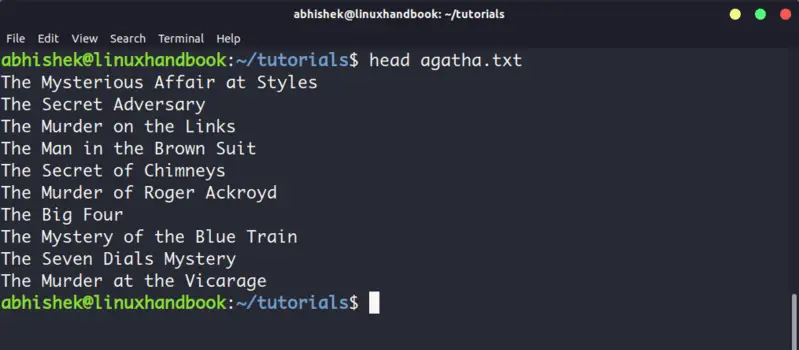
You can change this behavior by using options with head command but the fundamental principle remains the same: head command starts operating from the head (beginning) of the file.
5. Tail
Tail command in Linux is similar and yet opposite to the head command. While head command displays file from the beginning, the tail command displays file from the end.
By default, tail command displays the last 10 lines of a file.

Head and Tail commands can be combined to display selected lines from a file. You can also use tail command to see the changes made to a file in real time.
Bonus: Strings command
Okay! I promised to show only the commands for viewing text file. And this one deals with both text and binary files.
Strings command displays the readable text from a binary file.
No, it doesn’t convert binary files into text files. If the binary file consists of actual readable text, strings command displays those text on your screen. You can use the file command to find the type of a file in Linux.
Conclusion
Some Linux users use Vim to view the text file but I think that’s overkill. My favorite command to open a file in Linux is the less command. It leaves the screen clear and has several options that makes viewing text file a lot easier.
Since you now know ways to view files, maybe you would be interested in knowing how to edit text files in Linux. Cut and Paste are two such commands that you can use for editing text in Linux terminal. You may also read about creating files in Linux command line.
Источник
How To Find Files by Content Under UNIX / Linux
Using grep Command To Find Files By Content on Unix or Linux
Type the command as follows:
- -i : Ignore case distinctions in both the PATTERN (match valid, VALID, ValID string) and the input files (math file.c FILE.c FILE.C filename).
- -R (or -r ): Read all files under each directory, recursively.
Highlighting searched patterns
You can highlight patterns easily while searching large number of files:
$ grep —color=auto -iR ‘getChar();’ *.c
Displaying file names and line number for searched patterns
You may also need to display filenames and numbers:
$ grep —color=auto -iRnH ‘getChar();’ *.c
Where,
- No ads and tracking
- In-depth guides for developers and sysadmins at Opensourceflare✨
- Join my Patreon to support independent content creators and start reading latest guides:
- How to set up Redis sentinel cluster on Ubuntu or Debian Linux
- How To Set Up SSH Keys With YubiKey as two-factor authentication (U2F/FIDO2)
- How to set up Mariadb Galera cluster on Ubuntu or Debian Linux
- A podman tutorial for beginners – part I (run Linux containers without Docker and in daemonless mode)
- How to protect Linux against rogue USB devices using USBGuard
Join Patreon ➔
- -n : Prefix each line of output with the 1-based line number within its input file.
- -H Print the file name for each match. This is the default when there is more than one file to search.
Hence, type the following command:
$ grep —color=auto -nH ‘DIR’ *
Fig.01: grep command displaying searched pattern
Using find command to search files by words or string
We can also use the find command. The syntax is as follows:
find /dir/to/search -name «file-pattern» -print | xargs grep «word-to-search»
## OR ##
find /dir/to/search -iname «file-pattern» -print0 | xargs -I <> -0 grep «string-to-search» «<>»
For example, search all c program files (*.c) and look for “ main( ” and print it on the screen when matched in the current directory:
$ find . -name «*.c» -print | xargs grep «main(»
OR
$ find /projects/ -iname «*.c» -print0 | xargs -I <> -0 grep «main(» «<>»
Where find command options are:
- -name : Base of file name. For instance, look for all Perl files ( *.pl )
- -iname : Same as above ( -name
- -print : Print the full file name on the standard output.
- -print0 : Display the full file name on the standard output, followed by a null character (instead of the newline character that -print uses). This allows file names that contain newlines or other types of white space to be correctly interpreted by programs that process the find output. This option corresponds to the -0 option of xargs.
And, the xargs command are:
- -I <> : Replace occurrences of <> in the initial-arguments with names read from standard input. In other words, pass <> as input to the grep command.
- -0 : Input items are terminated by a null character instead of by whitespace, and the quotes and backslash are not special (every character is taken literally). Disables the end of file string, which is treated like any other argument. Useful when input items might contain white space, quote marks, or backslashes. The GNU find -print0 option produces input suitable for this mode.
- grep «main(» «<>« : Search for » main( » string using the grep in a file found by find command.
Conclusion
You learned how to find files by content under UNIX and Linux using various commands. See the following resources:
🐧 Get the latest tutorials on Linux, Open Source & DevOps via
Источник
Команда file в Linux
Команда file — одна из самых полезных, поскольку позволяет узнать тип данных, которые на самом деле содержатся внутри документа. Если у вас есть какой-либо файл, взятый из ненадёжного источника, не поленитесь проверить его с помощью этой команды, прежде чем нажать кнопку Открыть. Возможно, такая предосторожность покажется лишней, но она оградит вас от «встречи» с нежелательным контентом.
В большинстве дистрибутивов Linux утилита file (работу которой и запускает одноимённая команда) входит в стандартный набор программного обеспечения.
Синтаксис и опции file
Синтаксис команды file достаточно простой. Записывать её в эмуляторе терминала или консоли следует так:
file опции название_документа
Что же касается опций, то их у этой команды несколько десятков. Мы рассмотрим лишь основные:
- -b, —brief — запрет на демонстрацию имен и адресов файлов в выводе команды;
- -i, —mime — определение MIME-типа документа по его заголовку;
- —mime-type, —mime-encoding — определение конкретного элемента MIME;
- -f, —files-from — анализ документов, адреса которых указаны в простом текстовом файле;
- -l, —list — список паттернов и их длина;
- -s, —special-files — предотвращение проблем, которые могут возникнуть при чтении утилитой специальных файлов;
- -P — анализ определенной части файла, которая обозначается различными параметрами;
- -r, —raw — отказ от вывода /ooo вместо непечатных символов;
- -z — анализ содержимого сжатых документов.
Для того, чтобы ознакомиться с полным списком опций, выполните в терминале команду:
Примеры использования file
Если вам нужно всего лишь посмотреть тип файла, использовать опции не обязательно. Достаточно прописать имя команды, а также название файла и путь к нему, при условии, что он находится не в корневой папке:
Случается, что нужно проверить не один, а несколько файлов. Чтобы не выполнять команду много раз подряд, перечисляйте названия всех файлов через пробел:
file /home/main-user/losst/test-file1.zip /home/main-user/losst/test-file2.tiff

Как видно на примере, картинки с расширениями gif и tiff в действительности оказались текстовыми документами, а архив с расширением zip — PDF документом. Кстати, команда file даёт возможность не только проверить, является ли архив архивом, но и заглянуть внутрь, чтобы узнать, что в нём содержится. Для этой цели используется опция -z:
file -z /home/main-user/losst/testarchive.zip

Как вы успели заметить, команда, возвращая ответ, постоянно выводит названия файлов, что в некоторых случаях бывает удобно, но зачастую только усложняет чтение результатов. Отключить эту функцию легко — воспользуйтесь опцией -b:
file -b /home/main-user/losst/test-file.gif /home/main-user/losst/test-file1.zip /home/main-user/losst/test-file2.tiff

Иногда нужно узнать не просто тип файла, а его MIME-тип. В таком случае на помощь приходит опция -i:
file -i -b /home/main-user/losst/fileA.sbin /home/main-user/losst/fileG.aspx /home/main-user/losst/fileH.lua

Нередко по каким-либо причинам утилита не может найти указанный файл: например, вы ошиблись буквой в его названии или неверно указали папку, в которой он находится. Тогда вывод информации об этом файле предваряет фраза cannot open. Впрочем, есть возможность видоизменить результат, добавив в него сообщение об ошибке. Для этого используйте опцию -E.
Сравните вывод команды с опцией -E и без неё:
file -E -b /home/main-user/losst/test-file1.zip /home/main-user/losst/test-file4.raw /home/main-user/losst/test-file.gif
file -b /home/main-user/losst/test-file1.zip /home/main-user/losst/test-file4.raw /home/main-user/losst/test-file.gif

Еще один способ работы с утилитой file — запись названий и адресов документов в простой текстовый файл. Применяя этот способ на практике, не забывайте добавлять к команде опцию —files-from, после которой указывайте имя файла, содержащего список документов, и путь к нему.
file —files-from /home/main-user/losst/list_of_files.txt

Выводы
Команда file помогает избежать ситуаций, когда вам приходится открывать подозрительные файлы, не будучи уверенными в их содержимом. Также вы можете использовать её для проверки содержимого нескольких архивов, если есть необходимость найти потерявшийся в большом массиве файлов документ, но нет желания просматривать все архивы вручную.
Источник


