- Github для кали линукс
- About
- Github для кали линукс
- About
- Resources
- License
- Releases
- Packages 0
- Contributors 5
- Languages
- 10 вещей, которые нужно сделать после установки Kali Linux
- 1. Установите Git
- 2. Назначьте Bash-алиасы
- 3. Создайте непривилегированного пользователя
- 4. Установите терминальный мультиплексор
- 5. Установите любимые инструменты
- 6. Установите свежий Tor
- 7. Установите Syncthing для хранения данных
- 8. Установите редактор кода
- 9. Установите OpenVAS
- 10. Поменяйте ключи и пароль SSH
- derhuerst / intro.md
- This comment has been minimized.
- alhadhrami commented Nov 9, 2017
- This comment has been minimized.
- rgnest commented Jan 6, 2018 •
- This comment has been minimized.
- mithlesh4257 commented Jan 7, 2018
- This comment has been minimized.
- elseagle commented Jan 18, 2018
- This comment has been minimized.
- Kaarthick912 commented Mar 5, 2018
- This comment has been minimized.
- Aztechtcs commented Mar 11, 2018
- This comment has been minimized.
- Joshua56 commented Mar 30, 2018
- This comment has been minimized.
- Joshua56 commented Mar 30, 2018
- This comment has been minimized.
- reddyvenu commented Apr 10, 2018
- This comment has been minimized.
- imad-bouramana commented Apr 29, 2018
- This comment has been minimized.
- webbertakken commented Aug 15, 2018 •
- This comment has been minimized.
- oscrx commented Sep 13, 2018 •
- This comment has been minimized.
- Princewillsarlex commented Nov 15, 2018
- This comment has been minimized.
- adkumar321 commented Jan 18, 2019
- This comment has been minimized.
- DuncantheeDuncan commented Mar 9, 2019 •
- This comment has been minimized.
- NetJayNoob commented Mar 19, 2019
- This comment has been minimized.
- Anthomy1 commented May 30, 2019
- This comment has been minimized.
- Anthomy1 commented May 30, 2019
- This comment has been minimized.
- virgilwashere commented Jun 4, 2019
- Install git on Ubuntu
- This comment has been minimized.
- virgilwashere commented Jun 4, 2019
- This comment has been minimized.
- sagynov commented Jun 16, 2019
- This comment has been minimized.
- Knlsharma commented Jul 22, 2019
- This comment has been minimized.
- Lucifer8759 commented Jul 23, 2019
- This comment has been minimized.
- mark-nirdesh commented Dec 17, 2019
- This comment has been minimized.
- ocBruno commented Feb 14, 2020
- This comment has been minimized.
- CyberChick111 commented Mar 6, 2020
- This comment has been minimized.
- Phontera commented Mar 31, 2020
- This comment has been minimized.
- gprakarsh commented Aug 10, 2020
- This comment has been minimized.
- ASCassinda commented Aug 25, 2020
- This comment has been minimized.
- Cyber-Guy24 commented Sep 3, 2020
- This comment has been minimized.
- wajeehas commented Sep 13, 2020
- This comment has been minimized.
- derhuerst commented Sep 14, 2020
- This comment has been minimized.
- mahfudivan commented Sep 23, 2020
- This comment has been minimized.
- temoke-levelops commented Nov 5, 2020
- This comment has been minimized.
- mavaddat commented Dec 19, 2020
- This comment has been minimized.
- AssefaDemeke12 commented Dec 26, 2020
- This comment has been minimized.
- Poojap19create commented Mar 26, 2021
- This comment has been minimized.
- mavaddat commented Mar 29, 2021 •
Github для кали линукс
An automated installation script for the Kali Linux pentesting tools
KLT automatically installs Kali specific packages. You can either install all tools at once or specific tools, divided by a total of 13 categories. There is also basic «sources.list» configuration edit (add/remove kali rolling repository)
Be sure to know that adding the kali-repository in your sources.list will most certainly break the OS signature — it will either show up as Kali or as nothing at all (both in grub and in UI prompts)
Some of the tools may be run using regular user privileges, others absolutely require root.
If you are running this on a Virtual Machine inside a Windows host — when installing some of the tools, your antivirus software will block the connection.
List of all Kali tools and categories can be found here
However, some were not included because either the installation/configuration process was far too extensive or the tool was nowhere to be adequately found (either using apt-get or from the developers’ site).
List of the tools that were not included:
Installation is separated away from the main python scripts into basic shell files — this enables additional customization for each individual tool before you run the installation process.
Extensive testing is executed using the latest Ubuntu and Debian images inside a VirtualBox environment. I strongly advise you to perform the setup on a fresh install, rather than on an often-used machine.
In any situation will I prefer a regular and pre-setup Kali installation to this, because of the additional tools and custom kernel patches. However, if you absolutely need to execute on a Ubuntu/Debian box, give this a shot.
I created this to address the issues, posed by katoolin. I am not trying to gain any profit out of it. It was just a fun 2-day hobby project.
About
An automated installation script for the Kali Linux pentesting tools
Источник
Github для кали линукс
Automatically install all Kali linux tools
- Add Kali linux repositories
- Remove kali linux repositories
- Install Kali linux tools
- Python 2.7
- An operating system (tested on Ubuntu)
- sudo su
- git clone https://github.com/LionSec/katoolin.git && cp katoolin/katoolin.py /usr/bin/katoolin
- chmod +x /usr/bin/katoolin
- sudo katoolin
- Typing the number of a tool will install it
- Typing 0 will install all Kali Linux tools
- back : Go back
- gohome : Go to the main menu
- By installing armitage , you will install metasploit
Before updating your system , please remove all Kali-linux repositories to avoid any kind of problem .
I have some questions!
- Website : https://neodrix.com
- Youtube : https://youtube.com/inf98es
- Facebook : https://facebook.com/in98
- Twitter: @LionSec1
- Email : informatica98es@gmail.com
About
Automatically install all Kali linux tools
Resources
License
Releases
Packages 0
Contributors 5
Languages
You can’t perform that action at this time.
You signed in with another tab or window. Reload to refresh your session. You signed out in another tab or window. Reload to refresh your session.
Источник
10 вещей, которые нужно сделать после установки Kali Linux
Десять первых шагов, которые помогут использовать свежую Kali Linux для профессиональной оценки безопасности компьютерных систем.
Дистрибутивы Linux предоставляют широкие возможности кастомизации, и Kali Linux – не исключение. Всего несколькими командами можно автоматизировать задачи, установить любимый софт, создать дополнительных пользователей и оптимизировать взаимодействие с терминалом. Как сделать самое важное? Рассказываем.
1. Установите Git
Git – это open-source система контроля версий программного обеспечения для совместного использования и редактирования кода. Она позволит вам «клонировать» репозитории и не ограничивать свои пентестерские нужды встроенным функционалом Kali Linux.
Переносимся в терминал для установки git :
После установки всех зависимостей вы получите возможность скачивать репозитории командой git clone . Для этого скопируйте url нужного репозитория из адресной строки браузера или из интерфейса Github:
Теперь ссылка в буфере, вставьте её в терминал после команды:
Вы получите локальную копию репозитория и вывод со статистикой.
2. Назначьте Bash-алиасы
Используйте алиасы для часто вводимых команд. Для примера сократим команду besside-ng – сканера безопасности WEP сетей. Алиасы Bash хранятся в файле, их можно дополнить и обновить:
Файл пустой? Значит вы не пользовались алиасами до этого. Самое время! Введите строчку в открытый nano файл:
Закрывайте (Ctrl+x) и сохраняйте (y, Enter). Рассмотрим синтаксис: alias объявляет псевдоним hackwifi и указывает на команду в одинарных кавычках. Проверим в новом окне терминала:
Тем, кто выбрал Kali для знакомства с Linux, не помешают:
3. Создайте непривилегированного пользователя
Вы ведь не собираетесь работать под рутом? Не подвергайте систему опасности – создайте обычного пользователя. Баги в пользовательских программах под рутом потенциально опасны для файловой системы, а в серверных программах они могут давать атакующему доступ к оболочке суперпользователя.
Поэтому создайте непривилегированного пользователя в новой Kali Linux и будьте спокойны:
Первая команда создаёт пользователя proglib , домашний каталог /home/proglib и одноимённую группу. Затем добавляет нового пользователя в группу sudo с доступом к руту. Вторая команда задаёт пароль пользователя.
4. Установите терминальный мультиплексор
Мультиплексор в данном случае – это плиточный эмулятор терминала, в котором можно открыть несколько сессий в одном окне. Главное преимущество – возможность видеть все ваши сессии одновременно, не перекрывающими друг друга.
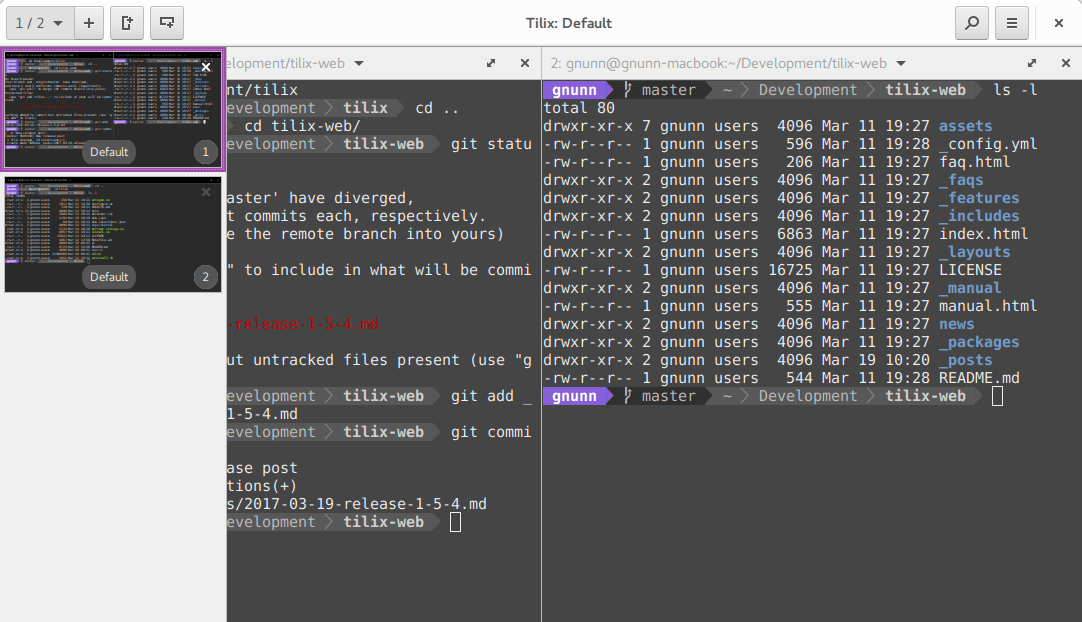
На скриншоте представлен Tilix – надёжный open-source эмулятор терминала. В качестве альтернатив можете попробовать tmux и screen.
Tilix доступен в репозиториях Kali Linux и устанавливается командой:
5. Установите любимые инструменты
Некоторые версии Kali Linux ориентированы на минималистичных пентестеров, которые предпочитают обходиться без тысячи предустановленных инструментов. В этом случае придётся устанавливать любимые инструменты вручную. Типы инструментов каждого пентестера зависят от его умений и области знаний.
Kali Metapackages дают возможность устанавливать отдельные категории инструментов Kali Linux и смотреть состав метапакетов.
Описание и размер желаемого метапакета перед установкой. Вот как установить все инструменты Kali Linux, которых нет даже в полных образах:
Внимание! Это займёт 15 Гб, устанавливайте метапакеты исходя из ваших нужд.
6. Установите свежий Tor
Качайте софт для анонимности из оригинальных источников. Версия Tor в репозиториях Kali Linux не всегда вовремя обслуживается и обновляется. Это означает, что у вас не будет критических обновлений стабильности и безопасности.
Поэтому добавьте репозитории Tor Project из источников самого проекта:
Затем скачайте ключ подписи пакета Tor Project и импортируйте в систему:
OK в выводе свидетельствует об удачном добавлении ключа в систему. После чего следует обновиться:
И установить Tor:
7. Установите Syncthing для хранения данных
Syncthing – это кроссплатформенная, приватная, лёгкая альтернатива проприетарным облачным хранилищам. Передача кейлогов, скриншотов, записей веб-камер и другой «добычи» между виртуальными серверами и локальными машинами Kali может оказаться, в лучшем случае, разочарованием для пентестера. Syncthing делает безопасную передачу файлов абсолютно безболезненной.
Начните с установки зависимостей:
Затем скачайте и установите ключи:
Ключи gpg нужны системе для проверки подписи источника при установке пакетов. Благодаря подписям обеспечивается целостность пакетов, которая может быть нарушена вследствие изменения оригинального пакета или перехвата трафика.
Осталось добавить репозиторий проекта в список источников уже знакомым вам способом:
Запускайте командой syncthing .
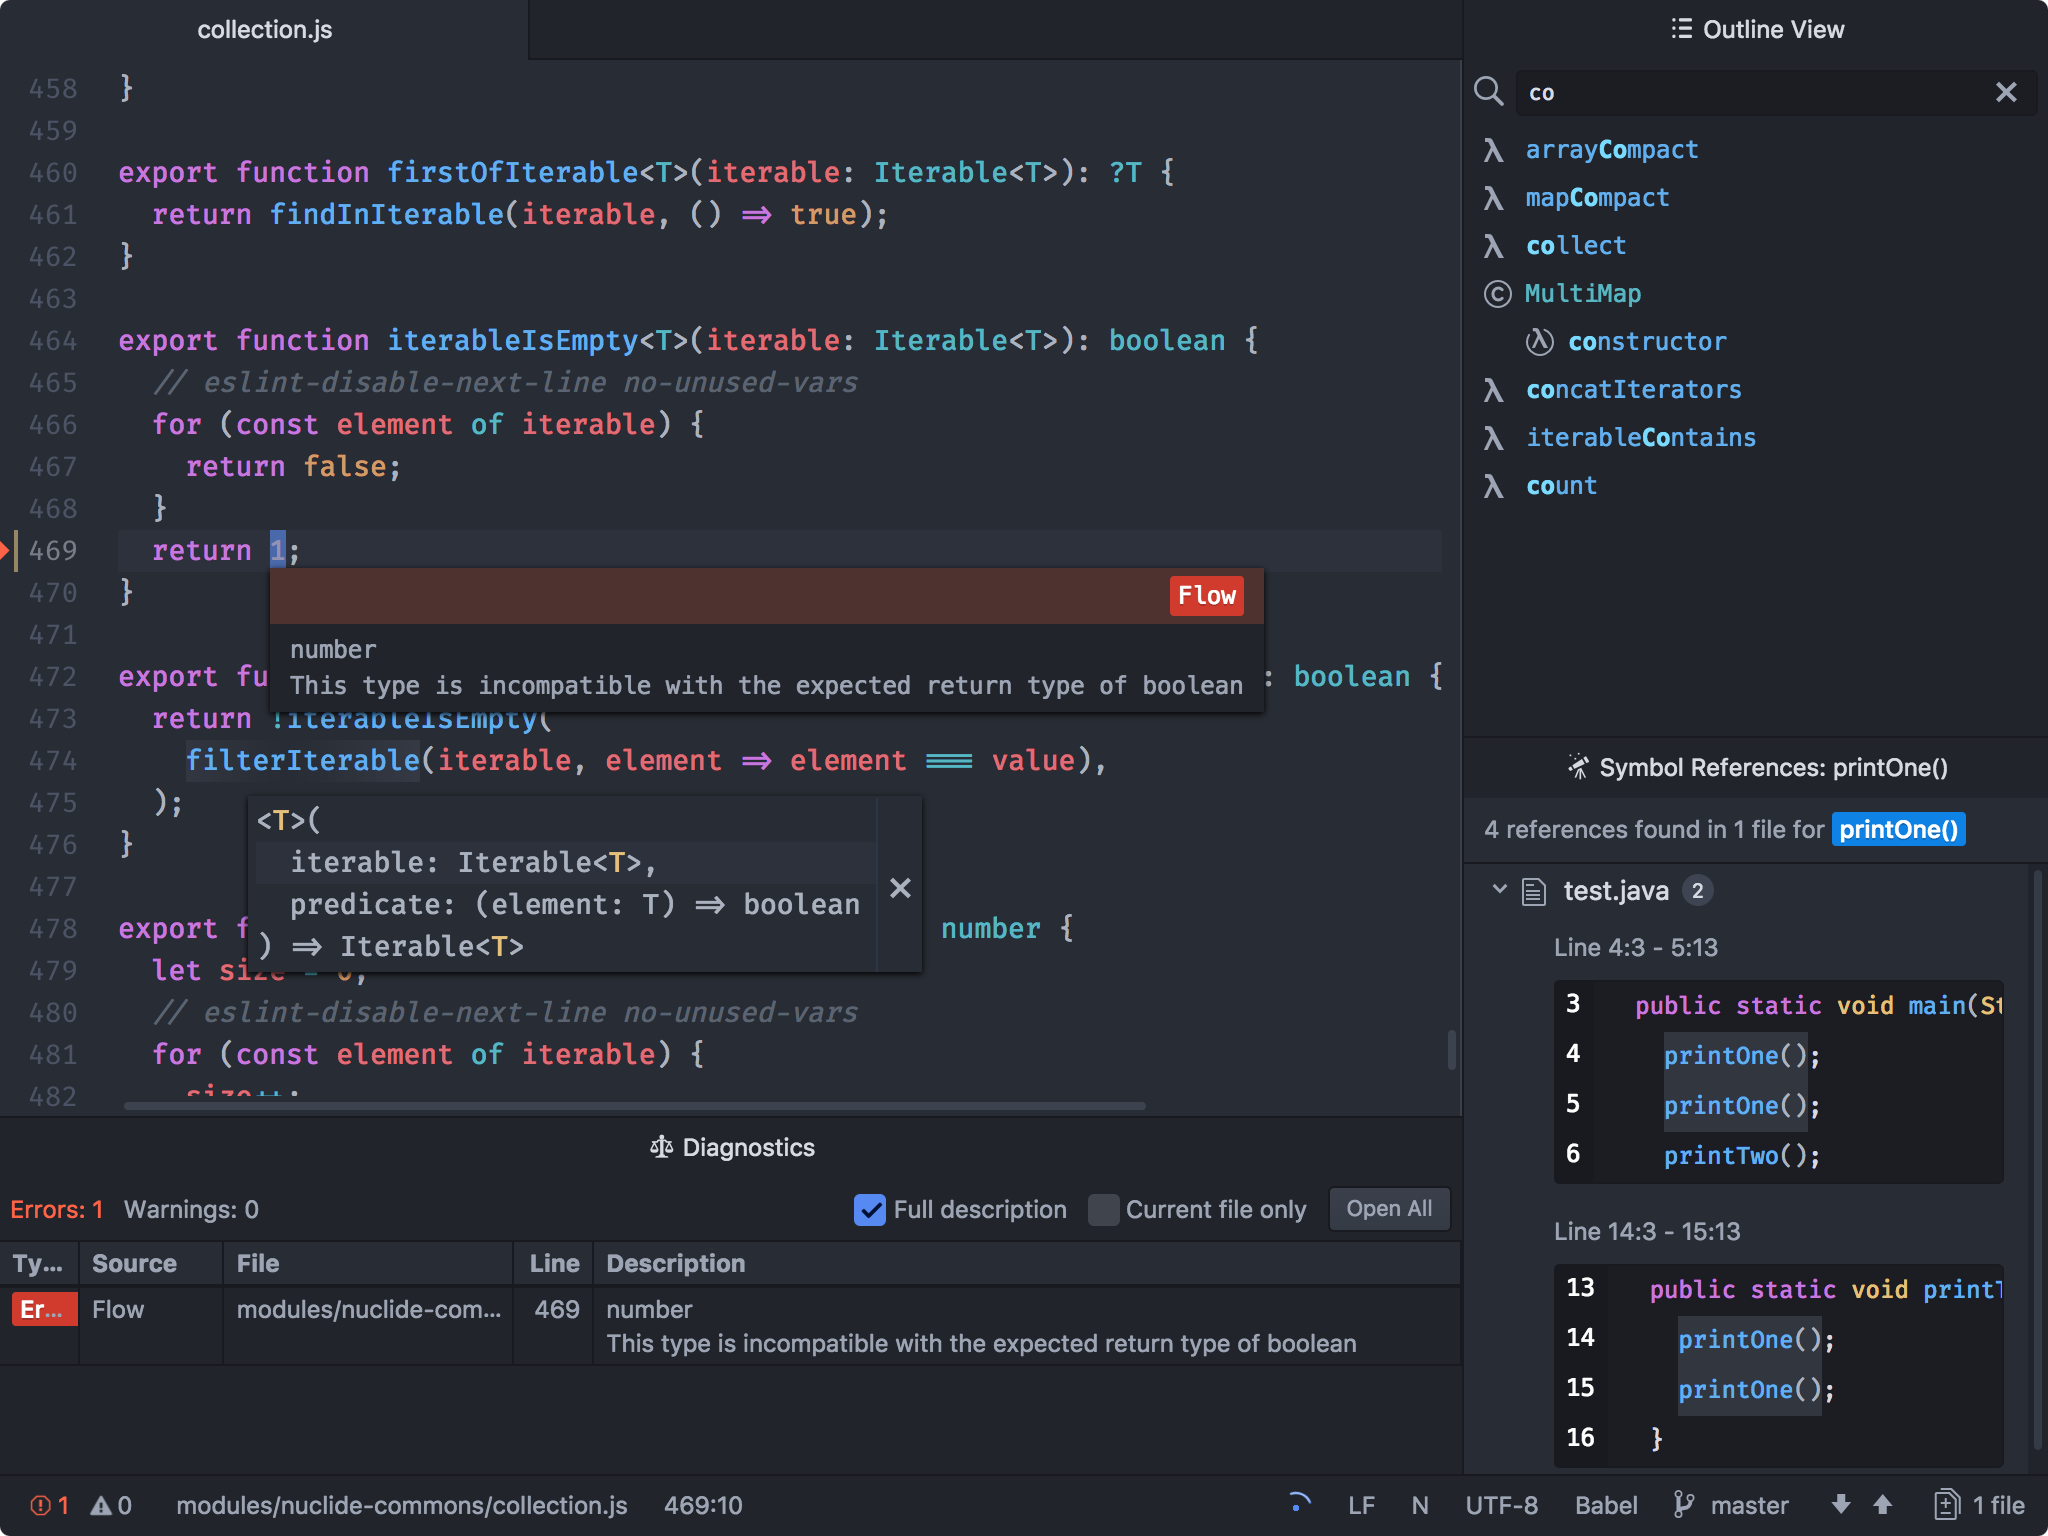
8. Установите редактор кода
Atom – это бесплатный, навороченный и кастомизируемый текстовый редактор с возможностями совместного использования кода в реальном времени, интуитивного автозавершения и установки пакетов для расширения функциональности. В качестве альтернатив можете попробовать Geany и Gedit.
Для установки Atom в Kali Linux скачайте deb-пакет. Затем установите зависимости:
Наконец, используйте dpkg , пакетный менеджер командной строки, с флагом установки -i :
После этого Atom будет доступен из меню приложений.
9. Установите OpenVAS
OpenVAS – это свободный сканер уязвимостей, который расширит ваш инструментарий. Фреймворк запускался под именем GNessUs, бесплатного форка Nessus, который сейчас стоит денег 🙂
Для бесплатной утилиты, OpenVAS хорошо справляется с оценкой безопасности узлов сети. Конечно, платный софт типа Nessus и NeXpose более функционален, и стоит он от $2,190.00 в год в случае с Nessus.
OpenVAS дает начинающим отличные возможности для понимания работы сканеров уязвимостей.
10. Поменяйте ключи и пароль SSH
Kali Linux устанавливается с одинаковым паролем (toor), что упрощает автоматизацию атак. Кроме того, стандартные ключи SSH могут позволить злоумышленнику перехватить ваши сообщения. Для смены ключей перейдите в каталог, а затем сбросьте конфигурацию сервера:
Источник
derhuerst / intro.md
Installing Git – the easy way
Git is a free and open source distributed version control system designed to handle everything from small to very large projects with speed and efficiency.
Choose one of the following options.
Determine on which Linux distribution your system is based on. See List of Linux distributions – Wikipedia for a list. Most Linux systems – including Ubuntu – are Debian-based.
Debian-based linux systems
Open a terminal window. Copy & paste the following into the terminal window and hit Return . You may be prompted to enter your password.
You can use Git now.
Red Hat-based linux systems
Open a terminal. Copy & paste the following into the terminal window and hit Return . You may be prompted to enter your password.
You can use Git now.
Homebrew […] simplifies the installation of software on the Mac OS X operating system.
Copy & paste the following into the terminal window and hit Return .
You will be offered to install the Command Line Developer Tools from Apple. Confirm by clicking Install. After the installation finished, continue installing Homebrew by hitting Return again.
Step 2 – Install Git
Copy & paste the following into the terminal window and hit Return .
You can use Git now.
Installing Git on Windows
- DownloadGit from Git for Windows and install it.
This comment has been minimized.
Copy link Quote reply
alhadhrami commented Nov 9, 2017
Wrong link in ‘intro.md’ for «Instructions for Windows». I was going to create a pull request, but then remembered that doesn’t exist in gist.
This comment has been minimized.
Copy link Quote reply
rgnest commented Jan 6, 2018 •
You shoud before do «cd» the directrory should be yours home. Or will have error.
I mean macos.
This comment has been minimized.
Copy link Quote reply
mithlesh4257 commented Jan 7, 2018
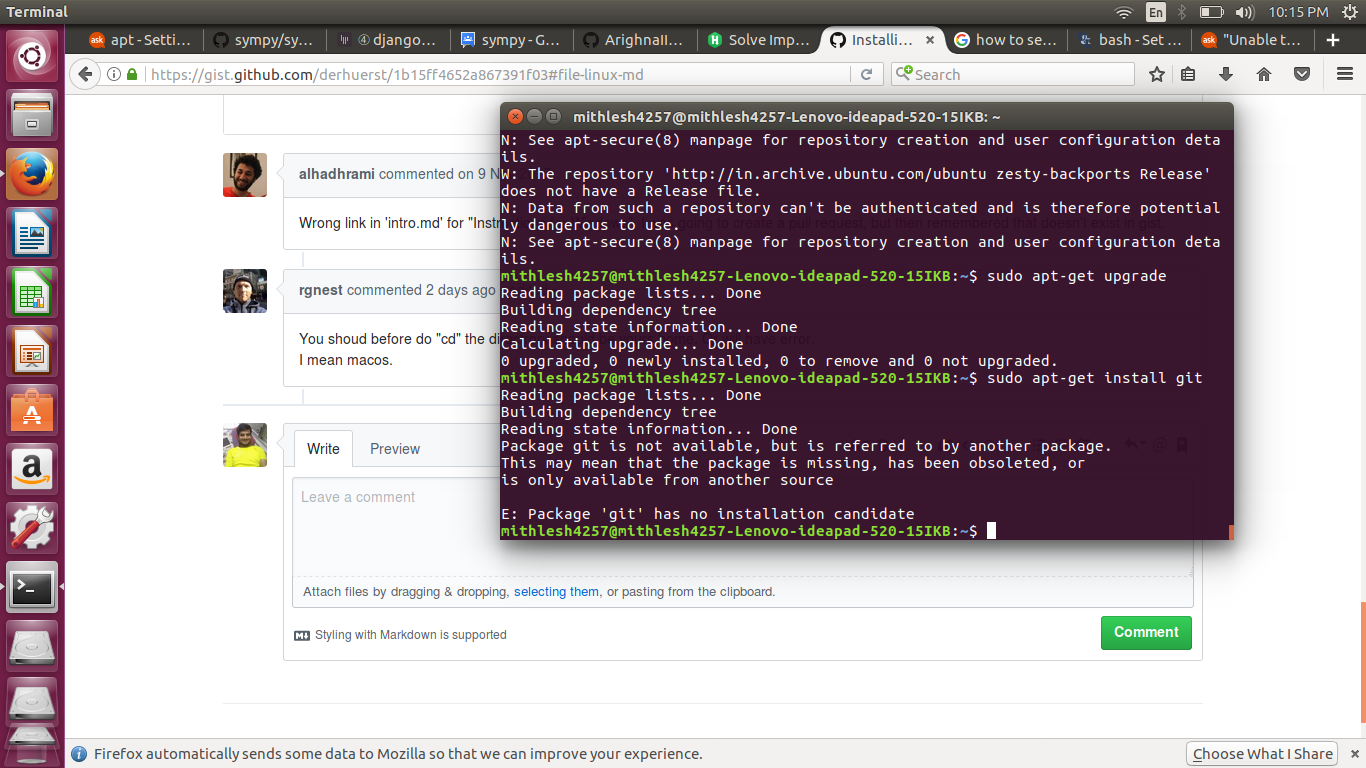
Git is not installing in Ubuntu. Please help!
This comment has been minimized.
Copy link Quote reply
elseagle commented Jan 18, 2018
@mithlesh4257 try
sudo apt-get update then sudo apt-get upgrade followed by sudo apt-get install git
This comment has been minimized.
Copy link Quote reply
Kaarthick912 commented Mar 5, 2018
sudo yum upgrade
I ran this command and it removed all existing users. It upgraded like 450 packages and removed some users. Anybody know why this happened ?
This comment has been minimized.
Copy link Quote reply
Aztechtcs commented Mar 11, 2018
same problem here
This comment has been minimized.
Copy link Quote reply
Joshua56 commented Mar 30, 2018
I am having the same problem in my linux mint
This comment has been minimized.
Copy link Quote reply
Joshua56 commented Mar 30, 2018
zenity : Depends: libpango-1.0-0 (>= 1.14.0) but it is not going to be installed
Depends: zenity-common (= 3.18.1.1-1ubuntu2) but it is not going to be installed
E: Unmet dependencies. Try ‘apt-get -f install’ with no packages (or specify a s
This the error of the code
This comment has been minimized.
Copy link Quote reply
reddyvenu commented Apr 10, 2018
same problem here
This comment has been minimized.
Copy link Quote reply
imad-bouramana commented Apr 29, 2018
try this repository
sudo add-apt-repository ppa:git-core/ppa
sudo apt-get update
sudo apt-get install git
This comment has been minimized.
Copy link Quote reply
webbertakken commented Aug 15, 2018 •
I used this as a source for PracticalNotes — Homebrew.md because it is very efficient.
This comment has been minimized.
Copy link Quote reply
oscrx commented Sep 13, 2018 •
Wrong link in ‘intro.md’ for «Instructions for Windows». I was going to create a pull request, but then remembered that doesn’t exist in gist.
Exactly this 😀
But thanks for the guide.
This comment has been minimized.
Copy link Quote reply
Princewillsarlex commented Nov 15, 2018

This comment has been minimized.
Copy link Quote reply
adkumar321 commented Jan 18, 2019
sudo apt-get install aptitude
sudo aptitude install git
This comment has been minimized.
Copy link Quote reply
DuncantheeDuncan commented Mar 9, 2019 •
Thanks it now installed
But Git-it command doesn’t work and git-it verify
So what the next step please help
I’m using Kali Linux
This comment has been minimized.
Copy link Quote reply
NetJayNoob commented Mar 19, 2019
I am having issues with setting the port. When I type ‘set port 80’ I get back as an error: «you can’t set option ‘port’. Available options: [‘target’, ‘http_port'» etc. will this affect my check runs later?
This is on Kali Linux, and is after ‘set target 192.168. )
This comment has been minimized.
Copy link Quote reply
Anthomy1 commented May 30, 2019
Thanks it now installed
But Git-it command doesn’t work and git-it verify
So what the next step please help
I’m using Kali Linux
This comment has been minimized.
Copy link Quote reply
Anthomy1 commented May 30, 2019
I need help.
I’m using Kali Linux. 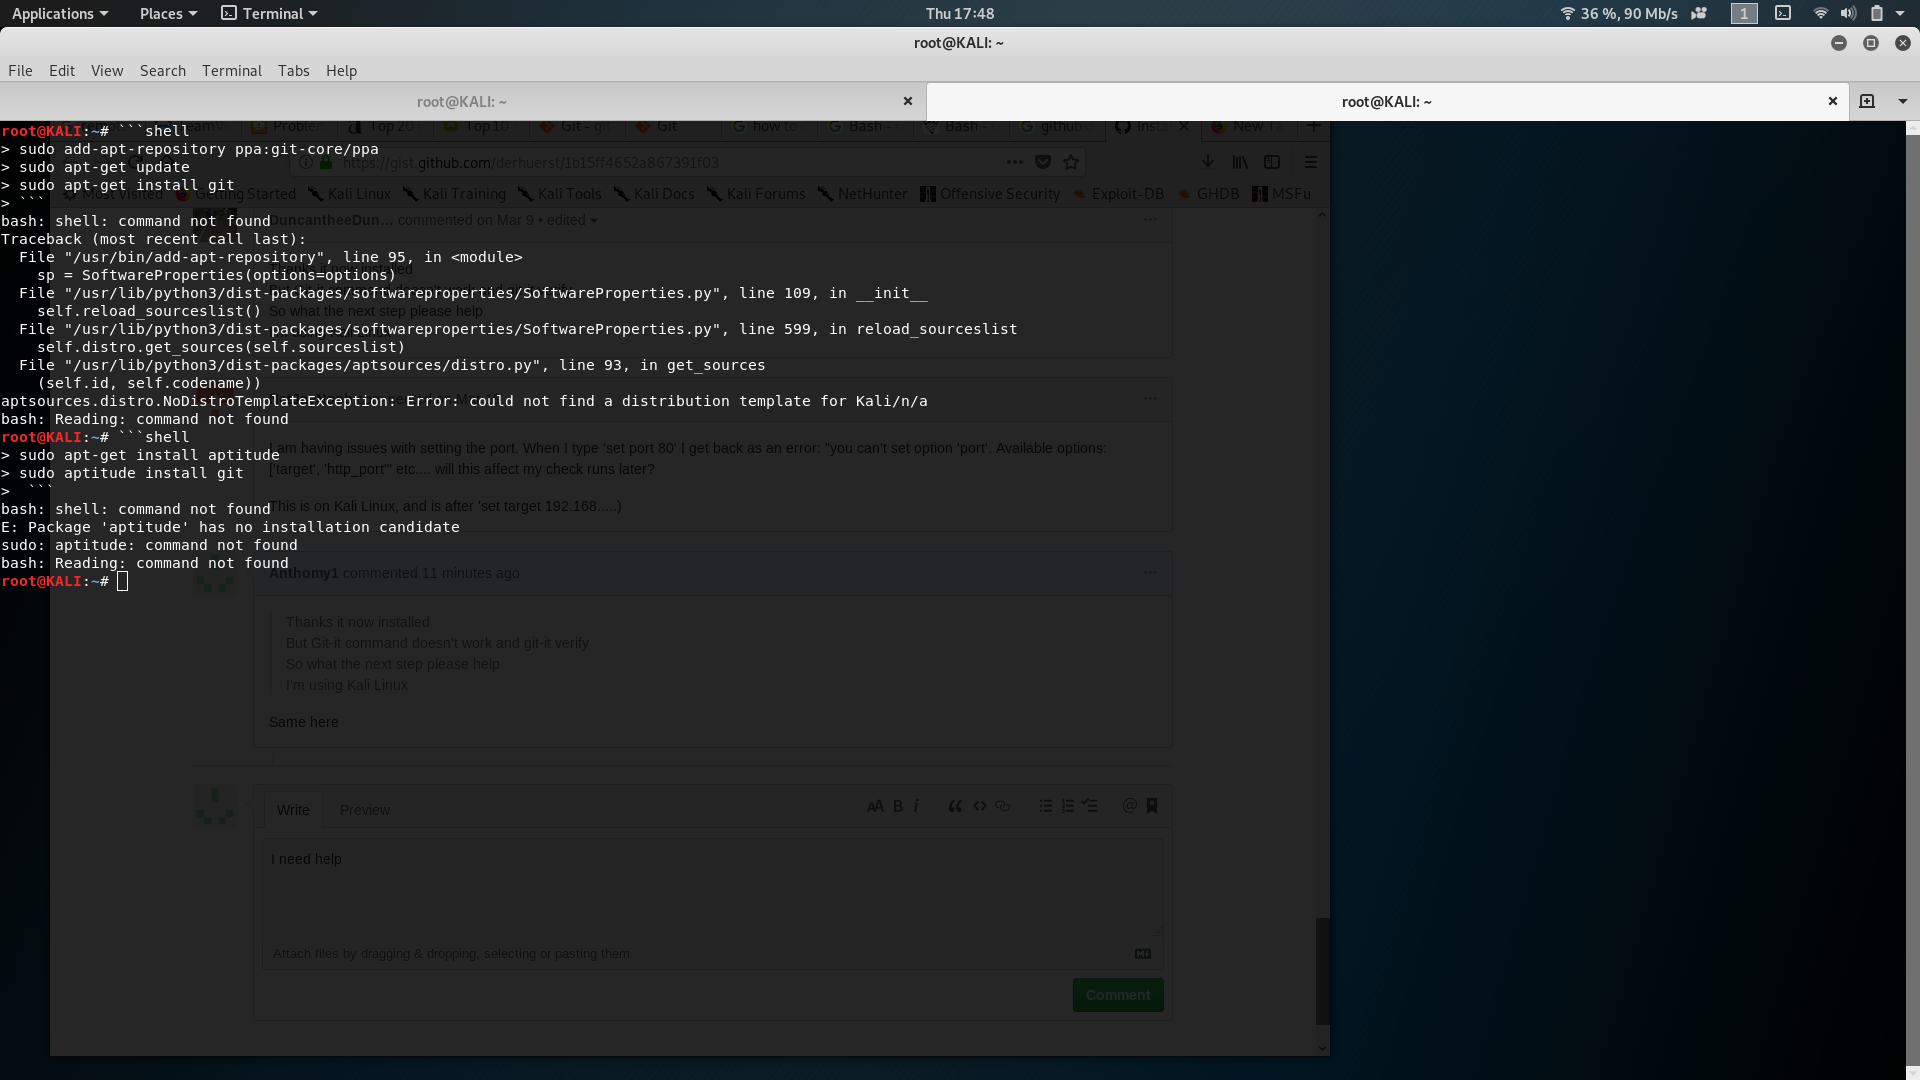
This comment has been minimized.
Copy link Quote reply
virgilwashere commented Jun 4, 2019
sudo add-apt-repository ppa:git-core/ppa
sudo apt-get update
sudo apt-get install git
Install git on Ubuntu
The most current stable version of Git for Ubuntu.
For release candidates, go to https://launchpad.net/
hub : use github from the command-line
hub is an extension to command-line git that helps you do everyday GitHub tasks without ever leaving the terminal
Hope that helps someone.
This comment has been minimized.
Copy link Quote reply
virgilwashere commented Jun 4, 2019
⚠️ Any additional repositories added to the Kali sources.list file will most likely BREAK YOUR KALI LINUX INSTALL.
If this doesn’t do it, I’d be real careful now.
This comment has been minimized.
Copy link Quote reply
sagynov commented Jun 16, 2019
This comment has been minimized.
Copy link Quote reply
Knlsharma commented Jul 22, 2019
Use this command to check your current Git version: git —version
This comment has been minimized.
Copy link Quote reply
Lucifer8759 commented Jul 23, 2019
I need help.
I’m using Kali Linux.
This comment has been minimized.
Copy link Quote reply
mark-nirdesh commented Dec 17, 2019
I need help.
I’m using Kali Linux.
why use shell ?
use sudo apt-get install git
This comment has been minimized.
Copy link Quote reply
ocBruno commented Feb 14, 2020
Just a heads up!
The Instructions for Windows is linking to the linux instructions
This comment has been minimized.
Copy link Quote reply
CyberChick111 commented Mar 6, 2020
@mithlesh4257 try
sudo apt-get update then sudo apt-get upgrade followed by sudo apt-get install git
This one worked!! Thanks
This comment has been minimized.
Copy link Quote reply
Phontera commented Mar 31, 2020
It worked! Thank you.
This comment has been minimized.
Copy link Quote reply
gprakarsh commented Aug 10, 2020
The link for the Mac Download is outdated. This is the one that should be used —
/bin/bash -c «$(curl -fsSL https://raw.githubusercontent.com/Homebrew/install/master/install.sh)»
This comment has been minimized.
Copy link Quote reply
ASCassinda commented Aug 25, 2020
This comment has been minimized.
Copy link Quote reply
Cyber-Guy24 commented Sep 3, 2020
Thanks mark-nirdesh that worked for me as well
This comment has been minimized.
Copy link Quote reply
wajeehas commented Sep 13, 2020
I have tried installing homebrew via mac os terminal, but it keeps asking me for a password. does anyone know which password this is? it comes up as a key sign. 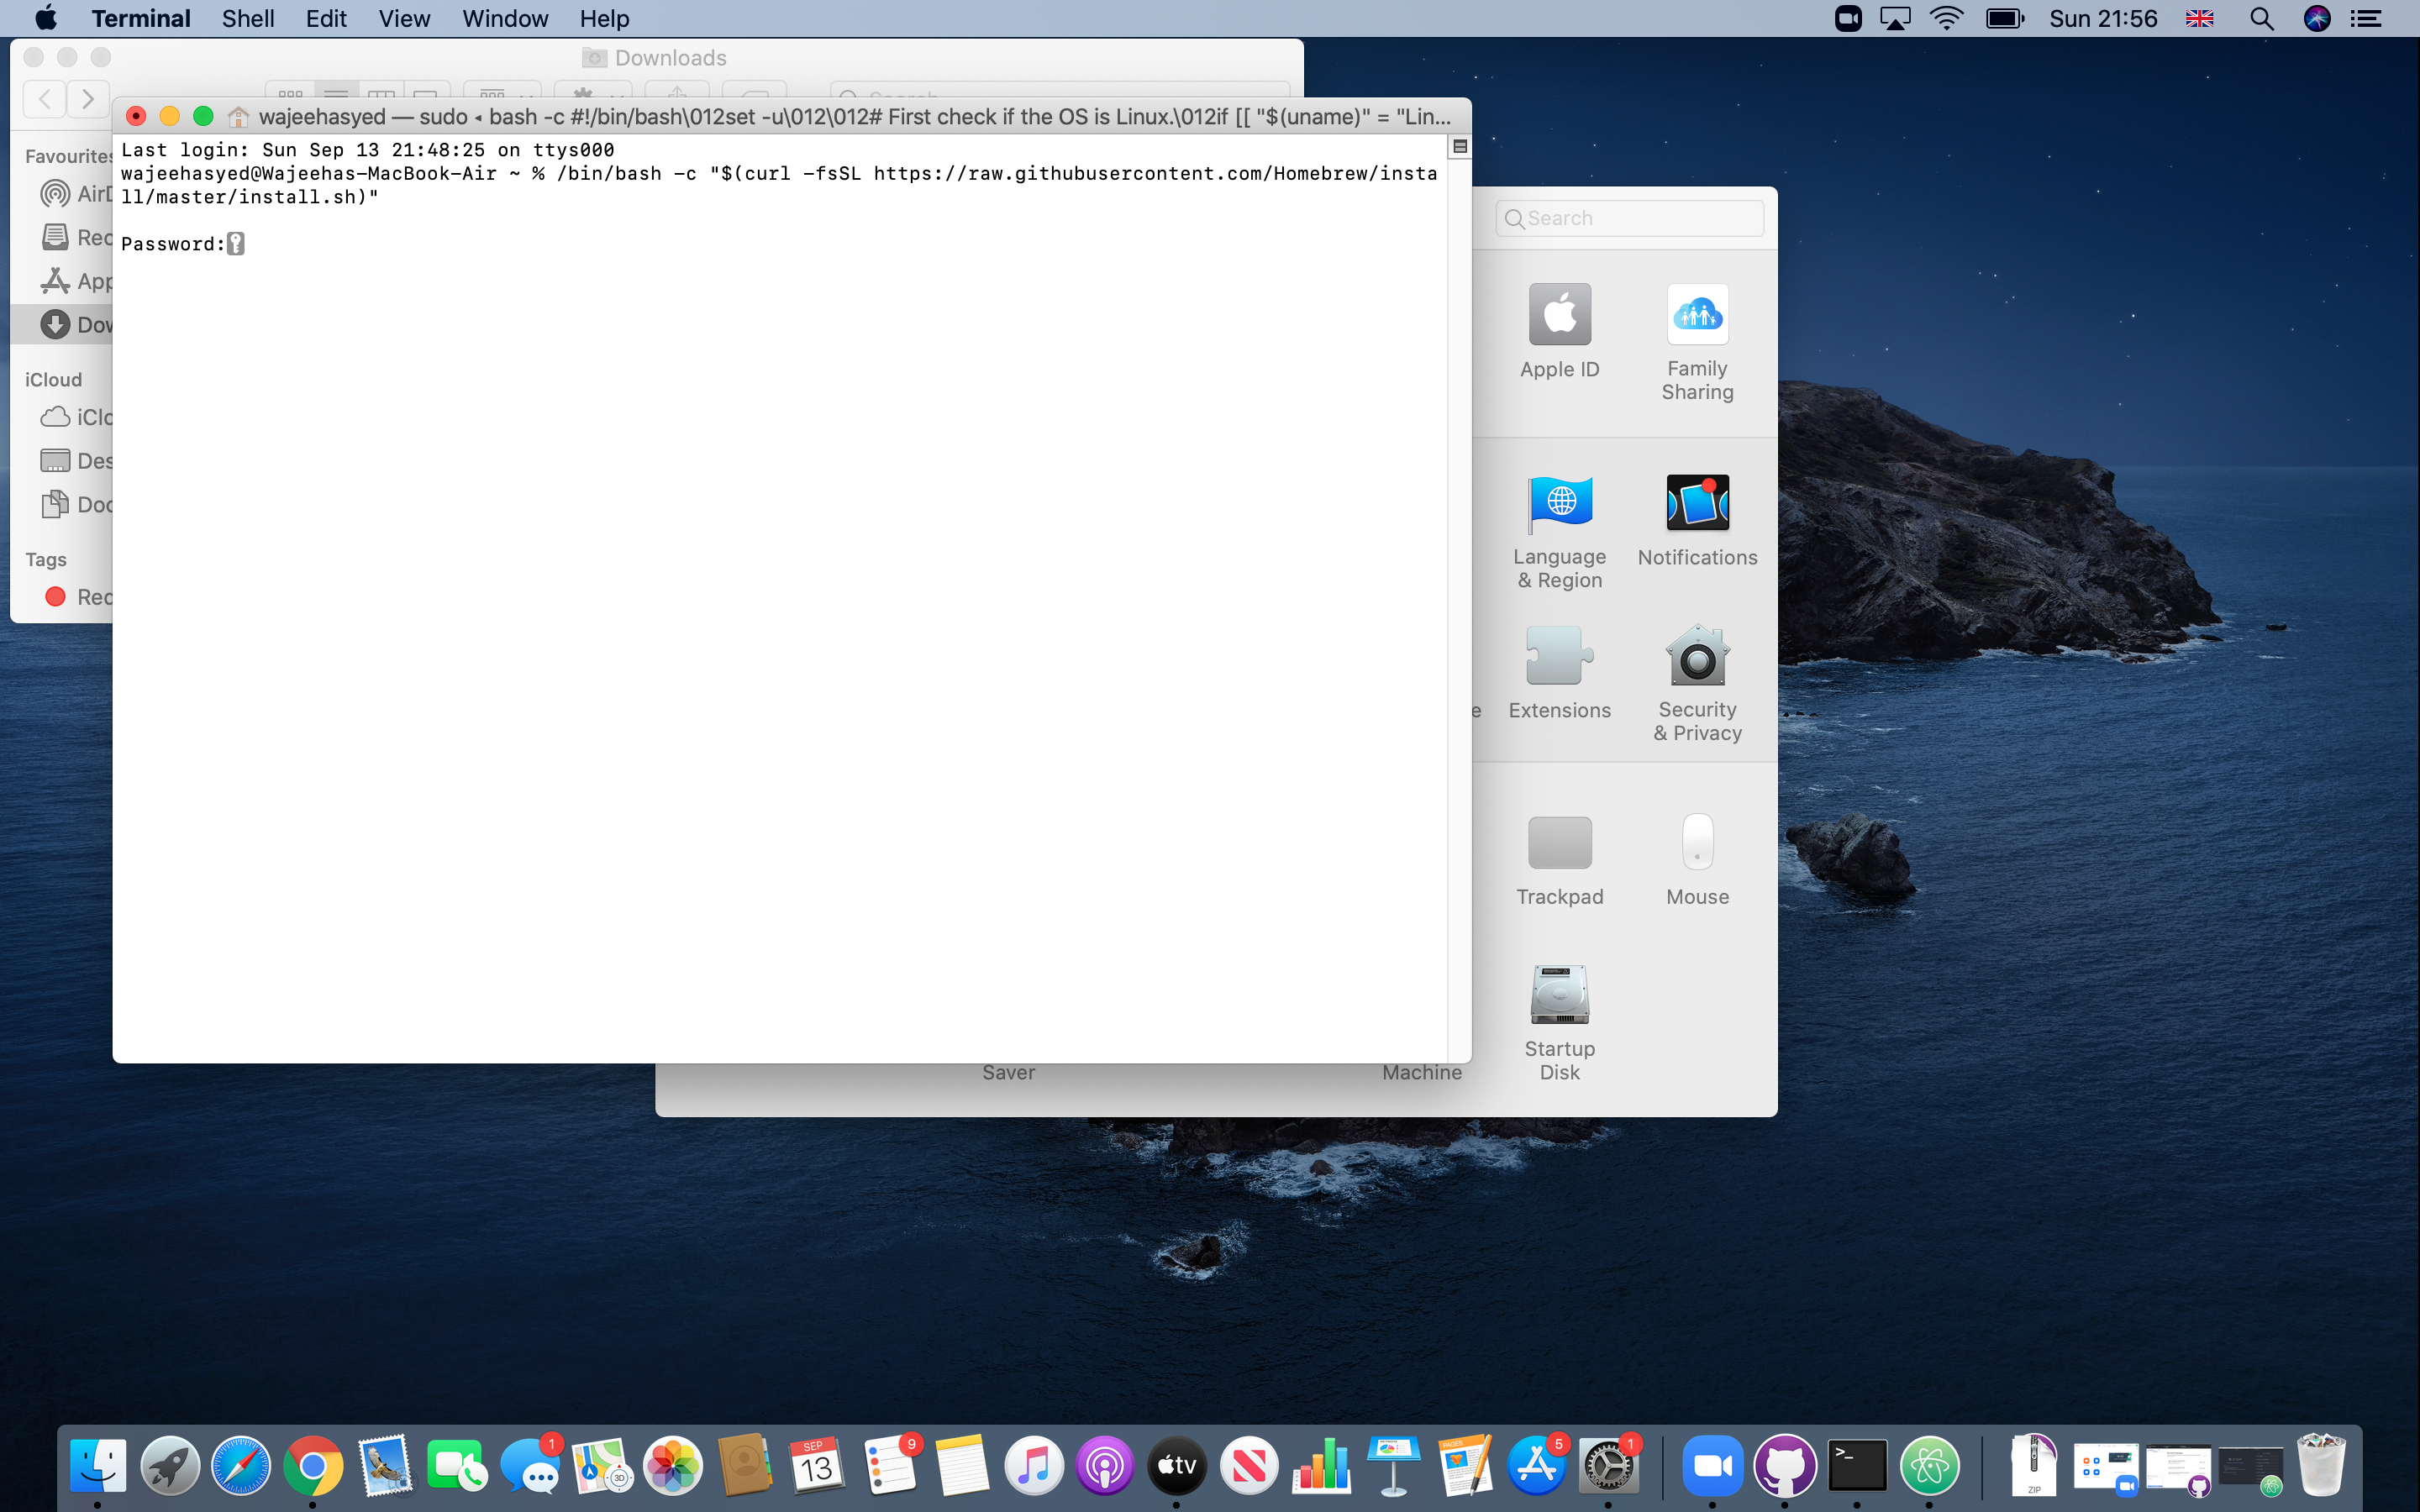
This comment has been minimized.
Copy link Quote reply
derhuerst commented Sep 14, 2020
I have tried installing homebrew via mac os terminal, but it keeps asking me for a password. does anyone know which password this is? it comes up as a key sign.
It looks like it uses sudo to install itself to a specific location on your computer; sudo requires your password. You will have to put your macOS user’s password.
This is badly designed, it should actually explain why it is using sudo .
This comment has been minimized.
Copy link Quote reply
mahfudivan commented Sep 23, 2020
I have tried installing homebrew via mac os terminal, but it keeps asking me for a password. does anyone know which password this is? it comes up as a key sign.
your laptop password, I use a macbook, I also enter my laptop password
This comment has been minimized.
Copy link Quote reply
temoke-levelops commented Nov 5, 2020
Works for Mac! Where do I give thumbs up?
This comment has been minimized.
Copy link Quote reply
mavaddat commented Dec 19, 2020
why use shell ?
use sudo apt-get install git
They (incorrectly) copied the entire markdown-laden code-block and pasted that into the bash terminal, which of course bash cannot interpret as a command. Do not paste the markdown (e.g., «`shell ) into bash — that part is just for formatting the code on GitHub.
This comment has been minimized.
Copy link Quote reply
AssefaDemeke12 commented Dec 26, 2020
git hub setup for linux
This comment has been minimized.
Copy link Quote reply
Poojap19create commented Mar 26, 2021
I am getting an error while installing git for UBUNTU Can anybody help please 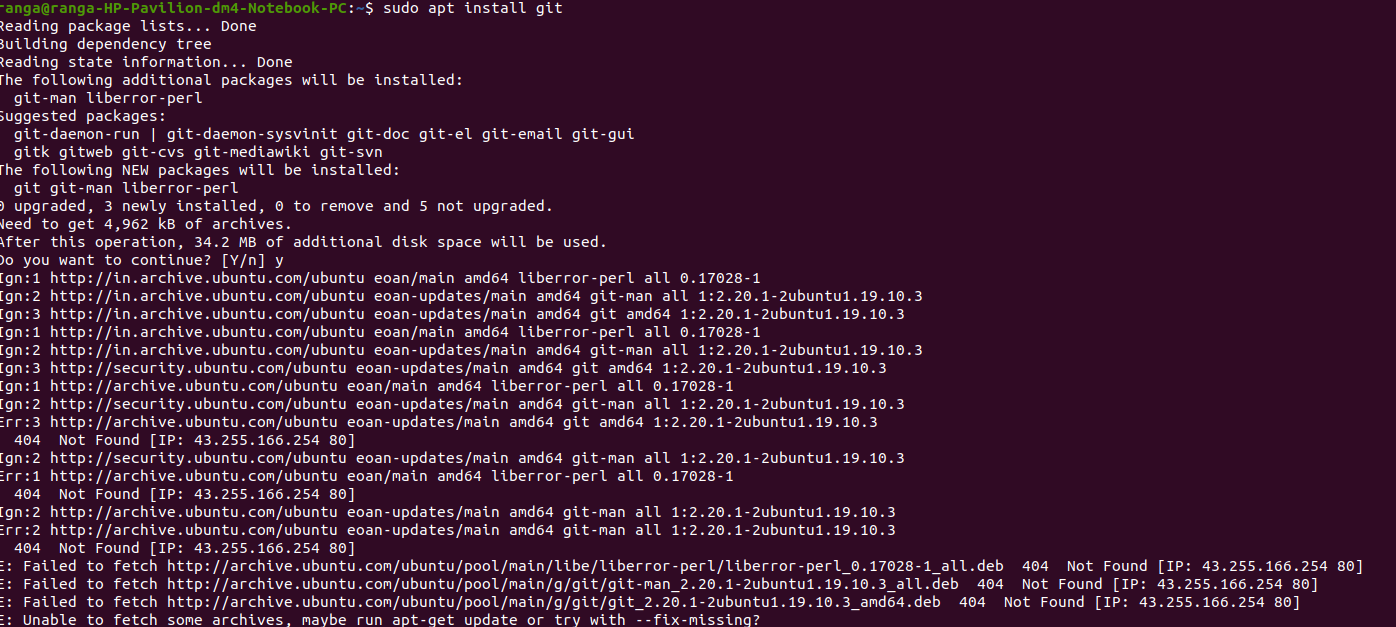
This comment has been minimized.
Copy link Quote reply
mavaddat commented Mar 29, 2021 •
I am getting an error while installing git for UBUNTU Can anybody help please
Your Ubuntu version is no longer maintained. You need to update your distribution to a version that is within its support lifetime. For example, try using this upgrade combination:
Источник


