- Division of Information Technology
- Installing GlobalProtect VPN Client (Linux)
- Connecting to the Campus VPN
- Disconnecting from the Campus VPN
- Installing GlobalProtect VPN – Mac/Linux
- Mac GlobalProtect Client Install
- MFA GlobalProtect VPN Login Steps
- Mac Uninstall
- Linux Install
- Linux Operation
- Linux Uninstall
- Troubleshooting
- Install globalprotect on Ubuntu
- globalprotect
- GlobalProtect VPN client
- Details for globalprotect
- Enable snaps on Ubuntu and install globalprotect
- Enable snapd
- Install globalprotect
- Русские Блоги
- Как использовать GlobalProtect для VPN-подключения в системе Linux (Ubuntu) (в качестве примера рассмотрим Beijing Post)
- Экологическая установка
- Запустите openconnect
Division of Information Technology
Audience: Faculty, Researchers and Staff
Follow these intructions to learn how to download and install the VPN client for Linux as well as how to disconnect.
Installing GlobalProtect VPN Client (Linux)
Decompress the TGZ file to extract the installation package using the following command: tar -xvf PanGPLinux-5.0.1-c10.tgz
Install the application package that corresponds to the distribution of Linux that GlobalProtect is being installed on.
For Red Hat Enterprise Linux, CentOS and other derivatives, use the “rpm” file: sudo rpm –ivh ./GlobalProtect_rpm-5.0.1.0-10.rpm
For Debian, Ubuntu and other derivatives, use the “deb” file: sudo apt-get install ./GlobalProtect_deb-5.0.1.0-10.deb
View the help for the GlobalProtect app to confirm installation, and view the command line options: globalprotect help
Connecting to the Campus VPN
- To connect to the VPN, use the following command: globalprotect connect —portal vpn.stonybrook.edu
The client will prompt for your NetID login credentials, followed by a Duo two-factor login push to your default Duo device.
To view the current status of the VPN client, use the following commands:
globalprotect show –status
globalprotect show –details
Disconnecting from the Campus VPN
To disconnect from the VPN, use the following command: globalprotect disconnect
Источник
Installing GlobalProtect VPN – Mac/Linux
Starting in September, ITS will be adding Multi-factor Authentication (MFA) to its general VPN portals. This will change the way that users log in to the VPN. Here is what to expect when the change occurs.
Mac GlobalProtect Client Install
On the Mac, The latest client is available from the VPN portal. Use https with a web browser to connect to https://vpn.wsu.edu.
- Login with WSU AD credentials
- No need for additional prefixes or suffixes
- Example: john.smith@wsu.edu will only need username john.smith
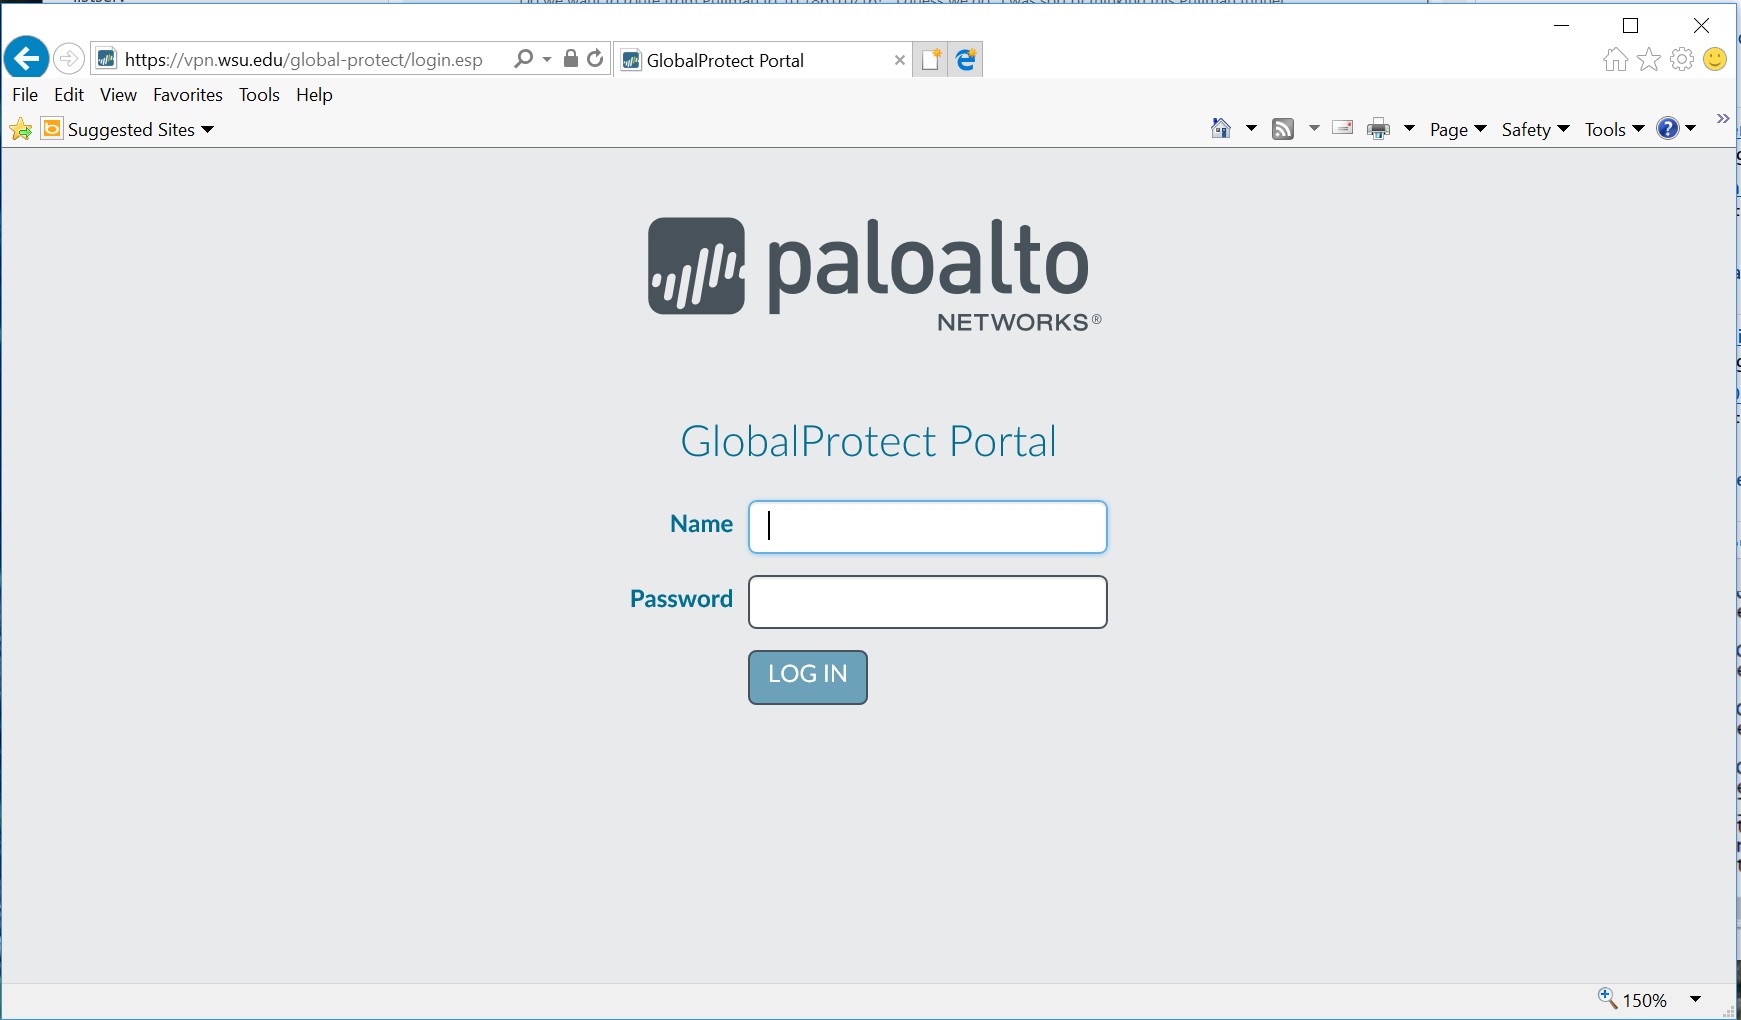
- After logging in, download the Mac OS agent.

- When prompted, run the software.
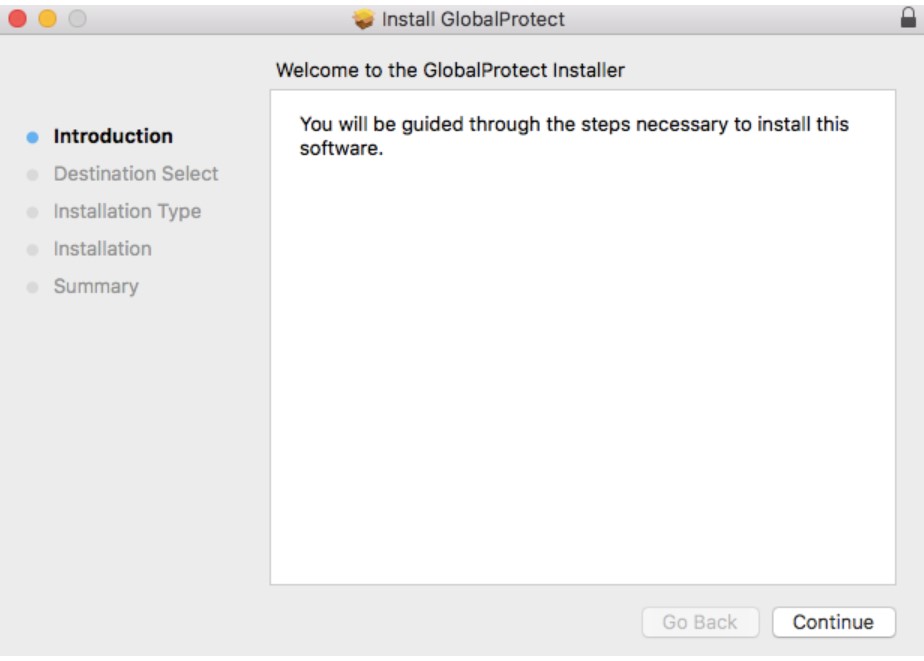
- When prompted again, run the GlobalProtect Installer.

- From the GlobalProtect Installer, click continue.
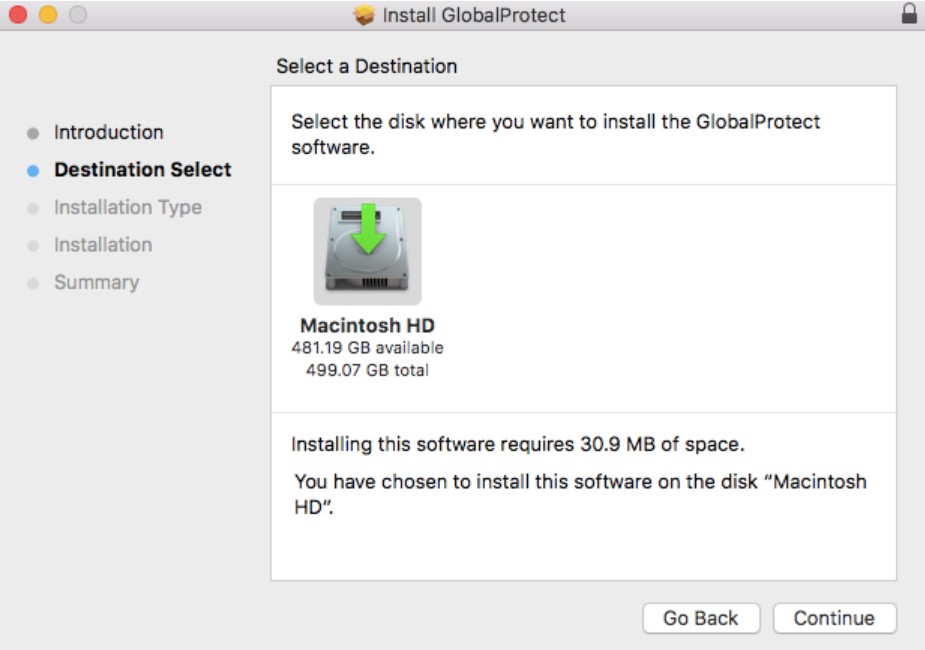
- On the destination select screen, select the install folder and then click continue.
- On the Installation Type screen, select the GlobalProtect installation package check box, and then click continue.
- Click install to confirm that you want to install GlobalProtect.
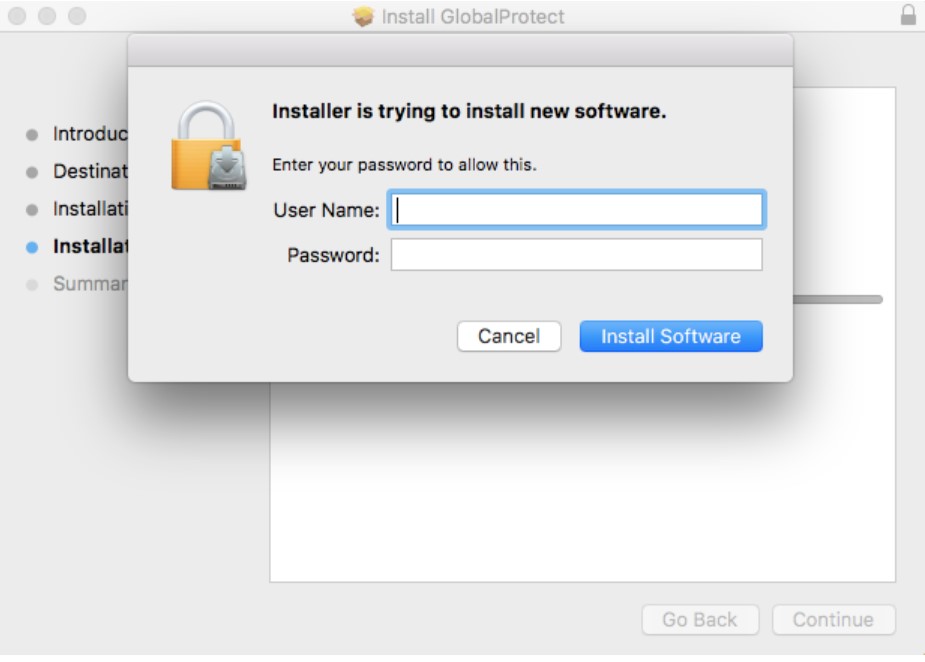
- When prompted, enter your Username and Password, and then click install software to begin the installation.
- When this security box appears, users MUST click the “Open Security Preferences” Button (NOT the OK Button).

- Click the “Allow” button at the bottom of the “Security & Privacy” box to allow the Palo Alto Extension.

- After installation is complete, close the installer.
MFA GlobalProtect VPN Login Steps
Once the VPN portal has been updated to require MFA the user experience will change. When the user connects to the VPN, they will instead receive an Okta login page.


On this page, enter your username and password. If you scroll down on this page, you will see a ‘Remember me’ option. Check this option to have your username saved for future logins. This is recommended.

Once a valid credential pair is entered, you will receive a prompt to choose your MFA option. You can use any MFA option that is supported by Okta, including SMS, App Push, Google Authenticator, Security Key, etc. Push notifications with the Okta Verify App are recommended.


When selecting Okta Verify Push notifications, it is recommended to select the option ‘Send push automatically’

While the option ‘Do not challenge me on this device for the next 24 hours’ option may be checked, this option will not have any effect. You will continue to be prompted for multi-factor authentication for every VPN login.
At this point, you should receive a multifactor prompt on your device or be ready to enter a code from a separate multi-factor app.
IOS Prompt


OKTA MFA Factor Enrollment
To set up your Okta MFA options, visit https://account.wsu.edu.
For technical assistance: Please contact Crimson Service Desk via email, by phone at (509) 335-4357, or online.
Mac Uninstall
Download the installer from the portal page at https://vpn.wsu.edu (same process as the previous Mac GP Client install).
From the GlobalProtect installer, click continue.
On the destination select screen, click continue.
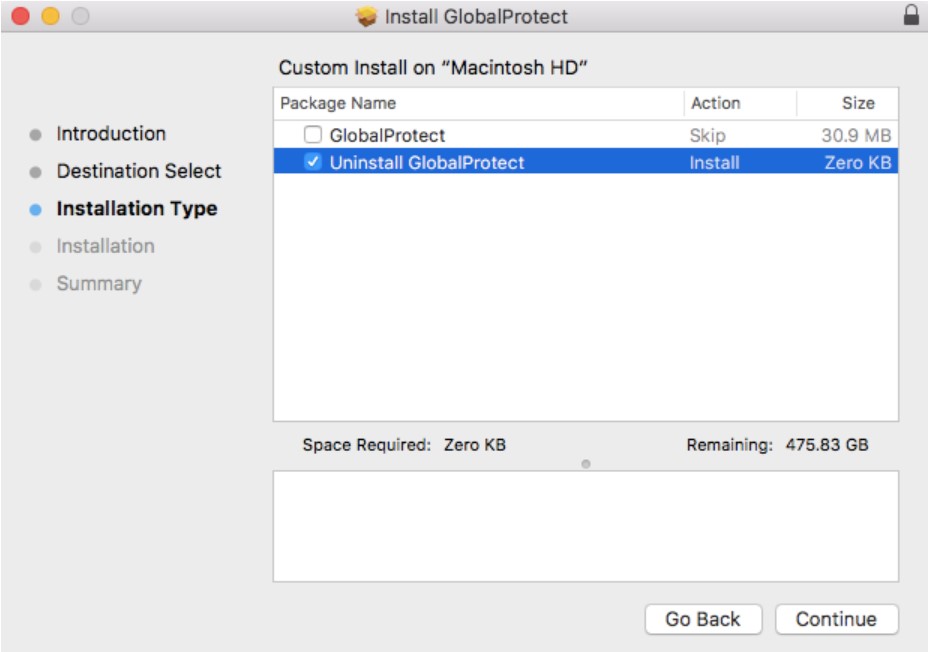
On the Installation Type screen, select the Uninstall GlobalProtect package check box, and then click continue:
Click Install to confirm that you want to remove the GlobalProtect app.
When prompted, enter your Username and Password, and then click Install Software to uninstall GlobalProtect.
A message will pop up that will confirm that the Uninstall GlobalProtect package was successfully installed and that the GlobalProtect app has been removed from the computer.
Linux Install
On Linux, the latest GlobalProtect client can be downloaded from:
There are two clients – download the rpm file for RedHat/CentOS.
For Ubuntu, download the deb file. Open a terminal window to install the client
Ubuntu/Debian –
sudo dpkg – i GlobalProtect_deb-5.0.8.deb
Redhat/CentOS –
sudo yum localinstall GlobalProtect_rpm-5.0.8.rpm
Linux Operation
Using a terminal window, type globalprotect. At the >> prompt, use the connect command to connect to portal vpn.wsu.edu.
$ globalprotect
Current GlobalProtect status: OnDemand mode.
>> connect –portal vpn.wsu.edu
Retrieving configuration…
vpn.wsu.edu – Authentication Failed. Enter login credentials
username(user):user
Password:
Discovering network…
Connecting…
Connected
Other commands of note at the >> prompt include –
>> quit
(exits out of GlobalProtect which continues to run in the background)
>> disconnect
>> show –version
>> show –status
>> show –details
Linux Uninstall
- Uninstall the GlobalProtect app for Linux using dpkg.
$ sudo dpkg -P globalprotect
(Reading database … 209181 files and directories currently installed.)
Removing globalprotect (5.0.8) …
gp service is running and we need to stop it…
Disable service…
Removing gp service…
gp service has been removed successfully
Removing configuration…
Uninstall the GlobalProtect app for Linux using apt-get.
$ sudo apt-get remove GlobalProtect_deb-5.0.8.deb
Reading package lists… Done
Building dependency tree
Reading state information… Done
Troubleshooting
7.1.1. Mac
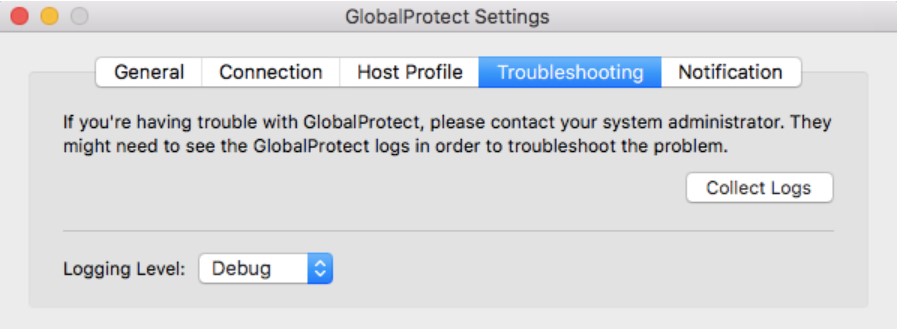
- Open GlobalProtect and click on the Troubleshooting tab. An option to collect logs will create a support file that can be used for analysis.
7.1.2. Linux
Using the terminal window and in globalprotect mode, run the collect-log command to create the support file.
Источник
Install globalprotect
on Ubuntu
globalprotect
- wanchunwang (wanchunwang001) Publisher
GlobalProtect VPN client
This is my-snap’s description. You have a paragraph or two to tell the most important story about your snap. Keep it under 100 words though, we live in tweetspace and your description wants to look good in the snap store.
Details for globalprotect
Enable snaps on Ubuntu and install globalprotect
Snaps are applications packaged with all their dependencies to run on all popular Linux distributions from a single build. They update automatically and roll back gracefully.
Snaps are discoverable and installable from the Snap Store, an app store with an audience of millions.
Enable snapd
If you’re running Ubuntu 16.04 LTS (Xenial Xerus) or later, including Ubuntu 18.04 LTS (Bionic Beaver) and Ubuntu 20.04 LTS (Focal Fossa), you don’t need to do anything. Snap is already installed and ready to go.
For versions of Ubuntu between 14.04 LTS (Trusty Tahr) and 15.10 (Wily Werewolf), as well as Ubuntu flavours that don’t include snap by default, snap can be installed from the Ubuntu Software Centre by searching for snapd.
Alternatively, snapd can be installed from the command line:
Either log out and back in again, or restart your system, to ensure snap’s paths are updated correctly.
Install globalprotect
To install globalprotect, simply use the following command:
Источник
Русские Блоги
Как использовать GlobalProtect для VPN-подключения в системе Linux (Ubuntu) (в качестве примера рассмотрим Beijing Post)
GlobalProtect — это программное обеспечение VPN, которое может подключаться к шлюзу GlobalProtect на брандмауэре следующего поколения Palo Alto Networks. В настоящее время многие колледжи и университеты используют GlobalProtect в качестве основного способа доступа к внутренним ресурсам за пределами школы. Однако GlobalProtect предоставляет только установочные пакеты для версии Windows и Mac, ни один из которых не может работать в Linux. Официальный сайт показывает, что GlobalProtect может работать только на следующих операционных системах: Android / Windows / Mac. Так как система Linux, как использовать GlobalProtect? Через тест редактор наконец нашел способ похвалить меня

Видно, что GlobalProtect использует протокол IPSec, поэтому редактор сначала попытался подключиться, напрямую развернув этот протокол в Linux, используя VPNC для подключения, но кажется, что в GlobalProtect нет пары конфигурации или есть какая-то проверка, результат подключения был Ответа нет, но шлюз портала можно пропинговать, я не знаю, что пошло не так.

Информация о конфигурации выглядит следующим образом:

Изучив информацию, редактор обнаружил, что openconnect может поддерживать подключение к GlobalProtect и может использоваться в системах Linux. Каналы OpenConnect VPN — это два соединения / канала, которые устанавливаются и поддерживаются сервером и клиентом через TCP, HTTP и TLS, которые являются каналом управления и резервным каналом данных. После установления канал UDP с использованием DTLS запускается в качестве основного канала данных. Если канал UDP не может быть установлен или временно недоступен, используется резервный канал в TCP / TLS. OpenConnect VPN может быть аутентифицирован путем набора VPN через клиента AnyConnect или клиента OpenConnect. После успешной проверки сервер предоставит клиенту IPv4-адрес в интрасети и IPv6-адрес сети кампуса (требуется поддержка терминального устройства) и тот, к которому можно получить доступ Список маршрутизации может реализовывать взаимные визиты внутри сети кампуса и доступ к ресурсам базы данных библиотеки.
ВотUbuntu 16.04 Системное соединениеПекинская почтаВозьмем пример, иллюстрирующий шаги связывания. Другие версии системы не были протестированы, но процесс работы другой. Если у вас возникли проблемы, вы можете обратиться за помощью в Google.
Экологическая установка
Во-первых, нам нужно установить openconnect, вот два метода:
Первый способ — стандартная установка. После добавления ppa установите непосредственно. Конкретные команды:
Второй способ — использовать существующий исходный код в git для установки. Возможно, первый способ вызовет проблемы у многих людей. Рекомендуется использовать второй метод для установки. Конкретные шаги заключаются в следующем:
(1) Загрузите и скомпилируйте openconnect, команды:
(2) Создайте новый файл vpnc-script в каталоге / etc / vpnc / (вы также можете перейти на другие пути, но не забудьте заменить путь к файлу в следующих командах)
Откройте вышеуказанную веб-ссылку и скопируйте все содержимое в только что созданный файл vpnc-script, как показано на рисунке ниже:

(4) Измените разрешение только что созданного файла, иначе будет сообщено об ошибке: разрешение отклонено
На этом этапе все настройки среды завершены.
Запустите openconnect
Затем следуйте инструкциям и введите имя пользователя и пароль для последовательного подключения к GlobalProtect:

Если это похоже на рисунок выше, это означает, что соединение с GlobalProtect установлено успешно. Тест выглядит следующим образом:

На данный момент вы можете использовать GlobalProtect в системе Linux, если вам это не нужно, используйте его напрямуюCtrl+C Просто закончите Терминал только сейчас. Если вам нужно открыть GlobalProtect в следующий раз, вам нужно только выполнить описанные выше шаги «Запустить openconnect» снова, без повторной установки. Если у вас есть какие-либо вопросы, вы можете оставить сообщение внизу статьи для общения!
Редактор редко талантлив и надеется исправить любые ошибки в статье. Приглашаем коллег в одном классе для обсуждения и обмена! ! !
Источник


