- Change Screen Resolution, Color Calibration, Calibrate ClearType Text in Windows 10
- Change Screen Resolution on Windows 10
- Change Color Calibration in Windows 10
- Calibrate ClearType Text in Windows 10
- How to Change Windows 10 Window Colors and Appearance
- Change Windows 10 colors and appearances
- Now for changing to a specific color if you are using a Windows default theme:
- How to let your Windows operating system pick a color from your background(only if using Windows default theme):
- How to choose your color if you are using a high contrast theme:
- Useful Windows 10 customizing hints and tips
- How do I change the Title Bar color of ALL Windows 10 Explorer windows?
- Replies (5)
- How to change color modes on the Windows 10 May 2019 Update
Change Screen Resolution, Color Calibration, Calibrate ClearType Text in Windows 10
It is very important to have the correct screen resolution settings on your Windows PC as it facilitates a better display of content and the clarity of images. Higher is the resolution, the sharper are the images and contents on your PC. While, Windows, however, has its own set default scaling settings and colors for each display in your PC, which are usually the best for your system, you can always adjust it according to your own preferences.
Change Screen Resolution on Windows 10
In this post, we will learn about how to how to change the Screen Resolution, Color calibration, ClearType Text, Display Adapter, Text sizing, and other Display settings in Windows 10. Adjusting the screen resolution is easy, and you can get to the Screen Resolution settings via Display Settings:
- Open Settings
- Click on System settings
- Select Display from the left side
- Scroll down till you see Display resolution
- From the drop-down select the screen resolution you want.
Let us see this in more detail.
Go to your Desktop, right-click your mouse and go to Display Settings.
The following panel will open. Here you can adjust the size of text, apps, and other items and also change the orientation. To change the resolution settings, scroll down this window and select the drop-down menu for Display resolution.
1920 X 1080 is the recommended screen resolution for my PC. It may be different for you.
However, you may want to modify if you want the items in your PC to appear larger. Please note that the lower is the resolution, the larger is the content displayed on your screen. From the available options in the drop-down menu, select the one you want and click Apply.
If it is not the optimal setting for your system, you will see an Optimal Resolution Notification like this.
You may ignore the notification and confirm your Screen Resolution changes by clicking on Keep The Changes. or you may select another screen resolution. You will get just 15 seconds to confirm the changes or else it will revert to the default display settings.
While here in the Advanced Display settings panel, you can also change the following settings.
Change Color Calibration in Windows 10
You can also calibrate your display. Windows provides you with a Display Color Calibration Wizard, which helps you set up your computers brightness, gamma, contrast & color settings easily. Using this wizard, you can improve the color on your display and make sure that the colors appear accurately, in Windows 10/8/7.
Search for DCCW or Color Calibration in the search bar of Settings and click in the Calibrate display color option.
This will open the color calibration wizard where you just have to follow the instructions and adjust the settings.
The wizard will guide you to set the color, gamma, brightness, contrast, color balance and also make the text on your screen easier to read.
You will then reach a window shown below where you can adjust how the colors appear on your screen by moving the red, blue, and green sliders.
Calibrate ClearType Text in Windows 10
Make the text on your PC clearer by checking this small box under the Clear Type Text section.
Search for ClearType text in the search bar of Settings and click in the Adjust ClearType text option.
This will open the Text Tuner where you have to follow the instructions and keep clicking on ‘Next’ button to tune the text on your monitor.
Date: July 14, 2020 Tags: Screen Resolution
How to Change Windows 10 Window Colors and Appearance

I know most of you running a Windows 10 device were wondering if they can change the colors and appearances in the operating system. Well, the answer to your question is yes and you only need to follow the tutorial posted below in order to find out how exactly you can change the colors and appearances in Windows 10. 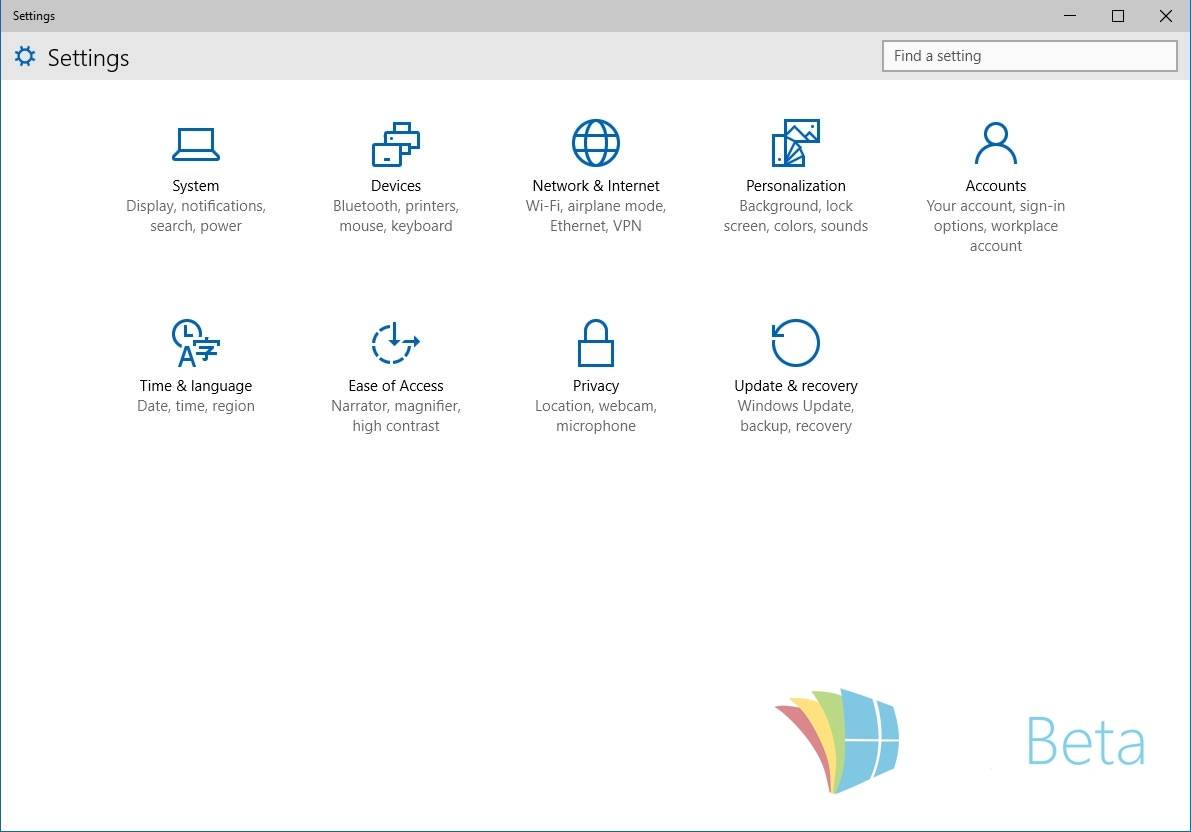
In order for you to select your Windows 10 colors and appearances you will first need to turn on the “show color on Start, taskbar, and action center” feature if you haven’t already. If you turn on this feature you will be able to change to your liking the Start menu colors, the taskbar colors, and the action center background will have your preferred color as well.
Change Windows 10 colors and appearances
- Press the “Windows” button on the keyboard to open the Start menu in Windows 10.
- In the upper side of the Start menu, you will have to left click or tap on the “Settings” feature.
- Now in the Settings menu, you will have to find and left click or tap to open the “Personalization” feature.
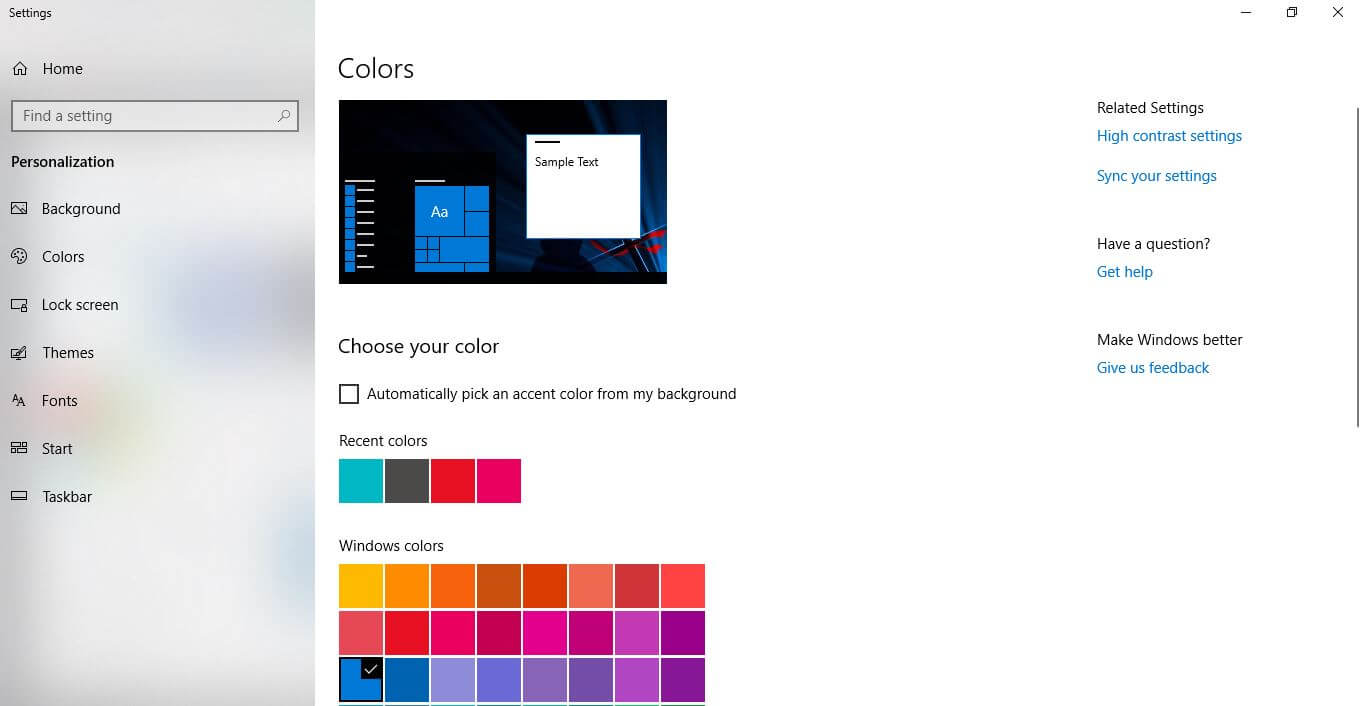
Now for changing to a specific color if you are using a Windows default theme:
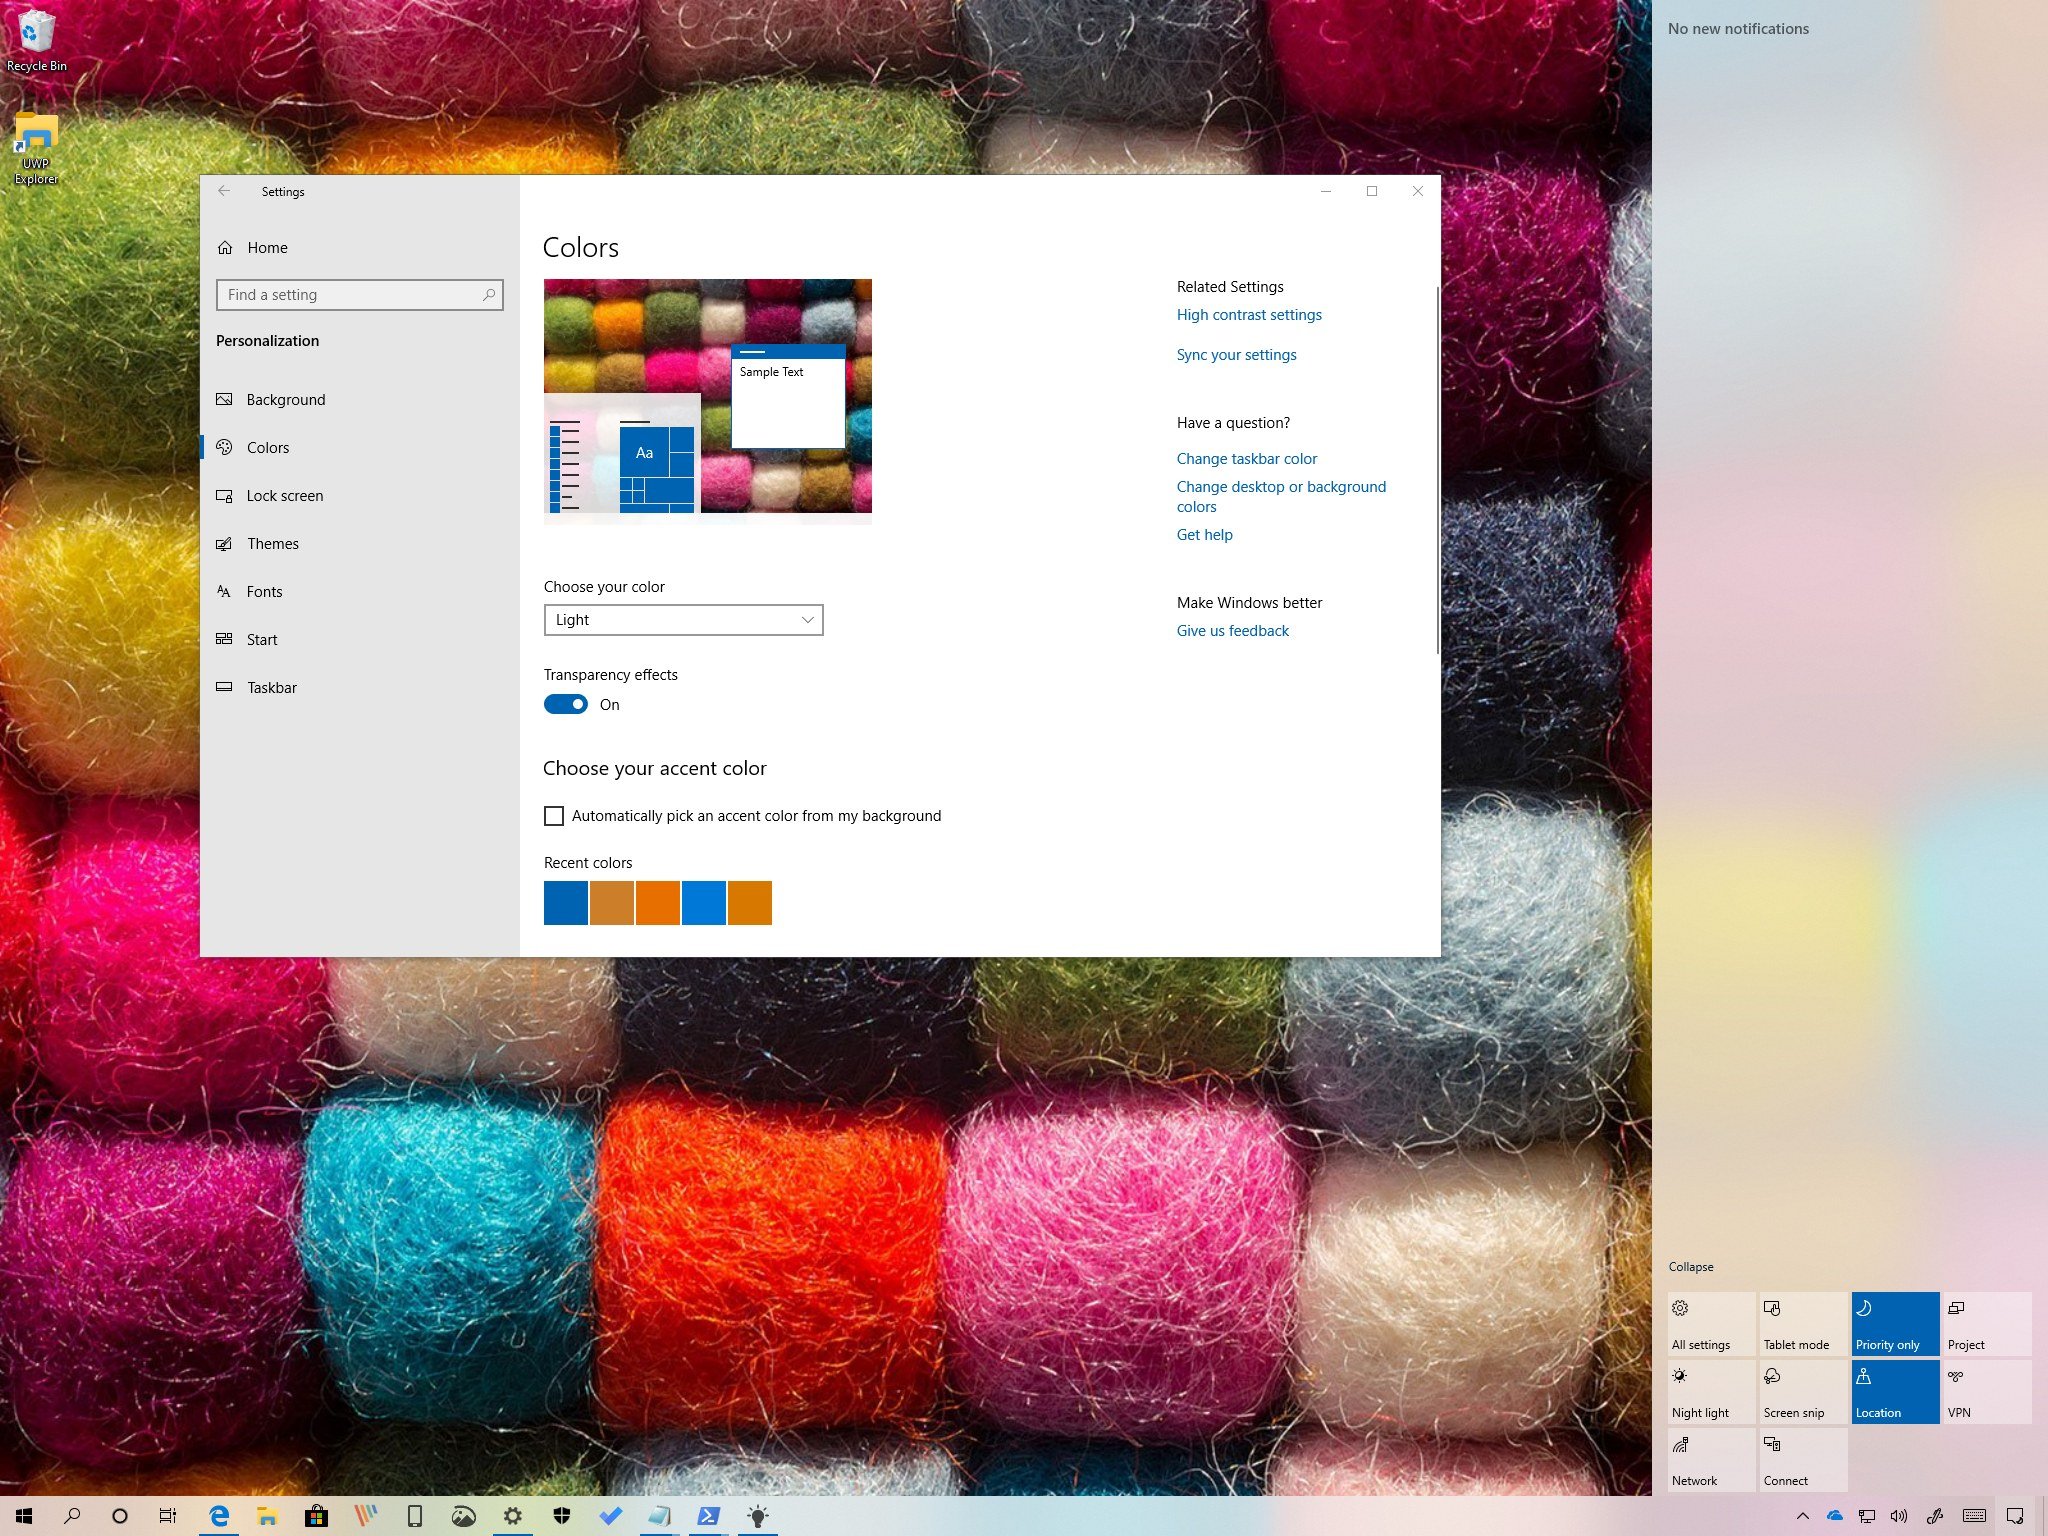
- In the Personalization window left-click or tap on the “Colors” feature situated in the left side panel.
- Turn on the “show color on Start, taskbar, and action center” feature.
- Move the slider for the “Automatically pick a color from my background. ” to off.
- Now from the menu of colors left-click or tap on a color you wish.
- Now close the Settings window you opened and reboot your Windows 10 operating system.
How to let your Windows operating system pick a color from your background(only if using Windows default theme):
- From the Personalization menu you need to left click or tap on the “Colors” feature again.
- Turn on the “show color on Start, taskbar, and action center” feature.
- Turn on the feature “Automatically pick a color from my background“.
- Close the Settings windows and reboot your Windows 10 operating system.
How to choose your color if you are using a high contrast theme:
- Left click or tap on the “Colors” feature situated on the left side panel in the Personalization window.
- Find and left click or tap to access the “Go to high contrast color settings” link situated on the lower side of the window.
- In this next window left-click or tap on the color you wish to change and from the colors, menu chooses the color you want.
- Now left click or tap on the “Apply” button.
- Left click or tap on the “OK” button in the same window and close the Settings menu.
- Reboot your device and check to see if the colors have changed.
Useful Windows 10 customizing hints and tips
For some of our readers changing the color and appearance of specific communication, windows are something they need in order to navigate quickly through a large number of opened tasks. For this, we have a dedicated article that teaches you how to customize the colors of your start menu and taskbar. If you simply want to change the color of a window, this is not so complicated.
If you do navigate on Facebook and it starts being annoying, try to change its color schemes and customize it. Finally, if you simply want to calibrate the colors, the brightness or the contrast of your Windows screen, here’s how to do it.
You are done, now you know exactly how to change the colors and appearances in your Windows 10 operating system but if you do run into any issues along the way you can always write us in the comments section of the page situated below and me or my colleagues will help you further as soon as possible.
How do I change the Title Bar color of ALL Windows 10 Explorer windows?
I’m running Win 10 Pro v1511 build 10586.318
I’ve seen variations of this questions asked many times, and the solution of running the Win 10 Fall Build to have colored title bars included when turning on «Show color on Start, taskbar, action center, and title bar». As you can see above I have the correct version.
However I’m not sure if this is working correctly with my system or if it’s a bug.
What happens is that when I enable the feature, all the applied items do indeed change color, including Explorer windows, but only when in the taskbar. If I hover over Explorer windows in the taskbar, they all show with the enabled color. But as soon as I bring multiple Explorer Windows to the desktop, only the active Window is colored. I’m hoping this isn’t how they implemented it, because if so it’s a major oversight. The ability to have all title bars colored is not just an esthetic thing — it’s a functional feature for productivity. I’m using multiple monitors for my workstation. I’ll have many Explorer windows open and showing on the desktop — sometimes four spread across the two screens. I’ll be re-arranging them frequently. If I’m going to grab an Explorer window and the title bar is clear on the inactive one, then many times I just miss the title bar and it swipes without grabbing it. Maybe this seems like a small issue, but if it’s your workstation and you’re doing this frequently it’s a real pain. The only colored bar is the active one. If anything it should be the other way around — clear on active and colored on inactive.
When I say it’s not just an esthetic thing, I should actually say it isn’t an esthetic thing at all. The stock solid colors they give you are abysmal. I went through the rather convoluted method of modifying Theme Files to create an additional aero color theme that enables the color mixer. However that doesn’t work. If I use the Intensity or Hue sliders it does nothing. The one single Explorer window with a colored border sits like a taunting insult, while the others remain white.
Please tell me there is a way to enable color on all Explorer title bars. Or to at least have a black line or something else separating the title bar from the menu bar and the rest of the white window.
Replies (5)
![]()
If you need further assistance, we will glad to help you.
6 people found this reply helpful
Was this reply helpful?
Sorry this didn’t help.
Great! Thanks for your feedback.
How satisfied are you with this reply?
Thanks for your feedback, it helps us improve the site.
How satisfied are you with this reply?
Thanks for your feedback.
![]()
First of all, please note that this account is not the one I used to post the original message here. My message was posted with SalFrank77. this one is posted with SalFranks77 — note Franks as in plural.
Today I went to log into the Microsoft account I made the op with here, (Live account — not 365) and it told me my account was suspended for a ToS violation — spam related. I discovered this was because I use TorGuard VPN that uses shared ip addresses. I disconnected and attempted to login via my normal ip. But because I was attempting to then log in to the banned account, it then banned my current non VPN ip address.
Two phone calls later to Microsoft and a remote session, the technician confirmed my ip to allow me to create a new account — resetting the old one couldn’t be done for another 30 days he told me.
I went to this thread to see what changes I needed to do for the color issue. I did exactly as you advised and applied the changes and rebooted. When the computer rebooted I was faced with a login screen, but this time it wasn’t asking for the local PC account, the one I had created when I installed Windows 10, but it was asking me to sign in with my live account, the one I had to create earlier today just hours before. I had saved that info locally into my Keepass program on the locked out PC, before my daily backup. So I’ve had to go to another computer and create another account.
This is extremely frustrating. I’ve had to install Win 10 four times in three days including initial install. Now I am faced with a fifth installation if I can’t recover my account. I have never specified that Windows should ask me for a password at reboot. I have never specified that my Windows live account be associated with this machine.
So I am unable to proceed with fixing the original problem I came here to post.
Since I installed Windows three days ago I have spent the last three days full time troubleshooting problems including the aforementioned four installs — one for the original upgrade; two to wipe the upgrade for a fresh clean Win 10 install; third install because I had been locked out of the computer as it was asking for a password for my local PC account — even though I had specified no password at install. My only option was to re-install; Four to install as ISO off of a DVD to remedy a corrupted install and boot problem . now if I can’t get in I am looking at a fifth install.
Windows 10 was supposed to be simple and faster. So far for me it’s been one headache after another, and a full time job troubleshooting
How to change color modes on the Windows 10 May 2019 Update
Although on Windows 10, the ability to change the color mode to customize the desktop and app experience has been around for a long time, it’s not until the release of the May 2019 Update (version 1903) that you see a more consistent experience and more options.
For instance, in previous versions, you’re able to use a light mode, but it’s was limited and inconsistent as the Start menu, taskbar, Action Center, and other visuals didn’t use light colors. Also, before the October 2018 Update, a dark mode was available, but again it’s wasn’t consistent as legacy features like File Explorer and Windows Console didn’t include a dark color scheme.
Starting with the first semi-annual feature update for 2019, the Settings app introduces new options that allow you to enable a true light mode that expands the light color scheme across all visual elements. If you select the dark mode, you’ll notice that it’s more consistent, and the colors now expand to the Windows Console. In addition, there’s even a new custom mode, which allows you to set the default colors for Windows 10 and apps individually.
In this Windows 10 guide, we’ll walk you through the steps to customize your desktop experience with the new color settings available with the May 2019 Update.


