- How to Change Drive Icons in Windows 10
- Changing Drive Icons in Windows 10
- Conclusion
- How to Change Icons on Windows 10
- How to Change Desktop Icons on Windows 10
- How to Change Folder Icons on Windows 10
- How to Change File Type Icons on Windows 10
- How to Change Shortcut Icons on Windows 10
- How to Change Icons on Windows 10
- 1. Change Desktop Icons on Windows 10
- 2. Change Folder Icons on Windows 10
- 3. Change a Type of File’s Icon on Windows 10
How to Change Drive Icons in Windows 10
Sometimes people wonder whether they can change the drive icons too just like the other icons in Windows 10. The answer to this question is a “yes” but it is surely not as simple as we change the other types of icons. Windows 10 does not provide a direct way of customizing the drive icons rather this task can be accomplished using the Registry Editor in Windows 10. This is a bit tricky yet useful method of changing the drive icons in Windows 10. Therefore, in this article, we will look at this method in detail.
Changing Drive Icons in Windows 10
In order to change the drive icons in Windows 10, you will need to perform the following steps:
Type regedit in the search section of your taskbar and click on the search result to launch a new registry editor window. The newly opened Registry Editor window is shown in the following image:
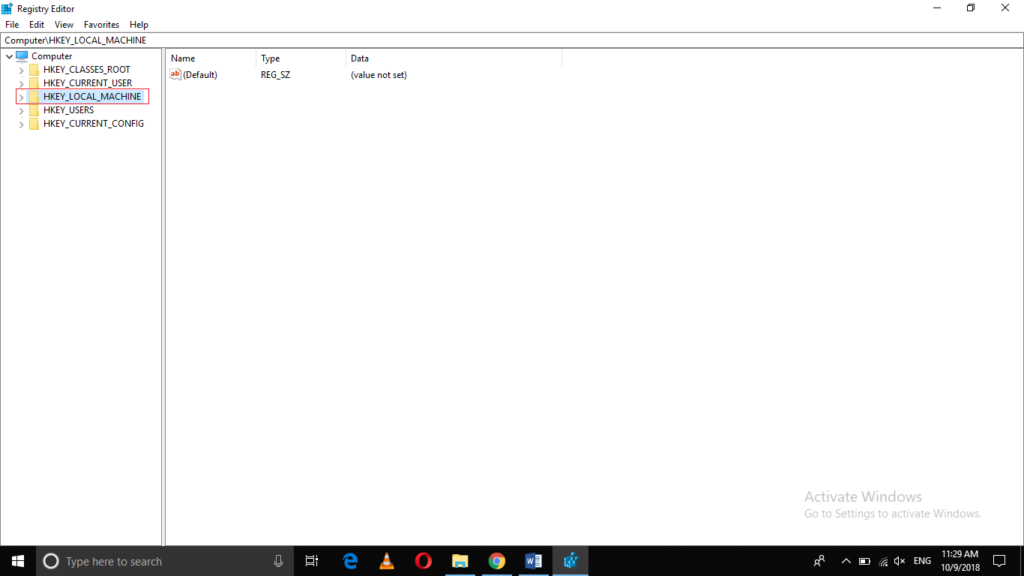
Click on the HKEY_LOCAL_MACHINE folder as highlighted in the image shown above.
Now click on the Software folder located under the HKEY_LOCAL_MACHINE folder as shown in the image below:
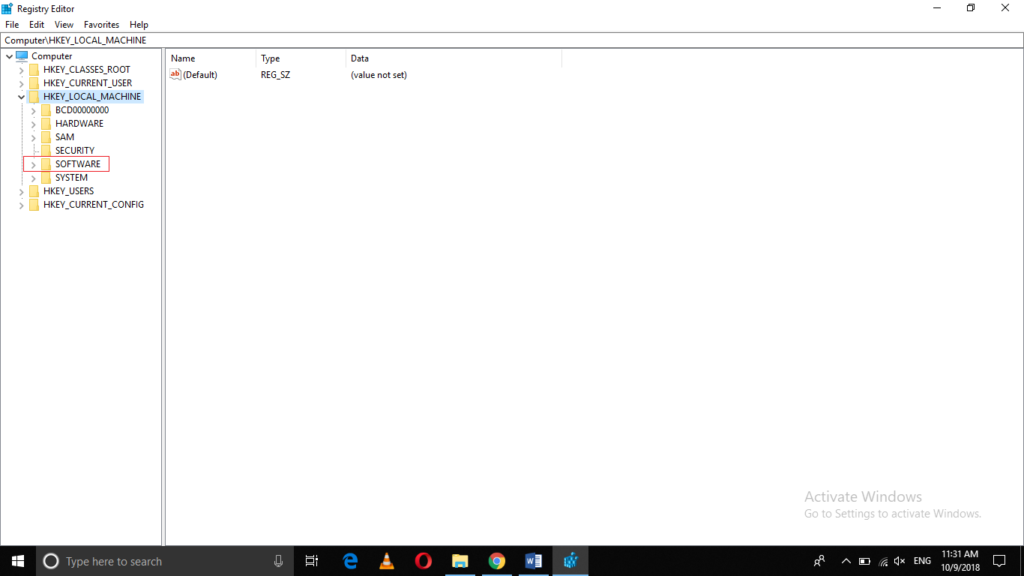
As soon as you will click on it, the Software folder will expand in order to show its sub-folders.
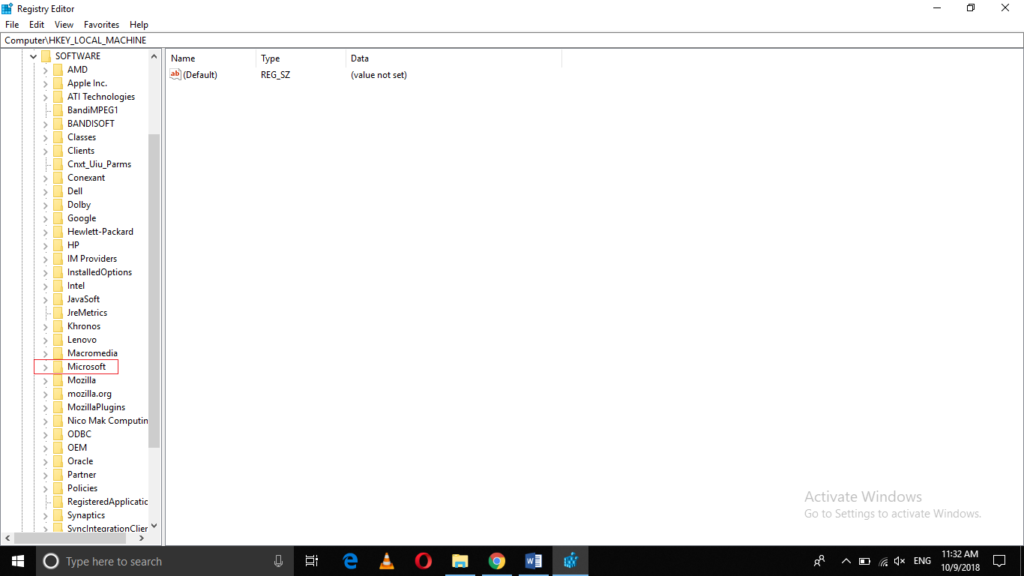
Click on the Microsoft folder as highlighted in the image shown above.
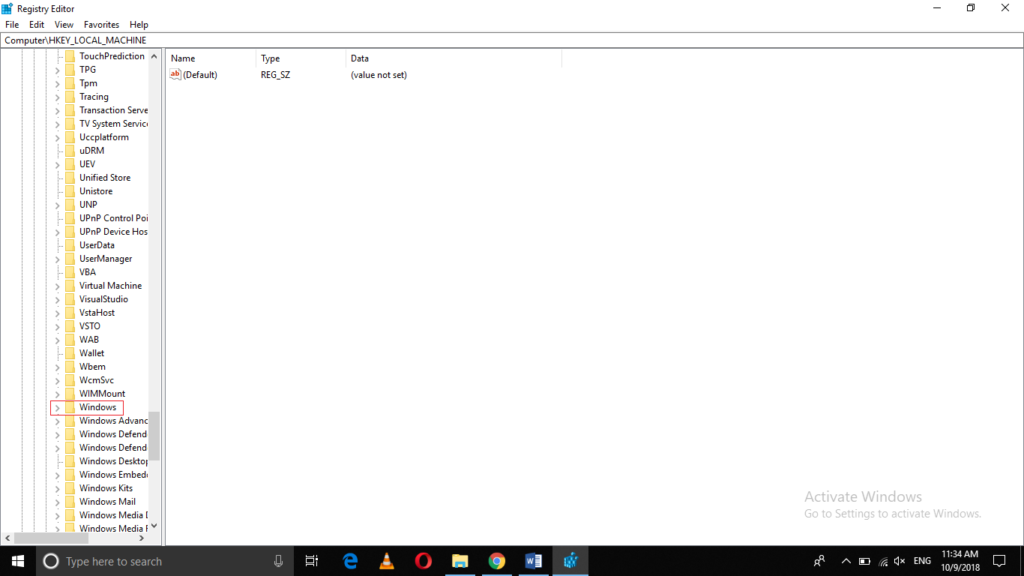
Then click on the Windows folder under the Microsoft folder.
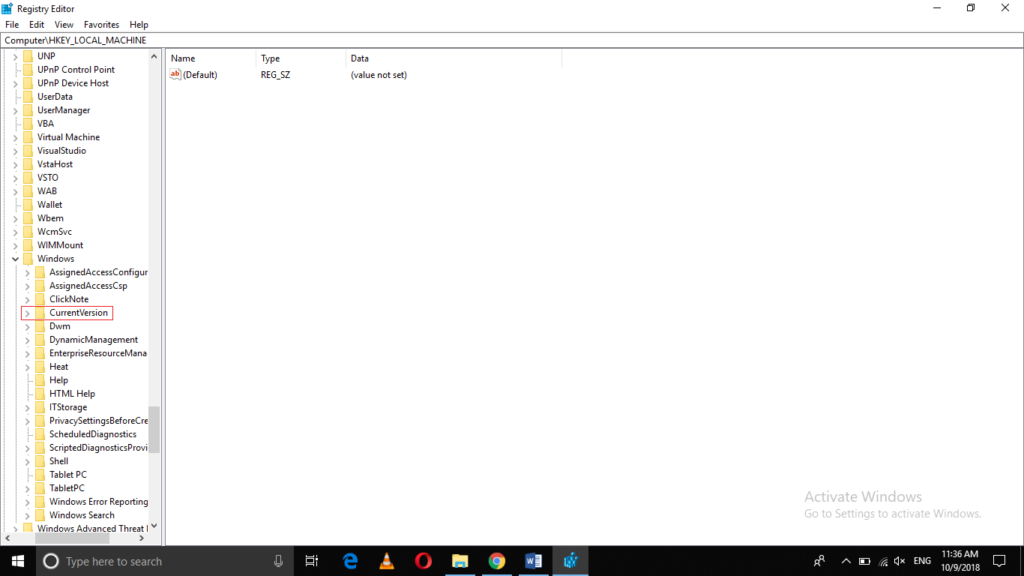
Now click on the CurrentVersion folder as highlighted in the image shown above.
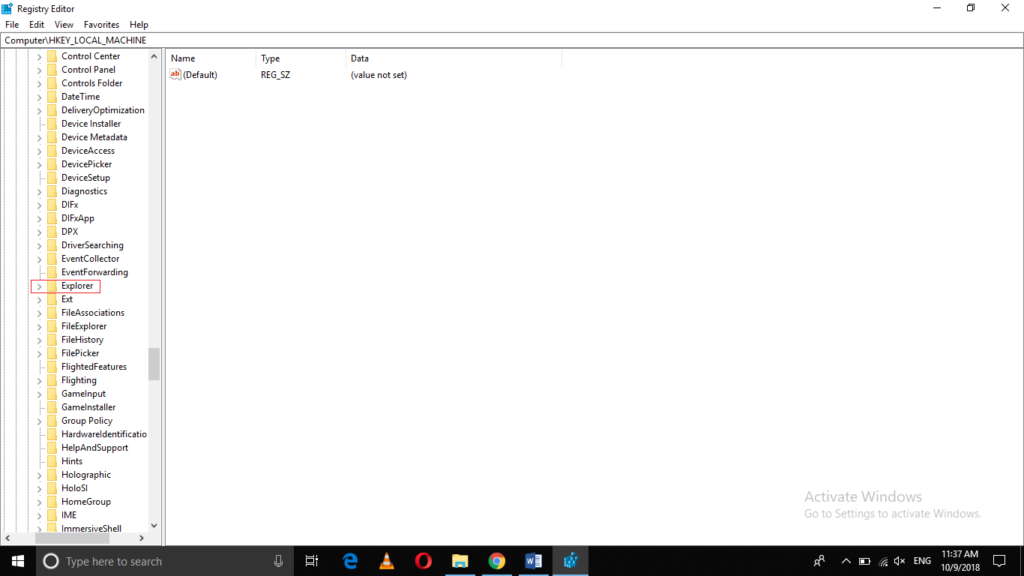
Click on the Explorer folder under the CurrentVersion folder in order to expand it further.
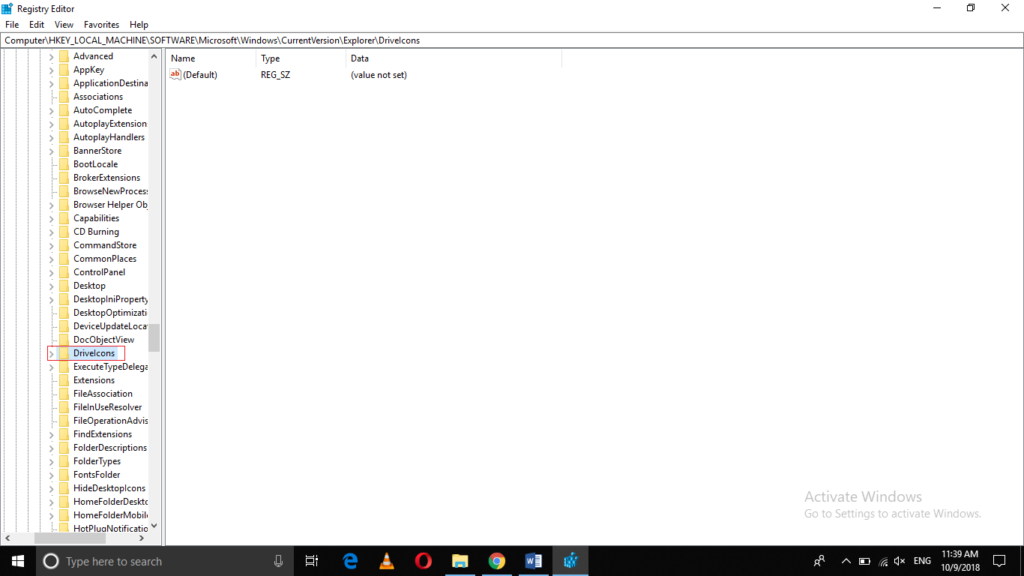
Finally, click on the DriveIcons folder as highlighted in the image shown above.
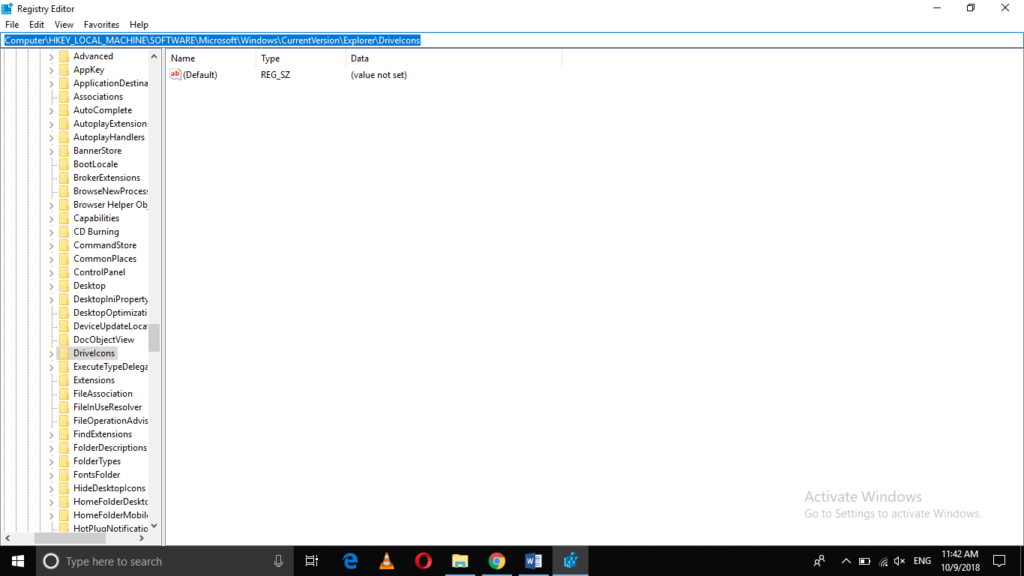
So, the complete path is as follows:
It is also highlighted in the following image:
Right click on the DriveIcons folder to launch a menu as shown in the image below:
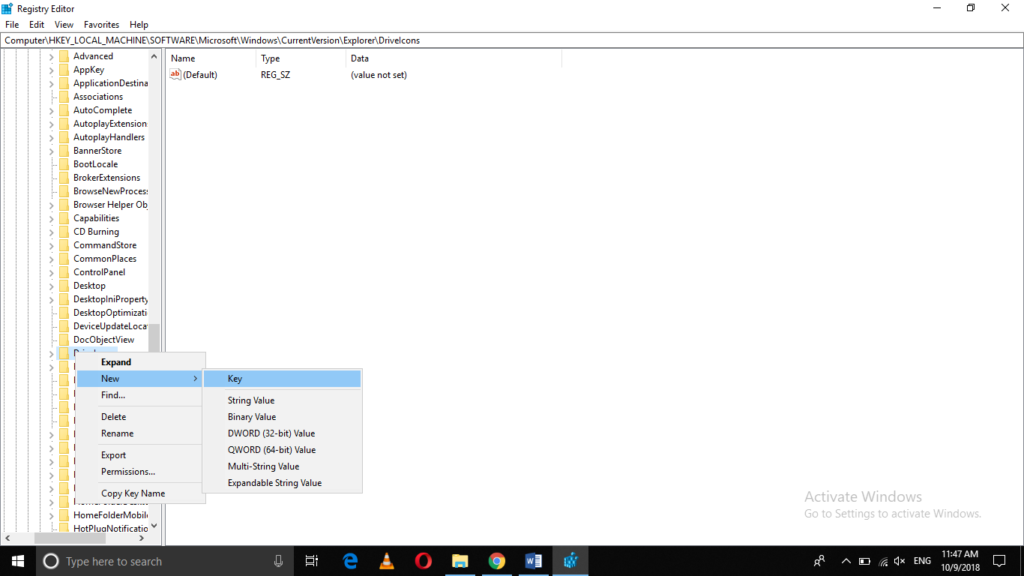
Select New from the cascading menu and then click on Key from the sub-cascading menu.
Rename the newly created key folder with the drive name whose icon you want to change. In this example, I want to change the icon of the D drive so I have renamed the newly created key folder as D. It is highlighted in the following image:

Now right click on the D drive folder in order to launch a cascading menu as shown in the image below:
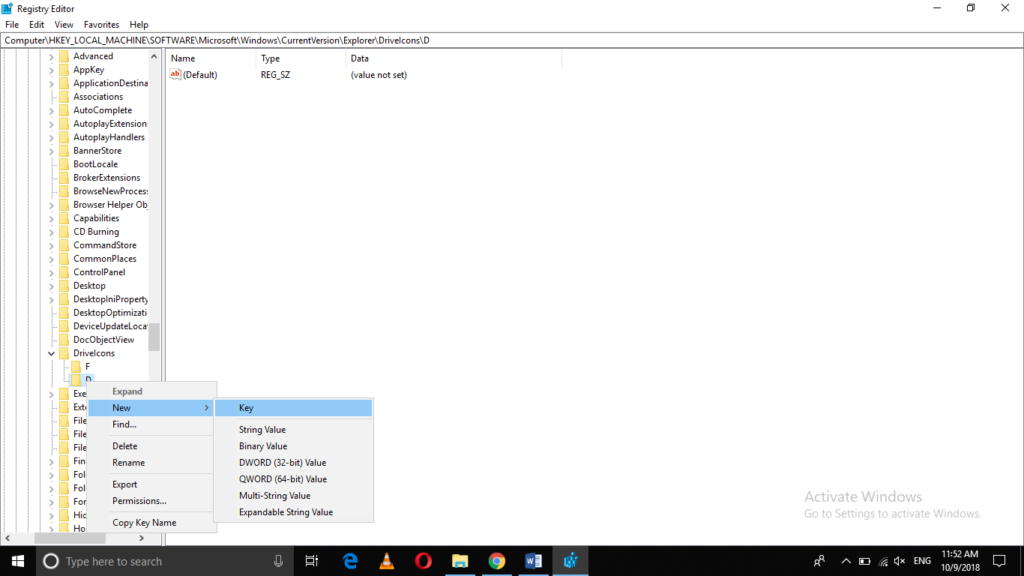
Select New from the cascading menu and then click on Key from the sub-cascading menu.
Rename this newly created key folder as DefaultIcon as highlighted in the following image:
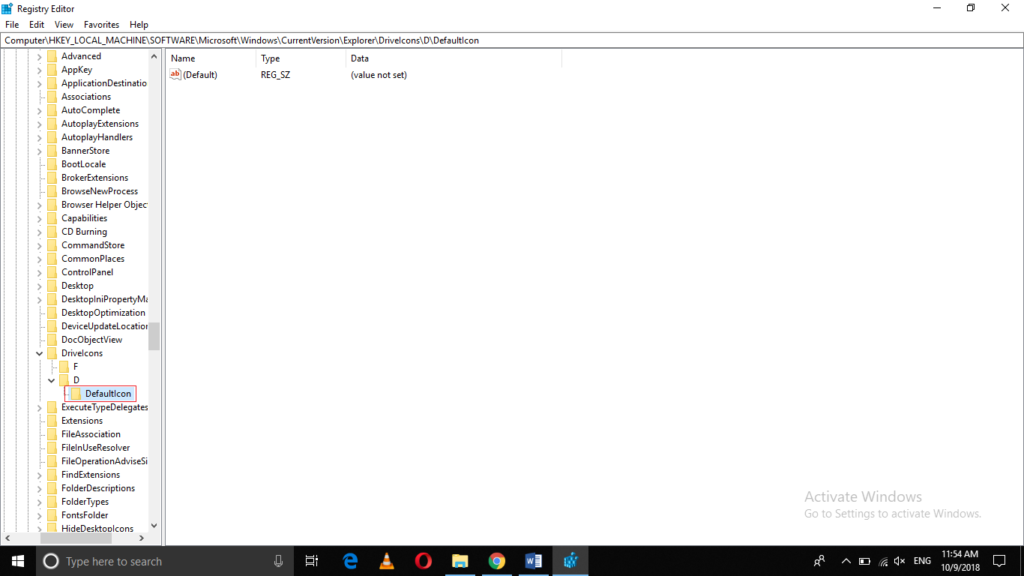
Now double click on the Default key in the right pane of the window as shown in the image below:
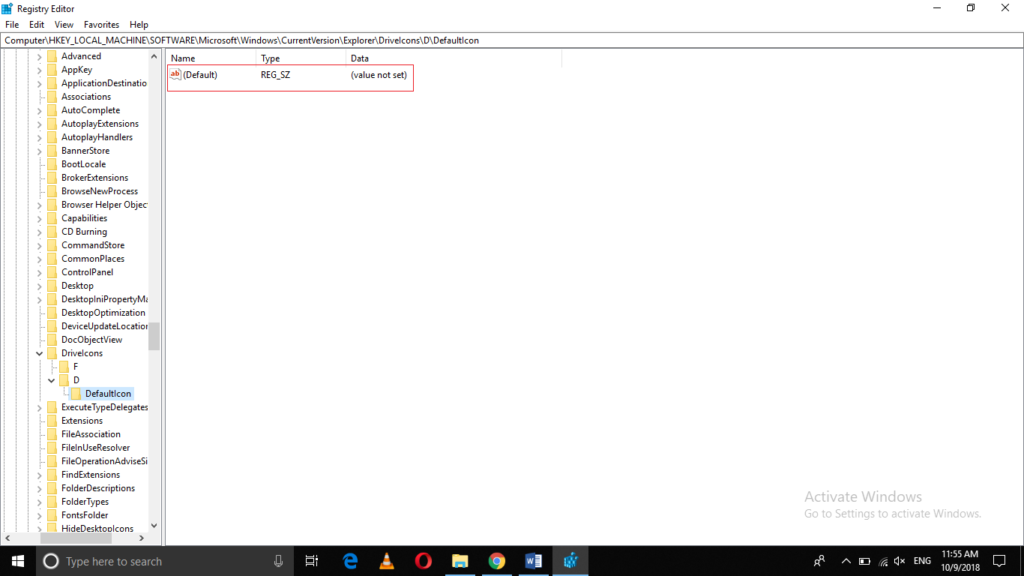
As soon as you will click on it, the Edit String dialogue box will appear which is shown in the following image:
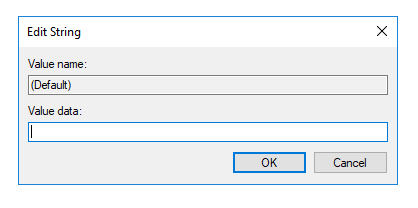
In the text box corresponding to the Value Data field, you need to give the full path of the ICO file that you want as your new drive icon. ICO files are the image files that contain various icons. You can download any ICO file of your choice from the Internet and then give its complete path enclosed within quotation marks inside the Value Data text box. It is shown in the image below:
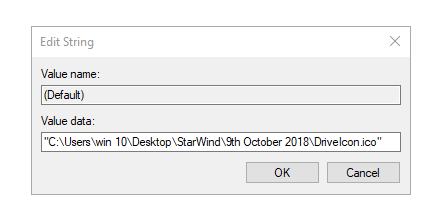
Finally, click on the OK button in order to save your settings.
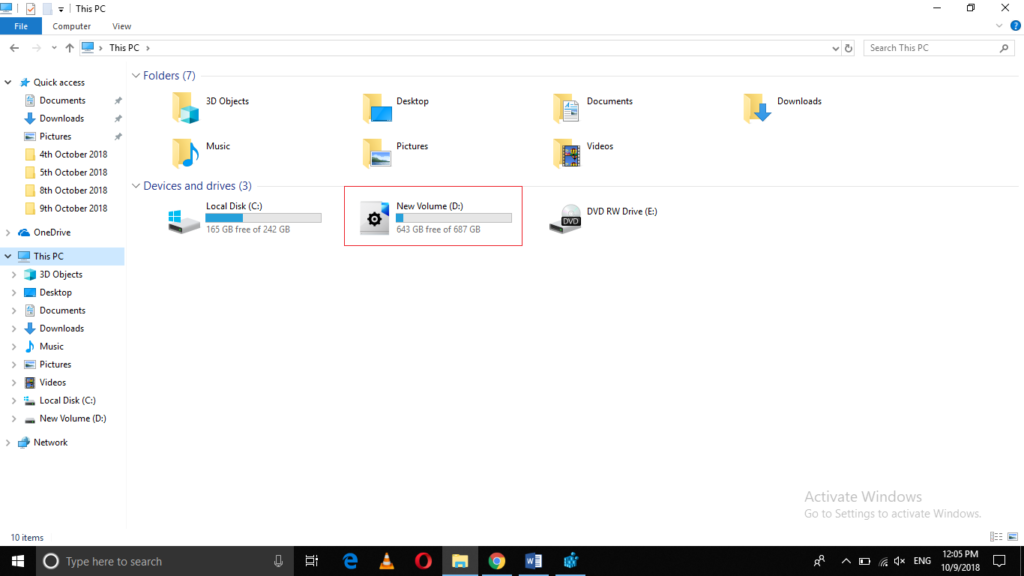
As soon as you will click on the OK button, the icon of the D drive will change as specified in your Value Data text box. It is highlighted in the following image:
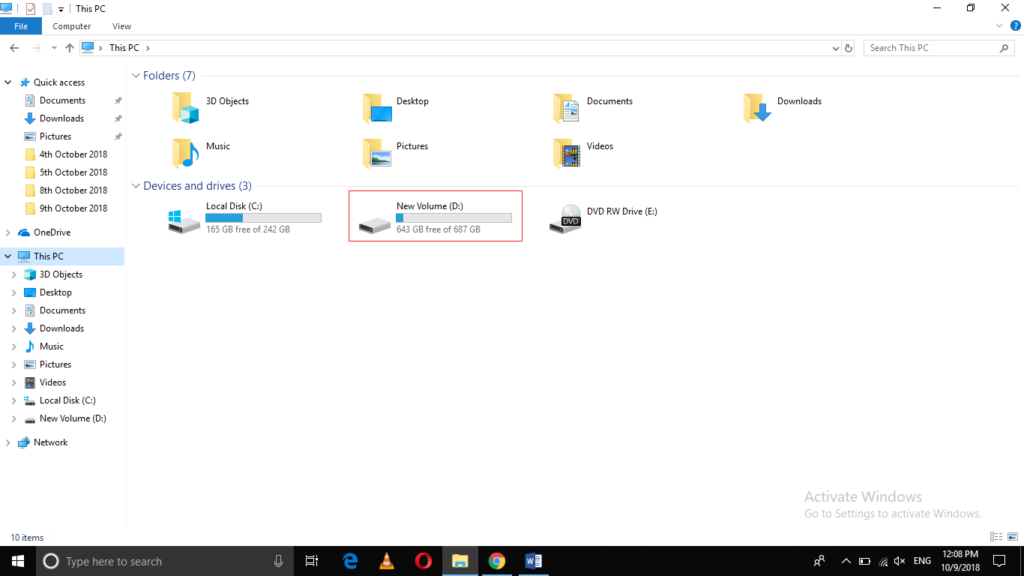
If you do not like this new icon and want to restore the old drive icon, simply go the drive key folder that you had created in the Registry Editor. Right click on it to launch a cascading menu and then select Delete option from this menu. As soon as you will delete this folder, your previous drive icon will be restored as highlighted in the image shown below:
Conclusion
By following the method discussed in this article, you can customize the drive icons anytime you want in Windows 10. This method is very different from the regular method of changing the icons and is a bit complex as well. Whenever you are working with the Registry Editor, you need to be very careful because if you mess up at any step, then this may cause a problem in running your PC smoothly. However, if you will carefully follow all the steps given above, then you will successfully be able to change the drive icons in Windows 10.
How to Change Icons on Windows 10
In this Itechguide, Victor teaches you how to change icons on Windows 10. The guide covers steps to change desktop, folder, and file type and shortcut icons.
Expand “Browse Post Topics” below to go straight to a topic.
Browse Post Topics
How to Change Desktop Icons on Windows 10

One method to change icons on Windows 10 is by changing desktop icons like Recycle Bin, This PC, etc. Here are the steps to change desktop icons:
- Right-click the Windows 10 Start menu and click Settings.

- Then, on Windows Settings, click Personalisation.

- On the left pane of the Personalisation settings screen, click Themes.

- When the Themes settings screen opens, scroll down to Related Settings and click Desktop icon settings.

- On Desktop icon settings, select the icon you want to change, then on the bottom right of Desktop Icon Settings, click Change Icon. For example, to change the icon for This PC, select it, then click Change Icon.

- Finally, on the Change Icon settings, select a new icon and click OK.
- The icon for This PC will change to the new selected icon. To save your changes, on the Desktop icon settings screen, click OK.


How to Change Folder Icons on Windows 10

Another method to change icons on Windows 10 is by changing folder icons. Here are the steps to change folder icons…
- Right-click any folder on your PC and click Properties.

- Then, on the Properties of the folder, click the Custom tab.

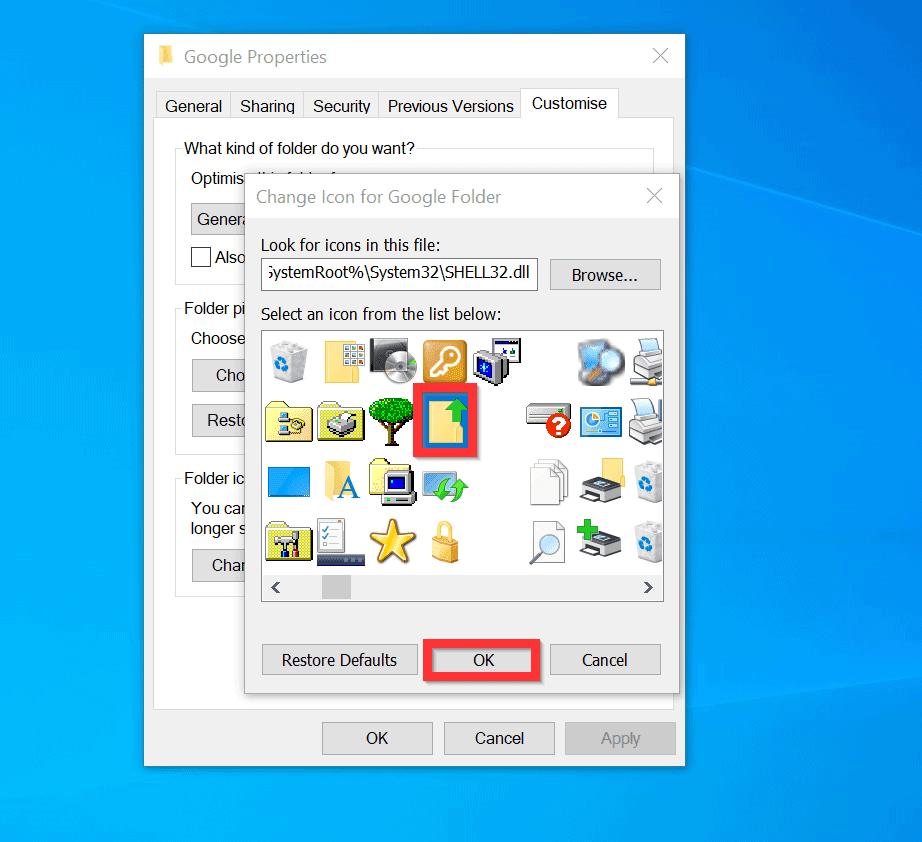
- On the Custom tab, beneath Folder icons, click Change Icon.

- Finally, to change folder icons on Windows 10, on the Change Icon screen, select a new icon and click OK.
- To apply your changes, on the Properties of the folder, click OK.
How to Change File Type Icons on Windows 10

You can also change the icon of a file type. But you need to download and install a 3rd party tool called FileTypesMan. Here are the steps to change file type icons.
- Click FileTypesMan link. When the page opens, scroll down towards the bottom of the page and click the download link for your Windows 10 System Type.
- If your PC is 64-bits, click the second link below. Otherwise, click the first link.


- Then, save the zip file to a folder on your PC.

- Finally, unzip the downloaded zip file. Then, open the unzipped folder and double-click FileTypesMan file.
- You will receive a User Access Control screen – click Yes.
How to Change Shortcut Icons on Windows 10
Another way to change icons on Windows 10 is to change the icon of a specific shortcut. Here are the steps.
- Right-click the shortcut you want to change its icon and click Properties. The properties of the shortcut will open on the Shortcut tab.

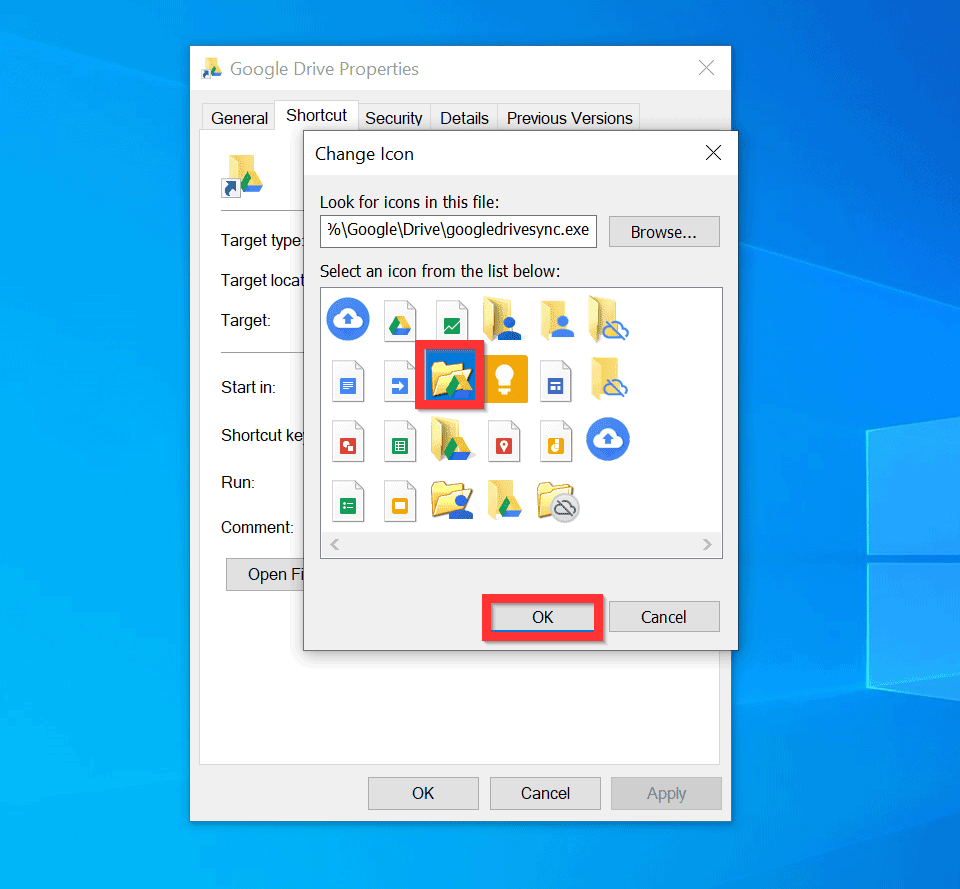
- On the lower part of the Shortcut tab, click Change Icon.

- Finally, on the Change Icon window, select a new icon and click OK. Then, on the Shortcut Properties, click OK.

You can use the 3 methods to change icons on Windows 10! I hope you found this Itechguide helpful. If you found it helpful, kindly vote Yes to the “Was this post Helpful” question below.
Alternatively, you could ask a question, leave a comment or provide feedback with the “Leave a Reply” form found towards the end of this page.
Finally, for more Windows 10 Itechguides, visit our Windows 10 How-To page. You may also be interested in our Work from Home page.
How to Change Icons on Windows 10
It is a good way to customize your own Windows OS and improve the using experience by changing the icons on Windows 10. If you are bored with the default icons on your Windows 10 computer, you can use the following ways to change icons on Windows 10 easily.
1. Change Desktop Icons on Windows 10
Step 1: Click Start > select Settings > choose Personalization click Themes.
Step 2: Slide the left pane and locate to Related Settings. Then choose Desktop icon settings.
Step 3: In the Desktop Icon Settings window, select the desktop icon you want to change and click Change Icon.
Step 4: Choose a new icon from the list or click Browse to input an icon and tap OK.
Tip: The icon type can be exe, dll, or ico.
Step 5: Click OK to confirm the change.
2. Change Folder Icons on Windows 10
Step 1: Right-click the folder and select Properties in the context menu.
Step 2: Choose Customize and click Change Icon in the Properties window.
Step 3: You can replace the folder icon with a basic/personalized one. Then click OK to save the change.
Step 4: Hit OK to finish changing the folder icon.
3. Change a Type of File’s Icon on Windows 10
Different from personalizing desktop icons or folder icons, changing the icon of a type of file needs the help of the third-party tool like File Types Manager and here it will be used as the utility.
Step 1: Get File Types Manager on your Windows 10 PC.
Step 2: Find the file type that you want to change its icon. Then close the Find box.
Step 3: Right-click the file and choose Edit Selected File Type.
Step 4: Click the 3-dots button in the pop-out window.
Step 5: Pick one of the existing icons. You can also input your own icon by clicking Browse > click OK.
Step 6: At last, don’t forget to click OK to execute the operation.


