- The Best Way to Clean Windows, According to Our Cleaning Lab
- 1. Choose a dry, cloudy day.
- 2. Remove dirt and dust first.
- 3. Pick the right cleaner — and spritz generously.
- How to clean windows
- Choose your time
- Tackle mildew on frames
- Give glass a going over
- Show sills some love
- Don’t neglect window screens
- www.makeuseof.com
- Follow MUO
- The Best Way to Clean Windows 10: A Step-by-Step Guide
- Step 1: Erase Temporary Junk
- Disk Cleanup
- Storage Sense
- Step 2: Delete Large Files
- Uninstall Big Programs
- Eliminate Large Items From Your User Folder
- Step 3: Clean Windows 10 Bloatware
- Step 4: Tidy Your Desktop
- If Necessary: Refresh Windows 10
- Avoid Fake Cleaning Apps
- Now Windows 10 Is Cleaner Than Ever
- Subscribe To Our Newsletter
- One More Step…!
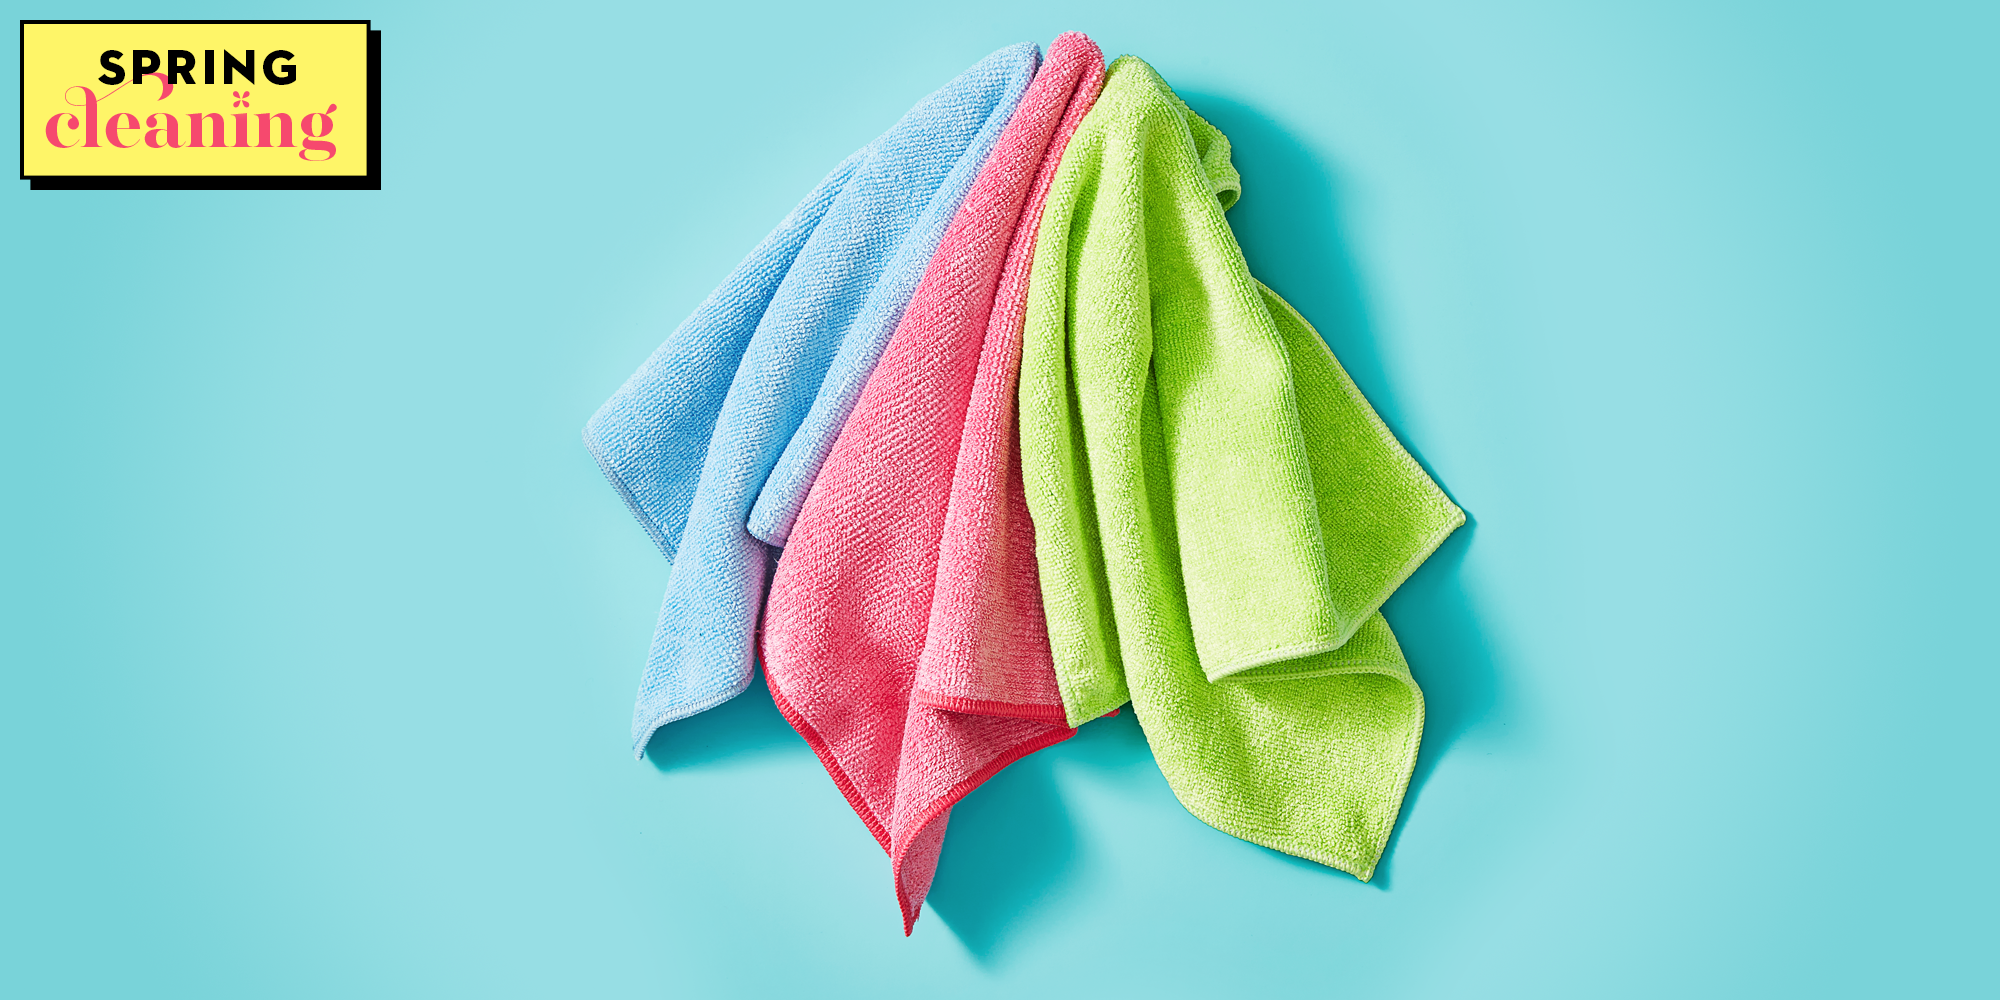
The Best Way to Clean Windows, According to Our Cleaning Lab
That squeegee just might make a bigger mess.
Over time, pollution and grime accumulate slowly but surely on your windows, obstructing your view and blocking precious sunlight. The only thing worse? Thick streaks left behind by improper cleaning.
To keep your vista clear (and your light-loving houseplants happy), follow this expert advice from Carolyn Forte, Director of the Good Housekeeping Institute Cleaning Lab. With the right spray, cloth, and technique, your windows will have never looked better.
1. Choose a dry, cloudy day.
«Do this job in the blazing sun and the cleaner will dry onto the hot windows before you get to wipe it off, leaving hard-to-remove streaks,» Forte says. If the weather won’t cooperate, start on the shady side of the house.
2. Remove dirt and dust first.
Before you get started, sweep dirt from the window frame with a brush or vacuum it up with your machine’s dusting attachment. This will prevent dirt from turning into a muddy mess when mixed with a cleaner. If your window screen looks especially grimy, pop it out and wash with hot, sudsy water and a soft brush, then rinse and let dry before putting it back.
For quickly dusting shades and blinds, Forte recommends going over both sides with a microfiber duster or opening the slats and going over each one with a damp cloth and followed by a dry one.
LAB TIP: You can also refresh your curtains at the same time by putting them in the dryer for 15 minutes on an «air-only» cycle and rehanging quickly to prevent wrinkles.
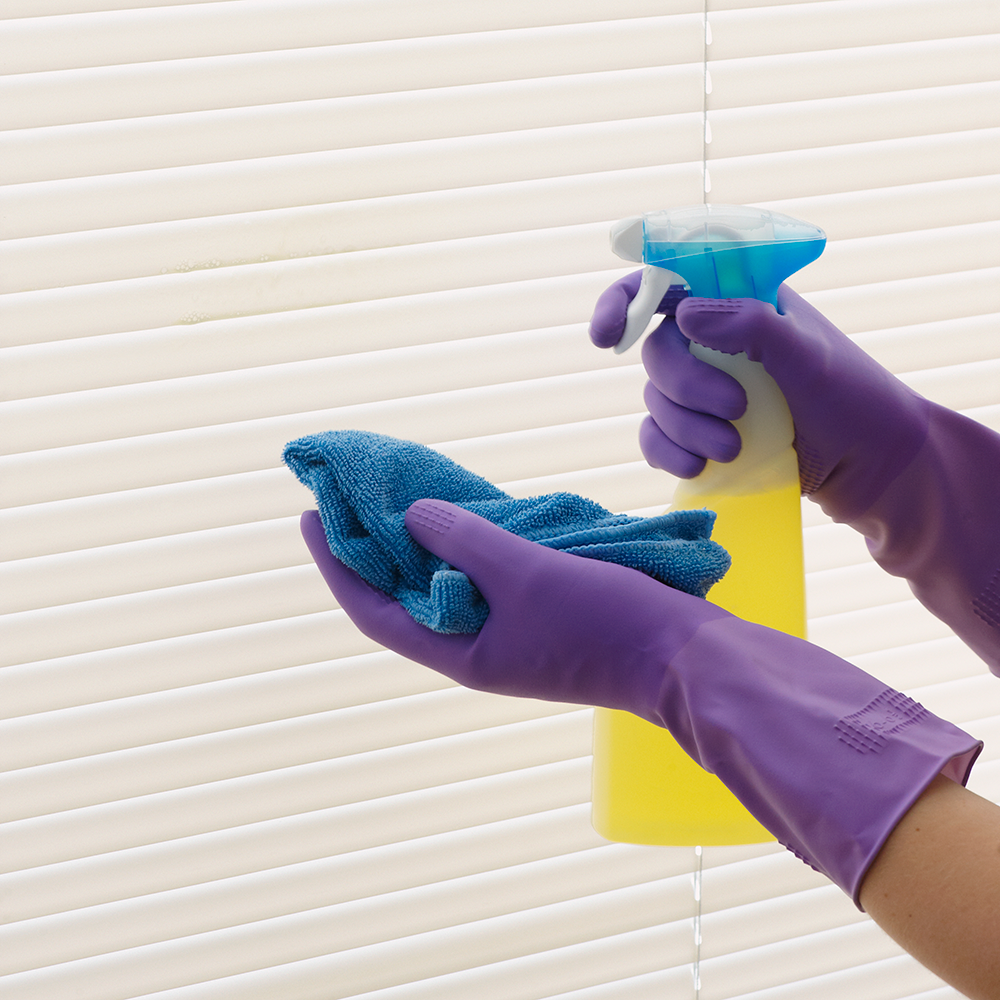
3. Pick the right cleaner — and spritz generously.
Don’t hold back on the spray, especially if your windows look extra dirty. «You need plenty of cleaner to dissolve and suspend the dirt so it can be completely wiped away — skimp and you’ll be seeing streaks,» Forte says.
She recommends Invisible Glass Cleaner With EZ Grip. The fine mist from the bottle stays where you spray until you wipe it, meaning less drips and mess. Check out these other top-tested cleaners depending on the job too:
How to clean windows
This is how to get your windows gleaming

Cleaning the windows can be a task people easily miss off their to-do list, as it is a somewhat arduous chore. But, if you aim to clean them a couple of times a year, you’ll be rewarded by more light being allowed into your home.
Forget the old advice about scrunched-up newspaper. In the past, papers were printed with petroleum-based oil ink, which is what gave windows their shine. Then, in the 1980s, this was switched to soy ink for environmental and cost reasons — and it doesn’t have the same effect on glass.
Whilst it may be a hated household chore, it doesn’t have to take up hours of your time. Here’s how to get your windows looking shiny and clean again in no time.
Choose your time
Like with a car, avoid cleaning your windows on very sunny days — the heat will make the glass dry too quickly and cause smears undoing all your hard work.
To do a proper job, take down curtains and blinds and clear windows and sills of any bits and bobs. Use a dustpan and brush or your vacuum’s upholstery tool to remove any loose debris before washing to avoid a muddy mess.

Tackle mildew on frames
You’ll want to put on an old pair of washing-up gloves before you tackle any window frames. Then, clean off mildew with an old lint-free cloth.
Dip the cloth in a branded mould remover to give your window frames a thorough clean or a weak solution of household bleach. The GHI recommends the HG Mould Spray.

Give glass a going over
Use a branded window cleaner or create your own with a solution of one part distilled white vinegar to nine parts water into an old spray bottle. Use a lint-free cloth to wipe them down and then a chamois leather to buff them to a brilliant shine.
Vinegar is an age-old wonder and has the added benefit of being non-toxic and antibacterial, so a very handy product to have in your cupboard — and not just for your chips! You could also try adding dishwasher rinse aid to water when you wash your windows, for ensuring a streak-free finish.

Alternatively, the GHI also highly rates the e-cloth Window Pack, which is a microfibre cloth. Simply add water, no chemicals required.
If you have large areas of glass to clean, such as a conservatory or patio doors, it’s worth considering a window vacuum, to save you the energy. Once you’ve cleaned your windows, they vacuum up the remaining water in one sweep, making them far less messy than a squeegee which will result in water dripping onto your floors!

Show sills some love
Dust the internal sills regularly, taking time to get into any nooks or crannies that may need extra attention.
Check external sills regularly for rot, and replace any crumbling putty with the correct type for either timber or metal. Repaint as necessary.

Don’t neglect window screens
If you have metal window screens, write a number on each window in erasable pencil. Write a corresponding number on the screen before removing it from the window so you know which screen goes back where.
Remove the screens and dust the mesh and frame with the soft brush attachment of a vacuum cleaner. Scrub both sides of the screen with a stiff brush dipped in detergent solution (if you are doing this in the bath, line it with towels to prevent scratching the finish). Rinse using a shower attachment or the fine spray nozzle of a hosepipe. Leave to dry thoroughly in a sunny spot before refitting to the window.
www.makeuseof.com
Follow MUO
The Best Way to Clean Windows 10: A Step-by-Step Guide
Don’t know how to clean Windows 10? Here’s a clear step-by-step guide to getting your Windows PC nice and tidy again.
Over time, every Windows installation builds up junk that takes up space and wastes resources. It’s easy to neglect regular maintenance, so often the problem comes from old files and programs.
If you don’t clean your computer, before long you’ll encounter low disk space warnings and notice it slowing down. Let’s walk through how to clean Windows 10 using a variety of tools for different situations.
Step 1: Erase Temporary Junk
Windows 10 includes a pair of similar tools for clearing out old temporary files from your disk, meaning you don’t need a dedicated Windows cleaner app. They’re a great first stop on your Windows 10 cleanup journey.
Disk Cleanup
If you don’t mind an old-school interface, the classic Disk Cleanup tool gets the cleaning job done. Access it by typing Disk Cleanup into the Start menu and selecting the disk you want to clean.
After a moment, you’ll see a list of unnecessary files that Windows can clean up. Assuming you’re an administrator, you should click the Clean up system files button to scan again for additional types of data.
Feel free to delete pretty much every category of data available here, with a few exceptions. On older versions of Windows 10, watch out for Downloads, which will delete everything in that folder. You may also want to avoid cleaning the Recycle Bin until you’re sure that you don’t need to restore anything from it.
If you’ve recently updated to a new major version of Windows 10, you’ll see a Previous Windows installation(s) entry. Deleting this will remove the old files Windows keeps for 10 days that allows you to easily go back to an earlier version. You should also avoid removing the Windows ESD installation files option, as this is used for resetting your PC via Settings.
Check out Windows folders you can delete to save space for more info on the specific items you can remove with disk Cleanup.
Storage Sense
Windows 10 includes much of this same functionality, with a nicer interface, at Settings > System > Storage. You can use Storage Sense to automatically clean up files when your disk space is low, or every so often. Click Configure Storage Sense or run it now to change these options.
In the list of what’s using space on your PC, click Temporary files and you can delete the same types of data as in Disk Cleanup. Show more categories provides more info about types of data that aren’t using as much space.
Step 2: Delete Large Files
You’ve removed unnecessary files; the next step to clean up Windows 10 is to find old data taking up a lot of space on your computer. To help with this, download TreeSize Free, which will scan your storage and show you where the biggest files are.
Once installed, search for TreeSize on the Start Menu and launch it using the (Administrator) link so you can scan everywhere. To start, choose Select Directory in the top-left and select your main storage disk.
After a few moments, you’ll see a visual breakdown of your PC’s storage with the largest files at the top. Click the dropdown arrow on any folder to move down one level.
The largest folders will probably be Users, Windows, and Program Files (or Program Files (x86)). There’s not much you can do in the Windows directory without causing issues, so let’s look at the others.
Uninstall Big Programs
Under Program Files (and/or Program Files (x86) on 64-bit Windows), you’ll find files for most of the apps you have installed. If you don’t use some of these anymore, head to Settings > Apps > Apps & features to uninstall them.
Eliminate Large Items From Your User Folder
The majority of space-hogging files will likely be in your account folder under Users. This contains your documents, pictures, videos, and similar.
You’ll probably see a lot of space taken in the AppData folder, which is where many apps store information and preferences. For instance, Chrome and Spotify’s caches can take up several gigabytes here.
Have a look at these files and see if anything is low-hanging fruit. You can delete files you no longer use, or move some data to an external hard drive. If you have lots of files in Dropbox or other cloud storage, use their preference panels to de-sync files you don’t need. You can always access them through the web interface.
You might see some other enormous files in TreeSize, such as WinSxS. See our guide to managing a large WinSxS folder if you have this issue.
Step 3: Clean Windows 10 Bloatware
Most store-bought computers come loaded with worthless manufacturer bloatware that wastes space and duplicates functionality already in Windows. In addition, Windows 10 itself includes some junk apps you probably never use.
If you haven’t taken the time to remove bloatware from your system, you should. It’s an important part of Windows 10 cleanup. See our guide to removing bloatware from Windows 10 for instructions.
Step 4: Tidy Your Desktop
Even after you’ve cleaned up your computer, a messy desktop can still confuse you and make it harder to work efficiently. Many people use their desktop as a temporary storage space, leading to all sorts of files getting scattered across it.
You should try «resetting» your desktop to a clean state to make it neater. Start by moving all the files from your desktop to another location. Next, you can create shortcuts to files you need all the time on your desktop.
If you have so many files that you don’t think this will work, the Fences app is definitely worth a look. It includes powerful tools that let you automatically combine similar desktop icons, hide or show all icons with a few clicks, and much more.
After you’ve cleaned up Windows 10 and your desktop, you’ll feel like you have a whole new machine. We have a deeper guide on cleaning up your Windows desktop if you’re interested.
If Necessary: Refresh Windows 10
Maybe you feel that your PC is such a mess that you don’t want to spend the effort to clean up Windows 10. In that case, you can use a built-in option to reinstall a fresh copy of Windows.
You might know about the Reset this PC option available in the Recovery settings. However, using this with certain options will restore your PC to how it was out of the box, including the preinstalled manufacturer bloatware. To avoid this, you can use another method.
To use it, hit the same Get started button in the Recovery menu. Pick Keep my files, choose whether to download or reinstall locally, pick settings, and then make sure you pick No for Restore preinstalled apps?.
This is equivalent to the Fresh Start option found in the Device performance & health section of the Windows Security app in older Windows 10 versions. It reinstalls Windows 10 and updates it to the latest version, as well as removing all installed apps. Only your personal files and «some Windows settings» are kept.
Even though Windows promises to keep them safe, make sure you back up your files before doing this, in case something goes wrong. You should also make a note of any license keys you’ll need to reactivate software after the refresh.
Having to reinstall all your programs by hand will take some time. But if your computer is a mess, it might still be worth it to get a clean system.
Avoid Fake Cleaning Apps
While we’re discussing Windows 10 cleanup, it bears mentioning that you should be careful what software you download. While the above tools are all legitimate ways to clean your PC, you’ll find many scammy «PC cleaners» online that are totally worthless (such as the one in the above video).
These tools provide a «free scan» that finds thousands of «issues,» which absurdly count every cookie on your computer as a «privacy risk.» Then they demand you pay a good amount of money to actually «clean» anything up.
Don’t bother with this nonsense. The above tools should be plenty to clean up unnecessary files. If you feel the need to do more, follow our ultimate Windows cleaning checklist.
Now Windows 10 Is Cleaner Than Ever
Now you know the big steps to clean up large and unnecessary files in Windows 10. These methods should be sufficient to clean up a good chunk of space on your computer and make it feel fresh. Keep up with them every so often, and you shouldn’t have to worry about disk space warnings any longer.
Just make sure you don’t go overboard and make maintenance mistakes.
Cleaning your Windows PC is important, but avoid making these common mistakes that can harm or break your computer.

Ben is a Deputy Editor and the Onboarding Manager at MakeUseOf. He left his IT job to write full-time in 2016 and has never looked back. He’s been covering tech tutorials, video game recommendations, and more as a professional writer for over six years.
Subscribe To Our Newsletter
Join our newsletter for tech tips, reviews, free ebooks, and exclusive deals!
One More Step…!
Please confirm your email address in the email we just sent you.


