- Install Linux Mint
- The live session
- Installing Linux Mint on the computer
- How to Install Linux Mint’s Web App Manager in Ubuntu 20.04
- Download & Install the DEB binary via direct link:
- Add Linux Mint repository & Receive software udpates (for Web App Manager only):
- How to Remove Web App Manager:
- How to install the Linux Mint Cinnamon desktop environment on Ubuntu
- Installing Cinnamon desktop on Ubuntu
- Removing Cinnamon desktop environment from Ubuntu
Install Linux Mint
The live session
When you boot the computer from the USB stick (or DVD), Linux Mint starts a live session . It logs you in automatically as a user called mint and shows you a desktop with the installer on it:
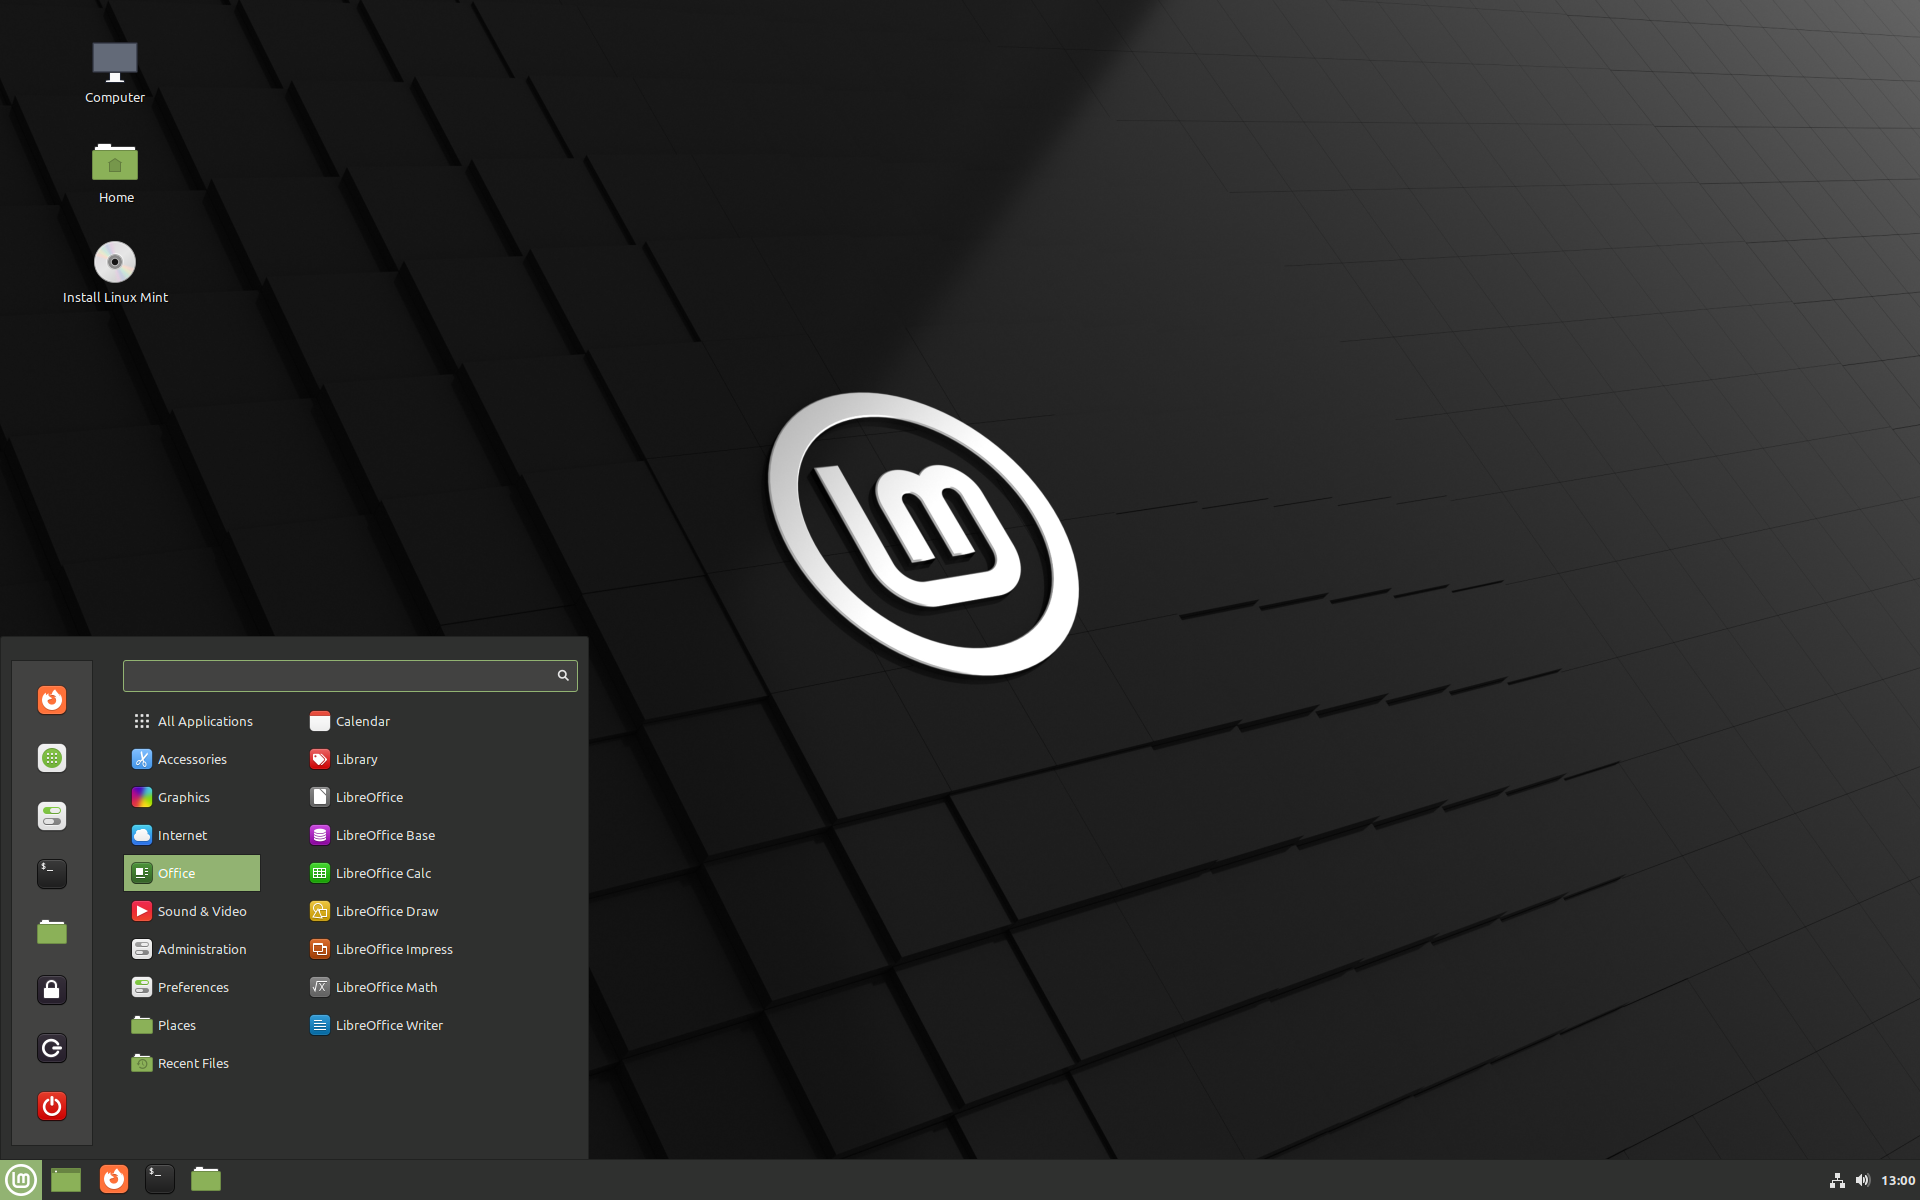
The Linux Mint live session
The live session is similar to a normal session (i.e. to Linux Mint once it is permanently installed on the computer), but with the following exceptions:
- The Live session is slower (it is loaded from a USB stick or DVD as opposed to a SSD or HDD).
- Changes you make in the live session are not permanent. They are not written to the USB stick (or DVD) and they do not impact the system installed by the installer.
- Some applications work differently (or not at all) in the live session (Timeshift, Flatpak, Update Manager, Welcome Screen..etc.).
The username for the live session is mint . If asked for a password press Enter .
Installing Linux Mint on the computer
To permanently install Linux Mint on your computer:
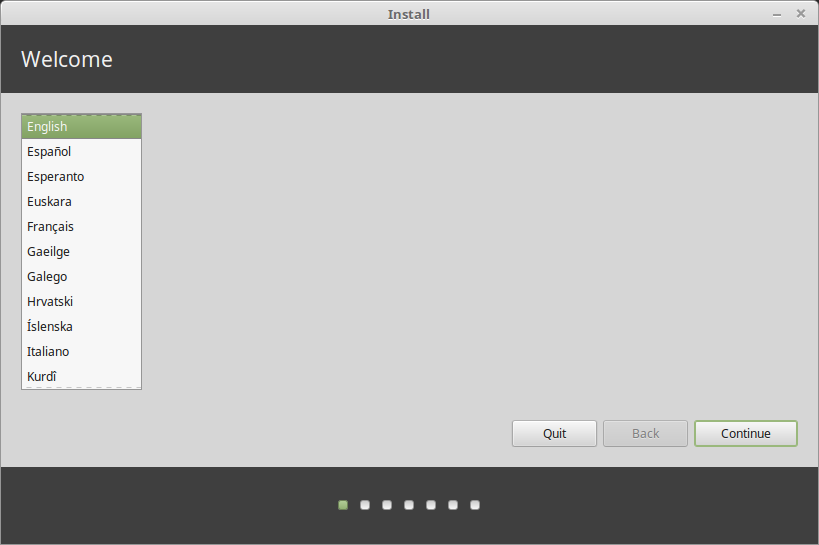
- Double-click Install Linux Mint .
- Select your language.
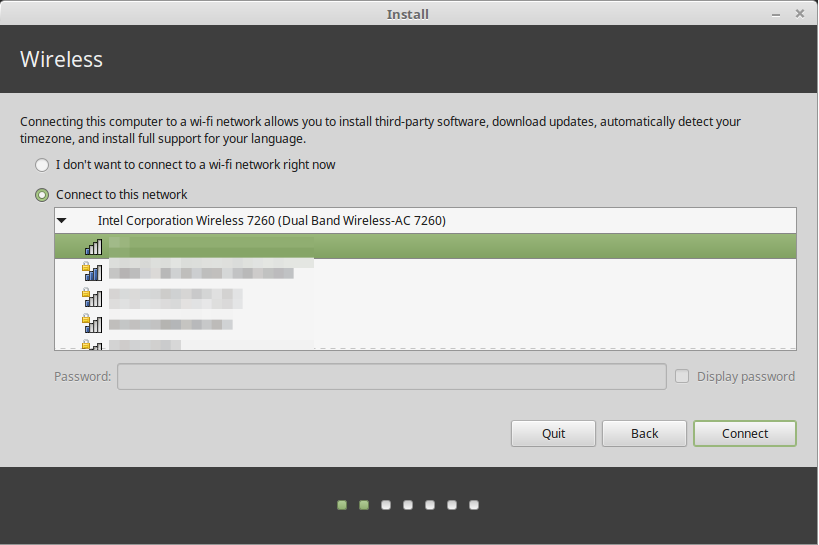
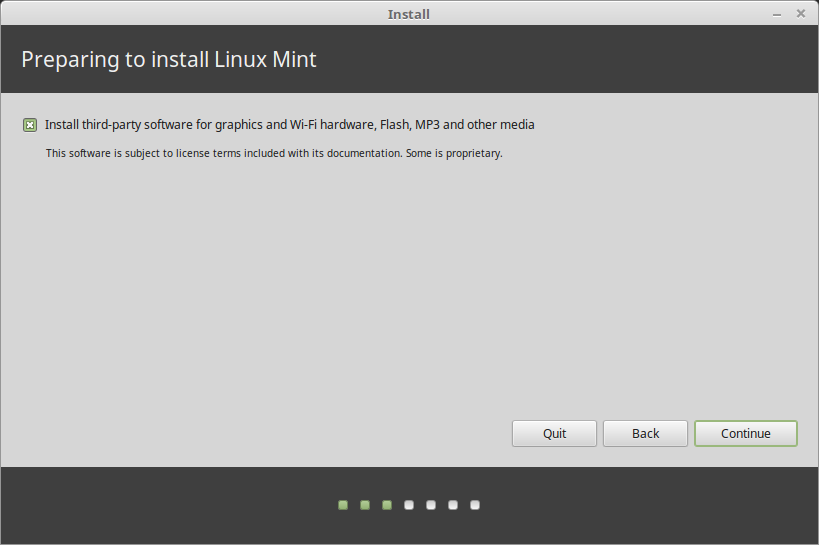
- If you are connected to the Internet, tick the box to install the multimedia codecs.
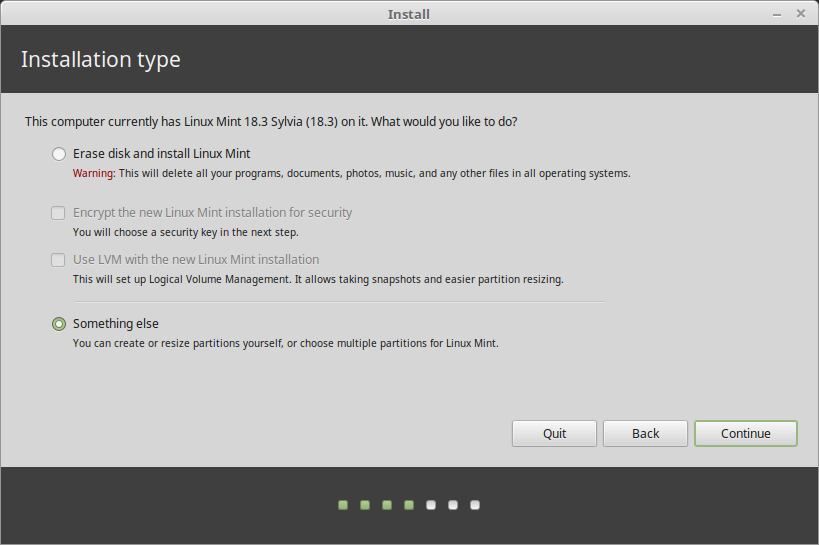
If Linux Mint is the only operating system you want to run on this computer and all data can be lost on the hard drive, choose Erase disk and install Linux Mint .
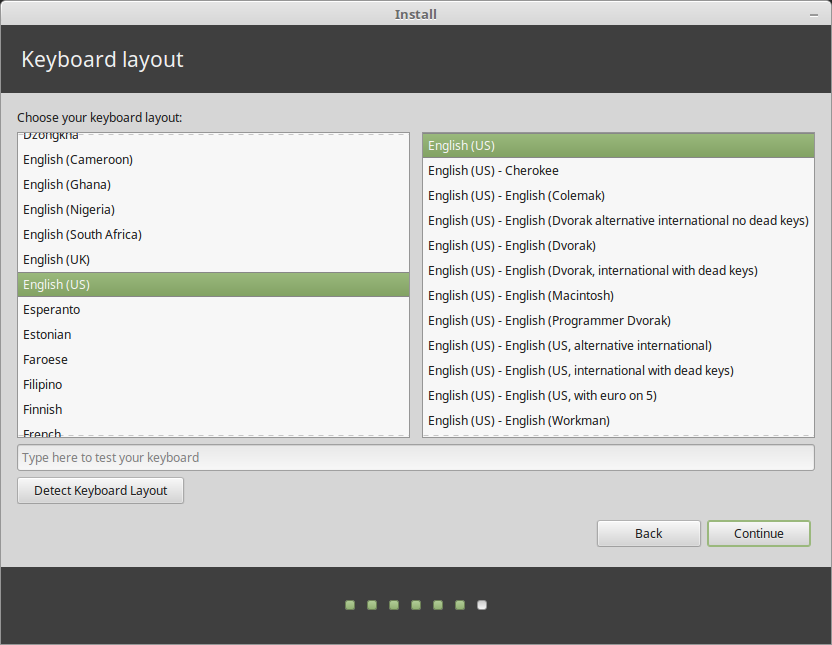
Encrypt the new Linux Mint installation for security refers to full disk encryption. At this stage of the installation your keyboard layout wasn’t yet selected so it is set to en_US. If you decide to use this option, keep this in mind when entering a password. Note that there are issues with this option and some NVIDIA drivers. If you are new to Linux use home directory encryption instead (you can select it later during the installation).
If another operating system is present on the computer, the installer shows you an option to install Linux Mint alongside it. If you choose this option, the installer automatically resizes your existing operating system, makes room and installs Linux Mint beside it. A boot menu is set up to choose between the two operating systems each time you start your computer.
If you want to manage the partitions or specify which partitions to use, select Something else .
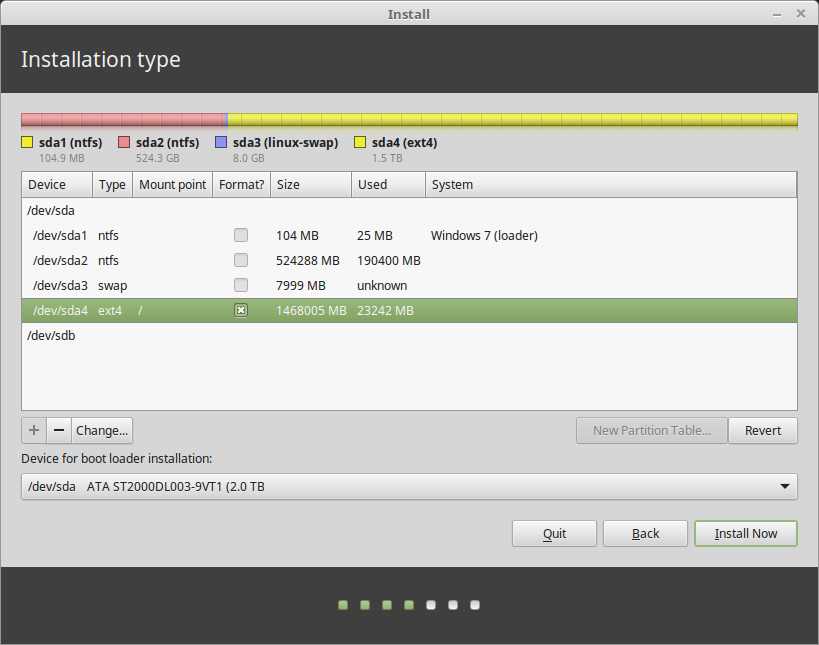
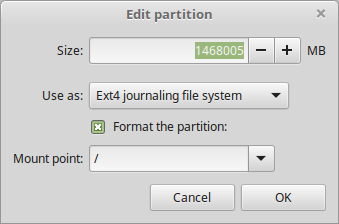
Linux Mint requires one partition to be mounted on the root / directory.
The Linux Mint operating system (without additional software or personal data) takes roughly 15GB, so give this partition a decent size (100GB or more).
ext4 is recommended. It is the most popular Linux filesystem.
Also create a swap partition. This partition is used for hibernation and as a safety buffer in case your computer runs out of RAM. Give this partition a size equal to the amount of RAM in your computer.
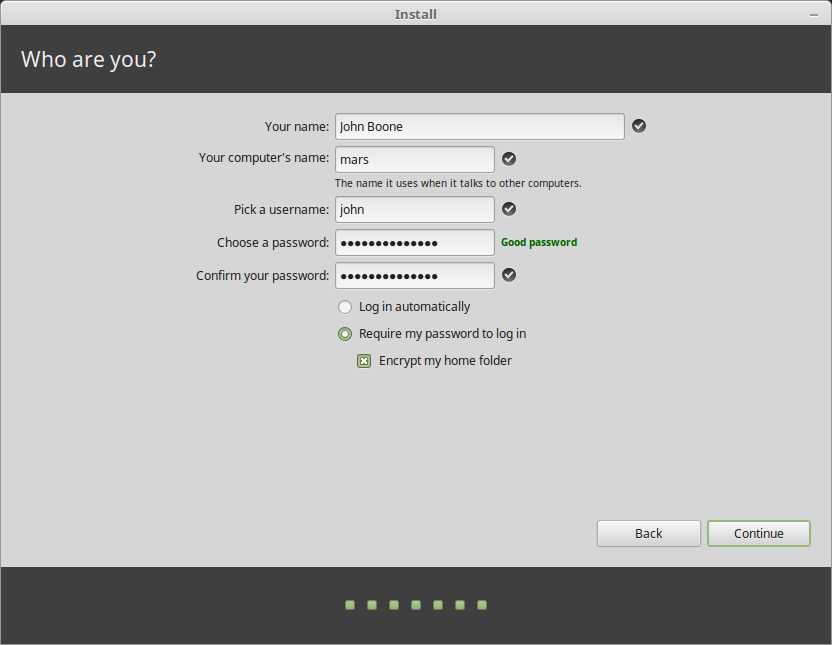
Your name can be your real name, but it doesn’t have to be. It is only used locally, in the screensaver and on the login screen.
Your username is what you log in as, and your hostname is the name of your computer on the network.
To prevent bugs only use lowercase characters, with no punctuation or accentuation.
To protect your personal data against local attacks (people around you, or in case your computer gets stolen), tick Encrypt my home folder .
Choose a strong password.
- Enjoy the slideshow while Linux Mint is installed on your computer.
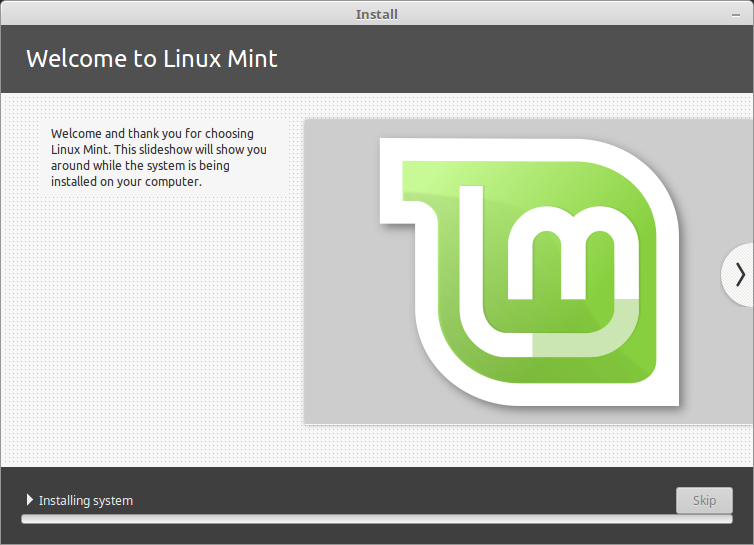
When the installation is finished, click Restart Now .

The computer will then start to shut down and ask you to remove the USB disk (or DVD). Upon reboot, your computer should show you a boot menu or start your newly installed Linux Mint operating system.
© Copyright 2017, Linux Mint Revision 11740971 .
Источник
How to Install Linux Mint’s Web App Manager in Ubuntu 20.04
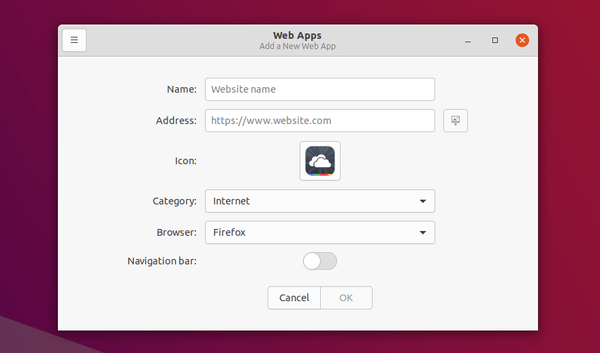
The latest Linux Mint 20.1 introduced a new application, Web App Manager, allows to turn any web pages into desktop applications. Like a normal application, web app has its own window, its own icon, and can be launched from system app menu.
Ubuntu used to have web apps integration when it was Ubuntu 14.04. The project was however discontinued.
For those want to try out the new Web App Manager from Linux Mint, here’s how to install it in Ubuntu 20.04.
Download & Install the DEB binary via direct link:
If you just want to try it out, the DEB binary package is available to download via Linux Mint ftp download page:
Grab it and install the package either via Gdebi package installer or by running command in terminal:
Add Linux Mint repository & Receive software udpates (for Web App Manager only):
You are able to add Linux Mint repository and only receive updates for the app from that repository.
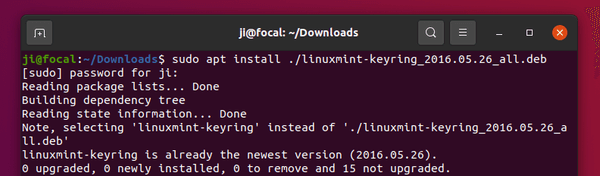
1.) First download the key (it’s “ linuxmint-keyring_2016.05.26_all.deb ” so far):
And install it via command:
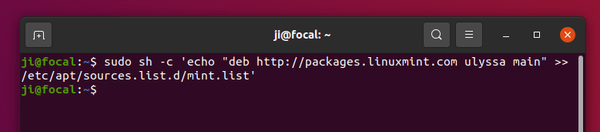
2.) Add Linux Mint 20 repository by running command:
3.) Set the priority to make Ubuntu only install webapp-manager from Linux Mint repository.
Run command to create and open the configuration file in text editor:
When it opens, paste below lines and save the file.

4.) Now run apt update command to refresh your system package cache:
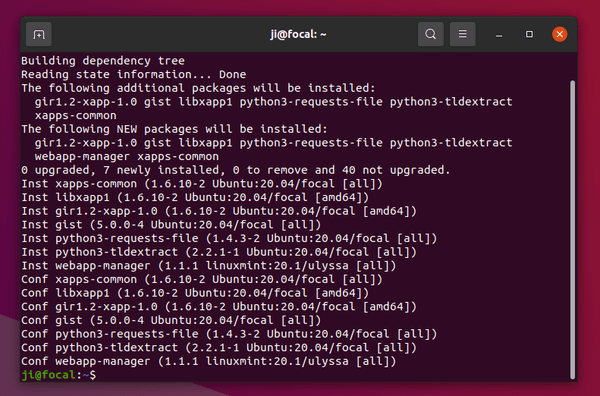
5.) Before installing the webapp-manager package, try command:
It won’t really install the package, but only list which packages will be installed, including the package versions (which marked with package source, Ubuntu or Linux Mint).
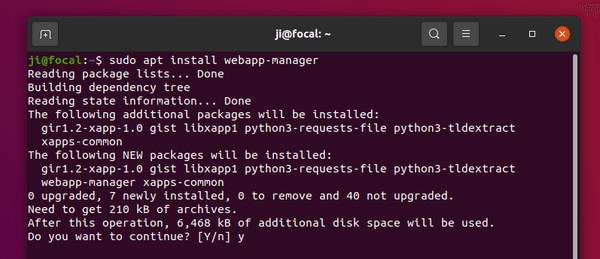
6.) To finally install the application, run command:
How to Remove Web App Manager:
To remove the application, simply open terminal and run command:
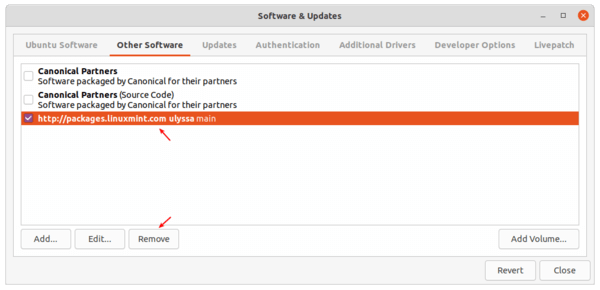
To remove the Linux Mint repository, remove the relevant line from Software & Updates -> Other Software.
And you may also remove the config file created to set the priority, via command:
Источник
How to install the Linux Mint Cinnamon desktop environment on Ubuntu
If you have finally taken your decision of switching from Windows to Linux, and made the move to Ubuntu, for its widespread popularity, that’s great! But after being a Windows user for quite some time, there are chances you will feel homesick for not getting the start menu at its place, and the overall user interface, which is quite different on Ubuntu, which runs the Unity desktop. But, being a new user on Linux, you will need support in almost every stage, and the large online community using Ubuntu will surely help you with most issues that you will come across.
Unlike Windows computers, you can change the complete desktop environment on a Linux distribution, to make everything look exactly the way you want. There is a handful of Linux desktop environments, which come with something similar to the start menu on Windows computers. One of them is the Cinnamon desktop environment which comes with the Linux Mint distribution of Linux. As Linux is open-source, you can simply download the Cinnamon desktop environment on your Ubuntu computer to get the user interface you are looking for without ditching Ubuntu altogether, where you can get support for all the simple problems that you will come across. So, installing the Cinnamon desktop environment on Ubuntu will bring the best of both worlds.
Now, without any further delay, let’s get started with how you can install the Cinnamon desktop environment on your computer running Ubuntu.
Installing Cinnamon desktop on Ubuntu
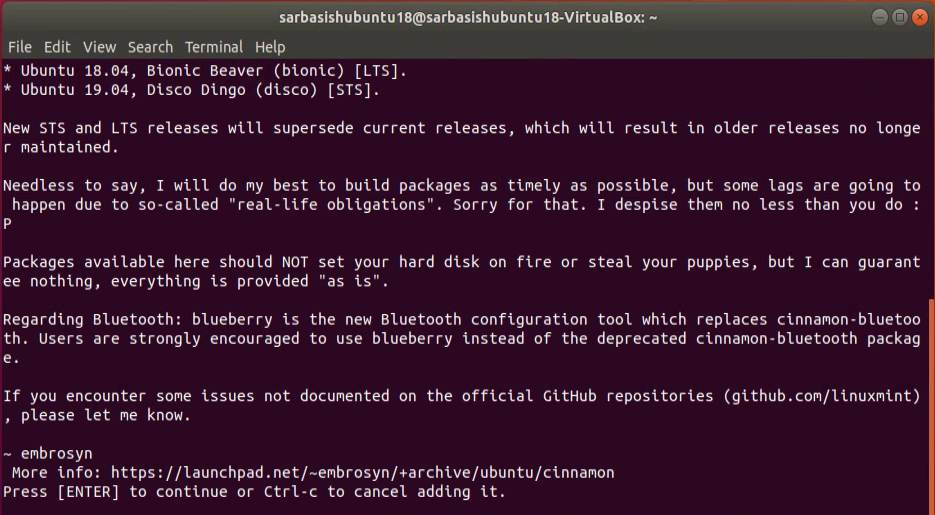
Step 1: The first step will be to add the repository download and install the Cinnamon desktop environment using the PPA. Just enter the following command after opening a Linux terminal and hit the enter key.

Step 2: This will start adding the repository on your computer running Ubuntu, and you will have to allow the process of adding the repository by hitting the enter key when you are prompted to do so.
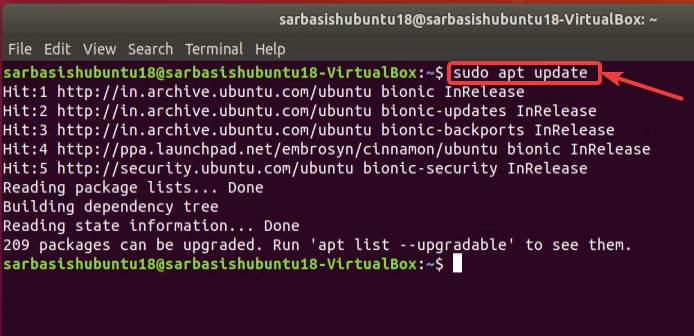
Step 3: After the repository is added, you should update the repository by typing the following command and by hitting the enter key.
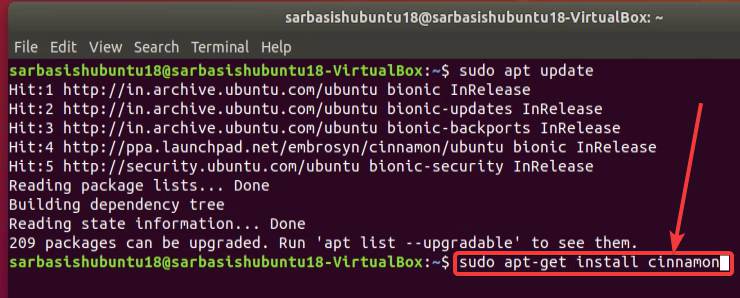
Step 4: Once the execution is complete, you should finally execute the final command to start the installation of the Cinnamon desktop environment on your computer running Ubuntu. Just type in the following command and hit the enter key to start the installation of the Cinnamon desktop environment.
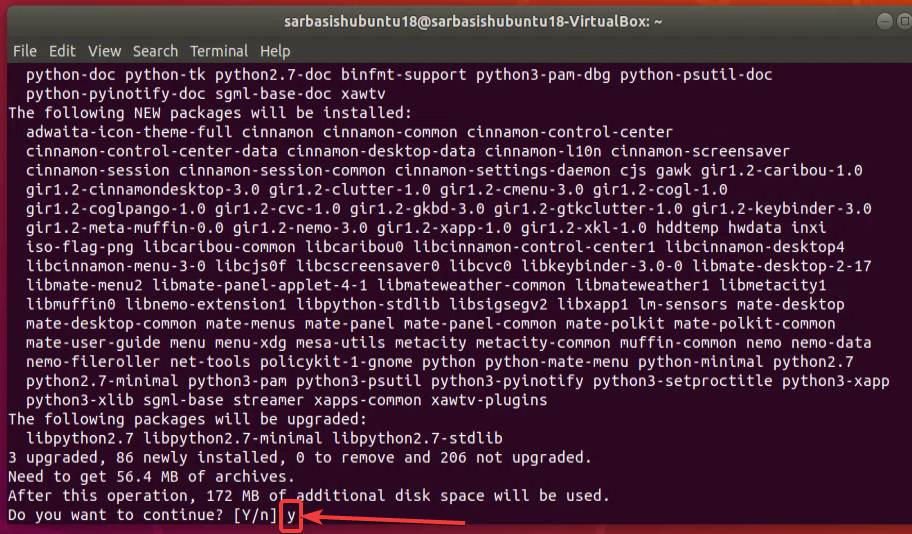
Step 5: The installation starts, just like the installation of most other desktop environments and packages from the official repository, you will be displayed with a list of dependencies, and the amount of space that will be consumed after installation is complete. If you agree with everything, just type in ‘ y ‘, and hit the enter key to carry on with the installation of the desktop environment.
The installation of the Cinnamon desktop environment will take quite some time, and once the installation is complete, exit the terminal window, and restart your computer. However, you can even log out and log in again, but it didn’t work for me.
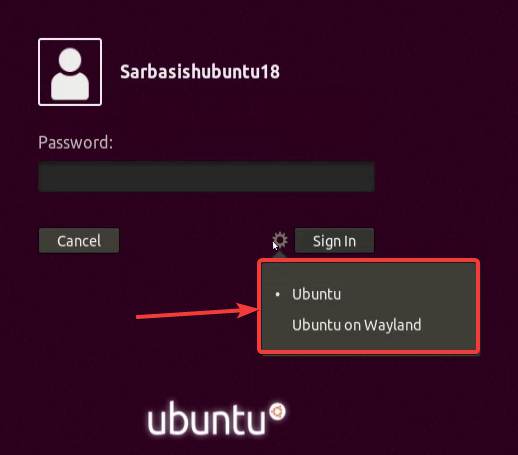
So I will recommend you to restart your computer and once the login screen appears, click on the small gear icon, and then click on ‘Cinnamon’ .
Step 6: Now, just log in with existing credentials and you should now automatically land on the Cinnamon desktop environment on Ubuntu.

Here are a few screenshots of Ubuntu 18.04 LTS running the Cinnamon desktop environment.

I know, if you have switched from Windows, this can be a big relief for you if you are always looking for the start button to search for the smallest of things.
Even though the alternative to start-menu that is available on the Cinnamon desktop environment is not exactly similar to the start button available on Windows computers, but it should work almost the same way, to search for programs, and open the most important utilities.
However, if you have made your decision to remove the Cinnamon desktop environment for any reason the steps are quite easy as well.
Removing Cinnamon desktop environment from Ubuntu
Just log out from your Cinnamon desktop session, and choose any other desktop environment, or the default desktop environment by clicking on the gear icon, and log in to your user account with existing credentials.
Step 1: Now, type in the following command and hit enter key to start the removal of the Cinnamon desktop environment from your computer running Ubuntu.

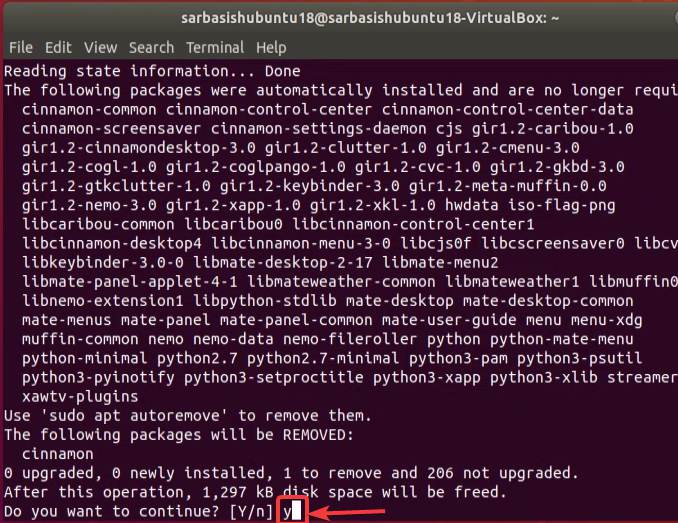
Step 2: After the process of removal starts, just type in ‘ y ‘ and hit the enter key, after the details about which files will be deleted, are displayed to you.
Step 3: The execution of this command is complete, you will have to type in the following command and hit the enter key again to complete the process of the removal of the Cinnamon desktop environment from your computer.
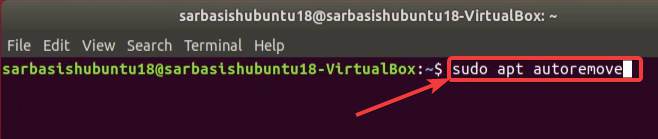
To start the execution, you have to type in ‘ y ‘, and hit the enter key, when the details about which files will be deleted are displayed to you.

Now, just restart your computer by exiting your terminal window, after the execution of the following commands are complete and the next time you log in, you can find, the Cinnamon desktop environment is missing from the gear icon. If you have no other desktop environment installed, you will only find the default environment, which came with Ubuntu.
So, that was all about how you can install the Cinnamon desktop environment at the Linux Mint desktop environment on Ubuntu. Even though I tried it on Ubuntu 18.04 LTS, it should work on the newer versions of Ubuntu, as the PPA is available in the newer versions, as well.
At the time of executing any of the steps, you might have to enter the admin password multiple times. I just showed you how to remove the Cinnamon desktop environment, but the PPA is still there, which can be useful if you again want to download the Cinnamon desktop environment later on.
So, that was all about how you can install the Cinnamon desktop environment on Ubuntu and remove the same if you don’t need it anymore. Do you have any questions? Feel free to comment on the same below.
Источник


