- How to Install and Setup WordPress on Linux
- WordPress Hosting
- Installing and configuring LAMP
- Installing Apache Web Server
- Installing the MySQL Database Server
- Create the Database
- Install and configure PHP
- Install WordPress CMS
- Conclusion
- How to install wordpress on linux
- What you’ll learn
- What you’ll need
- 2. Install Dependencies
- 3. Install WordPress
- 4. Configure Apache for WordPress
- 5. Configure database
- 6. Configure WordPress to connect to the database
- 7. Configure WordPress
- 8. Write your first post
- 9. That’s all!
- How to Install WordPress on Linux using XAMPP (2021)
- What is localhost?
- Installing XAMPP Server on your Linux
- Downloading XAMPP
- Installing XAMPP
- Installing WordPress on the Localhost
- Opening the Xampp Application
- If Error Occurs on Installing Plugins or Themes
- CONCLUSION
How to Install and Setup WordPress on Linux
WordPress is one of the best content management systems (CMS) available. If you do not wish to go through the complicated process of setting up a website from scratch, WordPress will be your best choice.
WordPress Hosting
Most WordPress hosting services provide a one-click process for setting up WordPress. However, in this article, we are going to look at setting up WordPress on Linux, using a Virtual Private Server (VPS). These are physical servers, which are distributed virtually among a limited number of users. This is a more reliable option as server resources are dedicated to your account. Security is also better as the operating system is separate for each user.
We recommend https://www.bluehost.com/hosting/vps as their plans start at $19.99 per month with great specifications.
The next step consists of installing and configuring a Linux, Apache, MySQL, and PHP which are commonly called a LAMP stack, and setting up WordPress.
Installing and configuring LAMP
VPS environments come pre-installed with various distributions of Linux such as Ubuntu or Linux Mint. The instructions in this article will work with all of them.
We assume that you have at least basic knowledge regarding Linux and its command line. This is an essential prerequisite to complete the rest of the steps. It is also important that you are familiar with editors such as Vim as the server will not have a Graphical User Interface and all actions have to be performed through the command line.
Installing Apache Web Server

Apache is one of the most popular options for a web container, which can be used to host a website and serve HTTP requests.
Issue the following command in the command line to update the server:
Next, issue this command to install Apache.
The following commands will cause Apache to start when the server starts-up and start the service for the first time:
If the installation has happened successfully, the Apache server will be accessible through a browser by typing in your domain name or IP address: https://example-domain.com
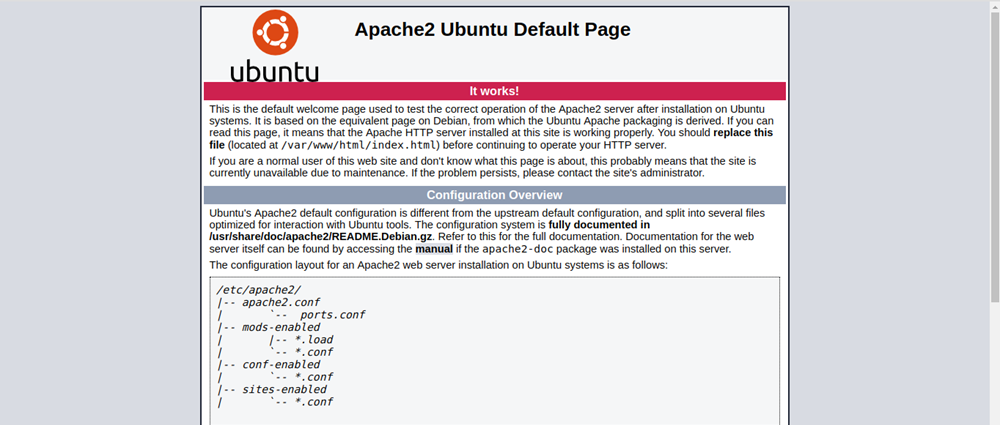
Refer to the official documentation for Apache at http://httpd.apache.org/docs/current/install.html if you come across any problems during installation.
All your website related files will be stored in the /var/www/html sub-directory of the root directory.
Installing the MySQL Database Server

The MySQL database server will be used to create a database for our website. It will contain all WordPress related data and blog posts.
Continue to issue the following commands to install and configure the latest version of MySQL:
Next, issue the following command to enable security settings, including adding a password for the root user account. This is the primary user account for accessing the database.
Given that the application is also on the same server, we strongly recommend that you do not enable remote access for the root user. This will help to avoid most external attacks.
The following commands will cause MySQL to start when the server starts-up and start the service for the first time:
MariaDB is an alternative to MySQL and can be installed with the following command:
Refer to the official documentation for MySQL at https://dev.mysql.com/doc/ if you come across any problems during installation.
Create the Database
Let’s create a database for your website. Issue the following command to enter the MySQL Shell:
You will then be prompted to enter the password of the root user account. This is the password that was added at the time of installing MySQL.
Once the MySQL Shell starts, issue the following commands followed by pressing enter, to create the database. Ensure to replace database_name and root_password with values that were created earlier.
This will create the database and set the required permissions for the root user. Check how to show mysql databases. The last command will exit the MySQL Shell.
Install and configure PHP
PHP is the scripting language required for WordPress to work on your server. Issue the following command in the command line to install PHP 7 and some modules that are required for our website.
Next, let’s create a sample file to verify that our PHP installation is successful.
This will open a new file named “info.php” in the Vi editor. Paste in the following, save it and close the file.
If you come across any problems during installation, refer to the official documentation at https://www.php.net/manual/en/install.unix.apache2.php
Now open a browser and go to the address https://example-domain.com/info.php
If the installation was successful, the following page will be displayed:
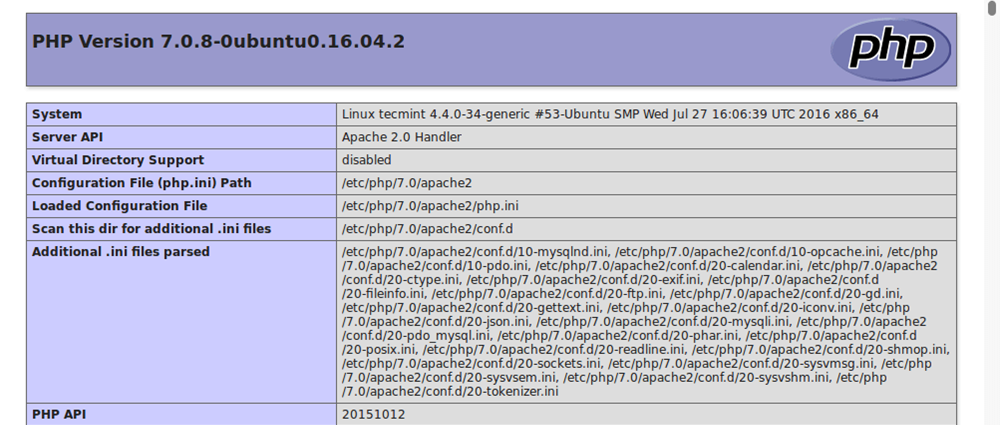
This page confirms that our LAMP stack is set up successfully.
Install WordPress CMS
Issue the following commands in the command line to download and extract the latest version of WordPress.
The last command moves the extracted file to the Apache root directory: /var/www/html/
Next, set the permissions to the website directory, giving the webserver ownership of the WordPress files.
Move to the /var/www/html/ directory in the command line and rename the wp-config-sample.php file to “wp-config.php”.
Now open the renamed file in your favorite editor and update the information regarding the database that was created earlier. Ensure to use the correct values for database_name and root_password. Checkout how to enable autocomplete for mysql.
Now that all the configurations are complete, issue the following commands to restart the Apache and MySQL services:
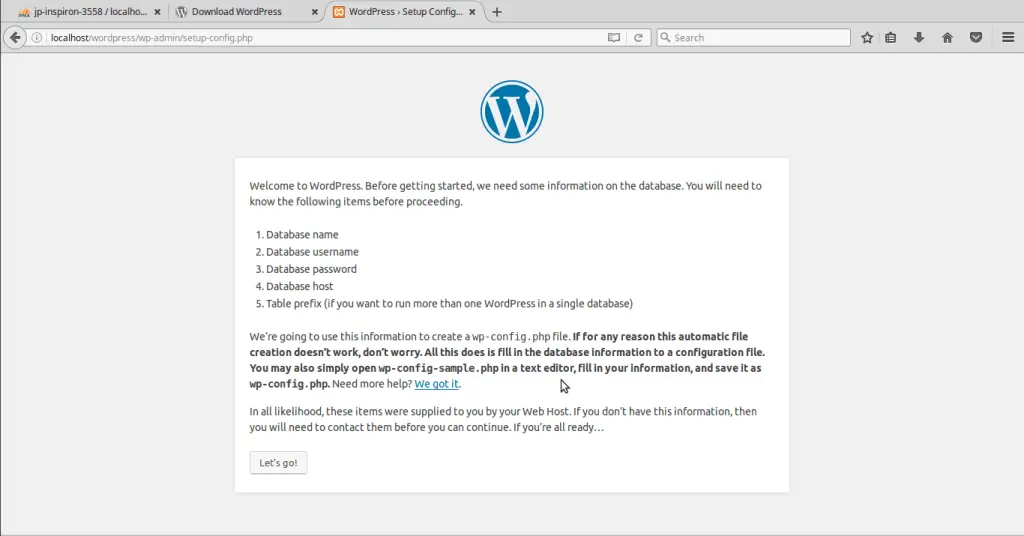
Visit https://example-domain.com to verify that the installation and configuration are successful. The following page should be displayed if everything went well.
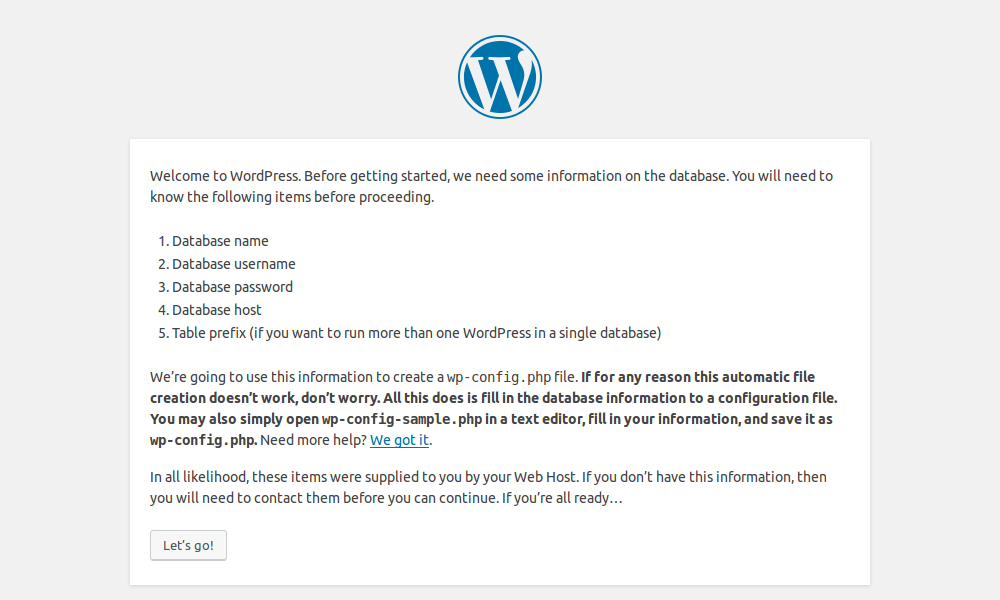
Click “Let’s go!” to continue setting up your WordPress site.
Conclusion
The process of setting up WordPress on Linux is a bit more complicated than setting it up directly on a WordPress hosting service. However, it will give you a lot more control over your resources and the configuration of the website.
The benefits offered by a VPS add even more value to the mix!
Источник
How to install wordpress on linux
WordPress is the most popular open-source blogging system and CMS on the Web. It is based on PHP and MySQL. Its features can be extended with thousands of free plugins and themes.
In this tutorial we will install WordPress on Apache2 server and create our first post.
What you’ll learn
- How to set up WordPress
- How to configure WordPress
- How to create first post
What you’ll need
- A computer running Ubuntu Server 20.04 LTS
- This guide will also show you how to configure a database for WordPress
Originally authored by Marcin Mikołajczak
Heavily updated by Dani Llewellyn
2. Install Dependencies
To install PHP and Apache, use following command:
3. Install WordPress
We will use the release from WordPress.org rather than the APT package in the Ubuntu Archive, because this is the preferred method from upstream WordPress. This will also have fewer “gotcha” problems that the WordPress support volunteers will not be able to anticipate and therefore be unable to help with.
Create the installation directory and download the file from WordPress.org:
Note that this sets the ownership to the user www-data , which is potentially insecure, such as when your server hosts multiple sites with different maintainers. You should investigate using a user per website in such scenarios and make the files readable and writable to only those users. This will require configuring PHP-FPM to launch a separate instance per site each running as the site’s user account. In such setup the wp-config.php should (read: if you do it differently you need a good reason) be readonly to the site owner and group and other permissions set to no-access ( chmod 400 ). This is beyond the scope of this guide, however.
4. Configure Apache for WordPress
Create Apache site for WordPress. Create /etc/apache2/sites-available/wordpress.conf with following lines:
Enable the site with:
Enable URL rewriting with:
Disable the default “It Works” site with:
Or, instead of disabling the “it works” page, you may edit our configuration file to add a hostname that the WordPress installation will respond to requests for. This hostname must be mapped to your box somehow, e.g. via DNS, or edits to the client systems’ /etc/hosts file (on Windows the equivalent is C:\Windows\System32\drivers\etc\hosts ). Add ServerName as below:
Finally, reload apache2 to apply all these changes:
5. Configure database
To configure WordPress, we need to create MySQL database. Let’s do it!
Enable MySQL with sudo service mysql start .
6. Configure WordPress to connect to the database
Now, let’s configure WordPress to use this database. First, copy the sample configuration file to wp-config.php :
Next, set the database credentials in the configuration file (do not replace database_name_here or username_here in the commands below. Do replace with your database password.):
Finally, in a terminal session open the configuration file in nano:
Find the following:
Delete those lines ( ctrl + k will delete a line each time you press the sequence). Then replace with the content of https://api.wordpress.org/secret-key/1.1/salt/. (This address is a randomiser that returns completely random keys each time it is opened.) This step is important to ensure that your site is not vulnerable to “known secrets” attacks.
Save and close the configuration file by typing ctrl + x followed by y then enter
7. Configure WordPress
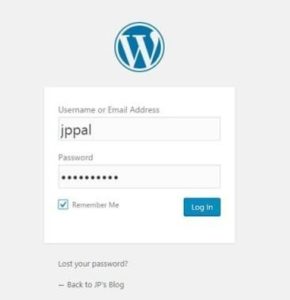
Open http://localhost/ in your browser. You will be asked for title of your new site, username, password, and address e-mail. Note that the username and password you choose here are for WordPress, and do not provide access to any other part of your server — choose a username and password that are different to your MySQL (database) credentials, that we configured for WordPress’ use, and different to your credentials for logging into your computer or server’s desktop or shell. You can choose if you want to make your site indexed by search engines.

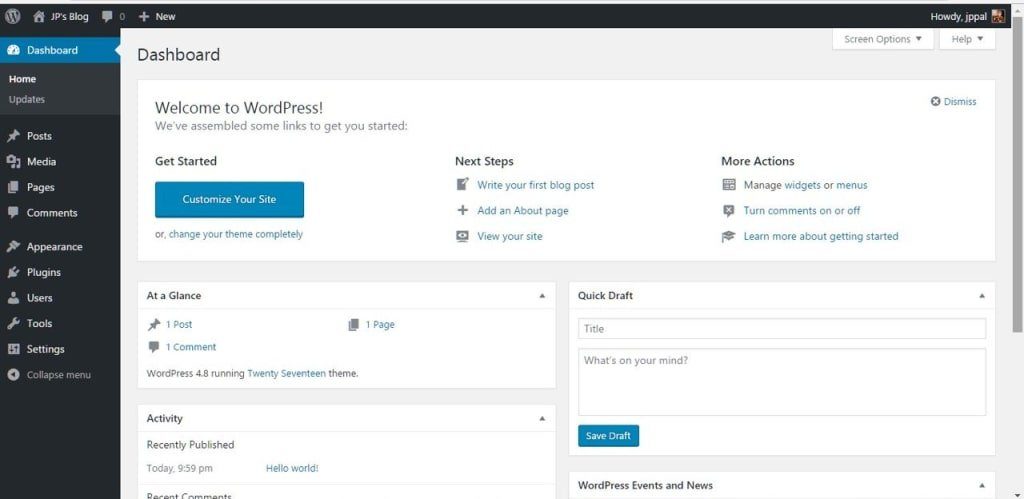
You can now login under http://localhost/wp-login.php. In the WordPress Dashboard, you will see bunch of icons and options. Don’t worry, it’s easy!

8. Write your first post
You will notice the “Hello world!” post. Let’s delete it and write something more interesting…
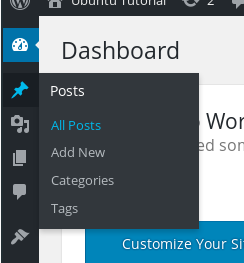
From Dashboard (http://localhost/wp-admin/), select the “Posts” icon and click on “All Posts”. Mouse over the “Hello world!” post title and select Trash.

To create new post, click on the “Add New” button. You should notice a fancy WYSIWYG editor with simple (but powerful) text formatting options. You may want to switch to Text mode if you prefer pure HTML.
Let’s write something! It’s as easy, as using text processors that you know from office suites.

Now, click the Publish button. You can now view your brand-new post!
9. That’s all!
Of course, this tutorial has only described basics of WordPress usage, you can do much more with this blogging platform/CMS. You can install one of thousands of available (free and commercial) plugins and themes. You can even configure it as forum (with bbPress plugin), microblogging platform (BuddyPress), eCommerce platform (WooCommerce) or extend existing WordPress features with plugins like JetPack or TinyMCE Advanced.
The WordPress manual and documentation is available in the WordPress Documentation pages.You can read it to learn more about WordPress usage, and even something about themes/plugins development.
If you need more guidance on using WordPress, help is always at hand:
Источник
How to Install WordPress on Linux using XAMPP (2021)
In our previous posts, we have discussed, how you can install WordPress in a web hosting site like Bluehost. Have you ever imagine that this CMS (I am talking about WordPress) can be used offline also? Yes, you can use it offline and without buying the web hosting from any site.
You can install WordPress on your computer with the help of localhost server. If you don’t know what a localhost server is, don’t worry you get to know about the localhost server in this post.
Click here if you want to Start a self-hosted Blog on WordPress.org.
Installing WordPress on your Console is very helpful. You can test and experience the platform (WordPress) freely. You would be thinking that if we can install the themes and plugins or not? The answer is you can use this whether you installed WordPress in the localhost or on the web host, WordPress will work like the same. The only difference is that you will be the one who can see the blog.
In this post, I will share how you can install the WordPress locally using XAMPP server (other localhost servers also present, but I will recommend you to install XAMPP).
What is localhost?
In computer networking, localhost is a hostname that means ‘this computer‘. Every website or blogs you are looking are hosted on the servers. Now, what is a server? A server is nothing but a computer where the data is stored. When the computers are connected in through a network(or web), then these computers are called web servers.
When you are purchasing a hosting (or we can say some web space) for your blog, then your data is stored at web servers. But when you store the database and files of your blog on your own computer then it is referred as localhost.
To create your computer as a server we need an application (software). Here, XAMPP will do the work. It is a compilation of Cross Platform, Apache HTTP Server, My SQL Database, PHP, and Perl. It manages the databases, PHP codes, etc.
Now you have to follow the steps to install WordPress on your Linux localhost.
Installing XAMPP Server on your Linux
Downloading XAMPP
The first thing you need to do is download the XAMPP application. To do that you need to visit the website My Apache Friends (https://www.apachefriends.org/download.html) and search for the version for your Linux in the Download section.
Installing XAMPP
Installation of Xampp is a little bit tricky but don’t worry you can do with a few minutes.
- First of all, fetch the downloaded file(xampp setup) to the desktop. It is done to make the installation easier.
- Try to install it by double-clicking it.
If the setup runs then its a very good news for you. You can jump to Step 4.
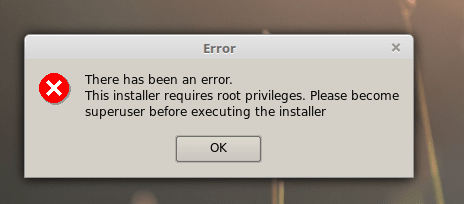
But if the setup does not occur don’t and shows the error, then follow the next step.
- Open terminal and Enter the following command su root
(it is used to make you super user)
cd Desktop
(this command is used to tell the console to make the current directory as Desktop )
chmod 755 xampp-linux-x64-7.0.20-0-installer-run
(chmod is used to change the mode to access the file. Here chmod 755 is used to tell the console that we are accessing the file as read and write format becoming an owner)
sudo ./xampp-linux-x64-7.0.20-0-installer-run
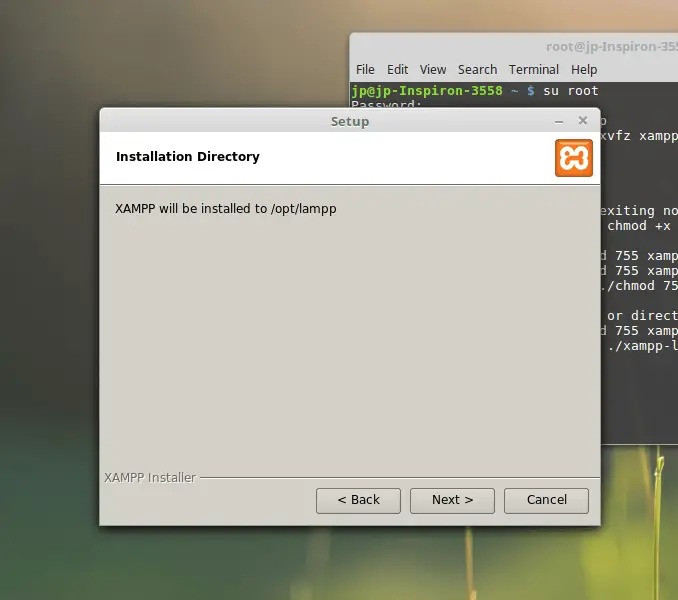
(this command is used to tell the console to do something. Often used to open any file) - Wait for 10 secs and the dialogue box will appear. The setup wizard is opened.
- Then next steps are pretty simple, Just click on next options.
- Your XAMPP is installed in the Directory /opt/lampp. Click on Finish, and Launch the Application Next time when you want to launch the application, just enter the following code in the terminal.
- Click on Manage server There you will see three options. You have to startMySQL Database and Apache Web Server.
- Open any web browser and type localhost/phpmyadmin in the URL and press Enter.
- You will see a page. That’s your localhost home page.
 su root
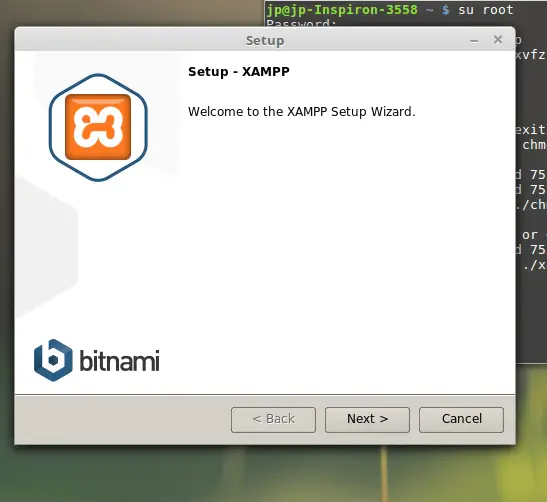
 Next time when you want to launch the application, just enter the following code in the terminal.
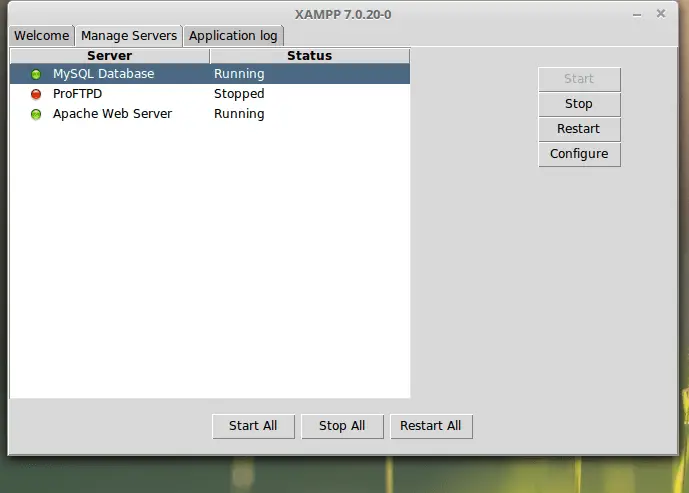 There you will see three options. You have to startMySQL Database and Apache Web Server.
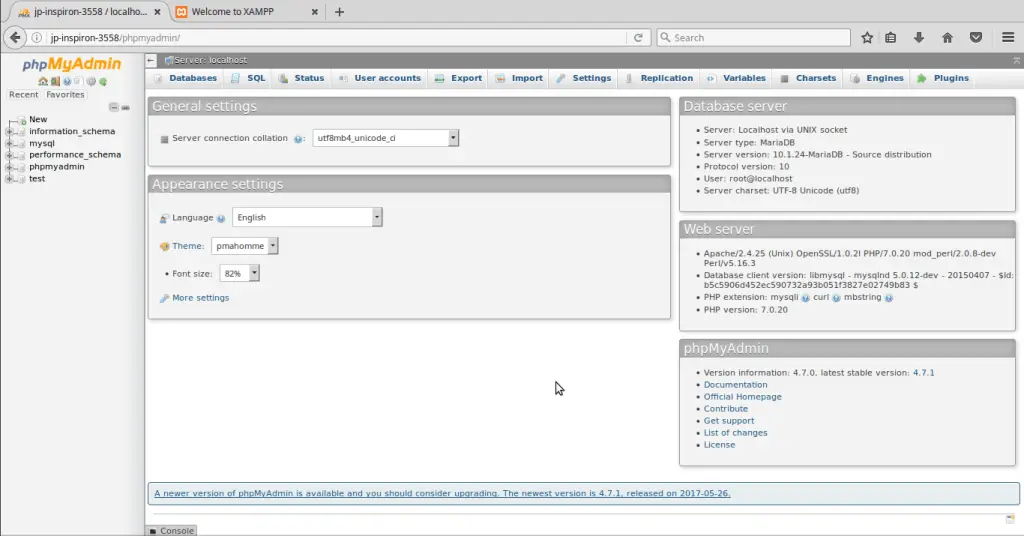
Cheers .. You have successfully installed XAMPP on your Linux. Now you have to install WordPress on the localhost. Don’t worry it won’t take much time.
Installing WordPress on the Localhost
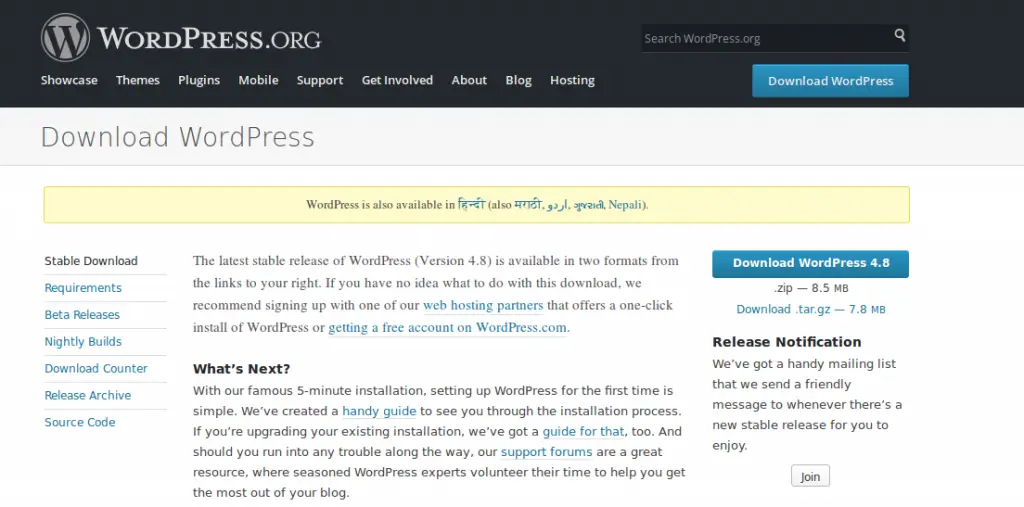
On the very beginning, you have to visit the WordPress.org (official website), to download the WordPress CMS.
- Download the zip file from the website. (It is free to download)
- Go to the location where the zip file(wordpress) is downloaded, and extract it to the htdocs folder, which is located inside the LAMPP folder (Directory:- .opt/lampp/htdocs )
Note: The contents of the WordPress folder is only readable. You cannot edit it directly. So have patience and follow the steps. - Open your web browser and type URL localhost/wordpress and press enter. You will see the following web page.
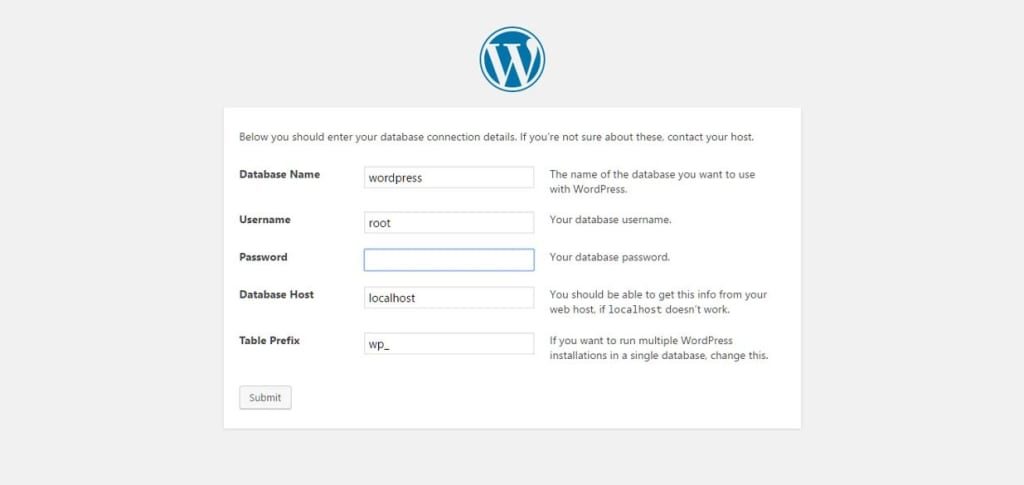
Click on Let’s Go - In the next step, you have to fill the following form by changing the values of
Database – wordpress
Username – root
Password – (keep it blank)
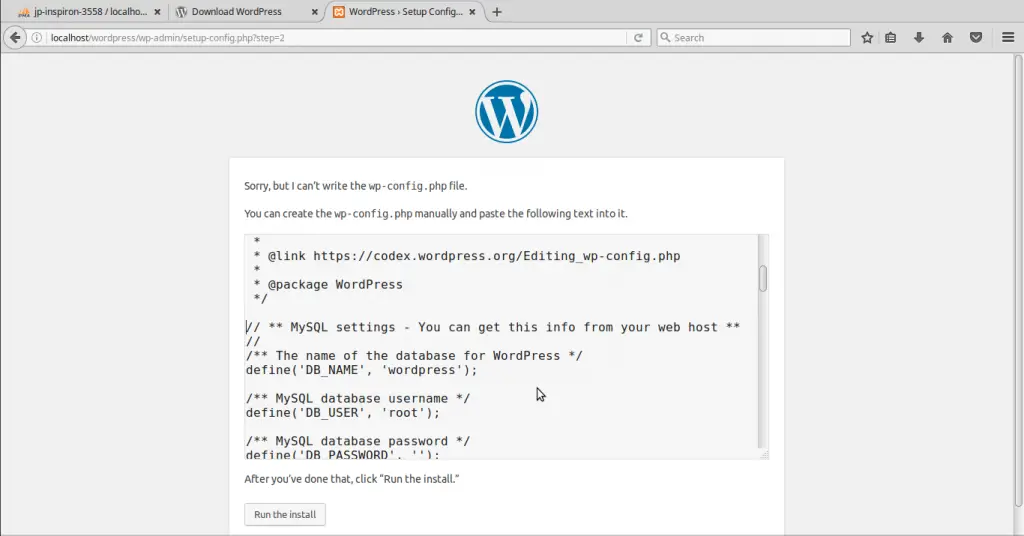
Click on the Submit - Now they will provide you the code. Just copy the code. Create a notepad file at the Desktop. Name it as wp-config.php and paste the code in it.
- We have to move the notepad file to the wordpress folder which is present in lampp/htdocs.
Since the wordpress folder is only readable that’s why we are unable to paste it directly.
We have to make the folder read and writable, to do so type the following command in terminalcd /opt/lampp/htdocs
(this code changes the directory to htdocs)
sudo chmod -R 77 /opt/lampp/htdocs/wordpress
(it makes the components of the folder read and writeable) - Now paste the notepad file (wp-config.php) in the wordpress folder.
- Again move to the set-up which you were doing in the web browser and Click on Run the install.
- In this step, you have to fill the following form as per your wish where Username and Password are mandatory.
- Your dashboard will open
 Create a notepad file at the Desktop. Name it as wp-config.php and paste the code in it.
 cd /opt/lampp/htdocs
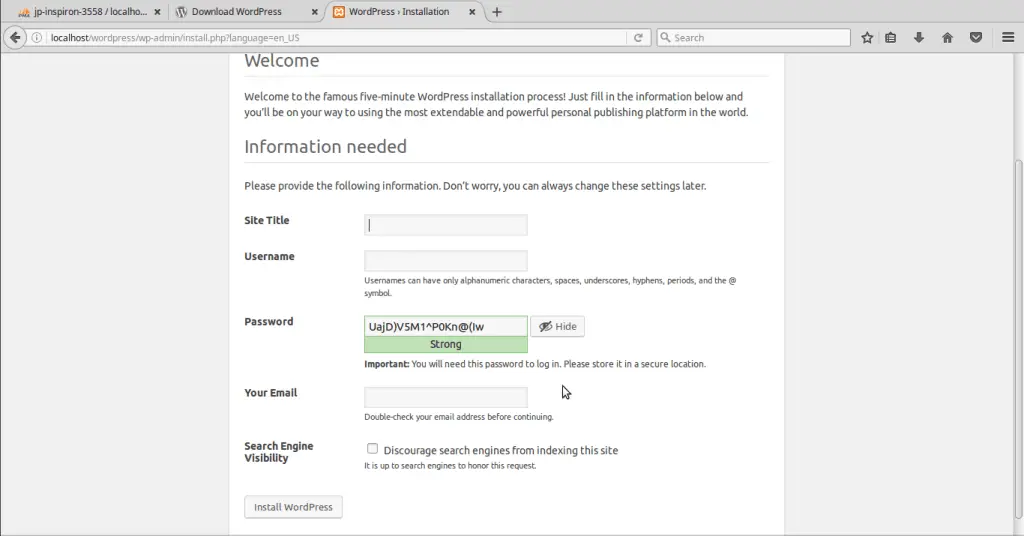
After working on WordPress save the things and close the browser. Then open the XAMPP application and click on Stop All and close the window.
But if you want to open the XAMPP again then you have to follow the following instructions. You have to enter two commands in your terminal.
Opening the Xampp Application
- Open the terminal
- Write the command
sudo /opt/lampp/manager-linux-x64 .run
(this code will run the application forcefully through terminal) - Open your web browser and enter localhost/wordpress
- The sign in page will open. Fill the form using the information you have at the time of set-up.
Hurray.. You have installed the WordPress in your localhost. Yeah, it is a bit difficult but you can do it easily, just don’t lose the patience. Now when you have installed the WordPress start inspecting all the options and edit the things. You can download the plugins or install different themes.
If Error Occurs on Installing Plugins or Themes
You may find an error of FTP. Don’t worry just follow the steps:
- Go to the directory opt/lampp/htdocs/wordpress
- Open wp-config.php
- Add the syntax define(‘FS_METHOD’, ‘direct’);
You can add this syntax anywhere in the file. - Save it
- Now you can install plugins and themes.
You will notice that you can upload the themes and plugins after downloading. You will also notice that it works faster. Whether you are offline or online you can write the post edit the settings. Then only thing is that no one can see your blog.
CONCLUSION
I have mentioned that there are many localhost servers if you want to install any other. But the basic steps will be same. When you have installed the WordPress in your localhost you can avail all the features of the WordPress.org.
We cannot say that the WordPress will work fully offline, as you have to install the plugins or themes, then you definitely should have an internet connection.
If you own a blog which is on a web server then you cannot directly test any plugins or themes there on your dedicated blog. In case you want to test the plugins you can run it on your localhost WordPress. There is also an advantage that no one is going to watch your blog at the localhost.
For the newbies, it is very useful to gain the experience and knowledge about the platform.
I hope you this post has helped you and if you want for posts on blogging then keep visiting our blog. You can share this guide to your friends so that this guide may help them also.
Источник


