- Включение SMBv1 в Windows 10
- Способ 1: Включение компонента Windows
- Способ 2: Команда для PowerShell
- Способ 3: Управление групповой политикой
- How to detect, enable and disable SMBv1, SMBv2, and SMBv3 in Windows
- Disabling SMBv2 or SMBv3 for troubleshooting
- How to remove SMB v1
- Advanced Troubleshooting Server Message Block (SMB)
- Tools and data collection
- Collect data
- Using netshell to collect data
- Analyze the traffic
- Analyze the protocol
- Event logs
- SMB-related system files
- Update suggestions
Включение SMBv1 в Windows 10
Перед началом ознакомления со следующими способами отметим, что использование SMBv1 в качестве средства удаленного доступа обычному пользователю чаще всего не нужно, поскольку проще его организовать при помощи других вспомогательных технологий. Более детальную информацию по этому поводу предлагаем прочесть в статьях по ссылкам ниже.
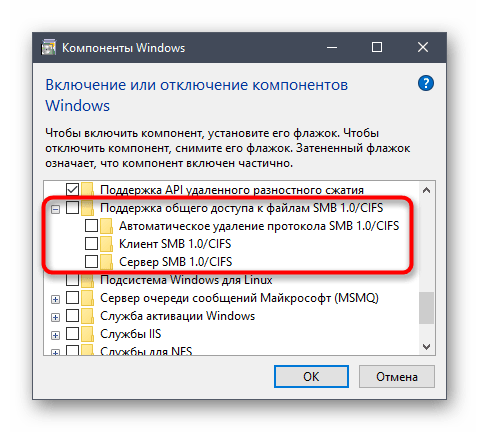
Способ 1: Включение компонента Windows
В Windows 10 существует отдельный модуль, позволяющий подключать различные компоненты. С его помощью активировать SMBv1 будет проще всего, а выглядит процесс так:
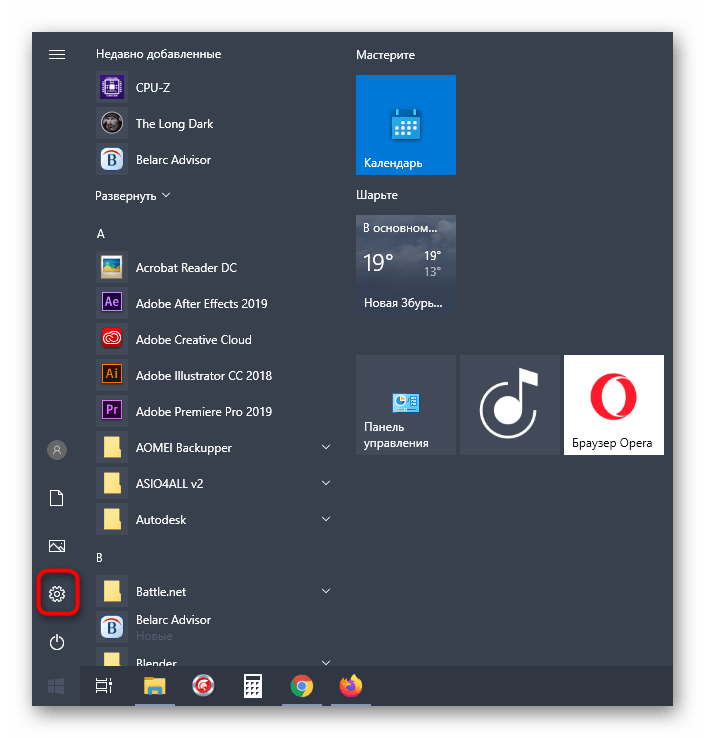
- Откройте «Пуск» и перейдите в меню «Параметры».

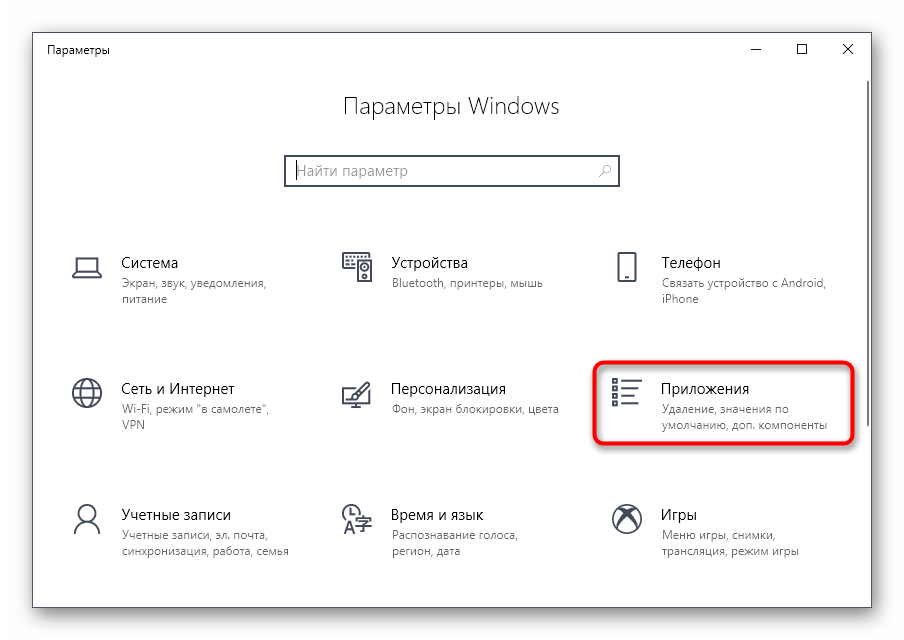
В категории «Приложения и возможности» опуститесь в самый низ, где щелкните по кликабельной надписи «Программы и компоненты».
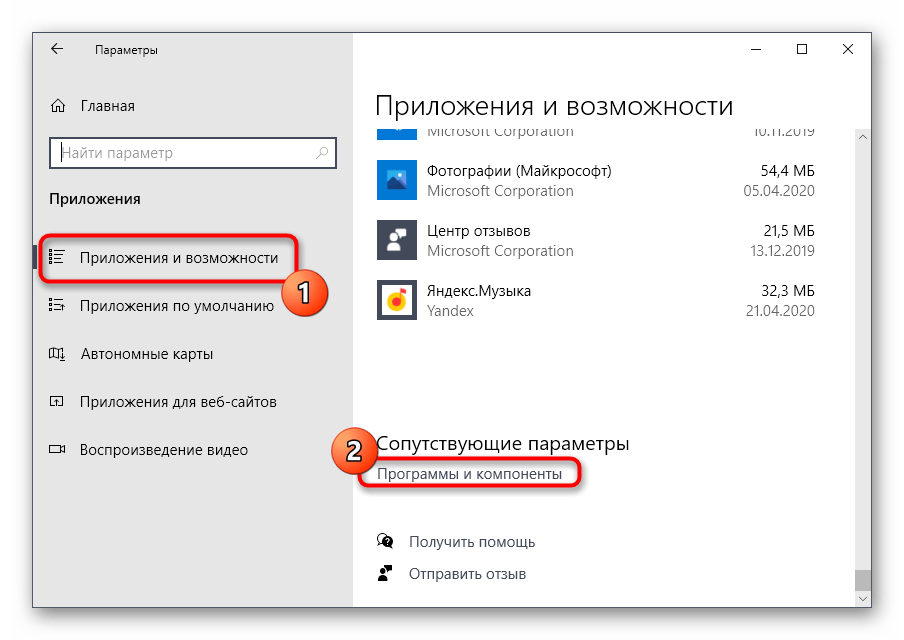
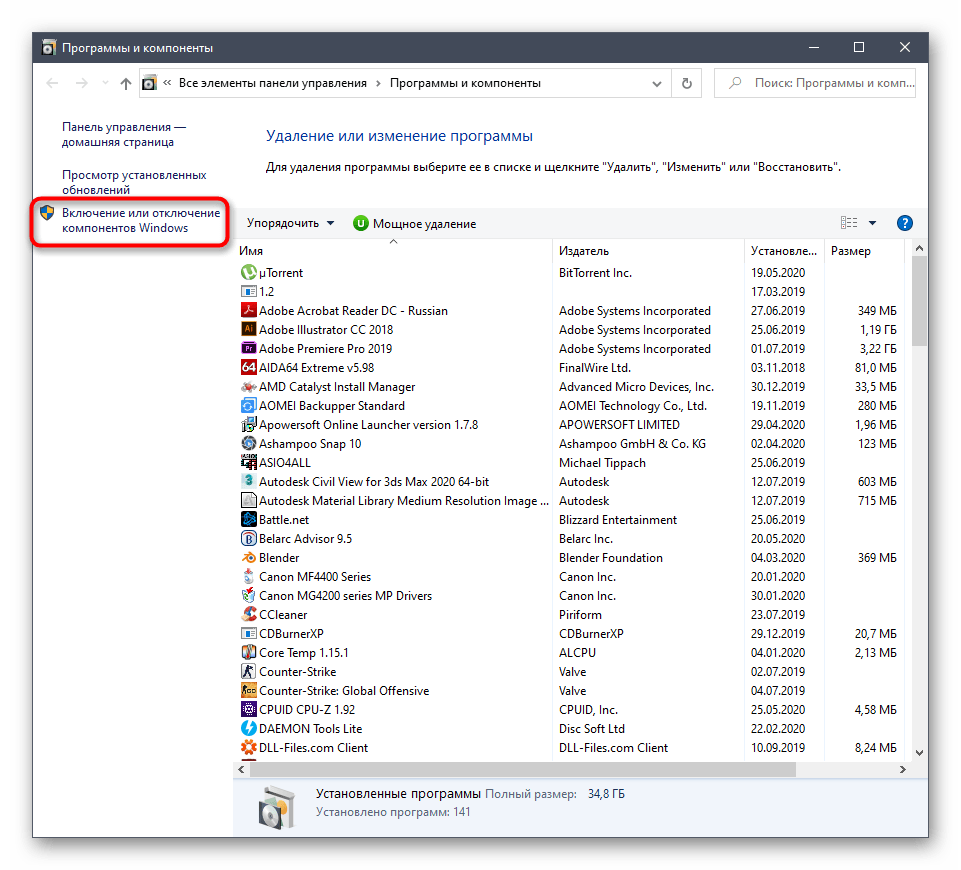
Через левую панель вызовите окно «Включение или отключение компонентов Windows».
Если технология не активировалась сейчас, потребуется перезагрузить компьютер, ведь именно тогда происходит обновление параметров реестра, что и требуется для корректной работы SMB.
Способ 2: Команда для PowerShell
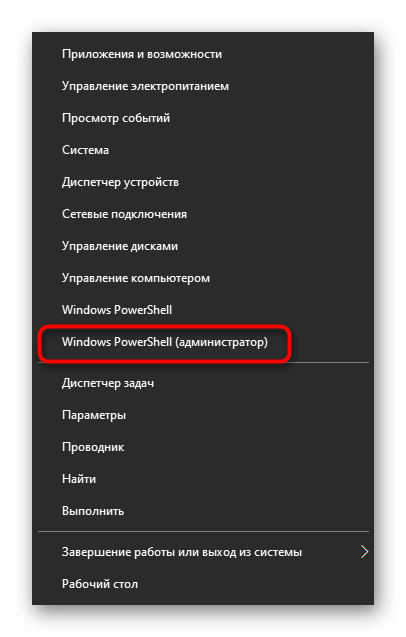
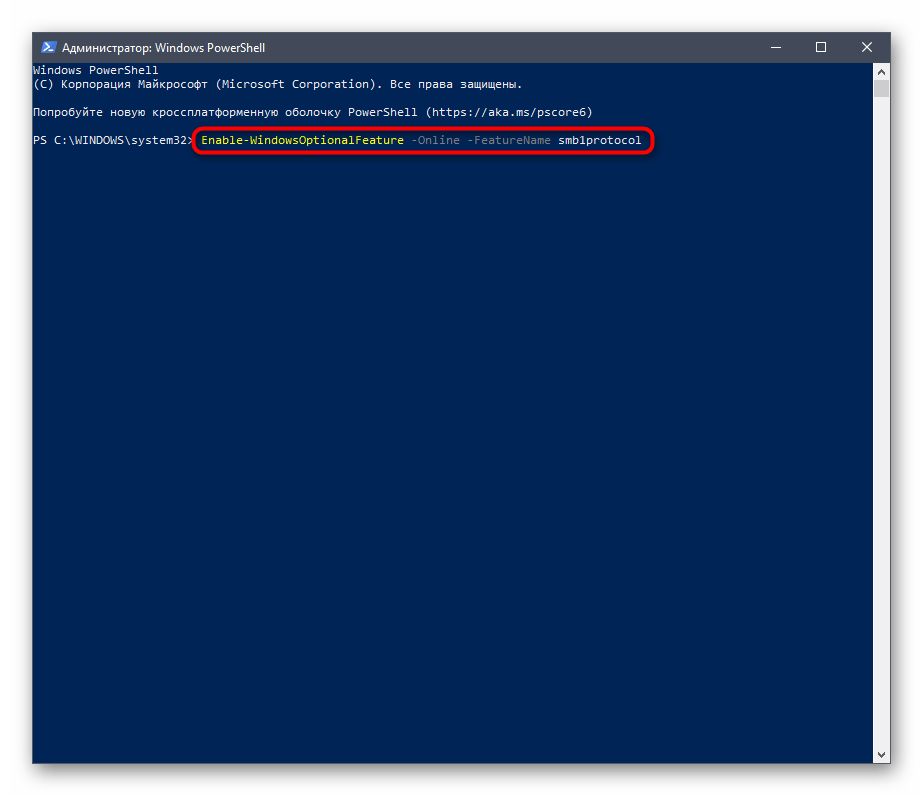
Если вы не боитесь взаимодействовать с оболочкой PowerShell, активировать SMBv1 можно через нее, вставив всего одну команду.
- Щелкните правой кнопкой мыши по меню «Пуск» и выберите «Windows PowerShell (администратор)».
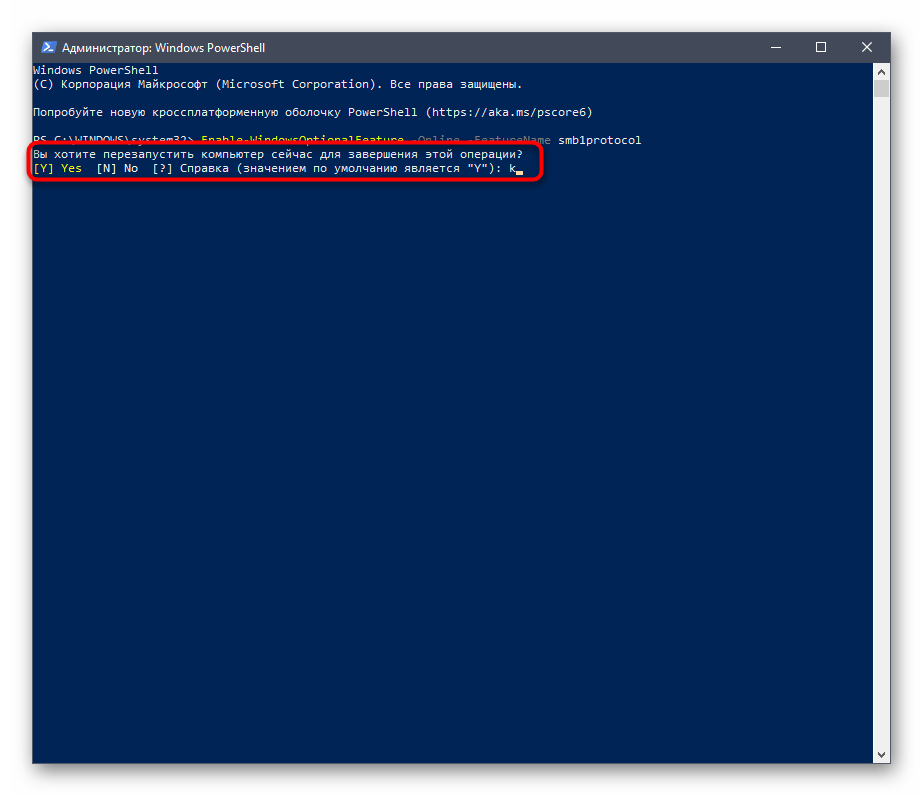
Ожидайте завершения процедуры включения компонента, что займет несколько минут.
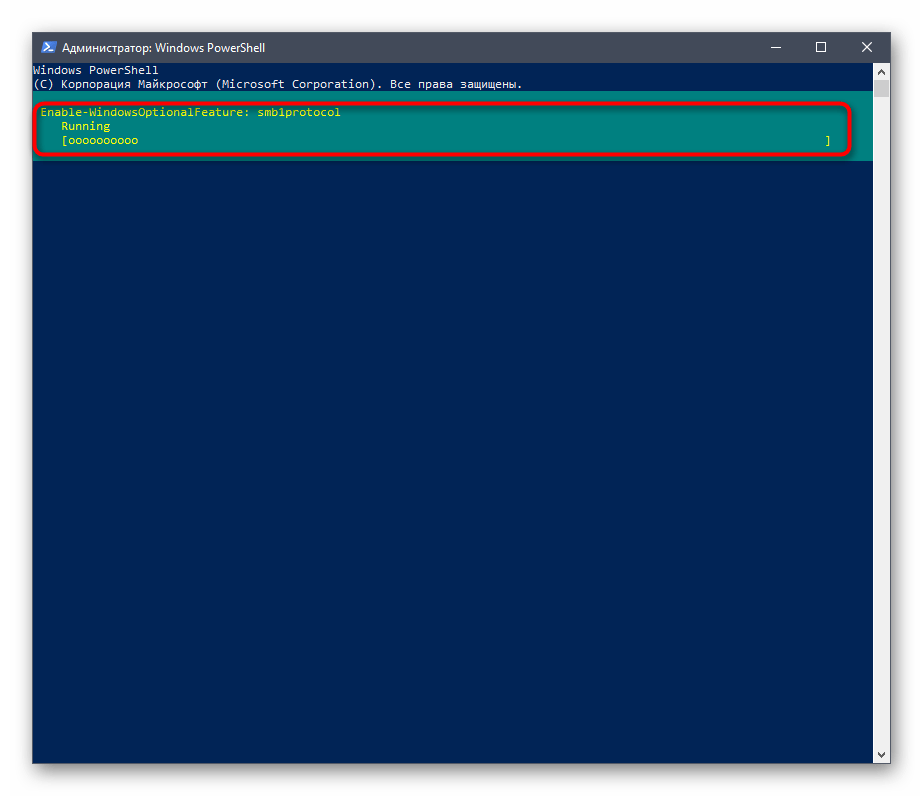
После вам понадобится отправить компьютер на перезапуск, чтобы окончить операцию. Вы можете сделать это потом, выбрав сейчас отрицательный вариант ответа.
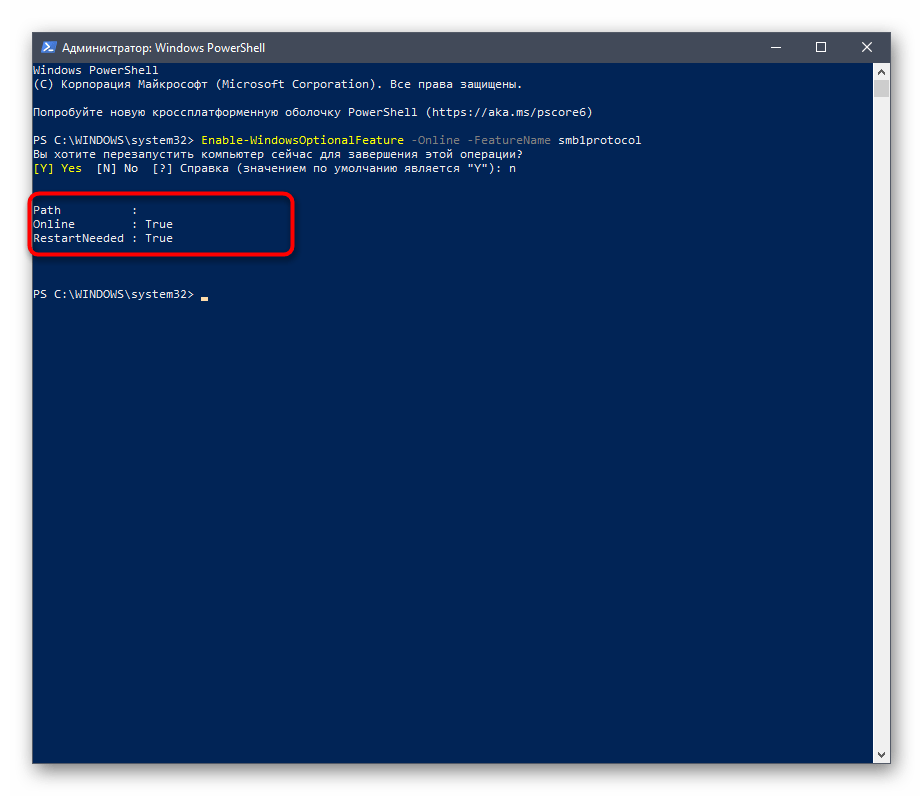
Далее в PowerShell отобразится информация о том, что SMBv1 была успешно активирована и находится в рабочем состоянии.
Дополнительно отметим две другие команды для PowerShell, которые могут пригодиться при дальнейшей работе с рассматриваемым компонентом в Windows:
- Get-WindowsFeature FS-SMB1 — позволяет узнать, в каком состоянии сейчас находится SMBv1.
- Disable-WindowsOptionalFeature -Online -FeatureName smb1protocol — отключает работу компонента.
Способ 3: Управление групповой политикой
Отметим, что этот вариант подойдет только владельцам доменов, которые хотят настроить SMBv1 на всех локальных компьютерах. Рядовым пользователям мы не советуем задействовать этот вариант — им лучше остановиться на двух предыдущих.
- Для начала придется добавить средство управления групповыми политиками в ОС. Для этого откройте «Пуск» и перейдите в «Параметры».
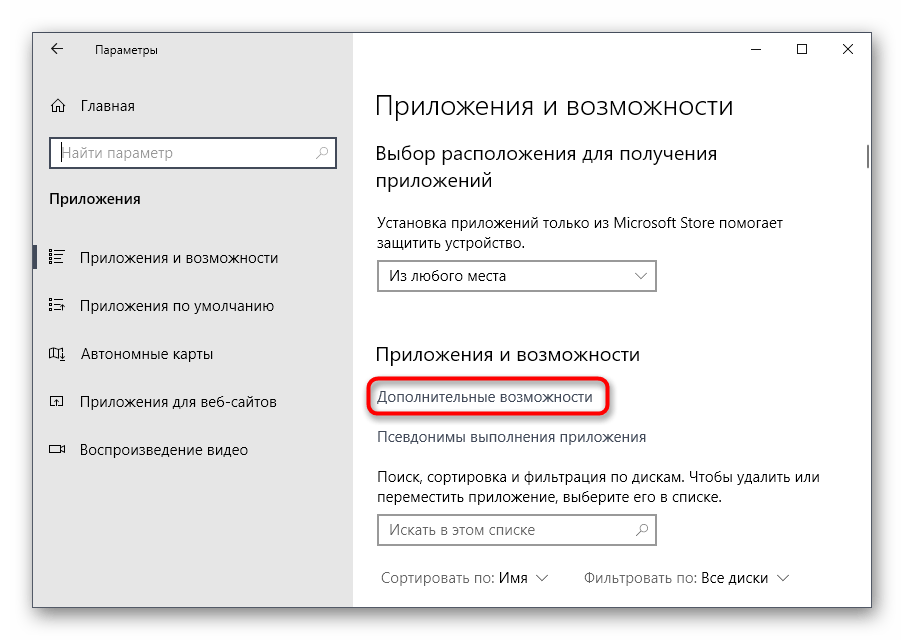
Откройте раздел «Приложения».
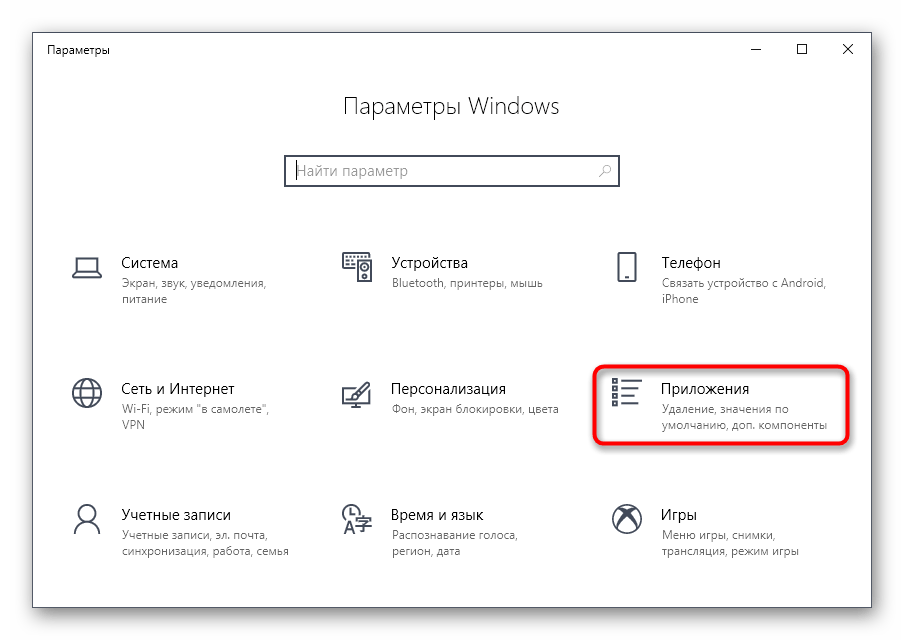
В первой же категории вас интересует кликабельная надпись «Дополнительные возможности».
Нажмите «Добавить компонент», чтобы перейти к его выбору.
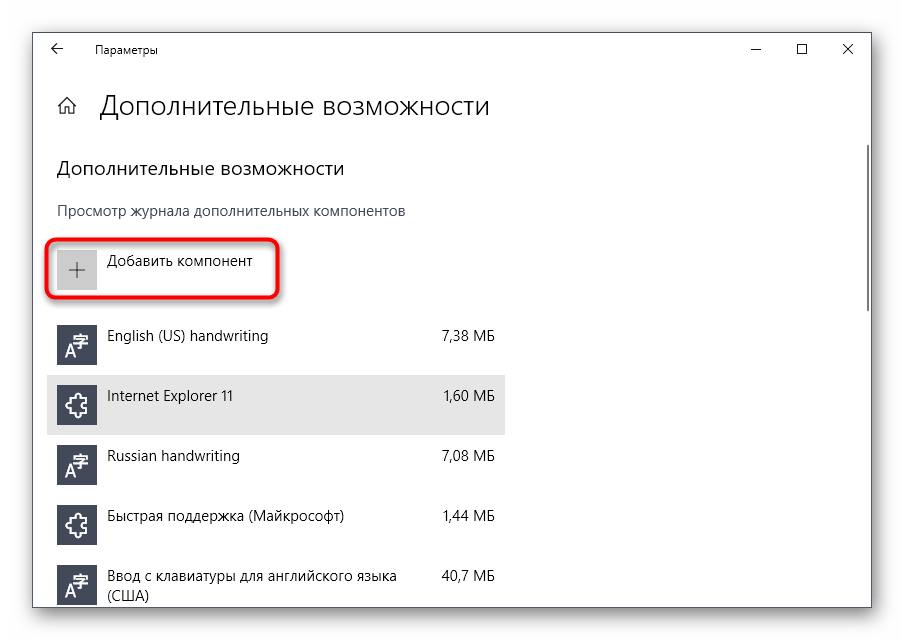
В списке отыщите «RSAT: средства управления групповыми политиками» и запустите установку.

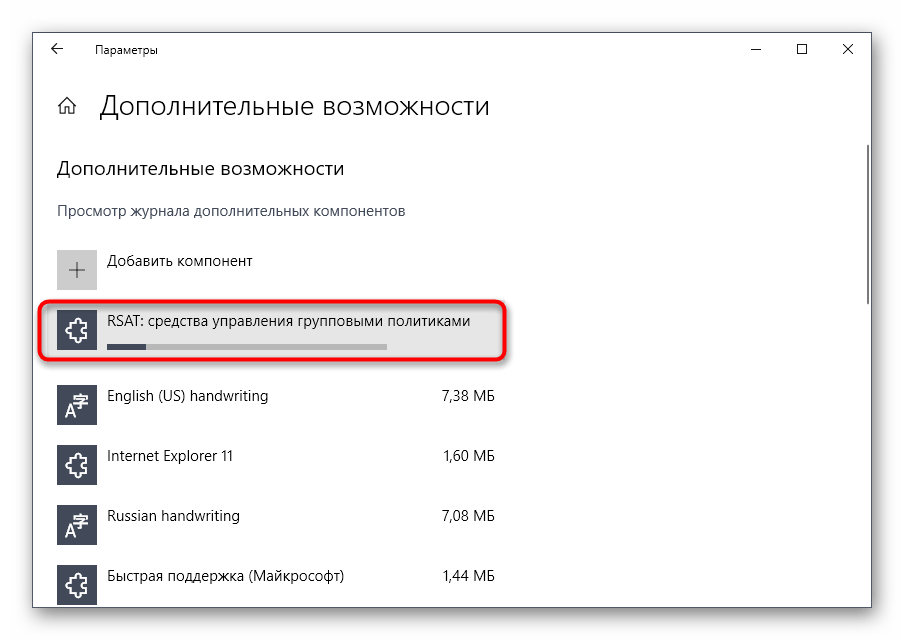
Вернитесь в предыдущее меню и отслеживайте прогресс инсталляции.
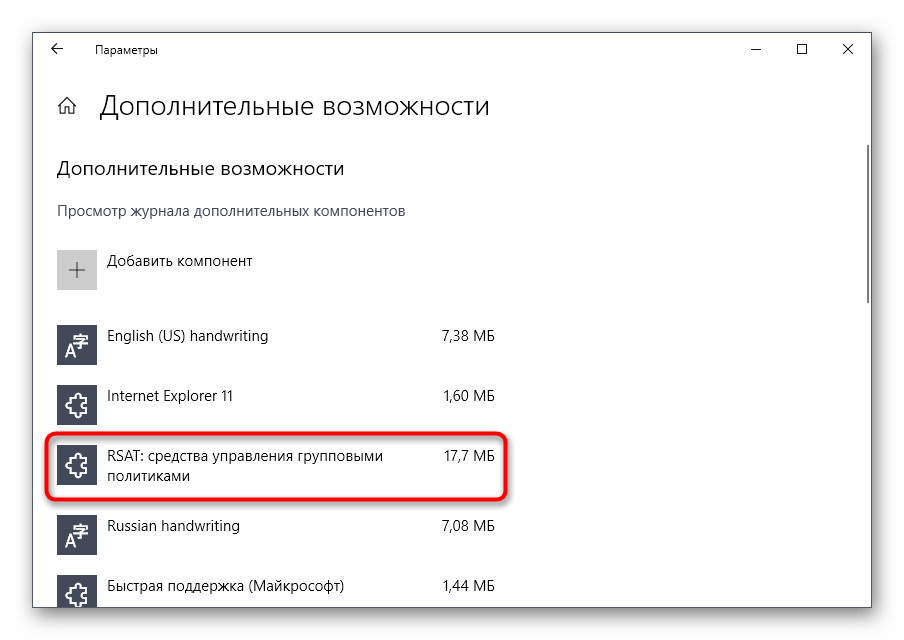
После проверьте компонент на наличие его в списке и перезагрузите компьютер, чтобы все изменения вступили в силу.
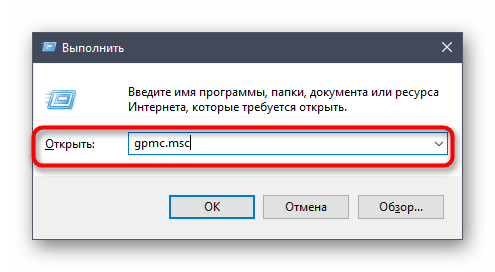
Войдите в операционную систему под именем владельца домена, откройте утилиту «Выполнить» через Win + R и пропишите gpmc.msc , нажав затем на клавишу Enter.
Ожидайте загрузки управления групповой политикой.
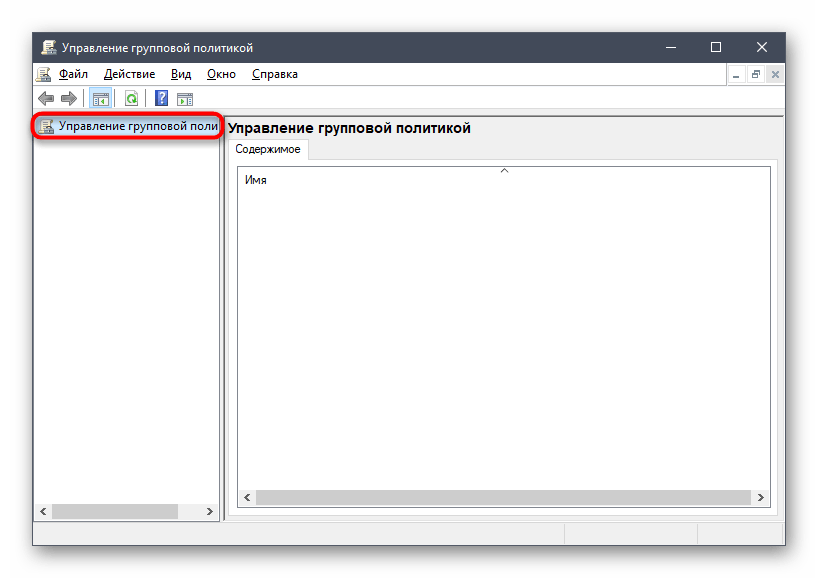
Там откройте главный раздел «Управление групповой политики» и найдите реестр.
Остается только заполнить сведения реестра в соответствии с приведенным далее списком
- Действие: Создать
- Куст: HKEY_LOCAL_MACHINE
- Путь раздела: SYSTEM\CurrentControlSet\Services\LanmanServer\Parameters
- Имя параметра: SMB1
- Тип параметра: REG_DWORD
- Значение: 1
Остается только сохранить изменения для реестра и перезапустить компьютер, чтобы они вступили в силу. Если захотите в будущем отключить параметр, измените его значение на «0».
How to detect, enable and disable SMBv1, SMBv2, and SMBv3 in Windows
Applies to: Windows 10, Windows 8.1, Windows 8, Windows Server 2019, Windows Server 2016, Windows Server 2012 R2, Windows Server 2012
This article describes how to enable and disable Server Message Block (SMB) version 1 (SMBv1), SMB version 2 (SMBv2), and SMB version 3 (SMBv3) on the SMB client and server components.
While disabling or removing SMBv1 might cause some compatibility issues with old computers or software, SMBv1 has significant security vulnerabilities and we strongly encourage you not to use it.
Disabling SMBv2 or SMBv3 for troubleshooting
While we recommend that you keep SMBv2 and SMBv3 enabled, you might find it useful to disable one temporarily for troubleshooting, as described in How to detect status, enable, and disable SMB protocols on the SMB Server.
In Windows 10, Windows 8.1, and Windows 8, Windows Server 2019, Windows Server 2016, Windows Server 2012 R2, and Windows Server 2012, disabling SMBv3 deactivatesВ the following functionality (and also the SMBv2 functionality that’s described in the previous list):
- Transparent Failover — clients reconnect without interruption to cluster nodes during maintenance or failover
- Scale Out – concurrent access to shared data on all file cluster nodesВ
- Multichannel — aggregation of network bandwidth and fault tolerance if multiple paths are available between client and server
- SMB Direct – adds RDMA networking support for very high performance, with low latency and low CPU utilization
- Encryption – Provides end-to-end encryption and protects from eavesdropping on untrustworthy networks
- Directory Leasing — Improves application response times in branch offices through caching
- Performance Optimizations — optimizations for small random read/write I/O
In Windows 7 and Windows Server 2008 R2, disabling SMBv2В deactivates the following functionality:
- Request compounding — allows for sending multiple SMB 2 requests as a single network request
- Larger reads and writes — better use of faster networks
- Caching of folder and file properties — clients keep local copies of folders and files
- Durable handles — allow for connection to transparently reconnect to the server if there is a temporary disconnection
- Improved message signing — HMAC SHA-256 replaces MD5 as hashing algorithm
- Improved scalability for file sharing — number of users, shares, and open files per server greatly increased
- Support for symbolic links
- Client oplock leasing model — limits the data transferred between the client and server, improving performance on high-latency networks and increasing SMB server scalability
- Large MTU support — for full use of 10-gigabye (GB) Ethernet
- Improved energy efficiency — clients that have open files to a server can sleep
The SMBv2 protocol was introduced in Windows Vista and Windows Server 2008, while the SMBv3 protocol was introduced in Windows 8 and Windows Server 2012. For more information about the capabilities of SMBv2 and SMBv3 capabilities, see the following articles:
How to remove SMB v1
Here’s how to remove SMBv1 in Windows 10, Windows 8.1, Windows Server 2019, Windows Server 2016, and Windows 2012 R2.
Advanced Troubleshooting Server Message Block (SMB)
Server Message Block (SMB) is a network transport protocol for file systems operations to enable a client to access resources on a server. The primary purpose of the SMB protocol is to enable remote file system access between two systems over TCP/IP.
SMB troubleshooting can be extremely complex. This article is not an exhaustive troubleshooting guide Instead, it is a short primer to understand the basics of how to effectively troubleshoot SMB.
Tools and data collection
One key aspect of quality SMB troubleshooting is communicating the correct terminology. Therefore, this article introduces basic SMB terminology to ensure accuracy of data collection and analysis.
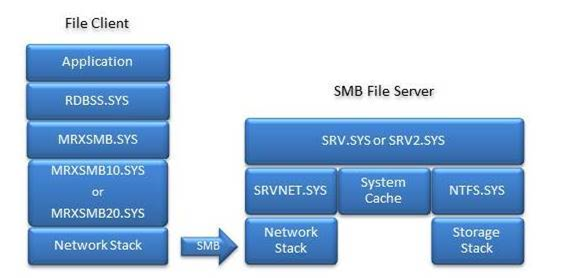
The SMB Server (SRV) refers to the system that is hosting the file system, also known as the file server. The SMB Client (CLI) refers to the system that is trying to access the file system, regardless of the OS version or edition.
For example, if you use Windows Server 2016 to reach an SMB share that is hosted on Windows 10, Windows Server 2016 is the SMB Client and Windows 10 the SMB Server.
Collect data
Before you troubleshoot SMB issues, we recommend that you first collect a network trace on both the client and server sides. The following guidelines apply:
On Windows systems, you can use netshell (netsh), Network Monitor, Message Analyser, or Wireshark to collect a network trace.
Third-party devices generally have an in-box packet capture tool, such as tcpdump (Linux/FreeBSD/Unix), or pktt (NetApp). For example, if the SMB client or SMB server is a Unix host, you can collect data by running the following command:
Stop collecting data by using Ctrl+C from keyboard.
To discover the source of the issue, you can check the two-sided traces: CLI, SRV, or somewhere in between.
Using netshell to collect data
This section provides the steps for using netshell to collect network trace.
A Netsh trace creates an ETL file. ETL files can be opened only in Message Analyzer (MA) and Network Monitor 3.4 (set the parser to Network Monitor Parsers > Windows).
On both the SMB server and SMB client, create a Temp folder on drive C. Then, run the following command:
If you are using PowerShell, run the following cmdlets:
Reproduce the issue.
Stop the trace by running the following command:
If you are using PowerShell, run the following cmdlets:
You should trace only a minimum amount of the data that’s transferred. For performance issues, always take both a good and bad trace, if the situation allows it.
Analyze the traffic
SMB is an application-level protocol that uses TCP/IP as the network transport protocol. Therefore, an SMB issue can also be caused by TCP/IP issues.
Check whether TCP/IP experiences any of these issues:
The TCP three-way handshake does not finish. This typically indicates that there is a firewall block, or that the Server service is not running.
Retransmits are occurring. These can cause slow file transfers because of compound TCP congestion throttling.
Five retransmits followed by a TCP reset could mean that the connection between systems was lost, or that one of the SMB services crashed or stopped responding.
The TCP receive window is diminishing. This can be caused by slow storage or some other issue that prevents data from being retrieved from the Ancillary Function Driver (AFD) Winsock buffer.
If there is no noticeable TCP/IP issue, look for SMB errors. To do this, follow these steps:
Always check SMB errors against the MS-SMB2 protocol specification. Many SMB errors are benign (not harmful). Refer to the following information to determine why SMB returned the error before you conclude that the error is related to any of the following issues:
The MS-SMB2 Message Syntax topic details each SMB command and its options.
The MS-SMB2 Client Processing topic details how the SMB client creates requests and responds to server messages.
The MS-SMB2 Server Processing topic details how the SMB server creates requests and responds to client requests.
Check whether a TCP reset command is sent immediately after an FSCTL_VALIDATE_NEGOTIATE_INFO (validate negotiate) command. If so, refer to the following information:
The SMB session must be terminated (TCP reset) when the Validate Negotiate process fails on either the client or the server.
This process might fail because a WAN optimizer is modifying the SMB Negotiate packet.
If the connection ended prematurely, identify the last exchange communication between the client and server.
Analyze the protocol
Look at the actual SMB protocol details in the network trace to understand the exact commands and options that are used.
Only Message Analyzer can parse SMBv3 and later version commands.
Remember that SMB does only what it is told to do.
You can learn a lot about what the application is trying to do by examining the SMB commands.
Compare the commands and operations to the protocol specification to make sure that everything is operating correctly. If it is not, collect data that is closer to or at a lower level to look for more information about the root cause. To do this, follow these steps:
Collect a standard packet capture.
Run the netsh command to trace and gather details about whether there are issues in the network stack or drops in Windows Filtering Platform (WFP) applications, such as firewall or antivirus program.
If all other options fail, collect a t.cmd if you suspect that the issue occurs within SMB itself, or if none of the other data is sufficient to identify a root cause.
You experience slow file transfers to a single file server.
The two-sided traces show that the SRV responds slowly to a READ request.
Removing an antivirus program resolves the slow file transfers.
You contact the antivirus program manufactory to resolve the issue.
Optionally, you might also temporarily uninstall the antivirus program during troubleshooting.
Event logs
Both SMB Client and SMB Server have a detailed event log structure, as shown in the following screenshot. Collect the event logs to help find the root cause of the issue.

SMB-related system files
This section lists the SMB-related system files. To keep the system files updated, make sure that the latest update rollup is installed.
SMB Client binaries that are listed under %windir%\system32\Drivers:
SMB Server binaries that are listed under %windir%\system32\Drivers:
Under %windir%\system32
Update suggestions
We recommend that you update the following components before you troubleshoot SMB issues:
A file server requires file storage. If your storage has iSCSI component, update those components.
Update the network components.
For better performance and stability, update Windows Core.


