- In the windows are silhouettes
- DIY Halloween Window Silhouette Templates!
- DIY Halloween Window Silhouette Templates
- Spooky Window Silhouettes With Follow-Me Eyes
- Introduction: Spooky Window Silhouettes With Follow-Me Eyes
- Step 1: Watch the Video
- Step 2: Materials
- Step 3: Find or Create Some Spooky Silhouette Images
- Step 4: Measure the Dimensions of Your Windows
- Step 5: Print Out the Images to Scale
- Step 6: Tape the Pages Together to Reconstruct the Image
- Step 7: Trim the Paper and Attach It to a Cardboard Backing
- Step 8: Cut Along the Outline
- Step 9: Cut Out the Shape From the Cardboard
- Step 10: Paint the Silhouette Cuttout
- Step 11: Add Follow-Me Eyes (optional)
- Step 12: Mount the Silhouettes in the Windows of Your House
- 2 People Made This Project!
- Christmas Window Silhouettes
- Christmas Window Silhouettes Tips & Tricks
- Kids Can Make Christmas Window Silhouettes, Too!
- Our Winter Wonderland
- Get the Designs and Make Your Own!
- Also Try!
In the windows are silhouettes
If you are a Windows users and all of the sudden the fonts on your computer are not showing up in Silhouette Studio it’s due to a recent Windows update.
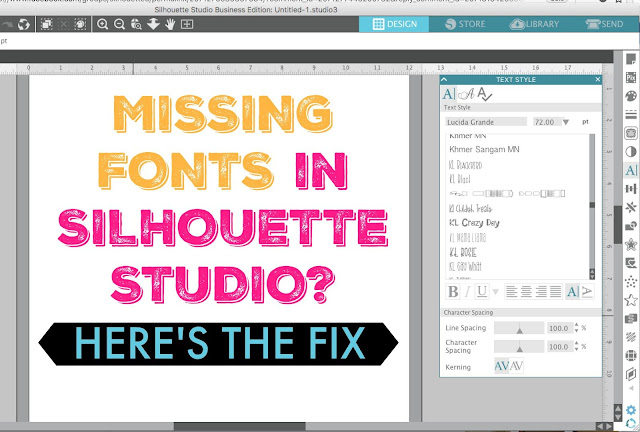
As frustrating as it is, fortunately, there is a fix.
This fix includes several steps — shared with Silhouette School by Silhouette America — and found by several users experiencing this issue to indeed fix the problem.
Here’s what you need to do if your fonts aren’t in Silhouette Studio.
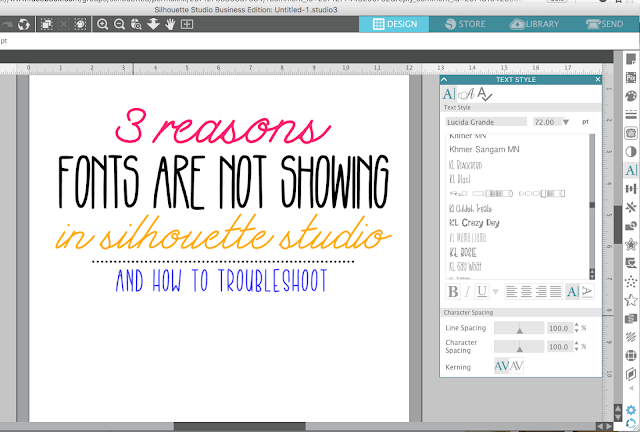
This should fix the problem. If it doesn’t and your fonts are still not showing up — or if you’re on a MAC and your fonts are not loading in Silhouette Studio — there could be another issue. Check out this Silhouette tutorial for the three most commons reasons fonts aren’t found in Silhouette Studio.
Note: This post may contain affiliate links. By clicking on them and purchasing products through my links, I receive a small commission. That’s what helps fund Silhouette School so I can keep buying new Silhouette-related products to show you how to get the most out of your machine!
DIY Halloween Window Silhouette Templates!
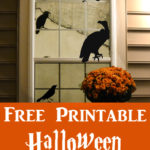
DIY Halloween Window Silhouette Templates
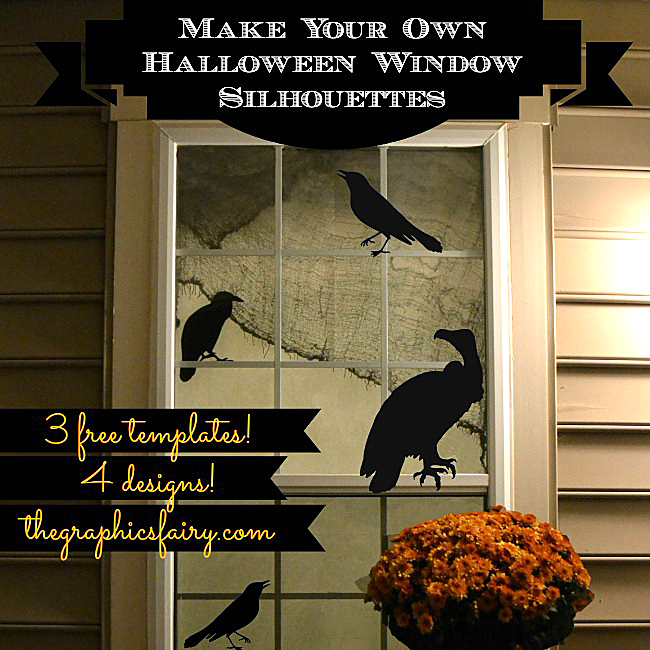
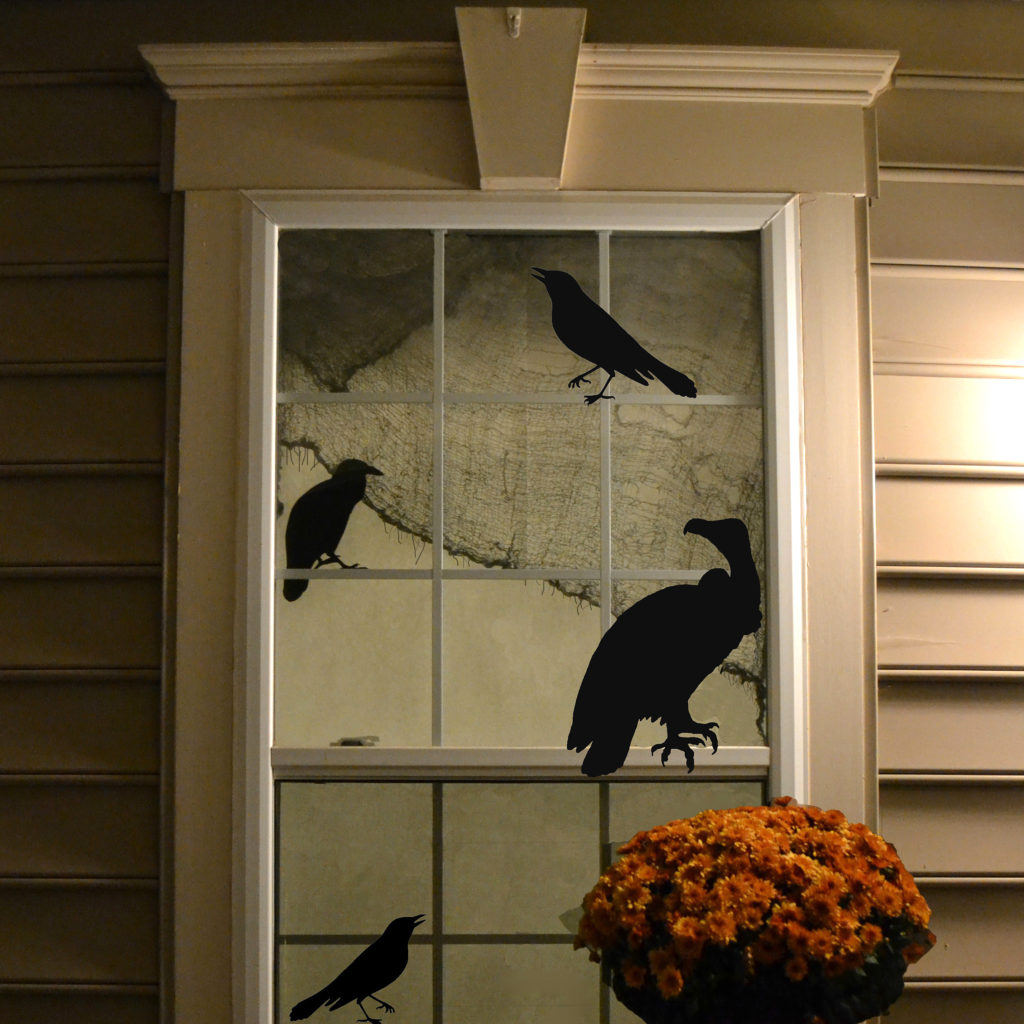
Hi Guys, it’s Emily here. If you’re in need of some quick and easy last minute Halloween Decor, then these DIY Halloween window silhouettes Templates, should be just the thing! Window Silhouettes have always been a go-to decoration for this Fall holiday. They’re easy to make, cost next to nothing, and have a really neat look to them.
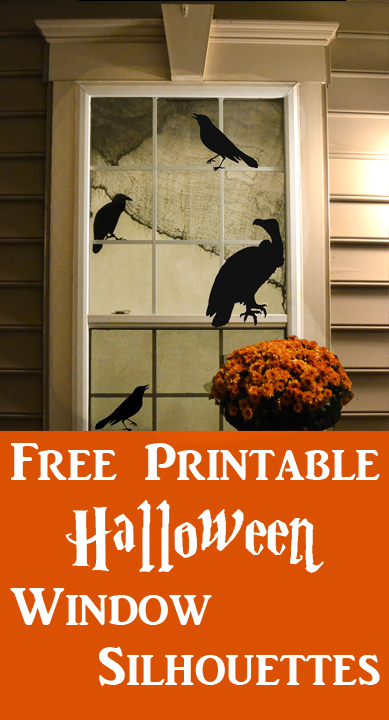
I was trying to learn how to create vectors on my computer this week. As I was hand tracing some antique images I found on this site, I realized that I was creating some really fun images that would be great to put in a window for Halloween. So, I traced some more with my mouse (I really tried to keep the lines from looking too shaky – but I’m learning) and created some printable silhouette templates for you.
All you need to do is print these out on white paper and then hold (or tape) a piece of black card stock to your printout. Just cut out the silhouettes and you have your own reusable window decor! It’s such a great fun look for your home. These are a great quick and easy Halloween DIY project and they are super inexpensive too.
If you’d like larger or smaller sizes, you can just use a copier to enlarge or reduce the images to your desired size.
Be sure to click on the words after each image to download the PDF templates below.
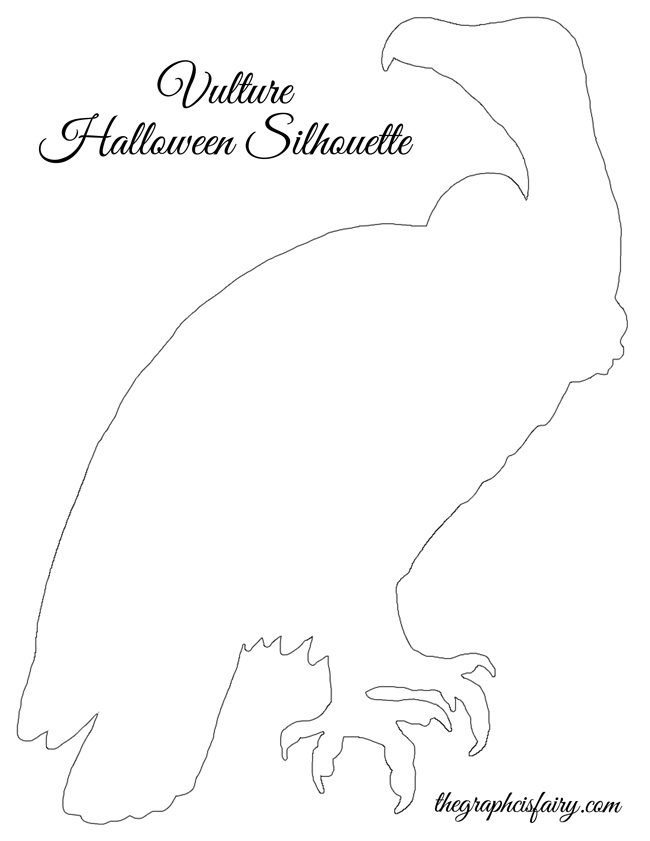
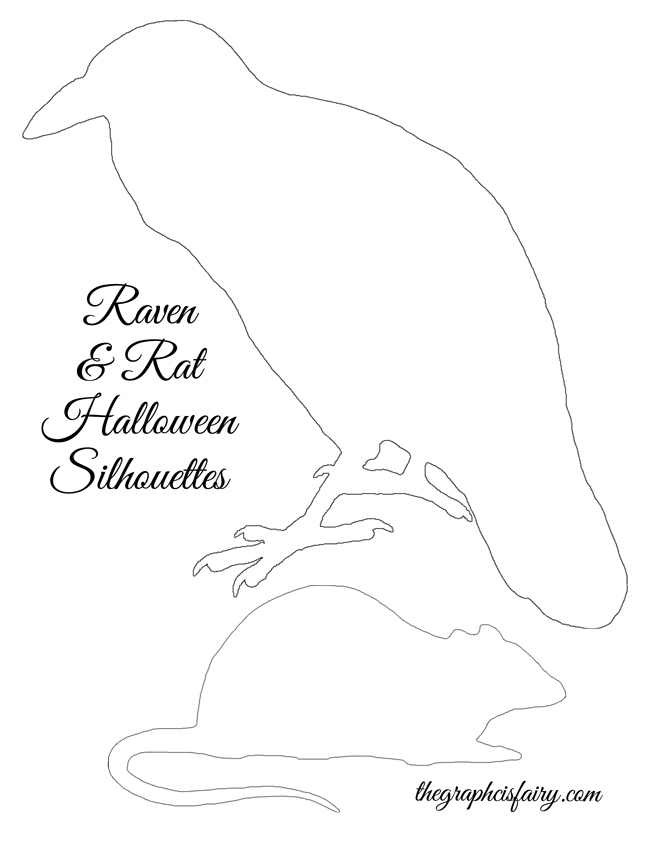
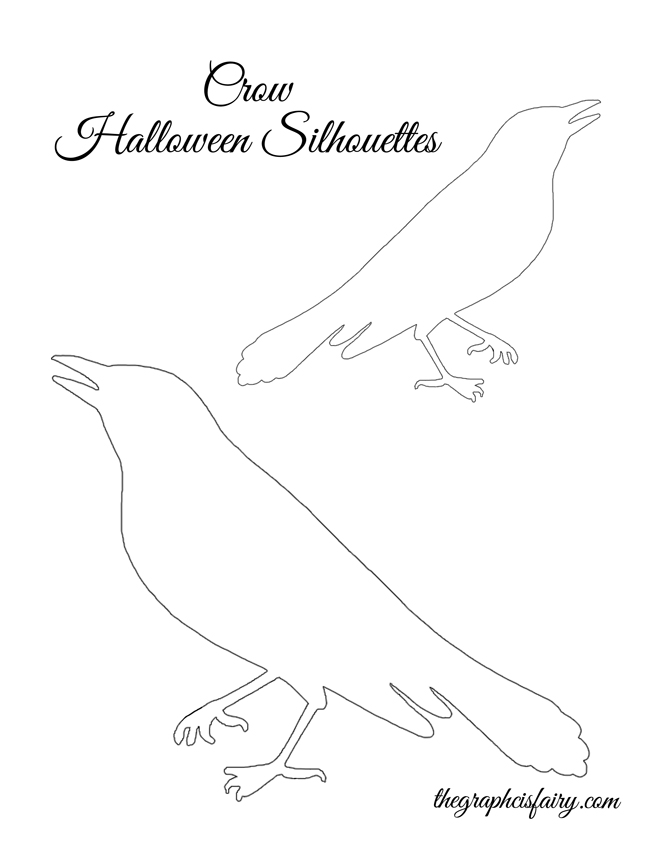
If you’re interested in working with the original images I used for this project, you can find the antique Vulture, Raven, Rat, and Crow images here on The Graphics Fairy site.
Oh, and if you like the look of a white background to really make the silhouettes pop, I just use a roll of newsprint paper (rolls of butcher paper are great too) to line the window after I’ve positioned my silhouettes. It provides some nice contrast to the images and gives you a little privacy too, in case your neighbors want to take a closer look!
I hope you enjoyed these DIY Halloween Window Silhouette Templates and that you are able to use them in your Halloween Decor. I think they are fun, without being too spooky. And you can’t beat the price! If you use these on your home, please upload a photo to your Instagram account and use the hashtag #graphicsfairy so that we can all oooh and aaah over them! We always love seeing what you guys make.
Thanks for stopping by today … have a safe and Happy Halloween!
Spooky Window Silhouettes With Follow-Me Eyes

Introduction: Spooky Window Silhouettes With Follow-Me Eyes


Halloween is almost here. But you still have time to put together some really spooky decorations. One great kind of decoration is the window silhouette. To make these, all you have to do set up a monster cutout in your window. This blocks some of the light behind it and casts a spooky shadow. You can even add eyes that follow a person as they walk by.
Step 1: Watch the Video
Here is a video walkthrough of the project.
Step 2: Materials
Here are the materials and tools that you will need for this project.
Materials:
Ping Pong Balls (optional)
Tools:
Step 3: Find or Create Some Spooky Silhouette Images
If you are or know an artist, then you can quickly put together a variety of spooky silhouette images. You can also find a lot of examples online. Just search for «Halloween window silhouettes».
Step 4: Measure the Dimensions of Your Windows
Before you can print out the images, you need to know how big to scale them. So start by measuring the dimensions of your windows. Mine where about 32 inches wide and 57 inches tall.
Step 5: Print Out the Images to Scale
Now you need to print out the images to scale. In most cases this will involve printing the image on multiple sheets of paper. There are a lot of programs that you can use to do this. Probably the most basic way to print an image on multiple sheets is with a spreadsheet program such as Microsoft Excel.
Just insert once of your pictures. Then scale it to the size that you want. Adjust the margins to be as small as possible. If the picture is a solid black image, adjust the brightness so that it is a very light gray. This will help save ink. Then print out the spread sheet.
Step 6: Tape the Pages Together to Reconstruct the Image
Now you need to reconstruct the image. First, take a pair of scissors and cut off the margins around the image. You only need to do this for every other page. Line up the pages so that original image is visible. Then attach the pages together with scotch tape.
Step 7: Trim the Paper and Attach It to a Cardboard Backing
Using a pair of scissors, trim off the excess paper. Keep about one inch of paper around your outline. Then attach the image to a sheet of cardboard.
If you do not have a sheet of cardboard that is large enough, you can tape multiple pieces of cardboard together.
Step 8: Cut Along the Outline
Now you need to transfer the image to the cardboard. Use a sharp knife to carefully cut through the paper along the outline. Start with the inner details such as the eyes and mouth. Then cut the outer edges. If the paper starts to move, hold it down with your free hand as you cut.
When you are done, remove the paper and you should see an outline of your creature.
Step 9: Cut Out the Shape From the Cardboard
Next we need to cut out the shape from the sheet of cardboard. So take you knife and go back over the outline. This time press hard enough so that the knife cuts all the way through the cardboard. I recommend doing this on top of a scrap piece of cardboard so that you don’t scratch up your work surface.
There is a good chance that there will still be some small pieces of cardboard that are connected. So turn the cardboard over and cut any remaining tabs of cardboard. The silhouette shape should then pop out freely.
Step 10: Paint the Silhouette Cuttout
Next you need to paint the cutouts black. You can use any paint for this. I used cheap spray paint. Be sure to get all the edges. But don’t worry if you don’t get perfect coverage. When it is dark outside and the cutout is back lit, no one will notice.
Step 11: Add Follow-Me Eyes (optional)
To make your silhouettes extra spooky, you can add eyes that follow someone as they walk by. This optical illusion is called «follow-me» eyes. To make it all you need to do is have the pupil of the eye recessed behind the outline of the eye.
One easy way to do this is with a ping pong ball. Try to get ball that either doesn’t have a logo or has the logo on only one side. Use your knife to carefully cut the ping pong ball in half along the seam. Then take the half without a logo and use a black marker to color in a circle that will act as a pupil.
Position this behind the eye with the pupil centered. To hold it in place, I applied hot glue around the edges.
Step 12: Mount the Silhouettes in the Windows of Your House
You are now ready to mount the cutouts in your window. In most cases you can just set them on the window sill. Alternatively, you can also tape them to the window.
Draw the curtains behind the cutout and turn on the light in the room. This will provide some back lighting or the silhouette. If your curtains do not let enough light through, you may need to add an additional light underneath the curtain.
These silhouettes make great Halloween decorations, especially after dark. Now just sit back and wait for the trick-or-treaters.


2 People Made This Project!


Did you make this project? Share it with us!
Christmas Window Silhouettes

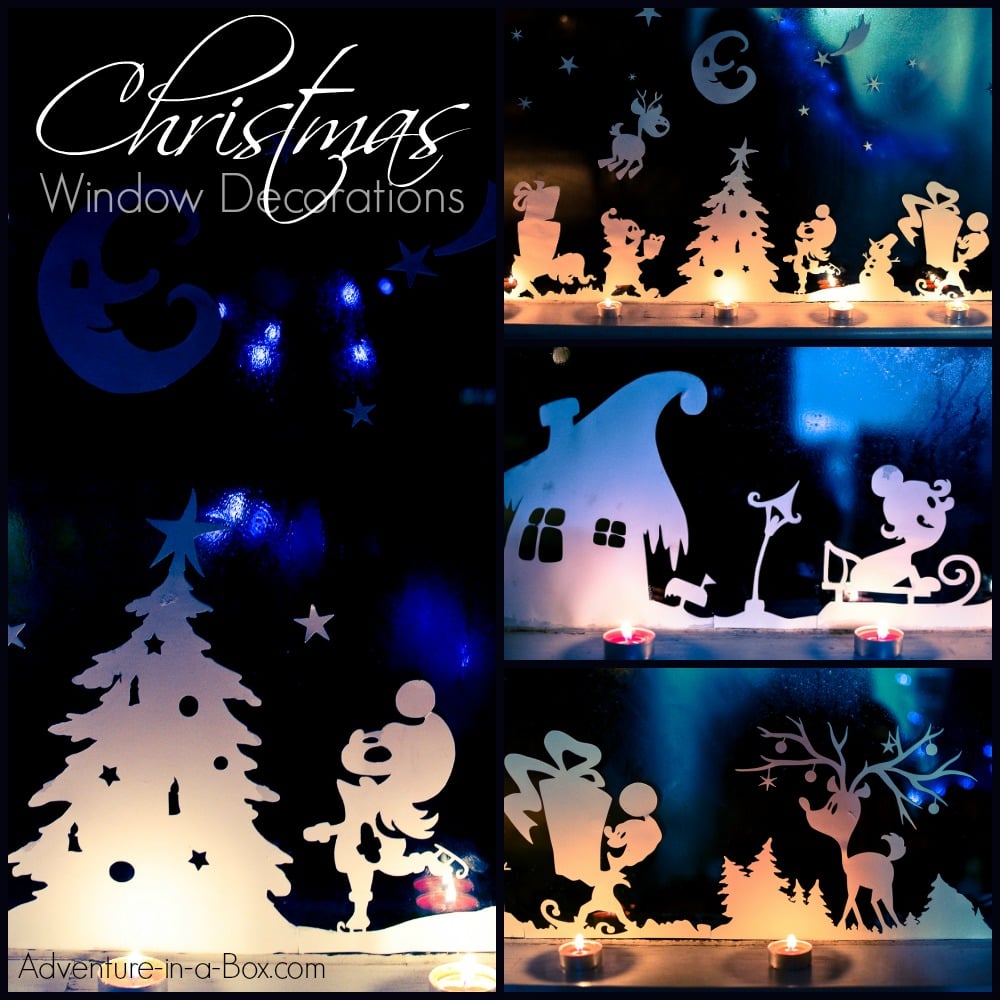
Cut our printable templates to make Christmas window silhouettes and turn your windowsills into a winter wonderland!
When do you begin preparations for the winter holiday season? My son maintains the opinion that it can never be too early to start, and his enthusiasm is contagious. True, when he asked to set up the Christmas tree in September, I managed to distract him. But now that it’s November, it seems like the right time to start decorating our house and inviting the spirits of holiday over.
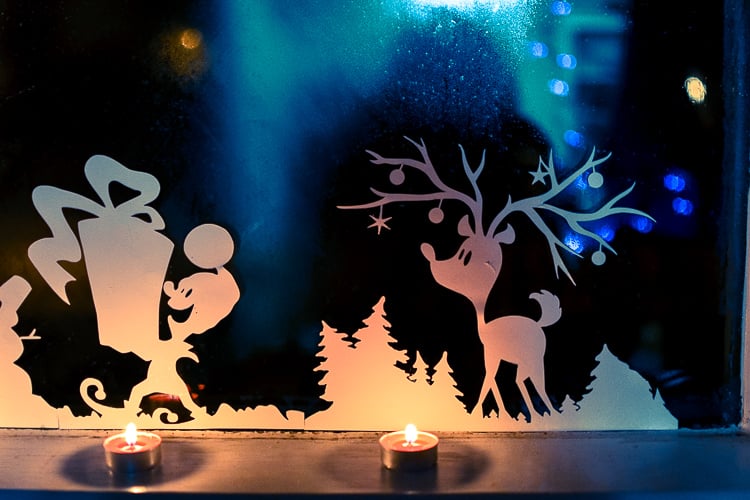
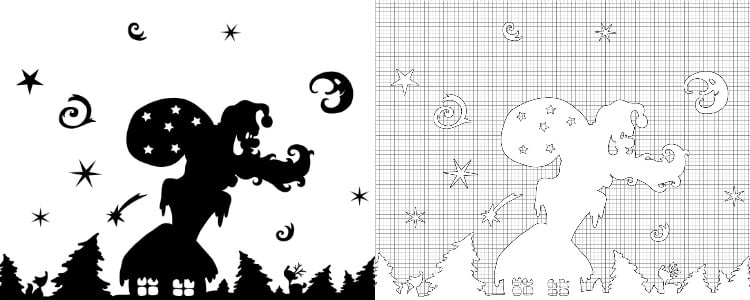
If you walked past our house this week, you’d glimpse a scene from a magical winter world that is getting ready for Christmas. Flying deer and busy elves, snow and stars and presents galore! All cut out of plain paper, and rather minimalist during the day, but charmingly illuminated by candles at night.
The pictures were created by my friend Tetiana. She is a talented artist, living in Norway, amidst the cold mountains overlooking the sea, with her husband and a little daughter. We started chatting a while back and decided to try working on creative projects together, and it was a lot of fun! She drew all the magical creatures, and here we cut them and stuck them to our windows. In a strange way, it makes them even more perfect than if we had created them by ourselves. Every time I look at my window, I think about the happy creative collaboration I had.
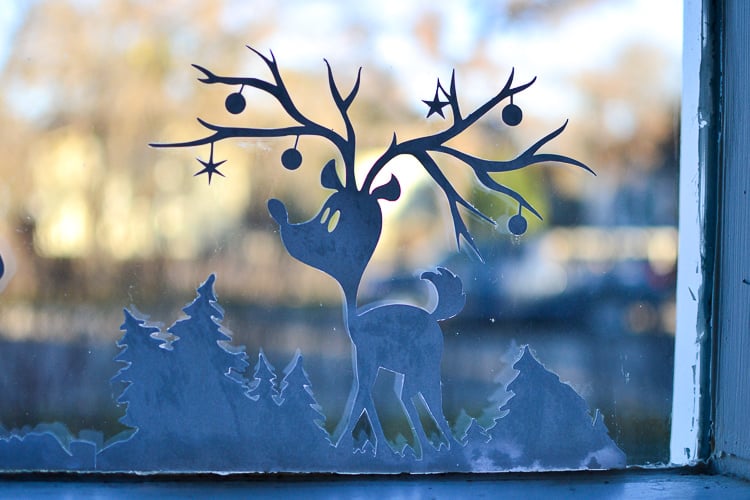
When I asked Tetiana to share some of her inspirations with me she reminded me of a tale we read as children – about a legend of a deer who would stomp its foot and throw gems around. According to the story, that’s the origin of the precious stones we mine. That deer appears in the scene with his antlers decked out in gems, and all of the other elements come from similar stories associated with Christmas from around the world.
If you’d like to create a winter wonderland in your window, you can make your own design or download our designs here – available in two colours (black and white) and two different scales (for bigger and smaller windows).
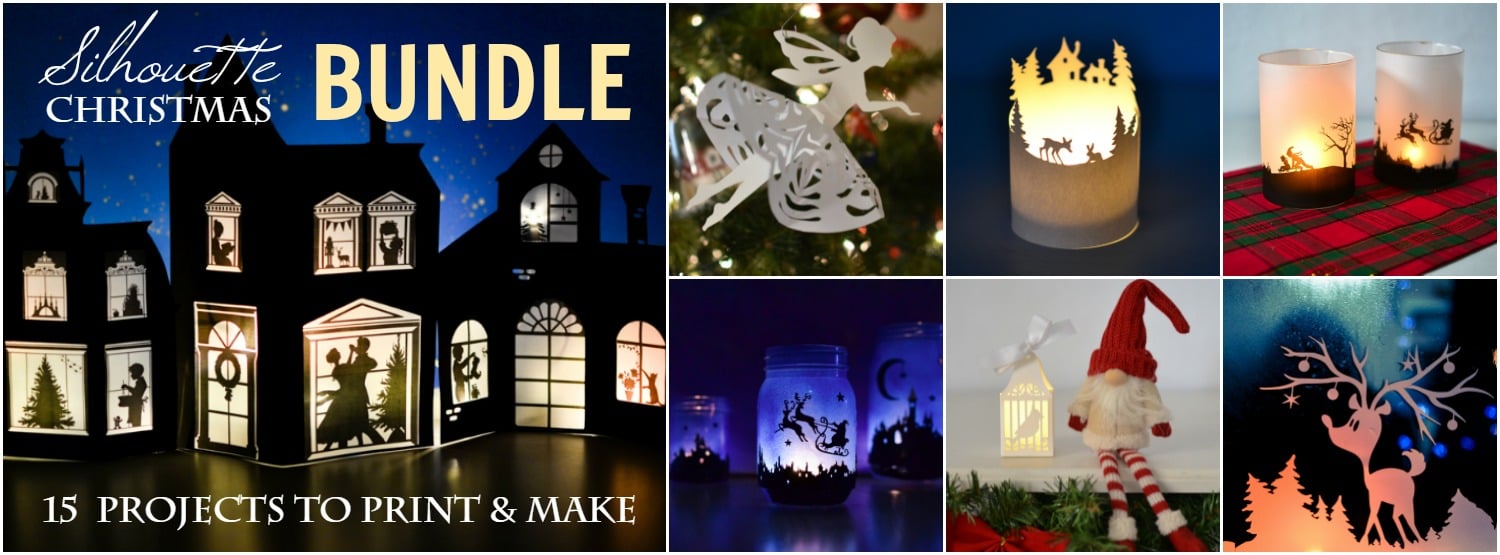
The designs for this project can also be found in our Silhouette Christmas Bundle. The book is a collection of various ideas for Christmas-themed silhouette crafts—ornaments, lanterns, cards, tags and toys. Altogether, there are fifteen silhouette crafts with over sixty pages of printable silhouette designs. Print and make—it’s that easy!
Christmas Window Silhouettes Tips & Tricks
- Depending on your own preferences, there are many different ways you can use the designs. Cut them with scissors and a craft knife the traditional way; cut them with a silhouette machine; or print them on transparent vinyl to avoid cutting altogether.
- If you cut the silhouettes out of paper, use cardstock. The bit of condensation that may accumulate on the windows won’t readily wrinkle it, though really wet windows should be avoided
- You can make the silhouettes from any colour of paper. Insert the paper of your choice into the printer, choose the white designs and print. The printer will just outline the silhouettes and surround them with a light grid, to keep things from getting confusing.
- For gluing, use a craft glue stick – it will come off the windows with a quick wash after you take the decorations down. This is the method I have tried. You can also try contact paper.
- Mix and match the designs any way you like and any way that fits your windows!
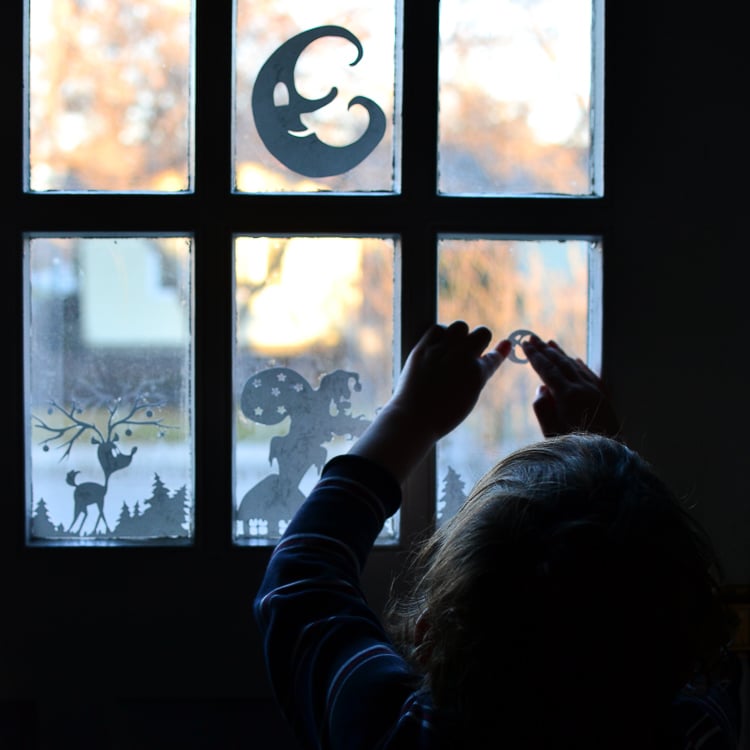
Kids Can Make Christmas Window Silhouettes, Too!
Of course, the kids will love to help you arrange the designs on the windows. Anselm certainly did. He took special care of the moons, telling me a story about the little moon that lived in the house and the big moon that was the little moon’s father and shone in the sky. He decided not to glue the little moon onto the window because he didn’t quite want to part with it.
Older kids can also cut the designs, and kids of any age can colour them! That was Anselm’s suggestion, so I cut him a few extra silhouettes, and he immediately plopped himself down to colour them. He is going to glue the coloured silhouettes onto the windows in his room.
Our Winter Wonderland
This far, we decorated our front door and living room window with the silhouettes. Our front door has eight separate panes, so we used scaled-down versions of the designs for filling them. A string of light around the windows, and this is how our porch looks.
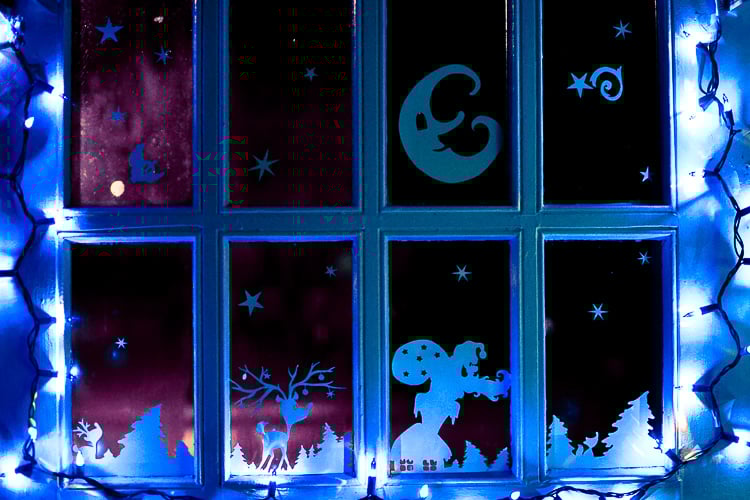
The other window was big, so we used bigger silhouettes and had a jolly good time choosing what goes where. The Christmas tree is in the centre, and the magical creatures are gathering around. Candles illuminate the scene. As always, use real candles with caution, especially with children, and go for LED candles to be safe.
Get the Designs and Make Your Own!


We’ll be very happy if you share the photos of your windows with us. Tag us @adventureinabox with your pictures on social media!
Also Try!
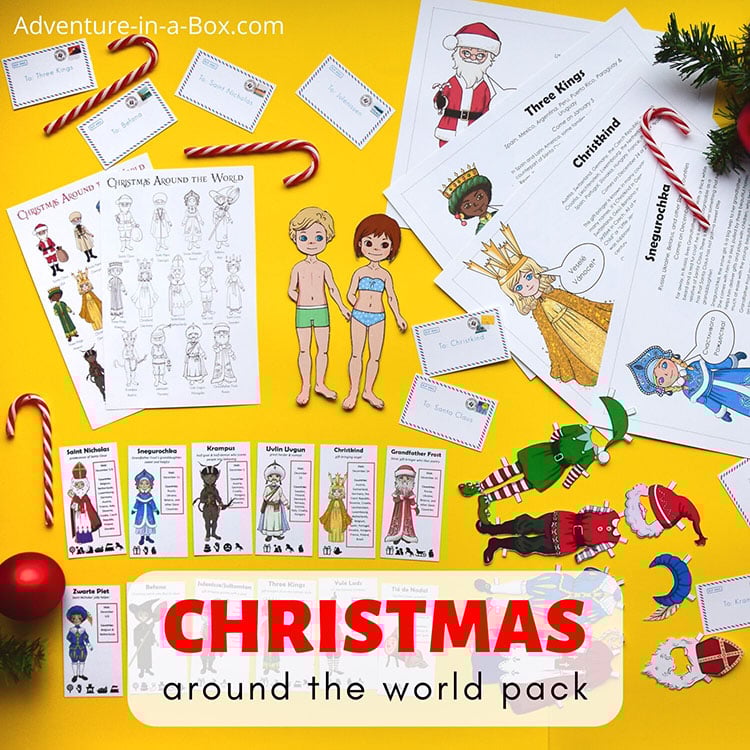
The closer it gets to the winter vacation, the more challenging it becomes to get any schoolwork done. Cue holiday-inspired (but secretly, quite educational) activities! Children will play board games, dress paper dolls, read and colour pages, while at the same time learning geography, history, and folklore, with the Christmas Around the World bundle.
Make a Santa Claus dress-up doll with this free printable design, then change his costume and he’s a Christmas elf!


