- lightgbm 3.3.0
- Navigation
- Project links
- Statistics
- Maintainers
- Classifiers
- Project description
- Installation
- Preparation
- Install from PyPI
- Build from Sources
- Install from conda-forge channel
- Install from GitHub
- Build Wheel File
- Install Dask-package
- Troubleshooting
- Examples
- Development Guide
- Installation GuideпѓЃ
- Install XGBoost and LightGBM on Apple M1 Macs
- Install arm64 native version of XGBoost and LightGBM on Apple M1 Macs
- Step 1: Xcode Command Line Tools
- Step 2: miniforge
- Step 3: install Brew
- Step 4: install necessary libs from Brew
- Step 5: create Conda environment
- Step 6: install LightGBM
- Step 7: install XGBoost
- Now you can test
- Performances
lightgbm 3.3.0
pip install lightgbm Copy PIP instructions
Released: Oct 9, 2021
LightGBM Python Package
Navigation
Project links
Statistics
View statistics for this project via Libraries.io, or by using our public dataset on Google BigQuery
License: MIT License (The MIT License (Microsoft))
Maintainer: Guolin Ke
Maintainers
Classifiers
- Development Status
- 5 — Production/Stable
- Intended Audience
- Science/Research
- License
- OSI Approved :: MIT License
- Natural Language
- English
- Operating System
- MacOS
- Microsoft :: Windows
- POSIX
- Unix
- Programming Language
- Python :: 3
- Python :: 3.6
- Python :: 3.7
- Python :: 3.8
- Python :: 3.9
- Topic
- Scientific/Engineering :: Artificial Intelligence
Project description
Installation
Preparation
32-bit Python is not supported. Please install 64-bit version. If you have a strong need to install with 32-bit Python, refer to Build 32-bit Version with 32-bit Python section.
Install from PyPI
You may need to install wheel via pip install wheel first.
Compiled library that is included in the wheel file supports both GPU and CPU versions out of the box. This feature is experimental and available only for Windows currently. To use GPU version you only need to install OpenCL Runtime libraries. For NVIDIA and AMD GPU they are included in the ordinary drivers for your graphics card, so no action is required. If you would like your AMD or Intel CPU to act like a GPU (for testing and debugging) you can install AMD APP SDK.
For Windows users, VC runtime is needed if Visual Studio (2015 or newer) is not installed.
For Linux users, glibc >= 2.14 is required. Also, in some rare cases, when you hit OSError: libgomp.so.1: cannot open shared object file: No such file or directory error during importing LightGBM, you need to install OpenMP runtime library separately (use your package manager and search for lib[g|i]omp for doing this).
For macOS (we provide wheels for 3 newest macOS versions) users:
- Starting from version 2.2.1, the library file in distribution wheels is built by the Apple Clang (Xcode_8.3.3 for versions 2.2.1 — 2.3.1, and Xcode_9.4.1 from version 2.3.2) compiler. This means that you don’t need to install the gcc compiler anymore. Instead of that you need to install the OpenMP library, which is required for running LightGBM on the system with the Apple Clang compiler. You can install the OpenMP library by the following command: brew install libomp.
- For version smaller than 2.2.1 and not smaller than 2.1.2, gcc-8 with OpenMP support must be installed first. Refer to Installation Guide for installation of gcc-8 with OpenMP support.
- For version smaller than 2.1.2, gcc-7 with OpenMP is required.
Build from Sources
For Linux and macOS users, installation from sources requires installed CMake.
For Linux users, glibc >= 2.14 is required. Also, in some rare cases you may need to install OpenMP runtime library separately (use your package manager and search for lib[g|i]omp for doing this).
For macOS users, you can perform installation either with Apple Clang or gcc.
- In case you prefer Apple Clang, you should install OpenMP (details for installation can be found in Installation Guide) first and CMake version 3.16 or higher is required.
- In case you prefer gcc, you need to install it (details for installation can be found in Installation Guide) and specify compilers by running export CXX=g++-7 CC=gcc-7 (replace “7” with version of gcc installed on your machine) first.
For Windows users, Visual Studio (or VS Build Tools) is needed. If you get any errors during installation, you may need to install CMake (version 3.8 or higher).
Build Threadless Version
All requirements, except the OpenMP requirement, from Build from Sources section apply for this installation option as well.
It is strongly not recommended to use this version of LightGBM!
Build MPI Version
All requirements from Build from Sources section apply for this installation option as well.
For Windows users, compilation with MinGW-w64 is not supported and CMake (version 3.8 or higher) is strongly required.
MPI libraries are needed: details for installation can be found in Installation Guide.
Build GPU Version
All requirements from Build from Sources section apply for this installation option as well.
For Windows users, CMake (version 3.8 or higher) is strongly required.
Boost and OpenCL are needed: details for installation can be found in Installation Guide. Almost always you also need to pass OpenCL_INCLUDE_DIR, OpenCL_LIBRARY options for Linux and BOOST_ROOT, BOOST_LIBRARYDIR options for Windows to CMake via pip options, like
All available options:
- boost-root
- boost-dir
- boost-include-dir
- boost-librarydir
- opencl-include-dir
- opencl-library
For more details see FindBoost and FindOpenCL.
Build CUDA Version
All requirements from Build from Sources section apply for this installation option as well, and CMake (version 3.16 or higher) is strongly required.
CUDA library (version 9.0 or higher) is needed: details for installation can be found in Installation Guide.
Build HDFS Version
All requirements from Build from Sources section apply for this installation option as well.
HDFS library is needed: details for installation can be found in Installation Guide.
Note that the installation process of HDFS version was tested only on Linux.
Build with MinGW-w64 on Windows
CMake and MinGW-w64 should be installed first.
It is recommended to use Visual Studio for its better multithreading efficiency in Windows for many-core systems (see Question 4 and Question 8).
Build 32-bit Version with 32-bit Python
By default, installation in environment with 32-bit Python is prohibited. However, you can remove this prohibition on your own risk by passing bit32 option.
It is strongly not recommended to use this version of LightGBM!
Install from conda-forge channel
If you use conda to manage Python dependencies, you can install LightGBM using conda install.
Note: The lightgbm conda-forge feedstock is not maintained by LightGBM maintainers.
Install from GitHub
All requirements from Build from Sources section apply for this installation option as well.
For Windows users, if you get any errors during installation and there is the warning WARNING:LightGBM:Compilation with MSBuild from existing solution file failed. in the log, you should install CMake (version 3.8 or higher).
Note: sudo (or administrator rights in Windows) may be needed to perform the command.
Run python setup.py install --nomp to disable OpenMP support. All requirements from Build Threadless Version section apply for this installation option as well.
Run python setup.py install --mpi to enable MPI support. All requirements from Build MPI Version section apply for this installation option as well.
Run python setup.py install --mingw , if you want to use MinGW-w64 on Windows instead of Visual Studio. All requirements from Build with MinGW-w64 on Windows section apply for this installation option as well.
Run python setup.py install --gpu to enable GPU support. All requirements from Build GPU Version section apply for this installation option as well. To pass additional options to CMake use the following syntax: python setup.py install --gpu --opencl-include-dir=/usr/local/cuda/include/ , see Build GPU Version section for the complete list of them.
Run python setup.py install --cuda to enable CUDA support. All requirements from Build CUDA Version section apply for this installation option as well.
Run python setup.py install --hdfs to enable HDFS support. All requirements from Build HDFS Version section apply for this installation option as well.
Run python setup.py install --bit32 , if you want to use 32-bit version. All requirements from Build 32-bit Version with 32-bit Python section apply for this installation option as well.
If you get any errors during installation or due to any other reasons, you may want to build dynamic library from sources by any method you prefer (see Installation Guide) and then just run python setup.py install --precompile .
Build Wheel File
You can use python setup.py bdist_wheel instead of python setup.py install to build wheel file and use it for installation later. This might be useful for systems with restricted or completely without network access.
Install Dask-package
Dask-package is only tested on Linux.
To install all additional dependencies required for Dask-package, you can append [dask] to LightGBM package name:
Or replace python setup.py install with pip install -e .[dask] if you are installing the package from source files.
Troubleshooting
In case you are facing any errors during the installation process, you can examine $HOME/LightGBM_compilation.log file, in which all operations are logged, to get more details about occurred problem. Also, please attach this file to the issue on GitHub to help faster indicate the cause of the error.
Examples
Refer to the walk through examples in Python guide folder.
Development Guide
The code style of Python-package follows PEP 8. If you would like to make a contribution and not familiar with PEP 8, please check the PEP 8 style guide first. Otherwise, the check won’t pass. Only E501 (line too long) and W503 (line break occurred before a binary operator) can be ignored.
Documentation strings (docstrings) are written in the NumPy style.
Источник
Installation GuideпѓЃ
This is a guide for building the LightGBM Command Line Interface (CLI). If you want to build the Python-package or R-package please refer to Python-package and R-package folders respectively.
All instructions below are aimed at compiling the 64-bit version of LightGBM. It is worth compiling the 32-bit version only in very rare special cases involving environmental limitations. The 32-bit version is slow and untested, so use it at your own risk and don’t forget to adjust some of the commands below when installing.
If you need to build a static library instead of a shared one, you can add -DBUILD_STATIC_LIB=ON to CMake flags.
Users who want to perform benchmarking can make LightGBM output time costs for different internal routines by adding -DUSE_TIMETAG=ON to CMake flags.
It is possible to build LightGBM in debug mode. In this mode all compiler optimizations are disabled and LightGBM performs more checks internally. To enable debug mode you can add -DUSE_DEBUG=ON to CMake flags or choose Debug_* configuration (e.g. Debug_DLL , Debug_mpi ) in Visual Studio depending on how you are building LightGBM.
In addition to the debug mode, LightGBM can be built with compiler sanitizers. To enable them add -DUSE_SANITIZER=ON -DENABLED_SANITIZERS=»address;leak;undefined» to CMake flags. These values refer to the following supported sanitizers:
address — AddressSanitizer (ASan);
leak — LeakSanitizer (LSan);
undefined — UndefinedBehaviorSanitizer (UBSan);
thread — ThreadSanitizer (TSan).
Please note, that ThreadSanitizer cannot be used together with other sanitizers. For more info and additional sanitizers’ parameters please refer to the following docs. It is very useful to build C++ unit tests with sanitizers.
You can also download the artifacts of the latest successful build on master branch (nightly builds) here:  .
.
Источник
Install XGBoost and LightGBM on Apple M1 Macs
Install arm64 native version of XGBoost and LightGBM on Apple M1 Macs

May 14 · 3 min read
In this previous article I explained how to install TensorFlow, Scikit-Learn and several other packages natively compiled for Apple M1 (arm64).
Here I explain step by step how to install two of the most powerful Gradient Boosting packages: XGBoost and LightGBM. Please note that at the time of writing this article CatBoost cannot yet be installed on M1.
LightGBM can directly be installed from Conda miniforge but XGBoost does not yet exists as a native release. The following steps enables compiling it properly.
Step 1: Xcode Command Line Tools
Install Xcode Command Line Tools by downloading it from Apple Developer or by typing:
Step 2: miniforge
Ins t all miniforge for arm64 (Apple Silicon) from miniforge github.
Miniforge enables installing python packages natively compiled for Apple Silicon including scikit-learn.
Step 3: install Brew
Brew is now compatible with M1 and installs native packages when they exist. Go to Homebrew site and copy/paste the installation command to your terminal.
Step 4: install necessary libs from Brew
Two libs must be installed from Brew to enable compiling XGBoost.
Step 5: create Conda environment
Don’t forget to open a new session or to source your .zshrc after miniforge install and before going through this step.
Create an empty Conda environment, then activate it and install python 3.8 and all the needed packages.
Note that numpy and scipy are dependencies of XGBoost. Installing them from Conda (conda-forge) before to install XGBoost from pip is very important as it makes sure of having arm64 versions of these packages in the environment.
Trying to directly install XGBoost from pip fails when it loads and compile pip version of scipy .
Step 6: install LightGBM
LightGBM already has a pre-compiled arm64 version under conda-forge.
Step 7: install XGBoost
As XGBoost native arm64 version is not yet available in conda-forge, it must be installed from pip. All dependencies are already installed in native version after Step 5.
This compile and install XGBoost under the environment.
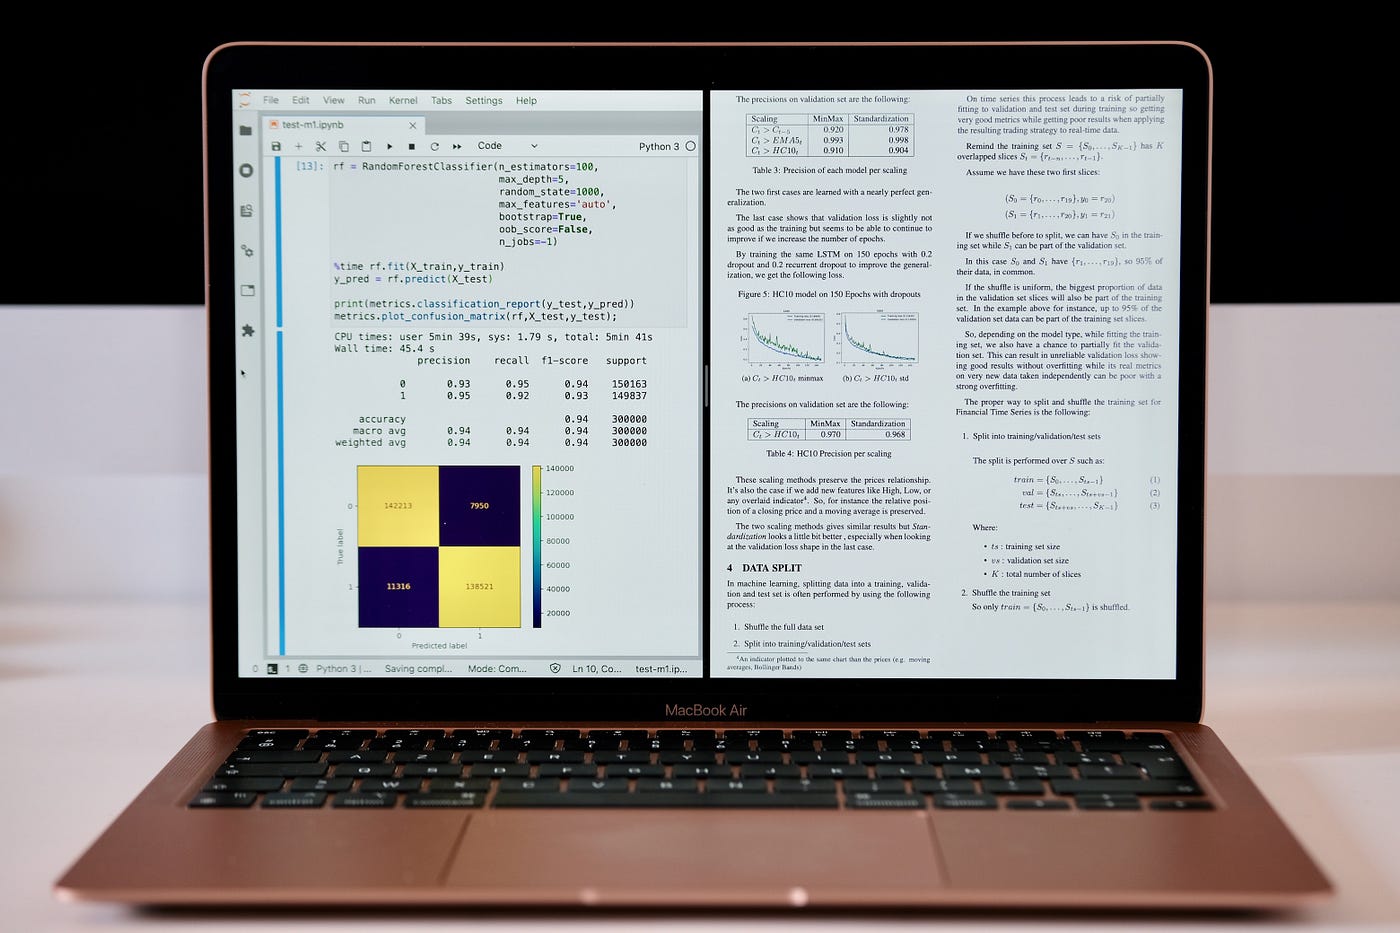
Now you can test
The following script trains and test a binary classifier with LightGBM and XGBoost.
Performances
This very simple test gives the following training time on a MacBook Air M1 compared to a Core i5 iMac and a Xeon Platinum instance.
MacBook Air M1 2020 8GB / 512 GB
LightGBM Training : 3.44 seconds
XGBoost Training : 4.59 seconds
2017 iMac 27″ Core i5 @ 3.8GHz / 40GB RAM
LightGBM Training : 5.03 seconds
XGBoost Training : 6.90 seconds
8 cores Intel(R) Xeon(R) Platinum @ 2.5 GHz instance
LightGBM Training : 5.27 seconds
XGBoost Training : 6.26 seconds
XGBoost and LightGBM work and have excellent performances on a Mac M1.
Please note that as the development teams of these packages did not yet release an official Apple Silicon version, there is no optimizations, and the GPU is not used.
Источник


